St. Patrick’s Day is around the corner and this cheery little quilted door decoration is just the thing to send winter packing and welcome spring. This is an easy design to piece together, add some quarter inch or matchstick quilting and finish it off with a binding edge. Great for a beginner or for a crafty weekend project. Grab your fabric and scissors and lets get stitching!
Finished Size 12″ x 12″
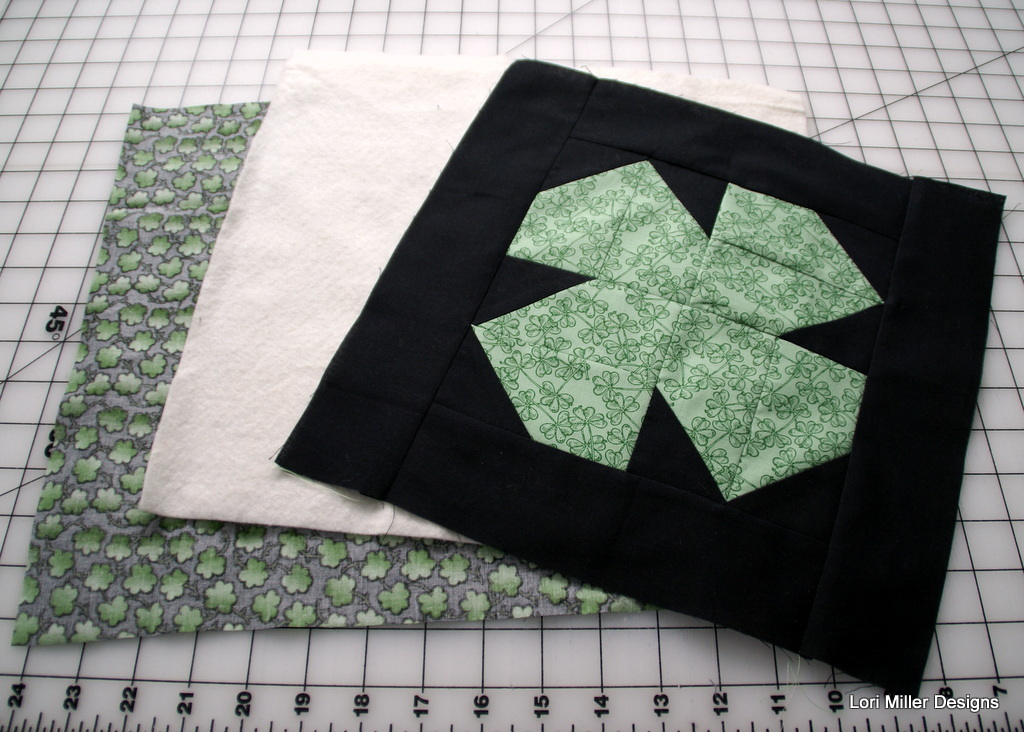
Materials:
- 1/8 yard of green for shamrock
- 1/8 yard of black for background
- 1/2 yard of green print for back, binding and hanger
- 1/2 yard of batting
- Coordinating thread
Directions:

Cut Fabric:
Green for Shamrock
- 8 — 2 1/2″ x 4 1/2″ strips
Black
- 8 — 2 1/2″ x 2 1/2″ squares
- 2 — 2 1/2″ x 8 1/2″ strips
- 2 — 2 1/2″ x 12 1/2″ strips
Green Print
- 2 1/2 x 60″ strip for binding
- 2 1/2″ x 20″ strip for hanger
- 12 1/2″ x 12 1/2″ square for back
Batting
- 12 1/2″ x 12 1/2″ square
Sew

- Place black square on the top of each of the shamrock strips matching the edges. Mark four strips with a diagonal line to the left and four strips with a diagonal line to the right.

- Stitch on the lines. Trim.

- Iron the flaps out. Sew two strips together to form a point with the shamrock material.

- Continue to sew three more. Arrange the four squares so that each point of each square rotates clockwise and stitch together. Press.

- Sew the black 8 1/2″ strips to each side. Press.

- Sew the black 12 1/2″ strips to the top and bottom. Press.


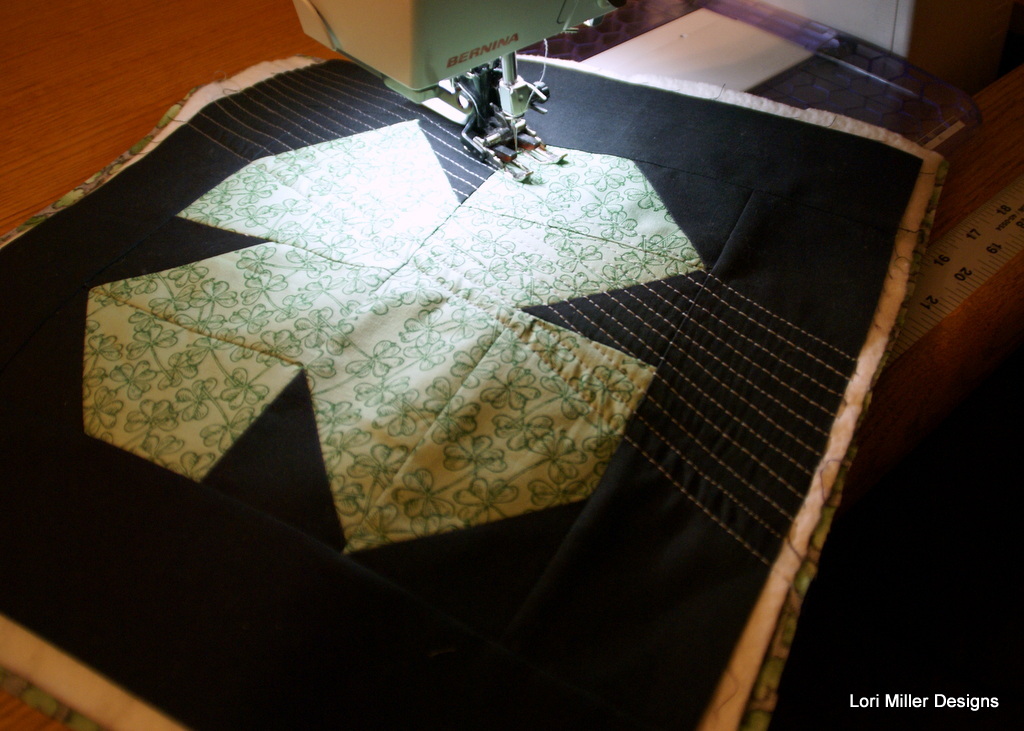
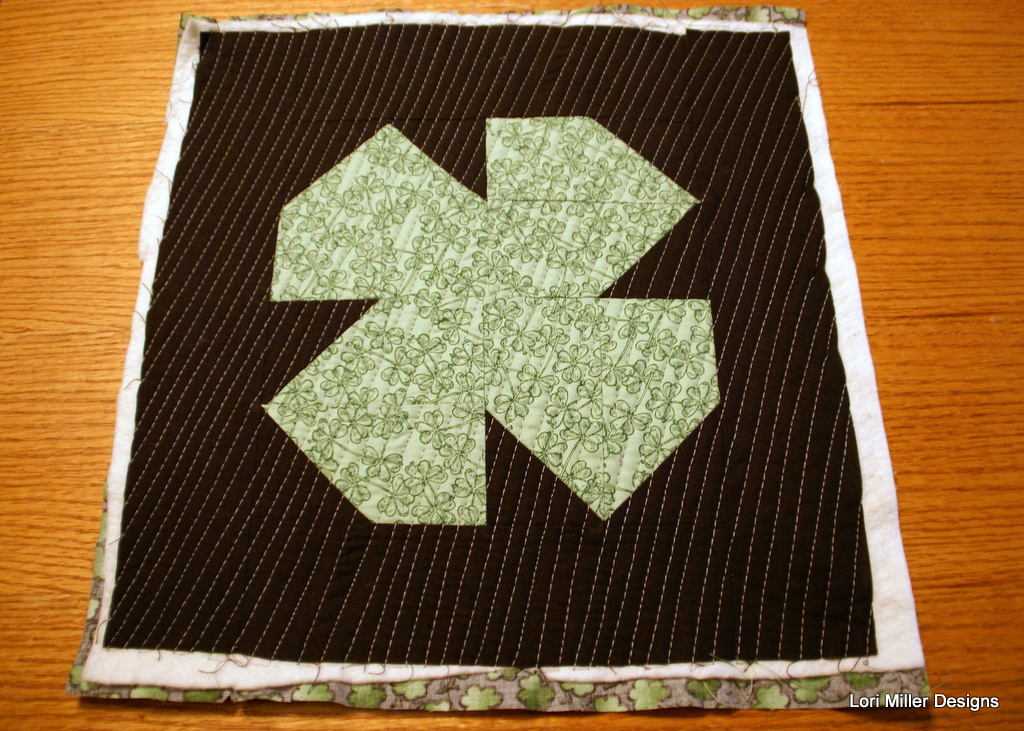
Quilt
- Layer the back of the quilt right side down, the batting and the top of the quilt, right side up, in a quilt sandwich.


- Baste together with quilting safety pins and quilt as desired. I used straight line quilting with a walking foot at about 1/4″ intervals.
Finish
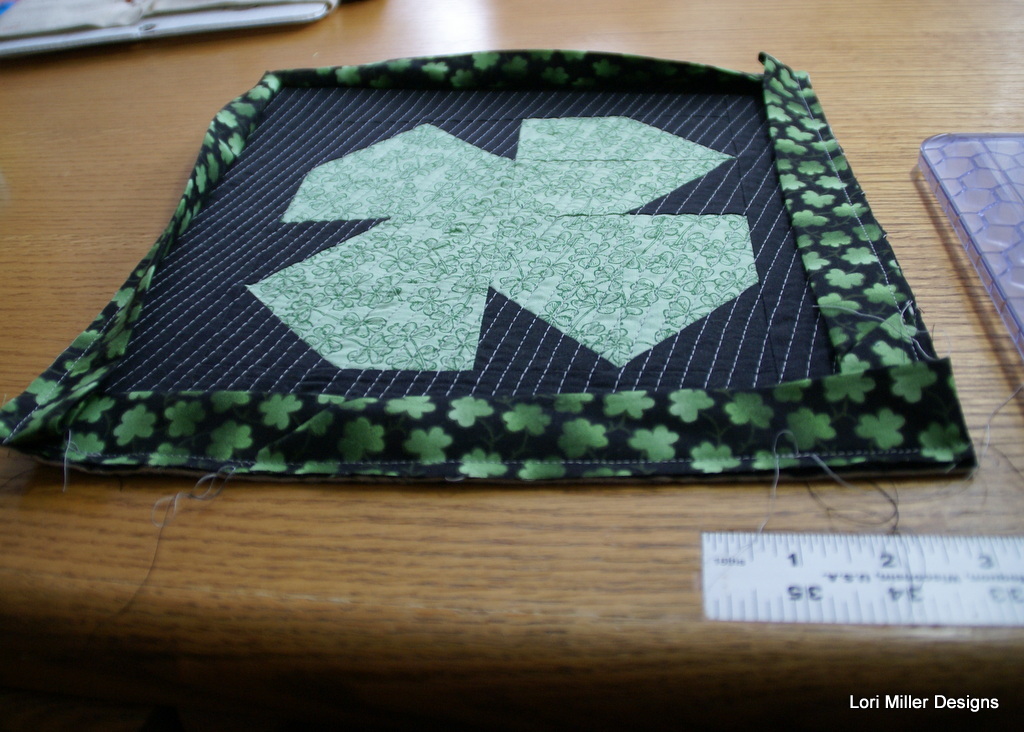
- Fold the binding in half, wrong sides together, and press. Attach the binding to the little quilt.

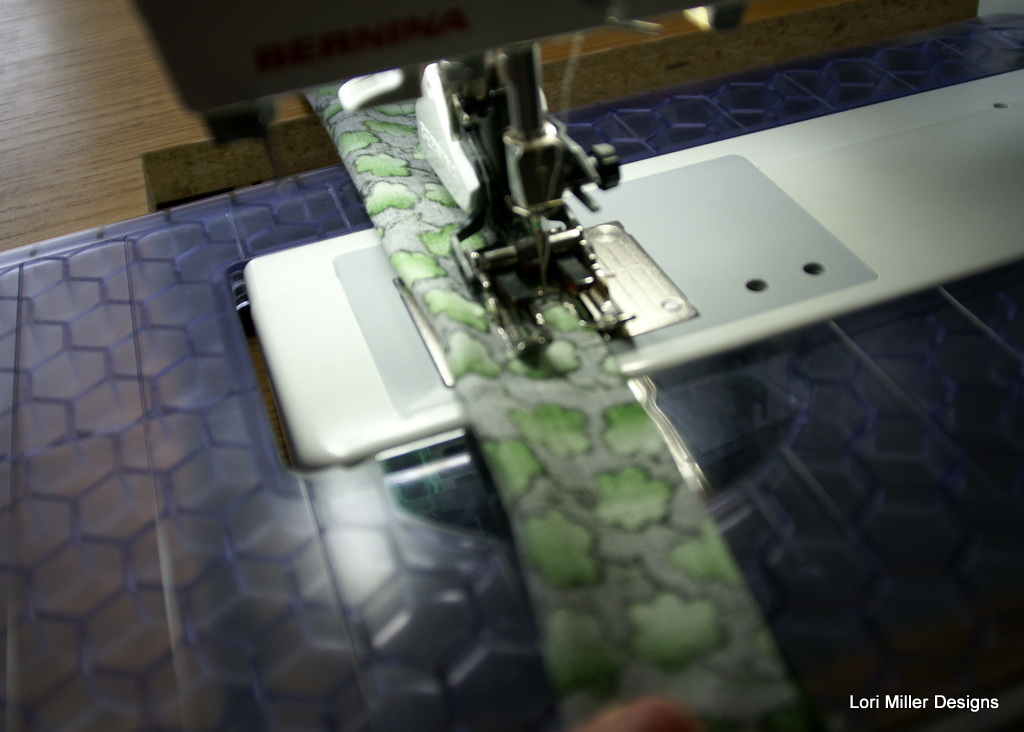
- Fold the hanger fabric strip in half, right sides together and stitch down the long edge.
- Turn the hanger right side out and iron flat with the seam on the back.

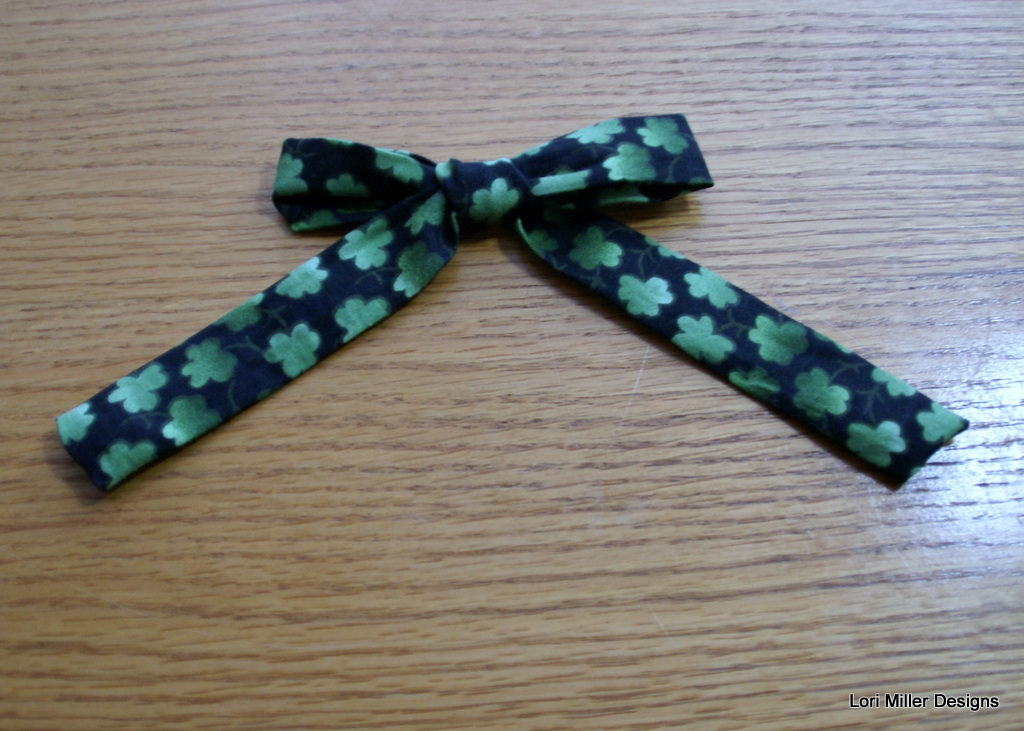
- Tie a bow in the hanger, centered at the top. Tuck in the ends and stitch closed.

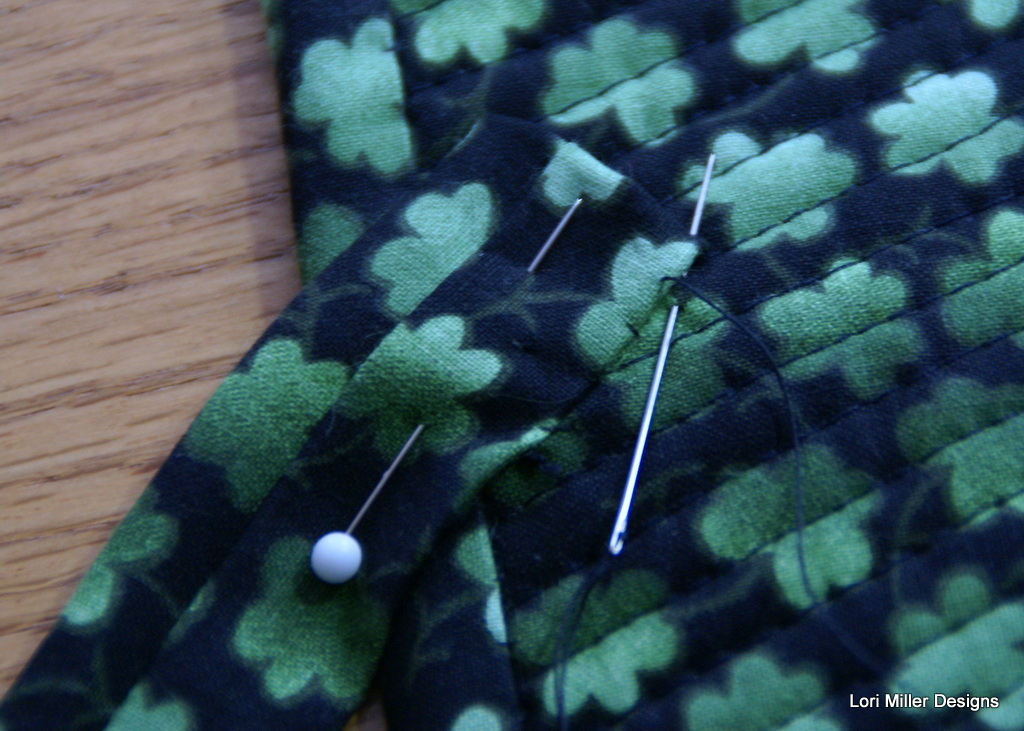
- Attach the ends to the back side of the quilt about 3″ from each side. I just used a whip stitch.

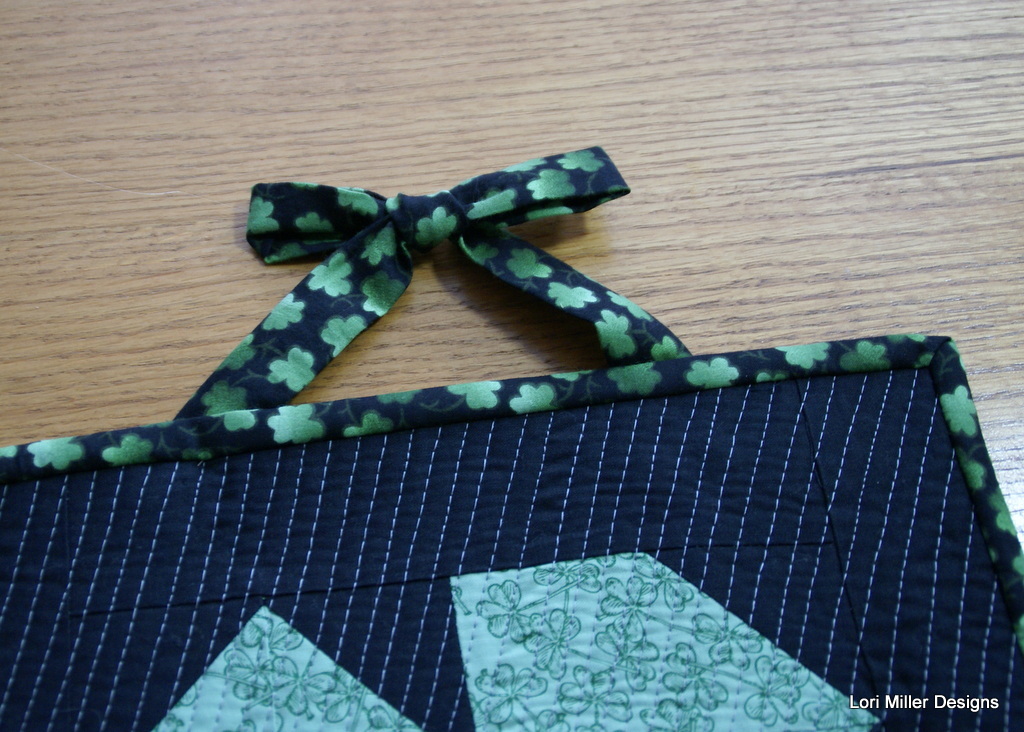
- That finished up your decorative door hanger. Hang it on your door or as a wall hanging for decoration!May the luck of the Irish be with you!