This and That Carryall Tote – Published!

SONY DSC

My early christmas present arrived, my copies of  a new magazine.  I am so excited to have another original pattern published, this time in the new Make it! Patchwork magazine from the editors of Modern Patchwork.  My This and That Carryall Tote can be found on page 82.

Make It Patchwork - cover

This magazine is jam packed with great patchwork projects from small quilted items to full size quilts.  It is available online at Interweave now or it should be available in stores next week.

SONY DSC

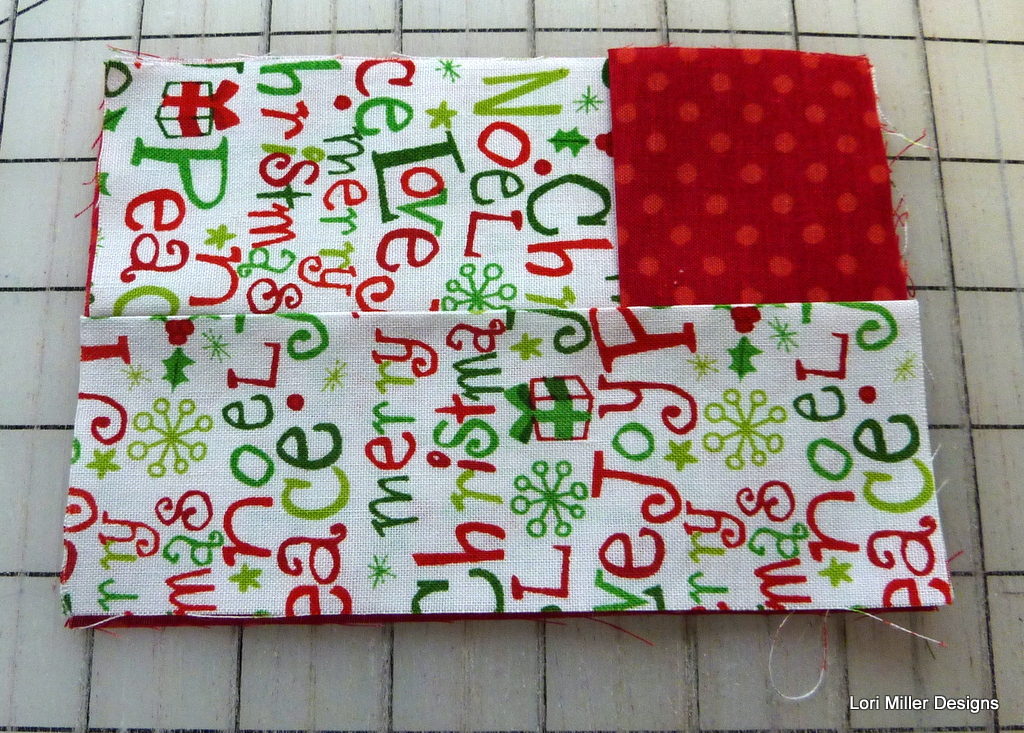
Last winter when I was on vacation, I picked up fabrics in the Around Town by Whimsicals collection from Red Rooster Fabrics.  The gray, cream and red fabrics were my color inspiration and I designed this roomy tote to show them off.

SONY DSC

I used a paper-pieced block sometimes called This and That or Square in a Square or Economy Block!  I dug out my red and grey modern fabrics and stitched away.

SONY DSC

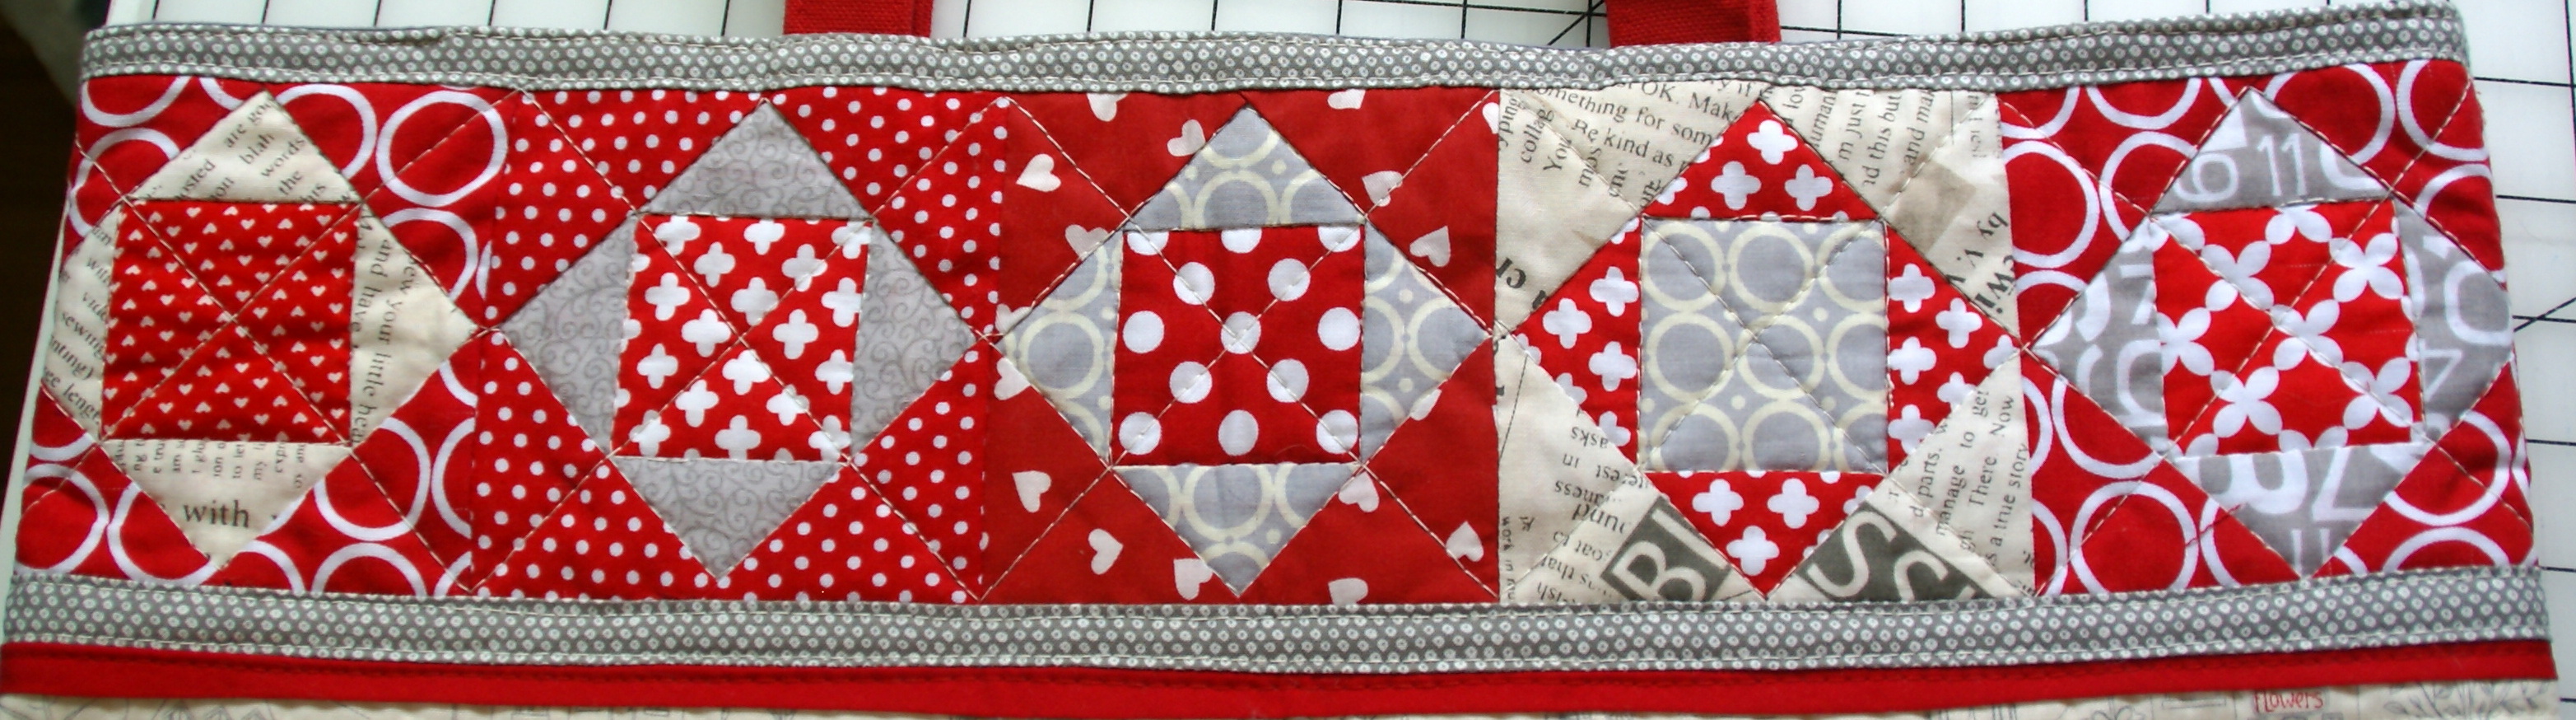
Here is a close up of the paper-pieced blocks.

There are also projects by two other Michiganders in the magazine and I need to share those with you as well.

I had the pleasure of hearing Rossie Hutchinson speak and share a trunk show at our Detroit Area Modern Guild a few months ago.  She shares her Stalactites and Stalagmites Table Runner and Place Mats.  Check her out at Fresh Modern Quilts.

Debbie Grifka hails from the Ann Arbor Modern Quilt Guild and she spoke and gave a lecture on modern quilts at one of my guilds last year.  She also has been a great resource to me and very supportive in my journey.  She has two projects in the magazine, her Twinkle Star Quilt and a super cute Car Trash Bag.  You can find her at Esch House Quilts.

Congratulations to them both!

Finish it Up Friday: Personalized Gifts

personalized stitched gifts Lori Miller Designs


This year I decided to make personalized gifts for almost everyone.  I made a Peekaboo Pencil Case with a pattern by Pickle Pie Designs and embroidered names and picked out fun fabrics to match personalities if I could.

P1090830

Here are a few of the last ones I made.  I used the fun watch print for my guys.  Now, you don’t have to use the pencil pouch for pencils. I think it would be a great idea to corrall all of those chargers and cords you have for phones and tablets and readers.  Great for traveling or just being able to find them in one place or to make sure someone doesn’t steal your charger.

P1090832

This one is for the daughter of my friend, Candy.  I love this cute Japanese print with all kinds of office supplies on it.

P1090828

I found this print this summer in Grand Rapids, Michigan.  It is an adorable print of sheep knitting, I knew I had to have it for my friend, Jennifer.

P1090827

I started making her a Sew Together Bag by Sew Demented.  I love this very versatile bag and have made six or seven of them.  I used headliner fabric for the “batting” and it really gave a nice shape to the bag.  If you have not tried making the Original Sew Together Bag, you need to put this on your list of ones to try.  I have one for my sewing supplies I take to Sew in Days or for Quilt Retreats.  But it is very adaptable, it would be a great make up bag or gadget carryall too.

P1090837

Here is the inside with the three different colored zippers.  I have cute sheep fabric and polka dots inside.

P1090839

I just did a little crosshatch quilting on the bottom part.

P1090841

I still had fabric left, so I made the Pencil case.  Maybe she can put small knitting needles or stitch markers in there.

P1090844


Finally, I had to make a little name tag for her to wear when she goes to her knitting group meetings.  The sheep was too cute not to highlight and I added her name in embroidery too.  I used a red print with silver polkadots for a little bling that I picked up at JoAnn Fabrics.

I have a Bernina 630E, it stitched up the names like a charm.  I think I am learning more about my machine now after about 10 years than when I first got it.  Maybe it is because I have more time now.

What are you finishing up stitching for the holiday?

Handmade Holiday: 10 minute Christmas Elf Stocking

P1090814

Today I am sharing some goodies made from one of my own patterns, the Christmas Holiday Elf Stocking.  This little stocking stitches up in about 10 minutes and you can use it for everything from an ornament, a gift card holder, a holder for a message from Santa, or to decorate a package to even loading it with silverware to decorate your table.  It takes very little fabric and the whole thing can be stitched on your home sewing machine.

P1090803

There is just one pattern piece to cut out of two coordinating fabrics.

P1090805

Here are some of my latest combinations.  I did iron the fabric. 🙂

P1090813

You stitch the top together and then fold it in half and stitch the rest.

P1090825

One piece forms a lining and the contrasting cuff on the stocking.

P1090823

You can add a ribbon hanger or even a jingle bell to the toe to make it extra cute.

P1090809


I made six of these little elf stockings for my Holiday place settings.  Doesn’t it look cute holding my silverware?  I think I will add a candy cane too.

Enjoy!

Handmade Holiday: Mini Tissue Holder Tutorial

Mini tissue cover Lori Miller Designs 1


Here is a cute quick gift you can stitch up in multiples for holiday party favors, stocking stuffers or just a little something for someone special.  I used holiday and Christmas fabric but you could tailor them for boys or girls with masculine prints, sporty fabric or another cute novelty print.  There is really very little sewing so it is perfect for a beginning stitcher.  It doesn’t take much fabric either, so use up some of your scraps or stash.

Materials Needed:

  • Fabric Scraps in coordinating colors (fat quarters are more than enough)
  • Coordinating thread
  • Mini Tissue packages

P1090771

Cutting:

Solid fabric:

  • Cut 1 — 4″ x 5 3/4″ rectangle
  • Cut 2— 4″ x 4″ squares

Print Fabric:

  • Cut 2 — 4″ x 5 3/4″ rectangle

Sewing:
P1090776

  1. Iron the two solid squares and the two print rectangles in half the long way, wrong sides together.P1090778
  2. Layer the first print piece over the solid rectangle piece, right sides together.  The fold should be facing the center and the raw edges should be aligned with the solid rectangle.P1090780
  3. Next, layer the solid piece on the end with the fold facing the center and the raw edges aligned with the solid rectangle.P1090782
  4. Continuing to work clockwise, layer the other printed piece on the solid rectangle laying on top of the previous piece and with the raw edges aligned to the bottom rectangle.P1090784
  5. Layer the final solid square and the end with the fold facing the center.  Lift up the other print piece and tuck it under aligning the raw edges with the bottom rectangle.P1090787
  6. The pieces will look like this all layered together.  Pin the layers together.P1090793
  7. Stitch around the entire outside of the cover with a 1/4″ seam.P1090795
  8. Clip the corners and turn it right side out.P1090788
  9. Take one of the mini tissue packs.  I just snip the upper plastic package down the middle so you can get to the tissues.  You can maybe just open them and put the little sticky closer out of the way too.P1090790
  10. Tuck it into the little cover.P1090798
  11. Now you have a cute small tissue cover to tuck in your bag, purse or car.