Most of you know, I am an EQ8 fanatic and this time I used the quilt design software to create my own wrapping paper and my own fabric with the EQ Printable fabric sheets. EQ allows you to export blocks and motifs as an image that you can then edit and print using the Photo Layout on the Image Worktable. Don’t worry if you dont have EQ8, I will include PDF files of my homemade wrapping paper that you can use too. In addition to the wrapping paper, I used the printed fabric to create a little drawstring bag.
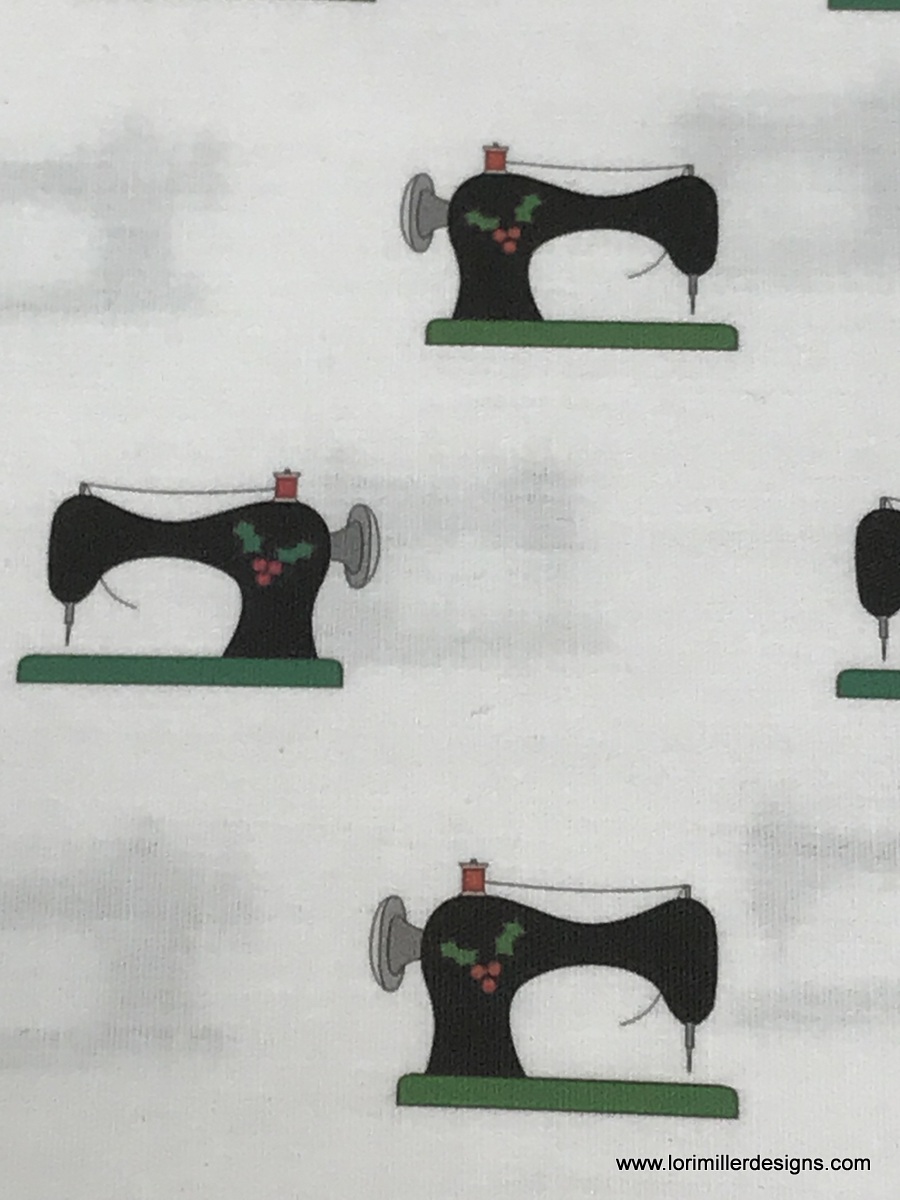
I edited a block with a Vintage Sewing Machine, added some holly, and scaled it onto a sheet of paper and printed it out.
It is an 8 1/2″ x 11′ sheet of paper, but you can wrap some cute small gifts with it.
I also colored a block called Evergreen that was a mod looking pine tree and printed it out.

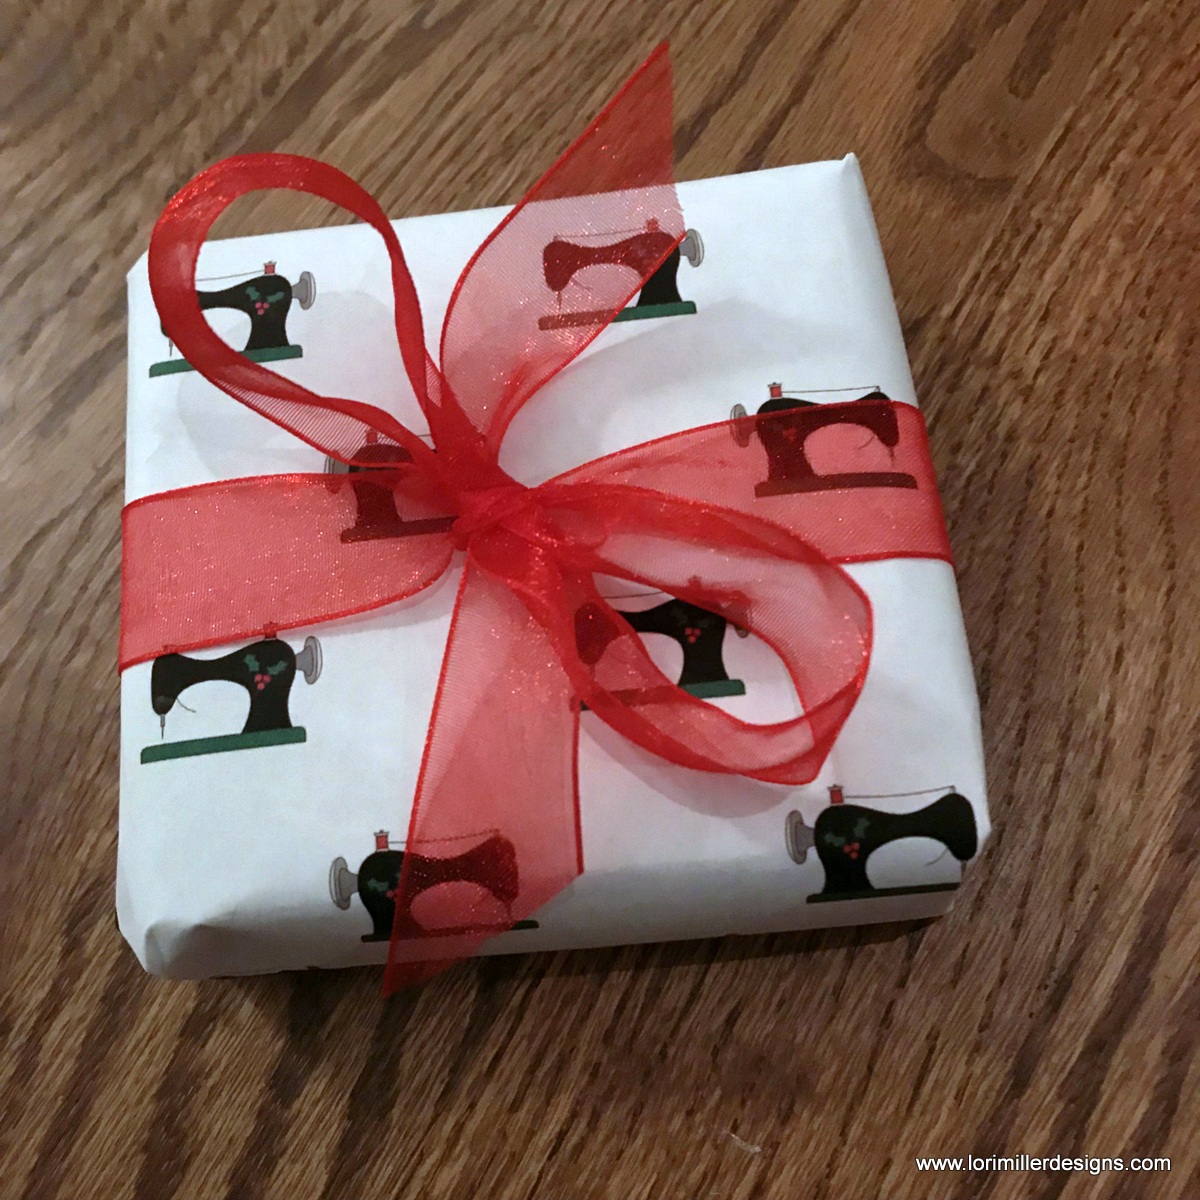
For this gift, I wrapped the main gift in white tissue paper. Then I trimmed my diy wrapping paper and cut it in half.

Then I just matched up the print and taped them together in a long strip.
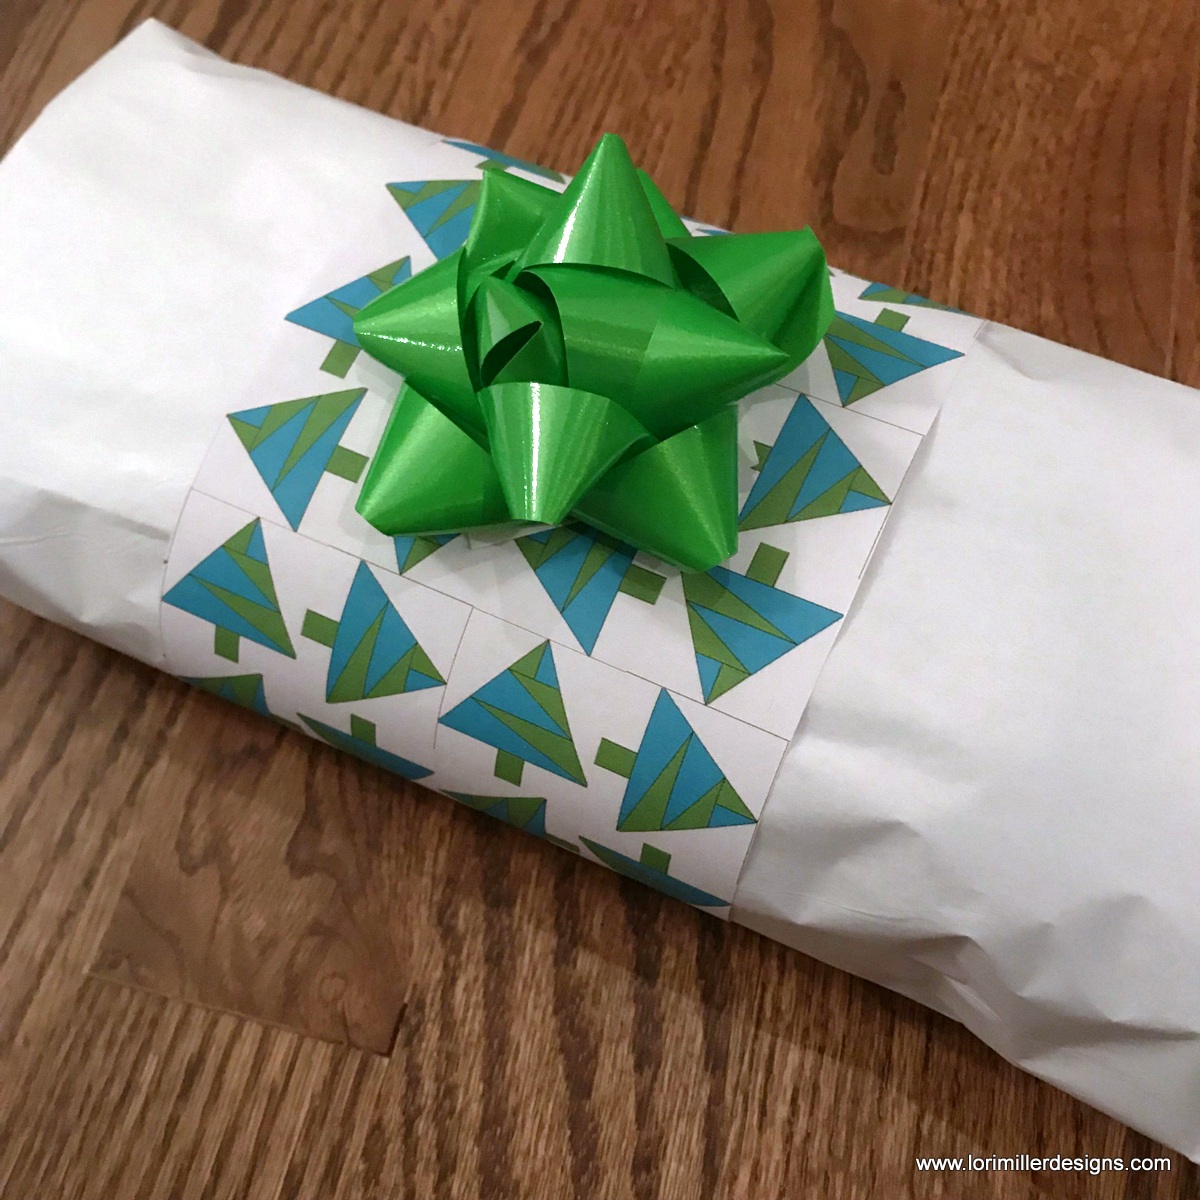
I used the strip and wrapped it around the package like an embellishement sleeve and then just added a coordinating bow on top. This is a good way to use your cute designs when you are limited to your printer paper size.

Here are the PDF Files that you can use to print that I designed with EQ8.
LMD Holiday Vintage Sewing Machine
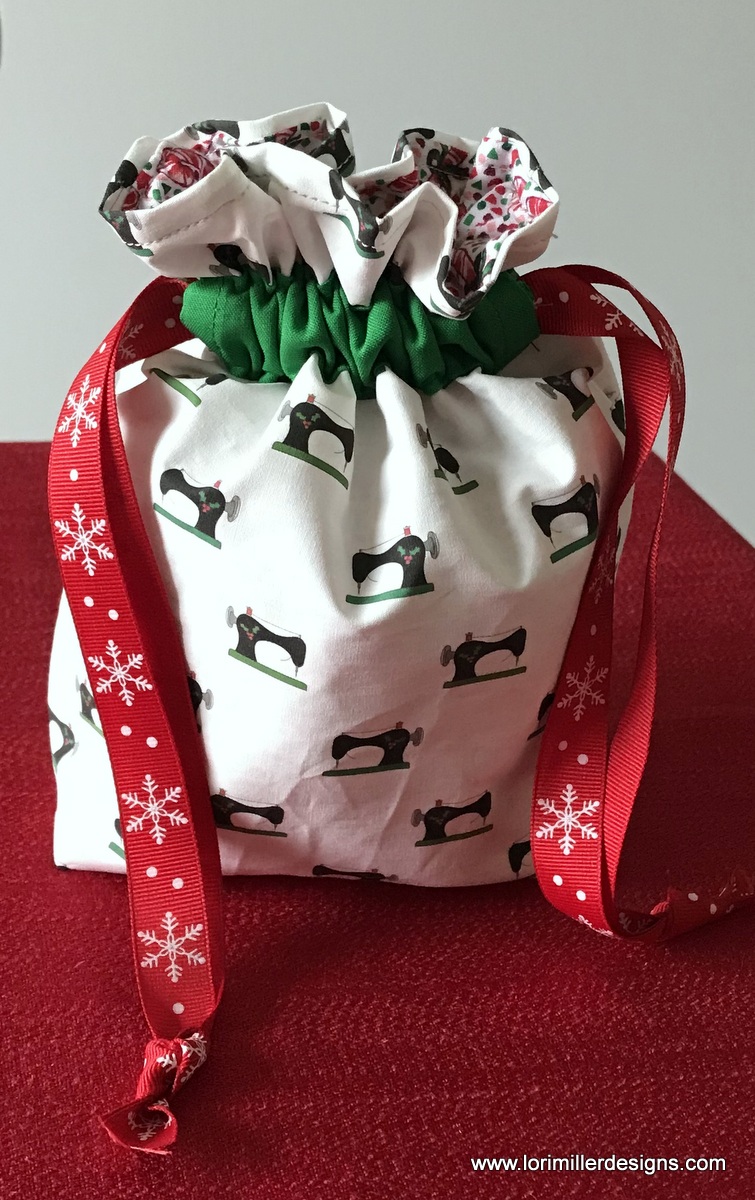
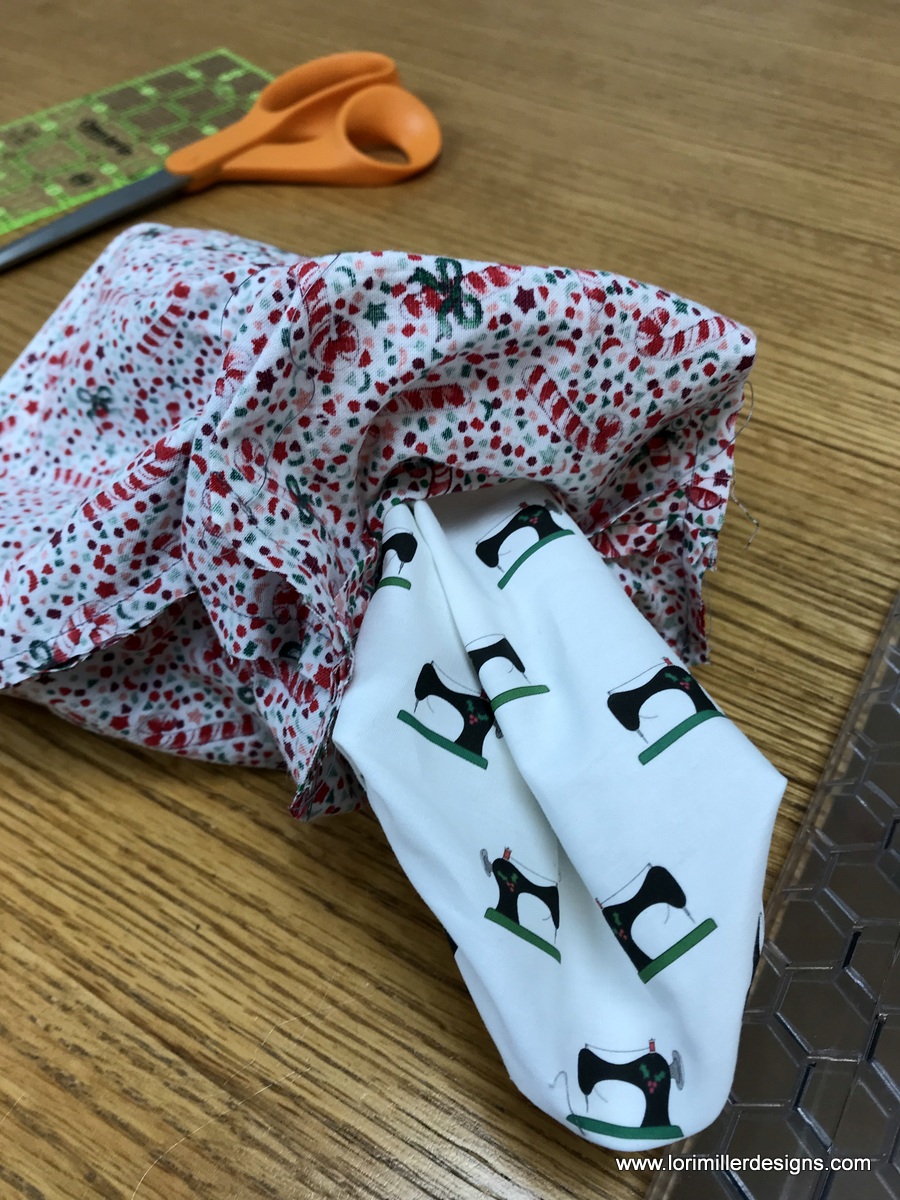
Next, I printed my cute holiday vintage sewing machines onto EQ Printable fabric sheets. I printed two of them and then used them as fabric to create this cute drawstring bag.
DIY Fabric Drawstring Bag
Finished size is approx 6″ x 3″ x 7″
Note: Read through directions first before sewing. Unless otherwise noted, use 1/4″ seam.
Materials
- 2 — 8 1/2″ x 11″ printed fabric sheets
- 2 — 8 1/2″ x 11″ fabric for lining
- 2 — 2 1/2″ x 8 1/2″ strips of fabric for casing
- 2 — 26″ pieces of ribbon for drawstring (1/2″ or less)
Directions
Sew Casing

- Make a 1/4″ double rolled hem on each of the short ends of the casings.

- Fold wrong sides together and stitch.

- Roll the seam to the back so it will be hidden on the back side of the casings and press.
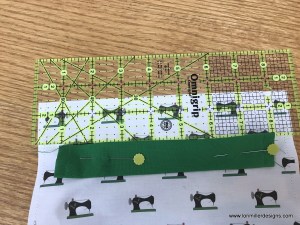
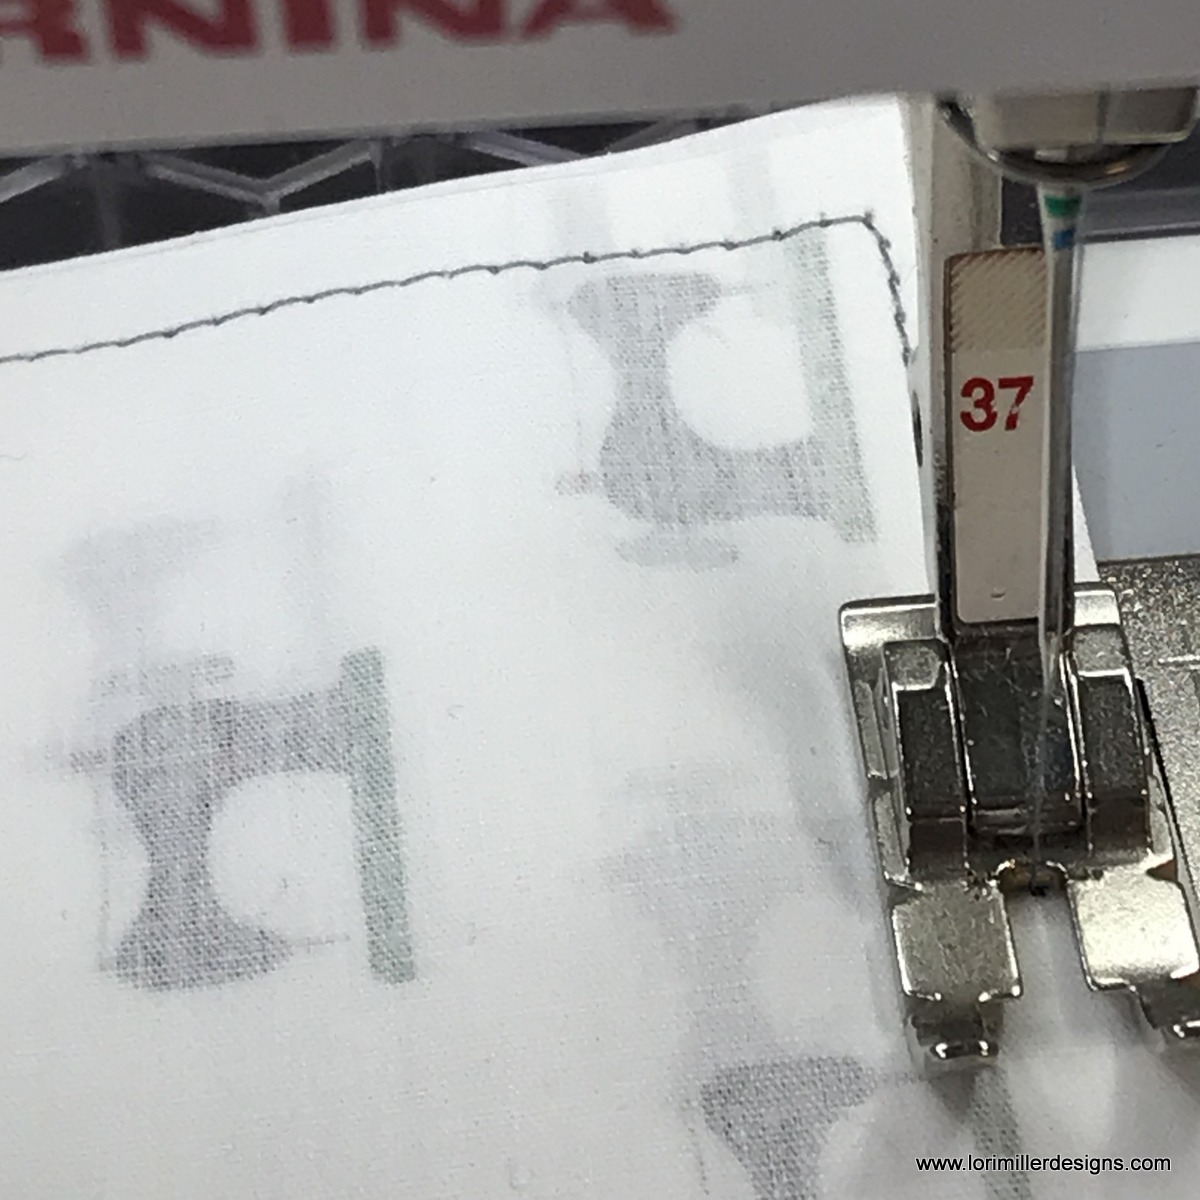
- Measure down 1 1/2″ from top of printed fabric and pin the casing down. Stitch very closely on the top and bottom to secure the casing. Backstitch at the beginning and end of your seam. Sew both casings.


Sew Bag
- With right sides together, stitch the sides and bottom of the bag.

- Cut a 1 1/2″ square from each bottom corner of the bag.

- Pinch the bag together to box the corner and stitch across.
- Place the lining pieces right sides together. Stitch the sides and bottom of the lining leaving a 2-3 inch opening in the bottom of the lining for turning.

- Box the corners of the lining in the same way as the outer bag.

- Leaving the lining the wrong side out, slip it over the bag aligning the top edges and seams.

- Stitch around the top. Pull the whole bag right side out through the opening in the lining. Stitch the hole in the lining closed.

- Tuck the lining into the bag. Top stitch around the top of the bag.

- Thread the ribbon through both casings. Start one from one side and the other from the opposite side. Knot the end of the ribbons to hold them.
- Pull the drawstring to close the bag.


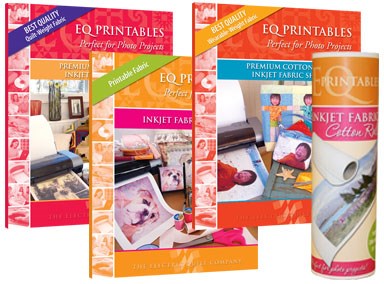
I used EQ Printables Inkjet Fabric Sheets. There are several types of fabric sheets to choose from. I really like them and I use them a lot for quilt labels. The fabric holds the color very well and is pretty soft to the touch when you wash it. You can get more information about them HERE.
Share pictures of your own DIY Wall Paper or Fabric! Tag me on Facebook or Instagram @lorimillerdesigns
Looking for the EQ8 Design Instructions? You can find them HERE!
For more projects and tips and techniques on using EQ8, visit my Electric Quilt blog series EQ8 Lessons with Lori.
For more information on EQ8, go to Electric Quilt 8 Software.