

Love is all around. The free tutorial for this month designed with EQ Mini Software by The Electric Quilt Company is a lovely, Sweetheart Zip Pouch. Yes, you can design lots of quilty things with EQ Mini, even a pouch! This uses a horizontal row quilt as a base but we sized it down to pouch size and added some half drop blocks with a center heart. The heart block is one of the free blocks that comes with EQ Mini. This generous pouch is sized 8″ x 11″ and is ready for you to fill with all your Valentine goodies. A whole bag of chocolate would fit in there! The zipper is super easy to put in too, I promise.
EQ Mini is the new scaled down, simpler version of EQ7 quilt design software. This program was created for quilters who are just getting started using software for quilt design. EQ Mini will help you create, edit, share, and print patterns and yardage for your quilt designs.
Sweetheart Quilted Zip Pouch
Finished size is 8″ x 11″.
Materials
- 1/4 yd dark pink print
- 1/8 yd of light pink print
- 1/4 yd of grey background fabric
- 3/8 yd Lining fabric
- 3/8 yd batting
- 12″ zipper
Directions
Cut Fabric:
Light Pink
- 2 — 2 1/2″ x 3 3/4″ rectangle (A)
- 2 — 1 1/2″ x 5 3/4″ strip (C)
- 2 — 1 ” x 2″ zipper tab pieces
Dark Pink
- 4 — 1 1/2″ x 5 3/4″ strip (B)
- 2 — 2″ x 12 1/2″ strips (G)
- 1 — 6″ x 12 1/2″ rectangle (H)
Grey Background
- 2 — 5 ” square (D)
- 2 — 5″ square (E)
- 4 — 3 1/2″ x 6 1/2″ rectangles (F)
Muslin
- 1 — 13″ x 21″ rectangle
Lining
- 2 — 12 1/2″ x 10 1/2″ rectangles
Piece the outside of the pouch
Hint: Because you need to match seams, be sure to keep an accurate 1/4″ seam allowance.
- Subcut the 5″ background squares (D), diagonally into quarters.
- Subcut the 3″ background squares (E), diagonally in half.

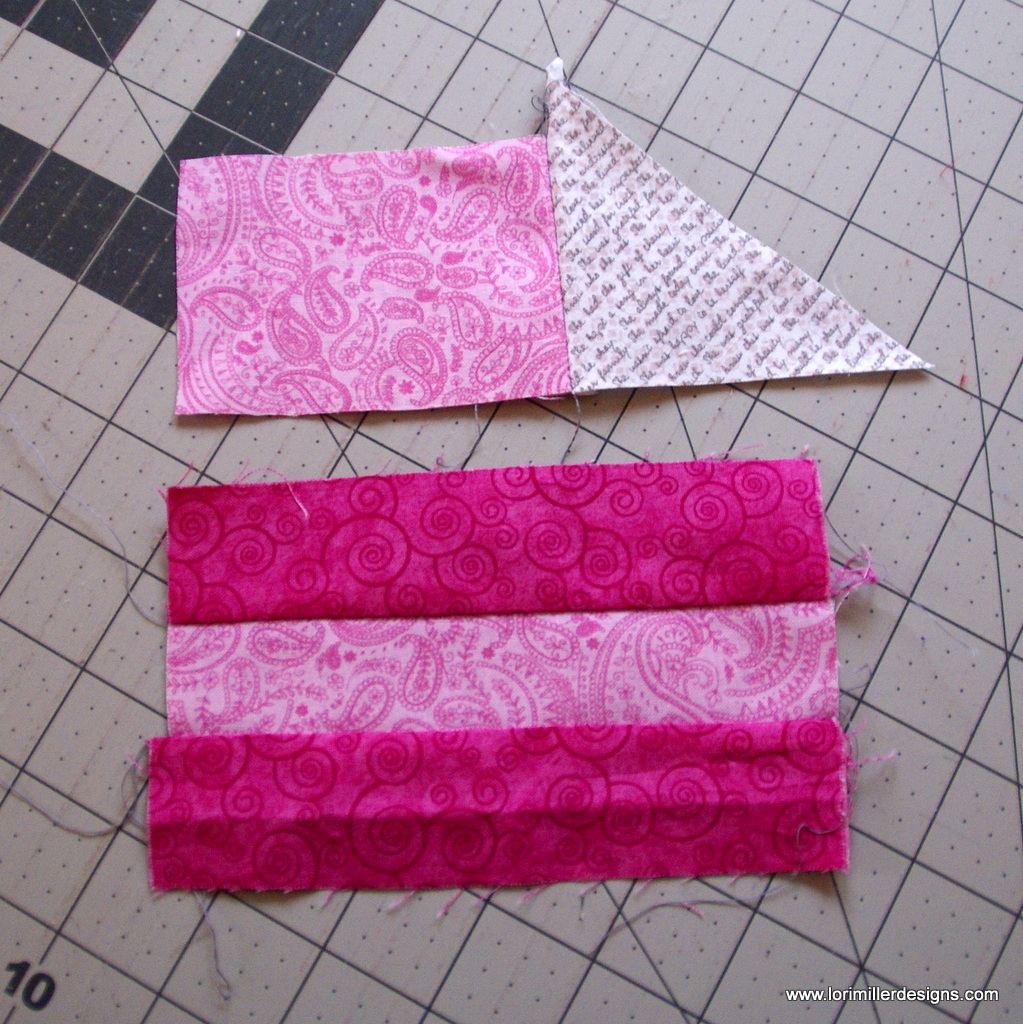
- Sew the quarter (D) Triangle to the right side of the light pink rectangle(A).
- Sew the light pink strip (C) in the center of each dark pink strip (B).

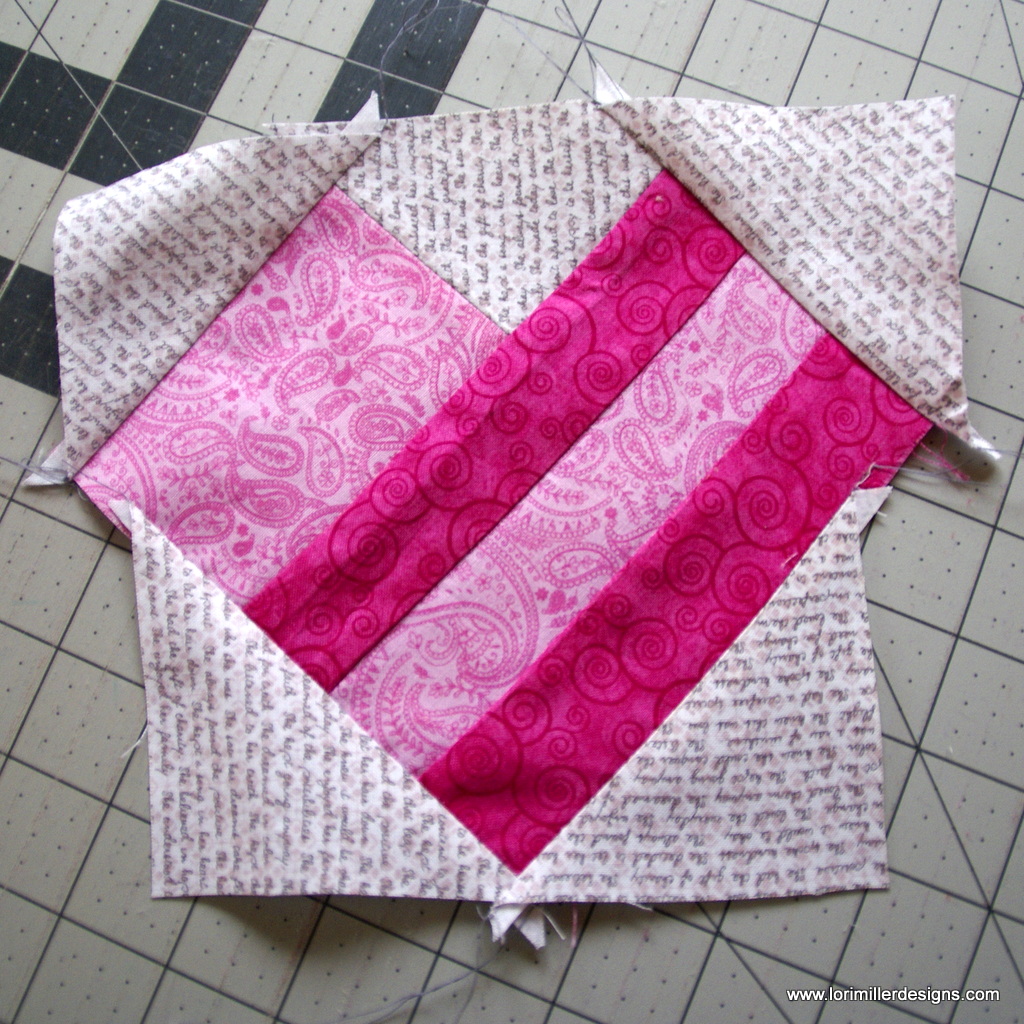
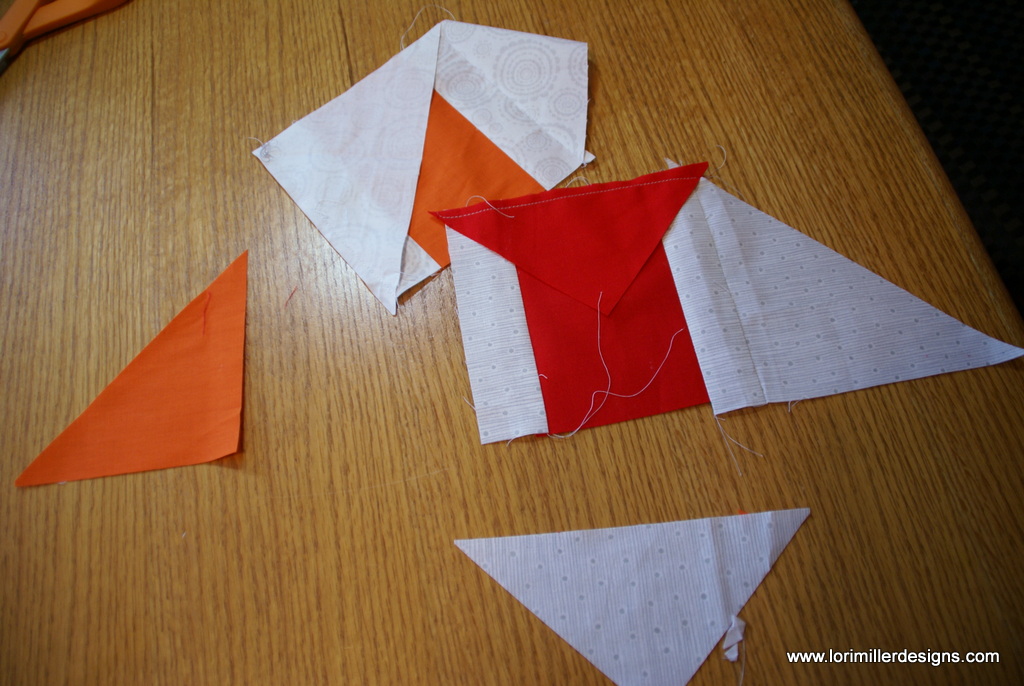
- Attach the top of the heart to the bottom of the heart keeping the left sides even.
- Sew the background triangles (E) to each side of the bottom of the heart. Be sure to overlap at the bottom point so that you have a 1/4″ seam allowance.

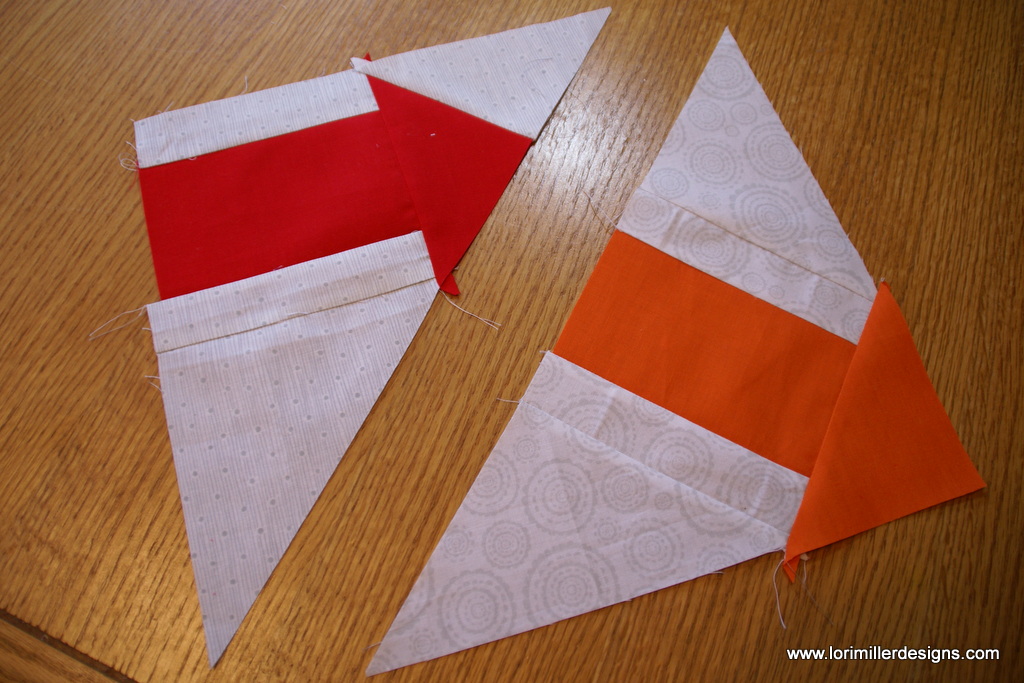
- Now sew two of the remaining background triangle (D) pieces to the top right and left sides of the heart. Start stitching at the top points of the heart. Press. Discard leftover piece.

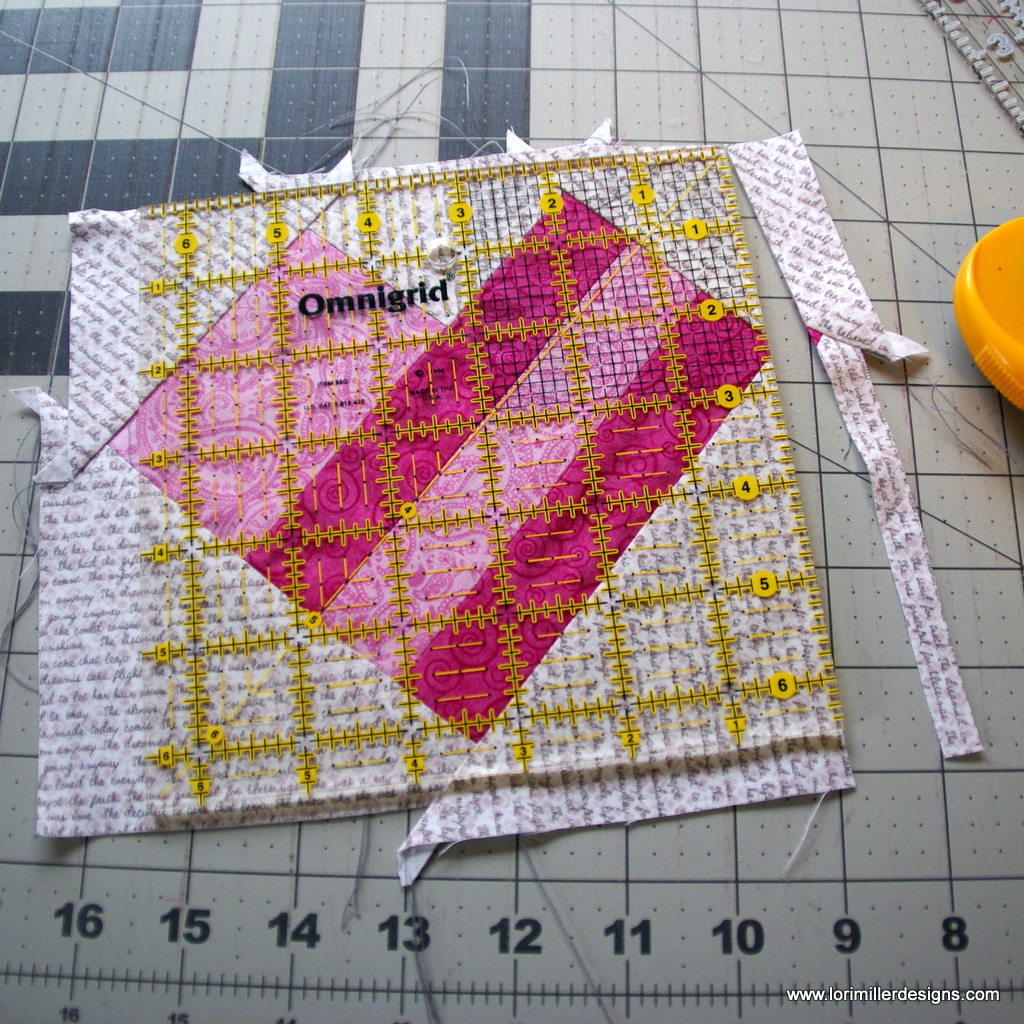
- Center and trim the heart block to 6 1/2″ square.
- Make the second heart block.

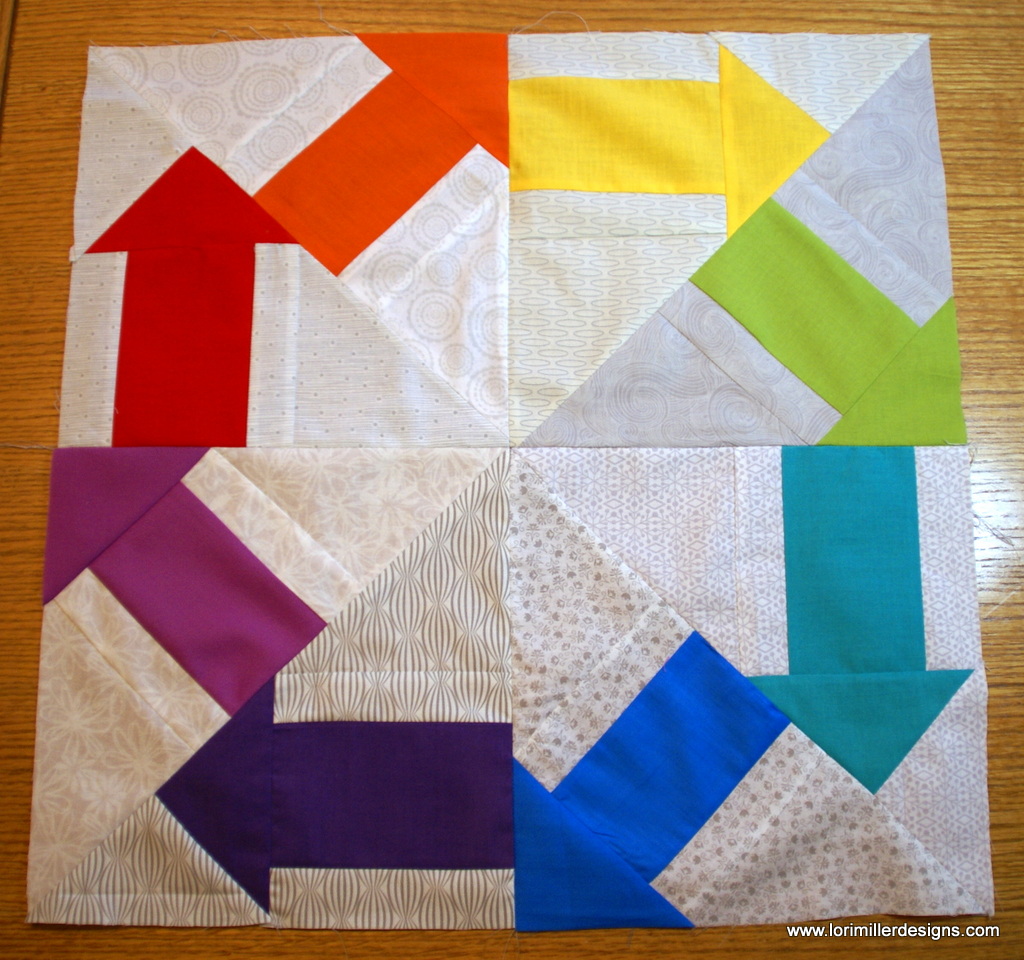
- Sew a background rectangle (f) to each side of the heart.
- Sew one dark pink strip (G) to the top of each block.
- Sew the dark pink rectangle (H) to the bottom of one heart block.
- Sew the bottom of the other heart block to the other side of the dark pink rectangle (H). One heart is facing up, one is facing down.

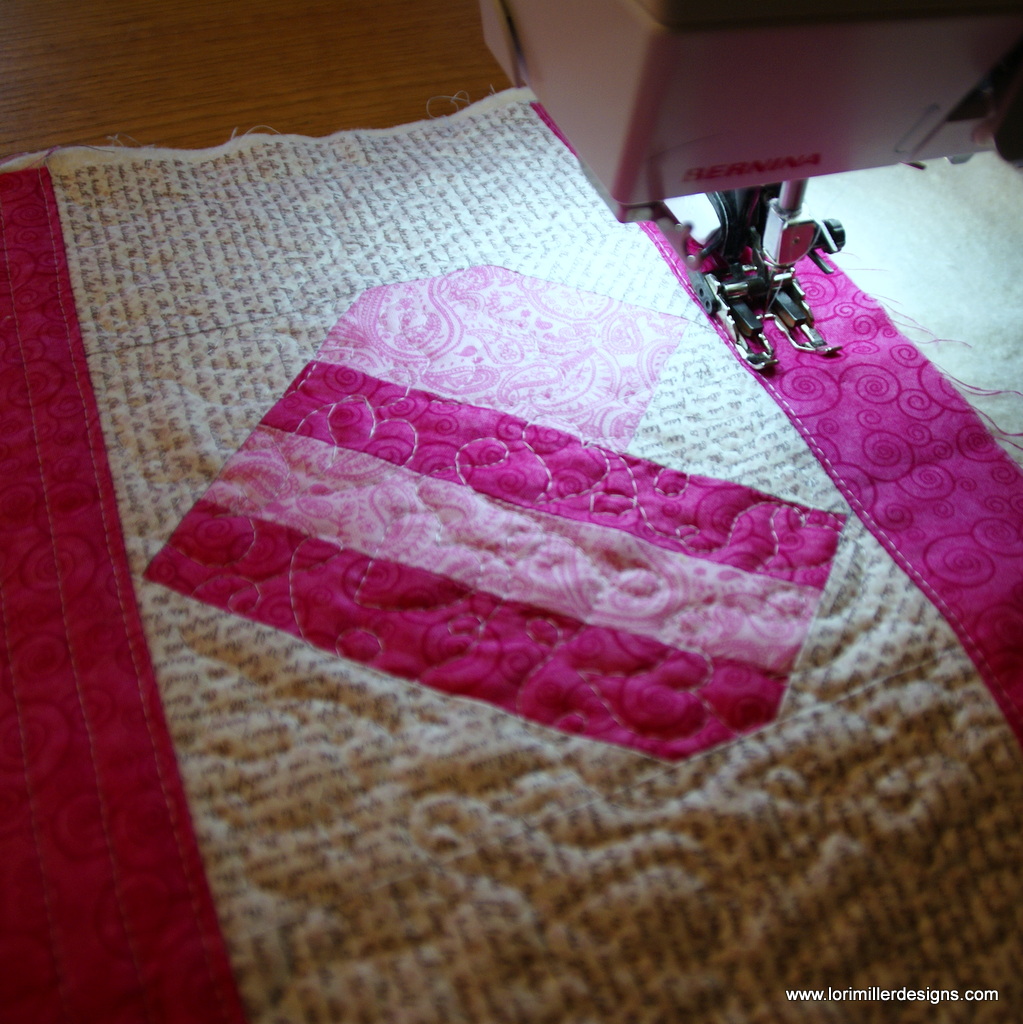
Quilt the outside of the Pouch
- Make a quilt sandwich with the muslin on the bottom, then the batting, then your pieced pouch top face up.
- Pin baste the quilt layers together.

- Quilt as desired. Trim excess batting and muslin.
- Carefully cut the quilted piece in half to make two – 12 1/2″ x 10 1/2″ pieces.

- From the bottoms of the outside pouch pieces and the lining pieces, cut a square out of each corner that is 1 1/2″ high x 1 1/2″ wide.

Finish the pouch
- Fold each 1″ x 2″ zipper tab in half matching the short ends, with wrong sides together, so the tabs measure 1″ x 1″. Press.

- Move zipper pull to center of zipper. Using a ruler or cutting mat, align the tabs as shown.
- Open the tab and sew on the center fold through the tab and zipper, ensuring the zipper teeth at the open end are aligned together. Backstitch again across the center through the zipper teeth to secure. Repeat on the other end of the zipper ensuring the tab placement and measurements.
- Trim off any excess zipper leaving 1/4″ seam allowance. Zipper and fabric tabs should measure 12 1/2″ long.
- Open the zipper half way.

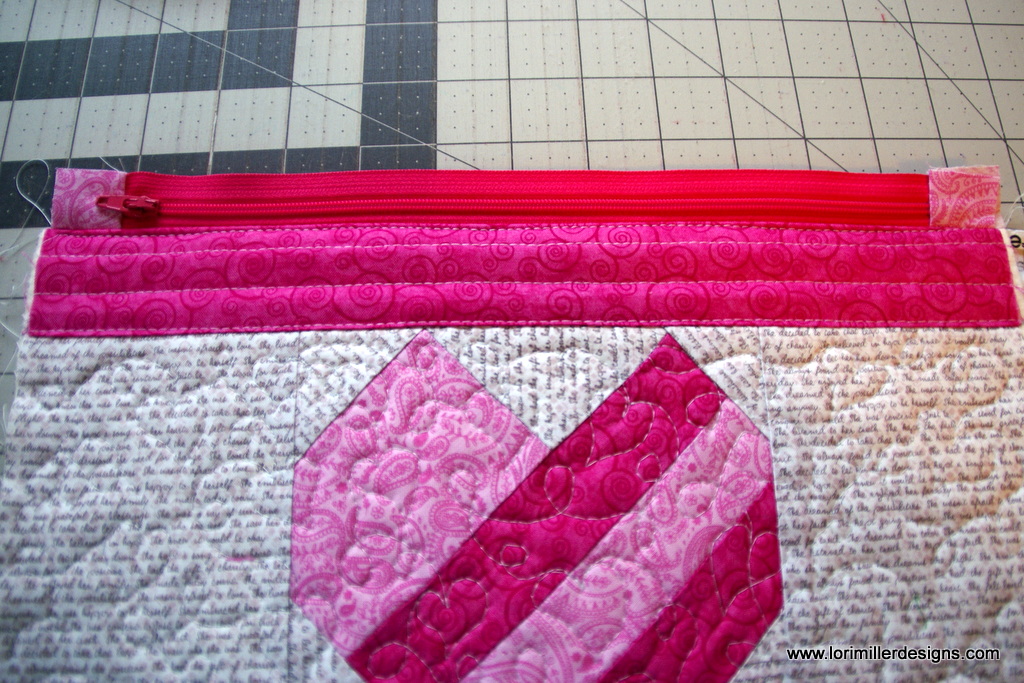
- Place the zipper face down, right sides together, along the top edge a heart section. Align the ends and the top of the zipper.

- Layer a lining piece, right side down over the zipper and pin all three layers in place.
- Using a zipper foot, stitch approximately 1/4″ from the edge of the zipper. When you get to the zipper pull, stop with the needle down in the fabric. Lift up the presser foot and gently open or close the zipper to move the zipper pull out of the way to continue sewing across the top of the pouch.

- Open the zipper seam and press pouch and lining away from zipper. Top stitch through all layers of fabric close to the zipper.
- Repeat for the other side of the zipper.
- Open the zipper all the way so you will be able to turn the pouch right side out.
- Open the pouch and match the quilted heart sections and lining sections, right sides together.
- Pushing the zipper to the lining side, stitch the sides of the pouch and lining. Stitch the bottom of the pouch. Stitch the bottom of the lining leaving a 3-4 inch opening for turning.
- Pinch the bag and lining corners aligning the seams and stitch across the opening to box the corners.
- Turn the bag right side out with the lining hanging out. Tuck in the raw edges and stitch the lining closed.
- Tuck the lining inside the bag and you are finished.


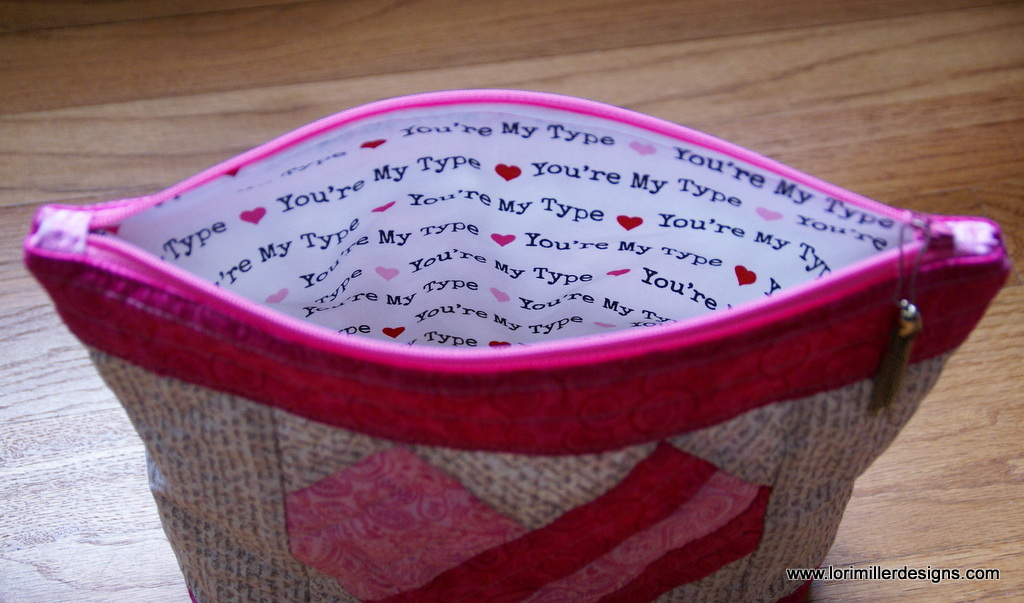 Here you can see the fun fabric I used for the inside lining. It was in the bargain bin off season and I snapped it up. I think it is perfect for this little zip pouch.
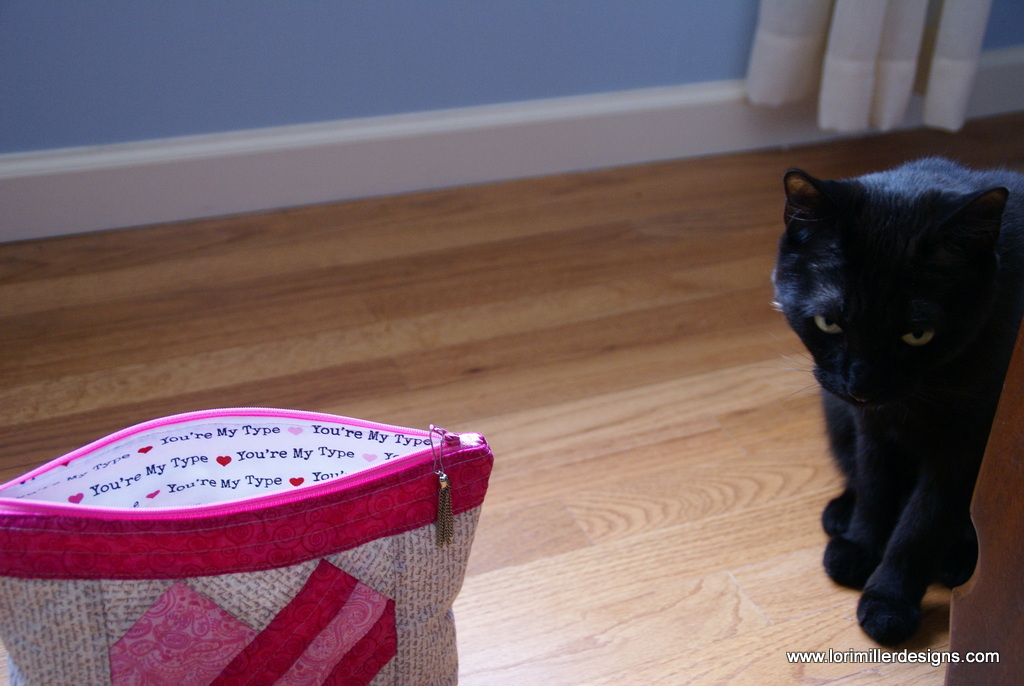
Oreo decided to direct the photo shoot. He is pretty demanding.
Variation Suggestions

- Use traditional red and white with a pink accent.
- Try using sweet valentine seasonal prints and fill them with sweet treats and goodies.
This Sweetheart quilted Zip Pouch is so versatile. It would certainly make the perfect gift for a dear friend or family member. I would love to see your Sweetheart Pouch, tag me on instagram @lormillerdesigns.
Looking for the EQ Mini Design Instructions? You can find them HERE.
For more projects and tips and techniques on using EQ Mini, visit my Electric Quilt blog series EQ Mini Friday Fun.
For more information on EQ Mini software, go to EQ Mini.


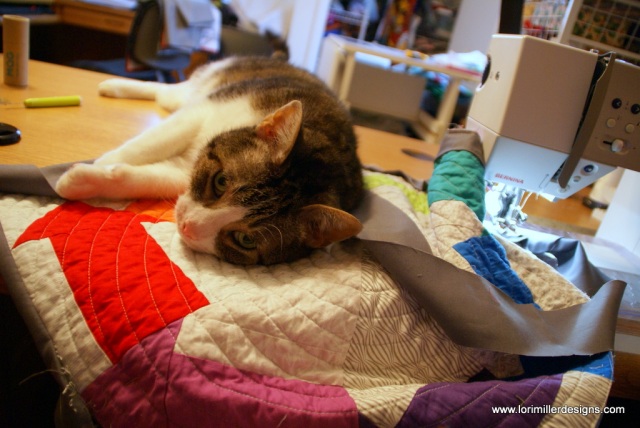 This is why it took me a long time to spiral quilt this pillow. Oh Cookie cat!
