
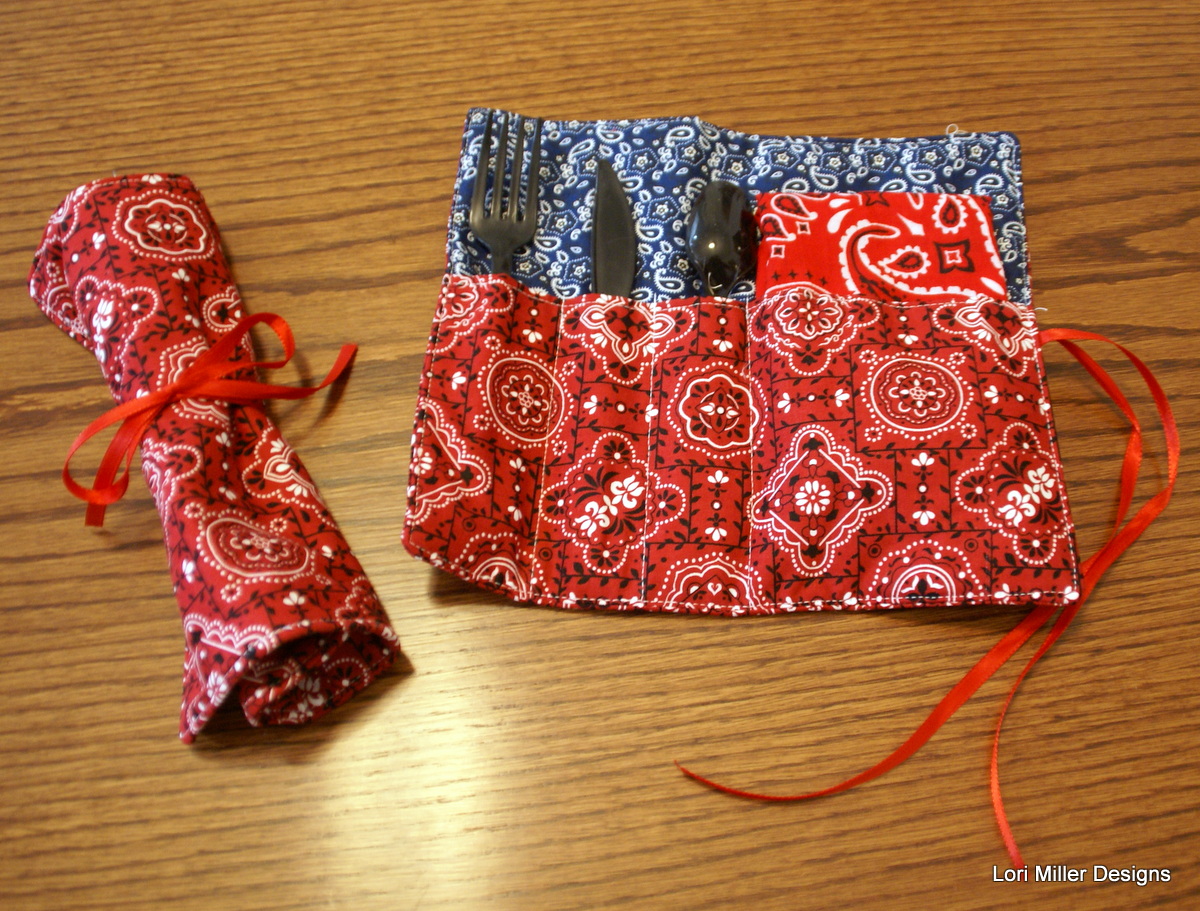
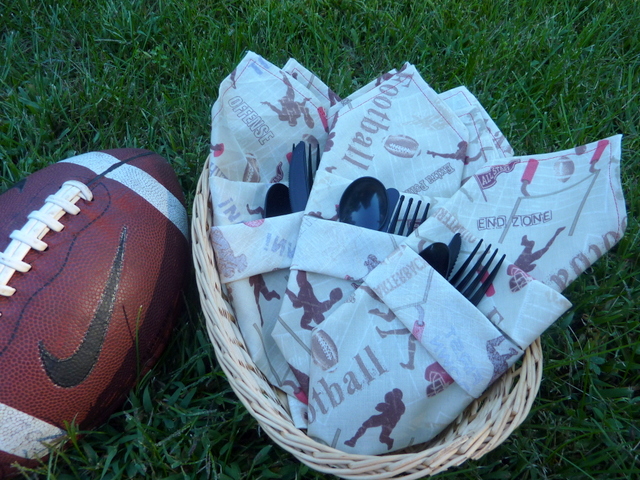
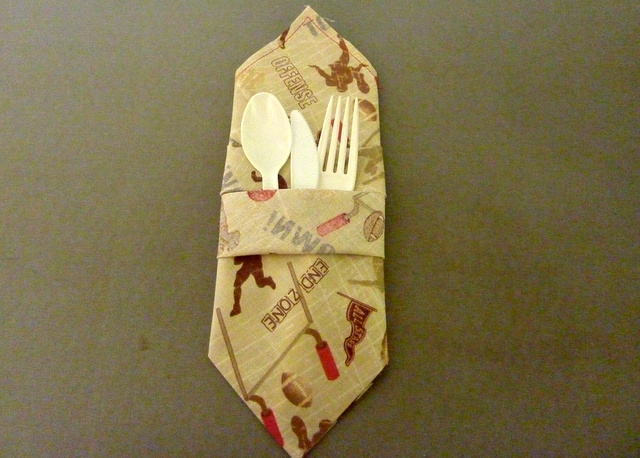
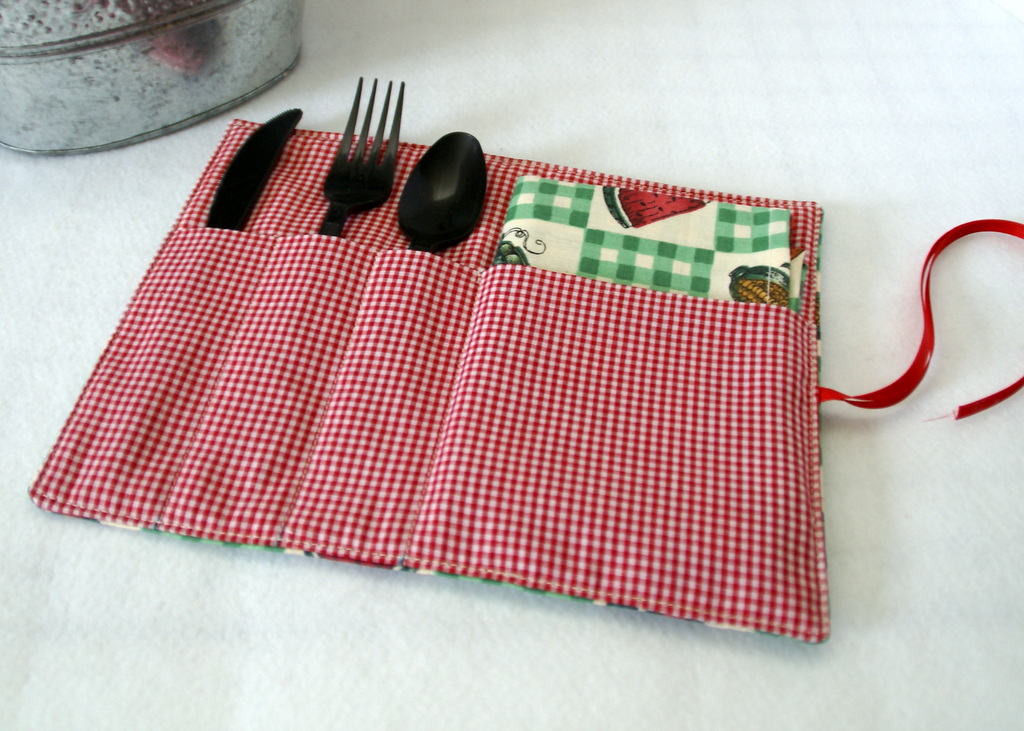
I first introduced these handy little silverware rolls back in 2015. They are such a great project that I have revisited the pattern and updated the design. They are still great for picnics, family reunions and bbq’s, or just throw them in the car when you grab some take out and go to the park.
They are sized perfectly to fit plastic or regular silverware and a napkin. Make one or tuck in a paper napkin, they all work well.
These stitch up so fast that you will want to make several and give some away. My quilt guild used to hold holiday potlucks and these made perfect gifts for my quilty friends for those dinners. I love that you can just wash them up, refill and use again and again.
Materials Needed:
This will make 4 silverware rolls.
- 5/8 yd red print fabric for outside and pocket
- 3/8 yd blue print fabric for lining
- 3/8 yd of batting
- 1/4 yd Medium Weight iron-on interfacing
- 3-4 yards of coordinating ribbon
- Coordinating thread
Directions:
Cut
For each silverware roll (Make 4)
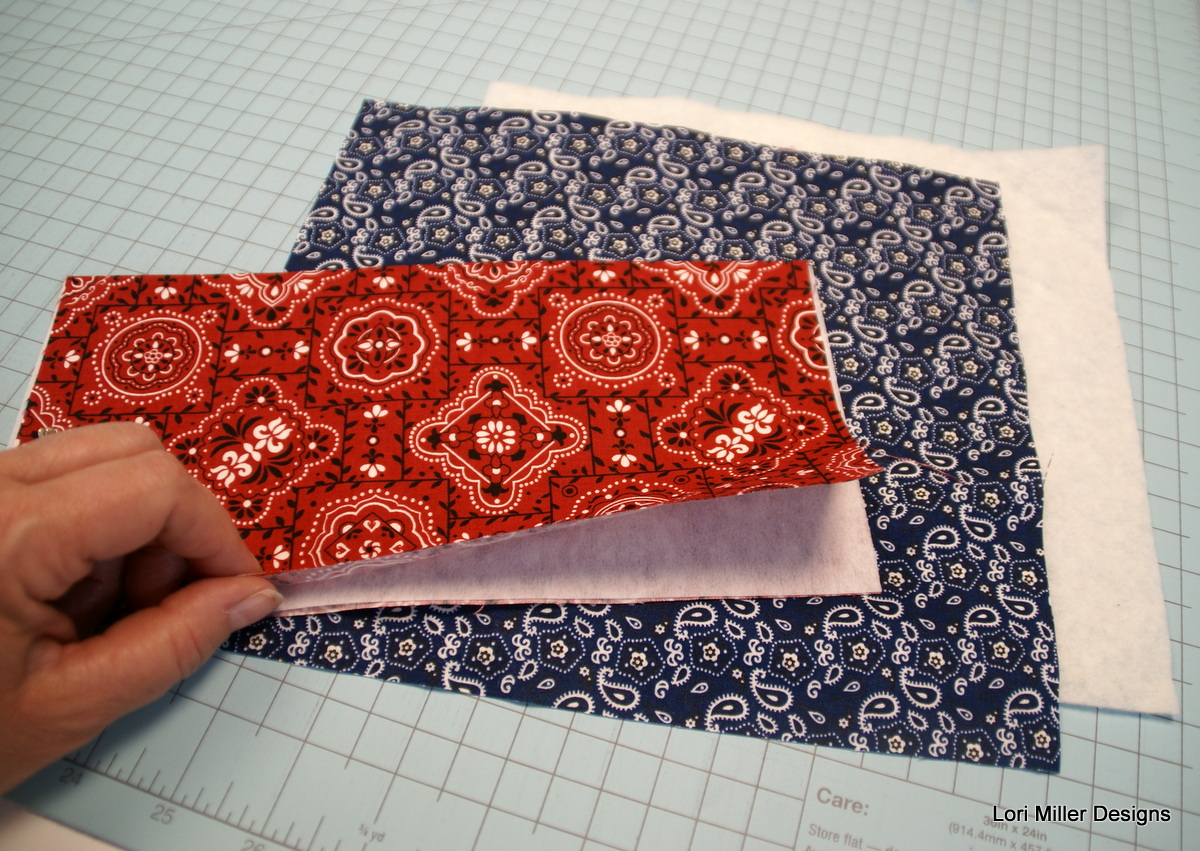
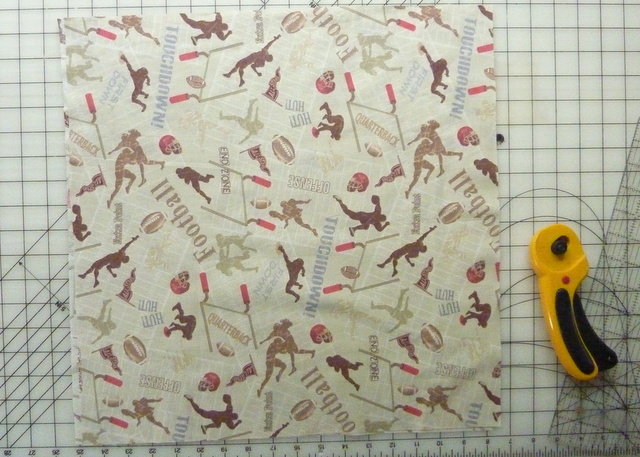
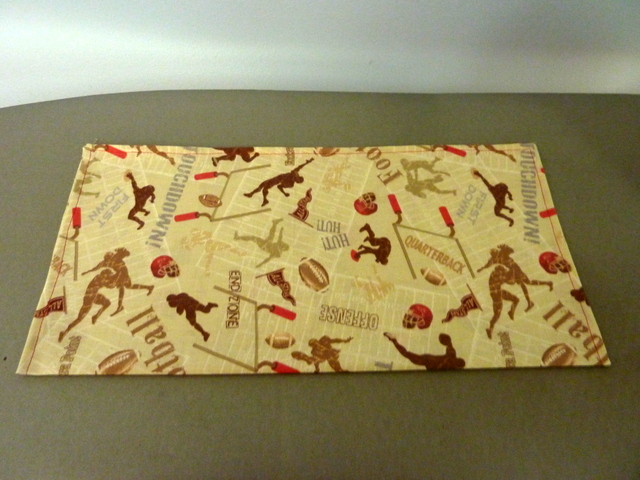
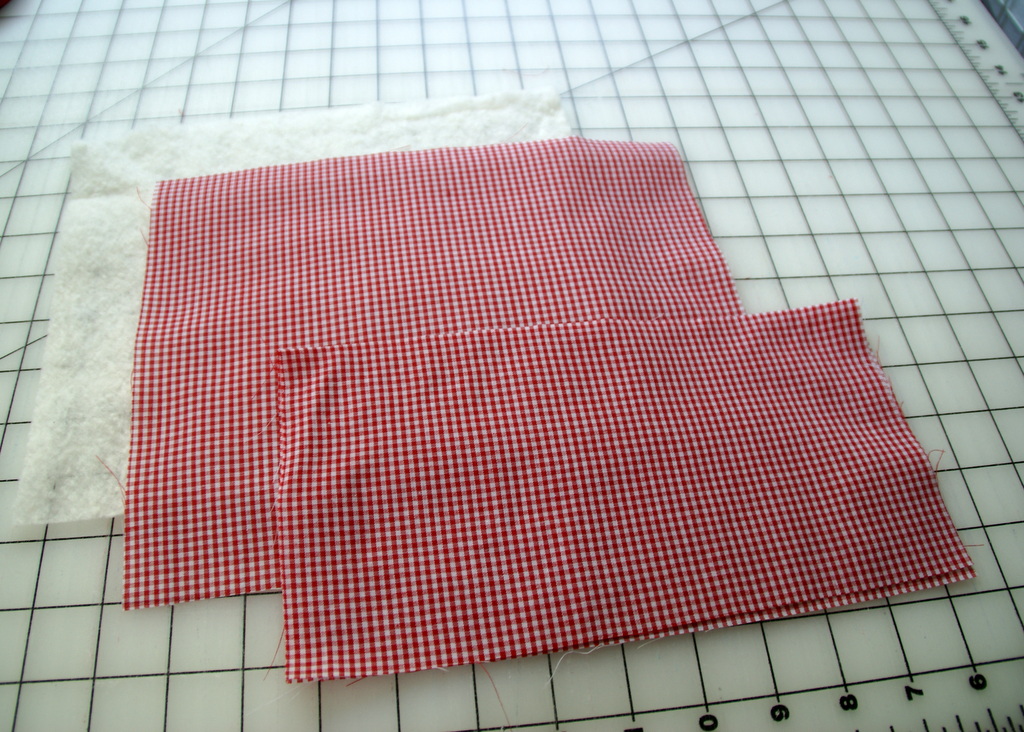
- 1 — 9″ x 10″ rectangle of red print fabric for outside
- 1 — 9″ x 10″ rectangle of batting
- 1 — 9″ x 10″ rectangle of blue print fabric for lining
- 1 — 10″ x 10″ rectangle of red print fabric for pocket
- 1 – 4 1/2″ x 10″ rectangle of interfacing
- 22″ of ribbon for the tie
Stitch
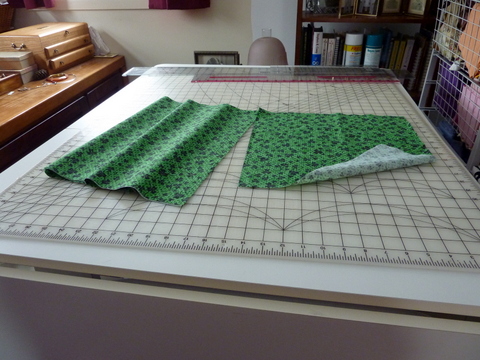
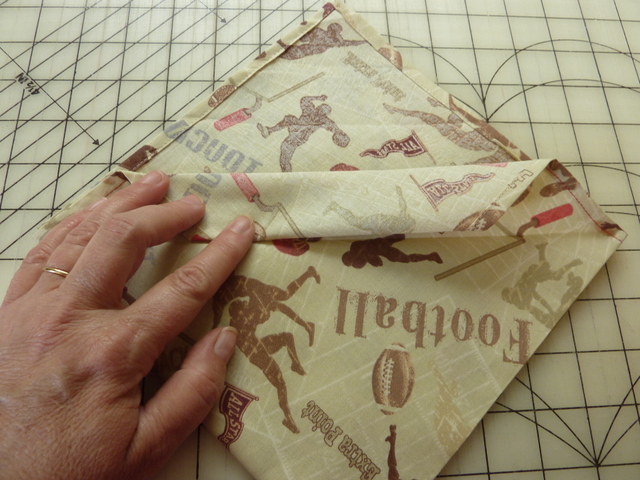
- Take the 10″ x 10″ pocket and fold in half and press flat.
- Place the strip of interfacing inside and press.
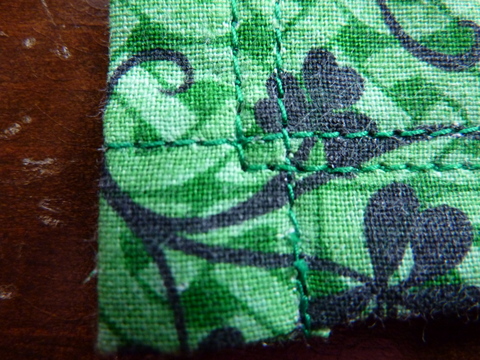
- Top stitch the top of the pocket at the fold stitching two lines, 1/8″ and 3/8″ away from the fold.
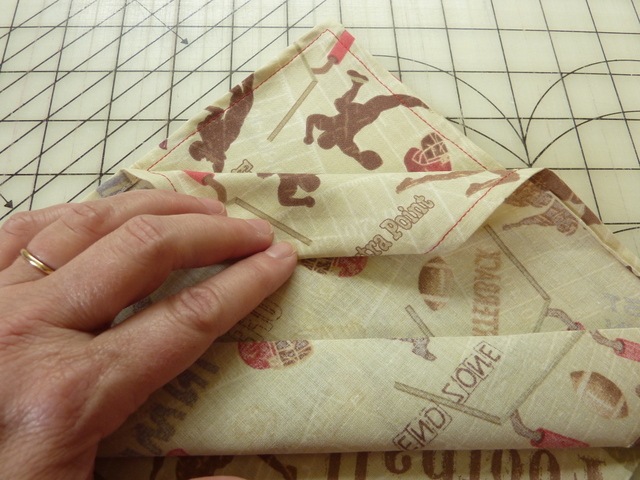
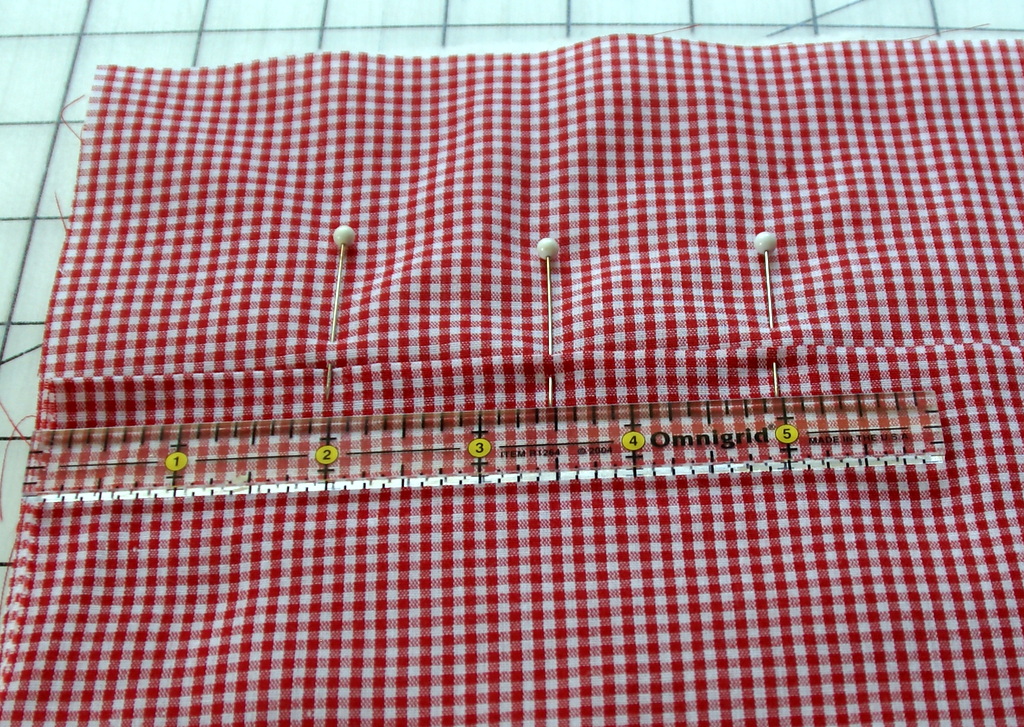
- Layer the batting, the lining and the pocket all facing up as shown.
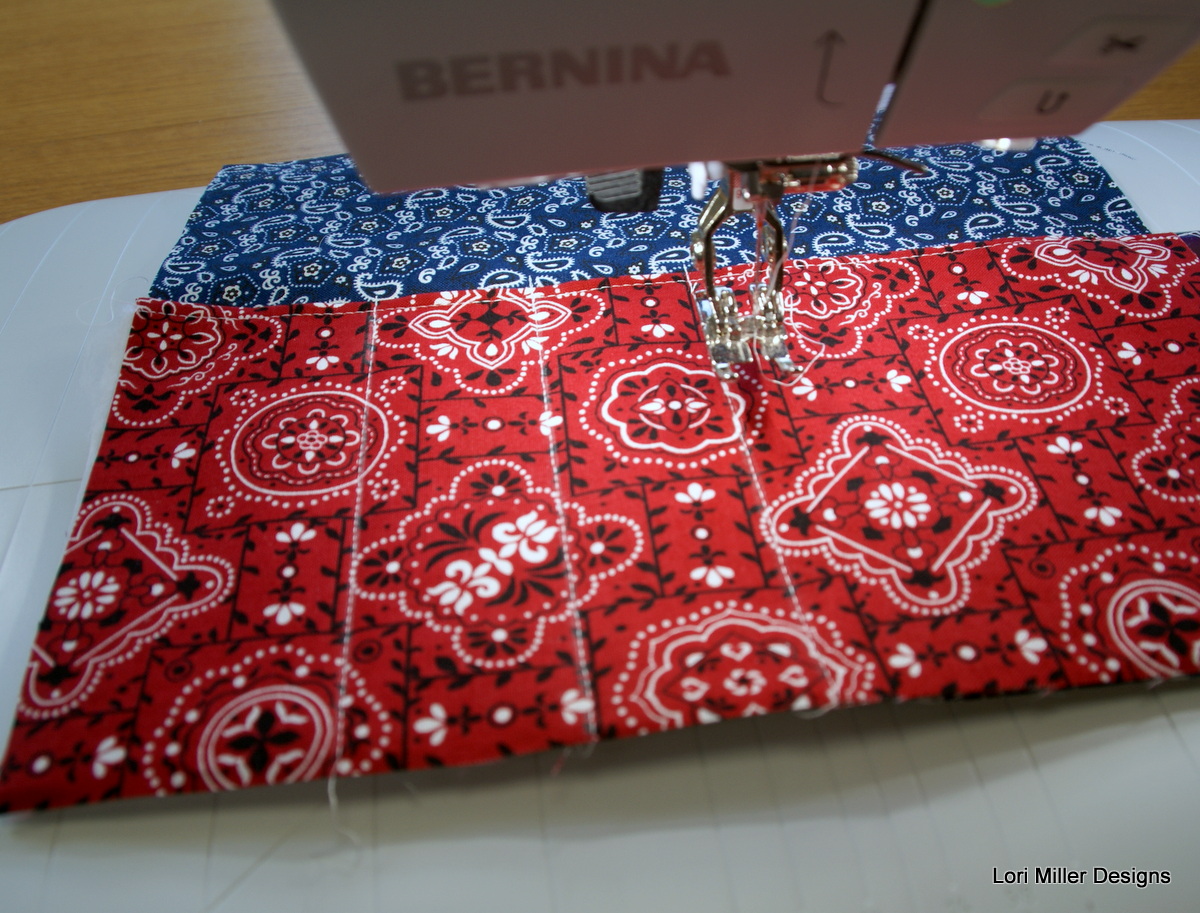
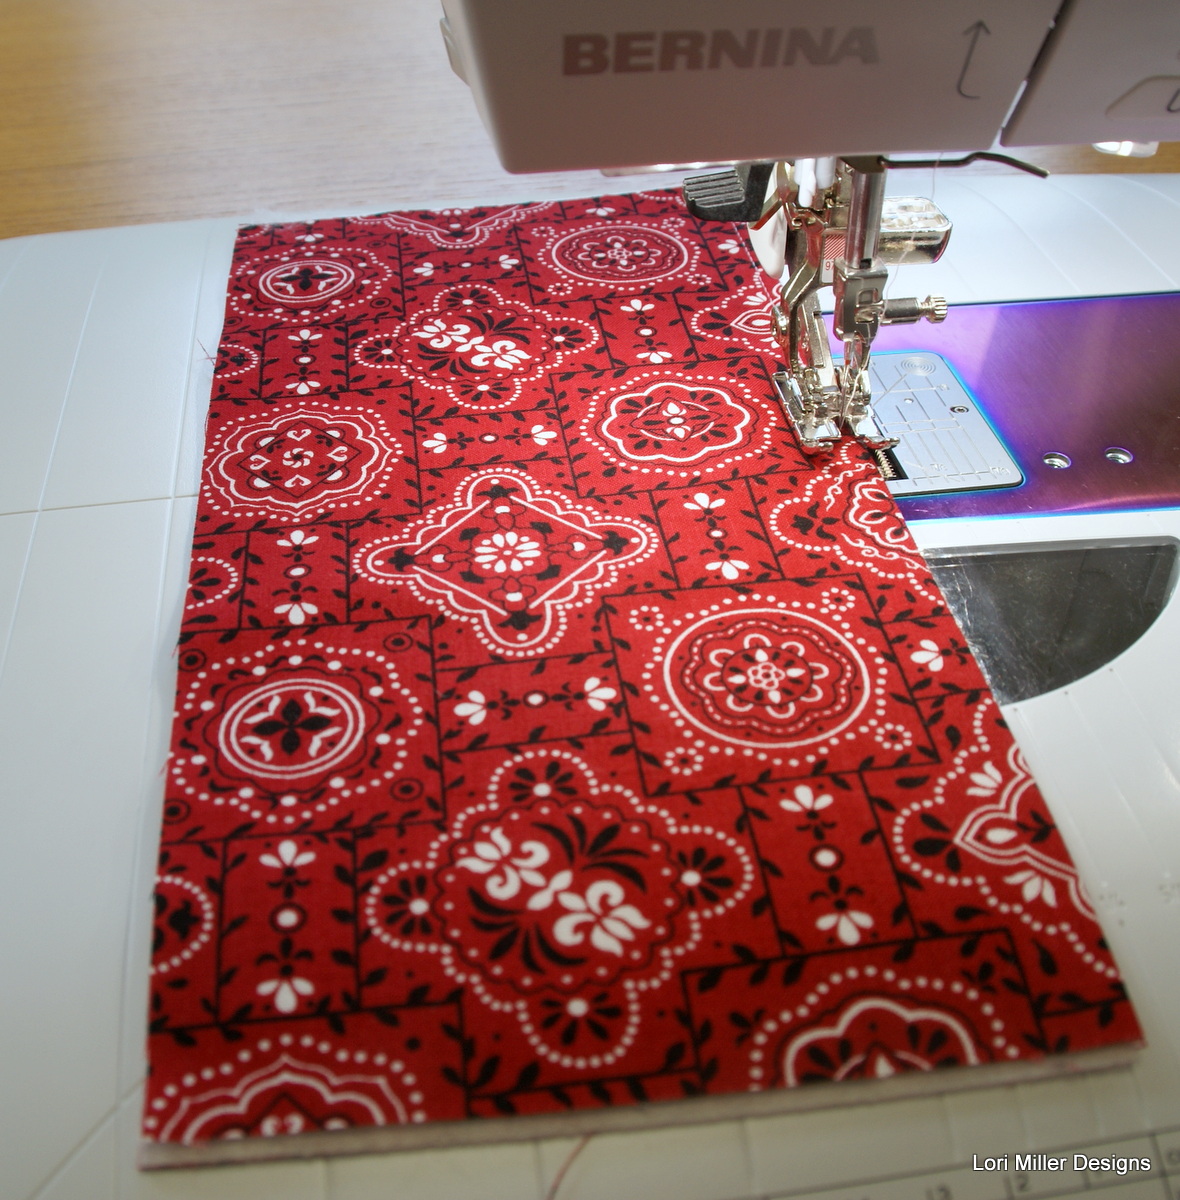
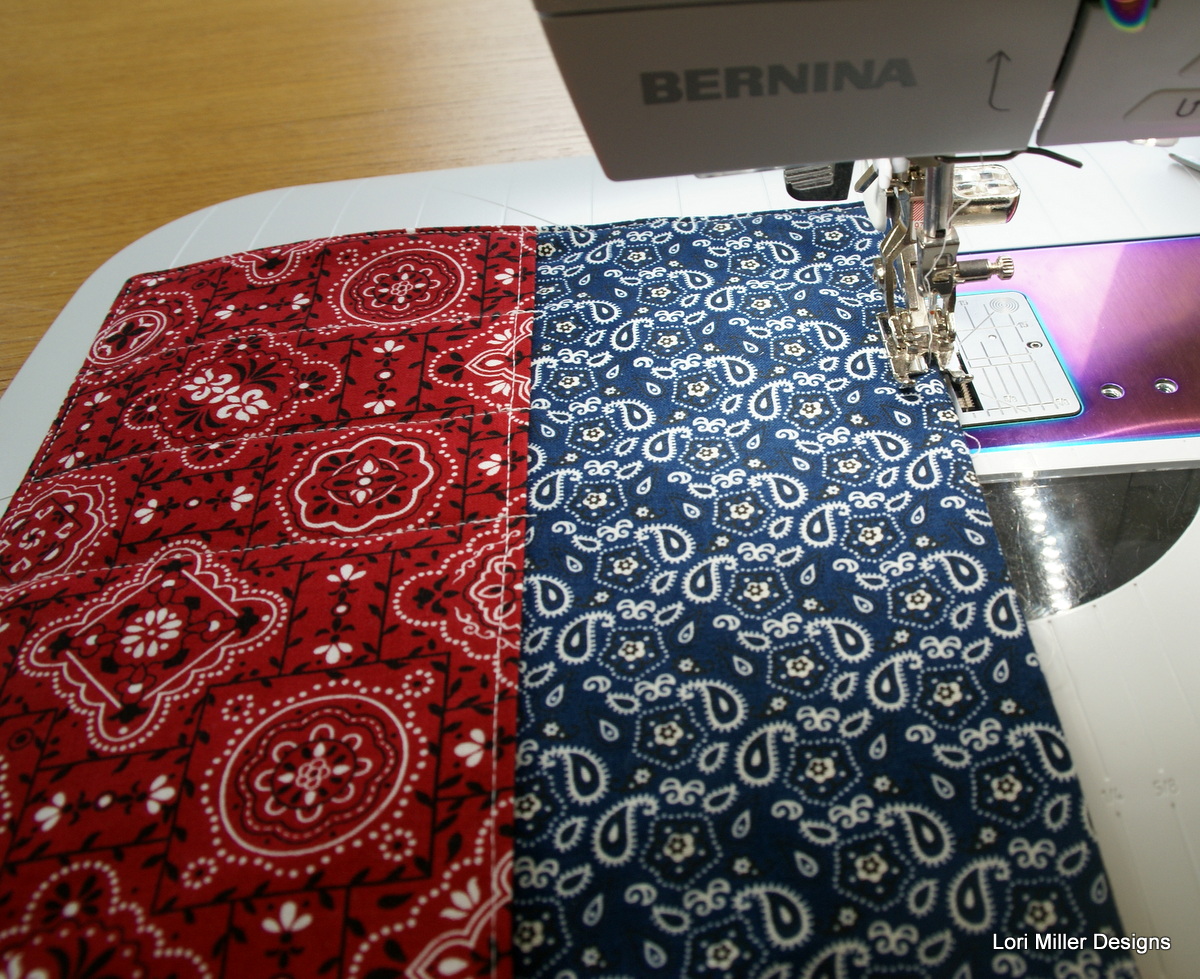
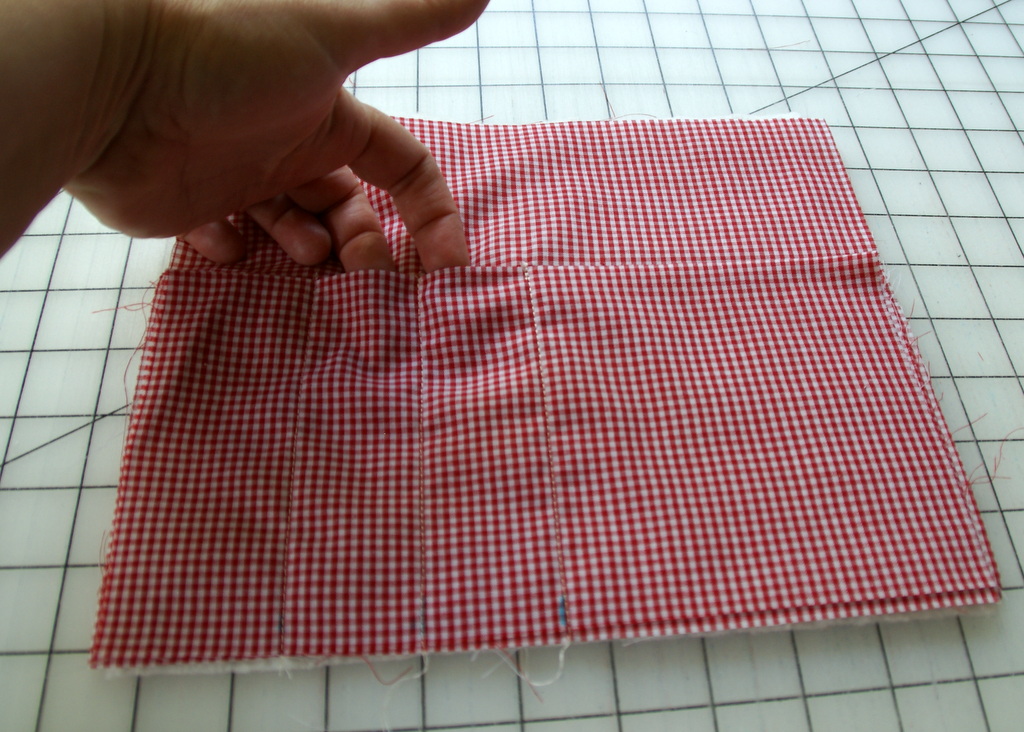
- From the left side of the pocket, measure 2 inches, 3 1/2″ and 5″ at the top and bottom of the pocket. These will mark the stitch lines to make the channels for the silverware.
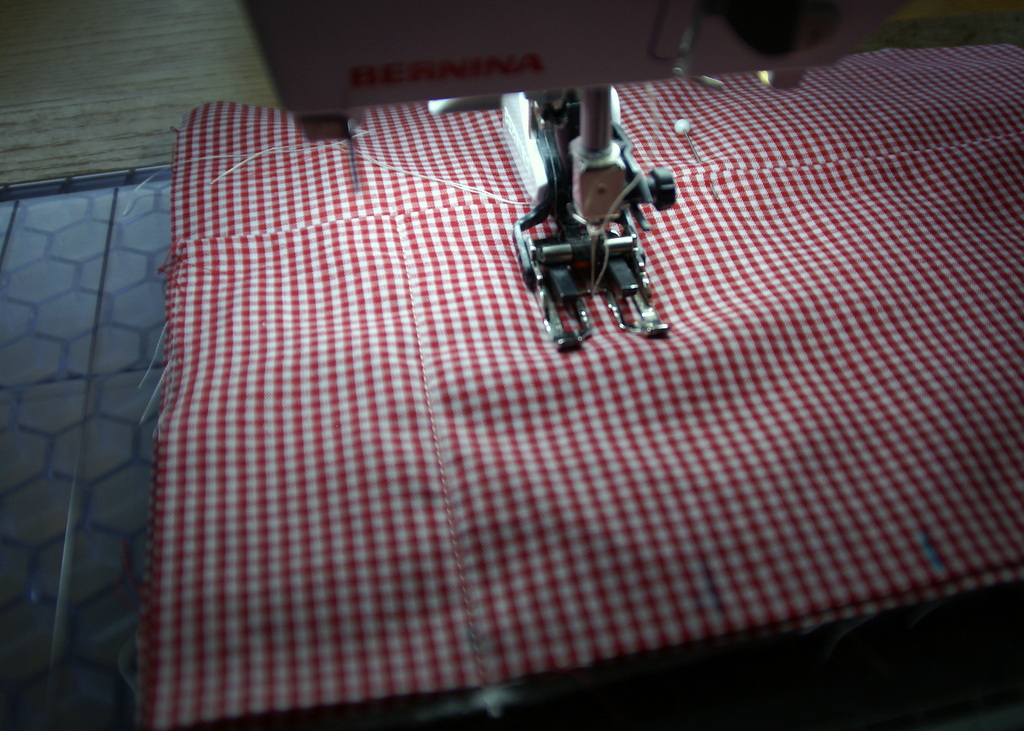
- Stitch down from the markings on the pocket to make the silverware channels. You will have three stitch lines. Do a couple of back stitches at the top to secure the channels.
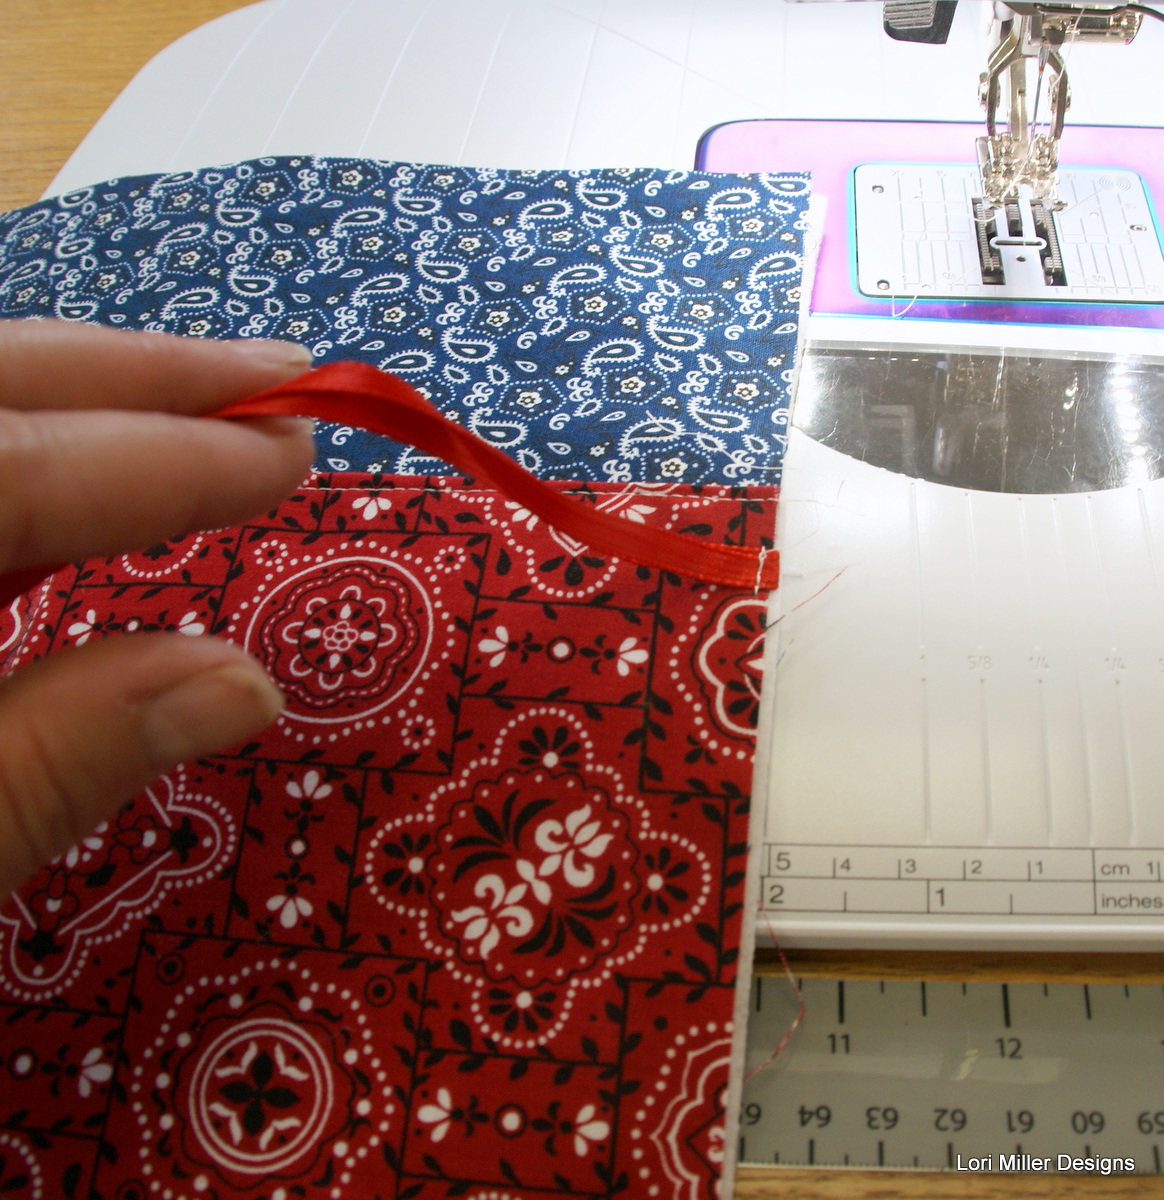
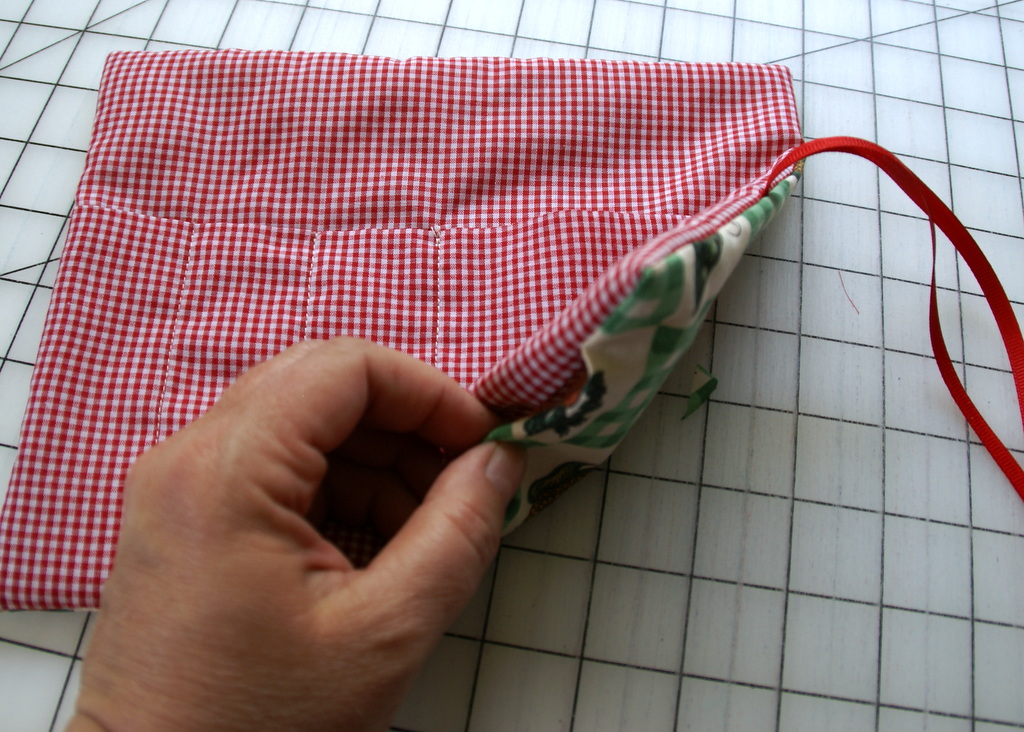
- Next, take your 22 inch ribbon and fold almost in half leaving one end about one inch longer than the other. Pin the ribbon flat on the right side of the pocket about halfway down the side of the roll. Make sure that you will catch the ribbon when you stitch the side seam. Tuck the ends out of the way so that you do not catch them in the side seams.
- Layer the rectangle from the print fabric over the pocket, right sides together and pin in place.
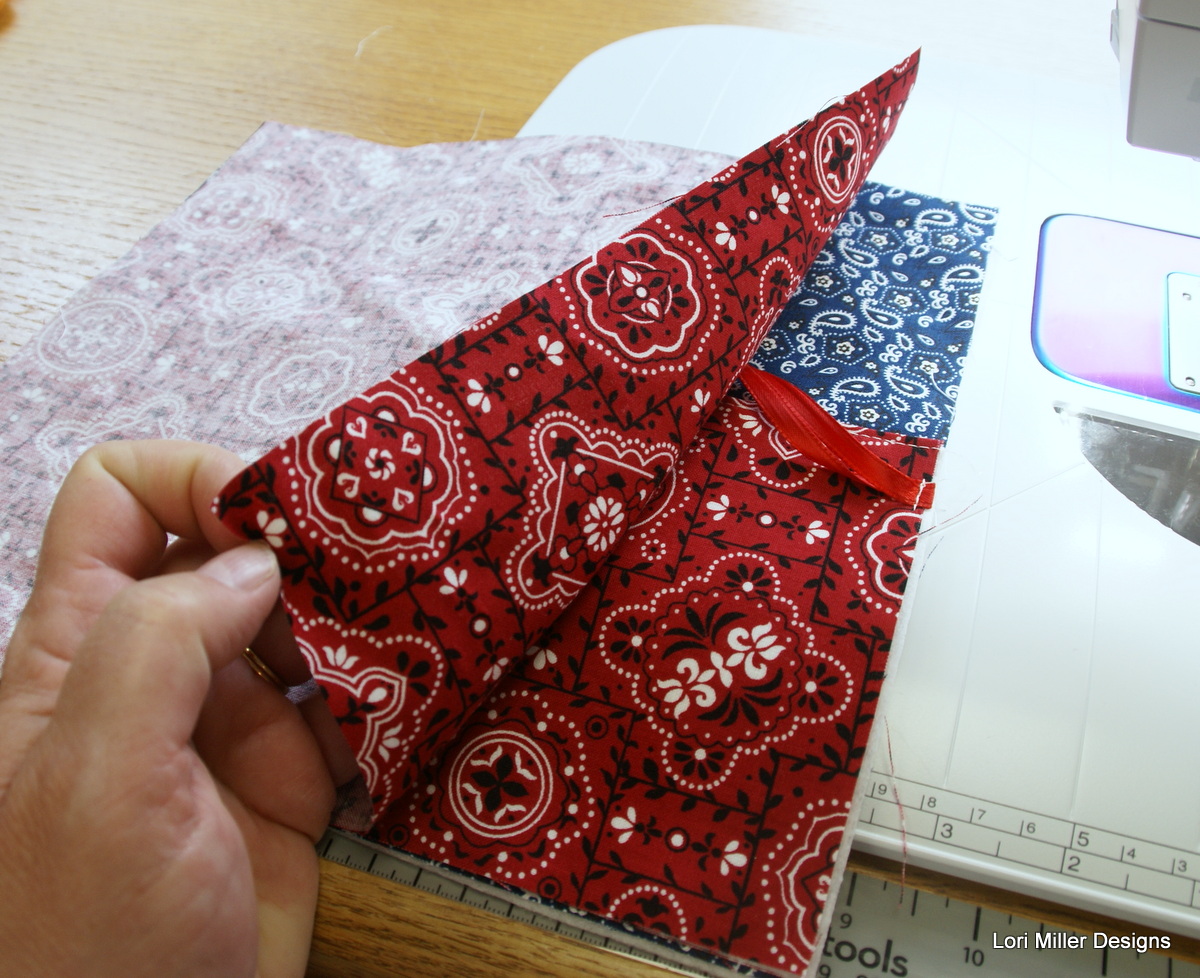
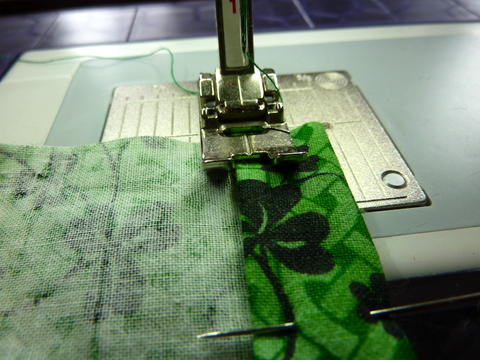
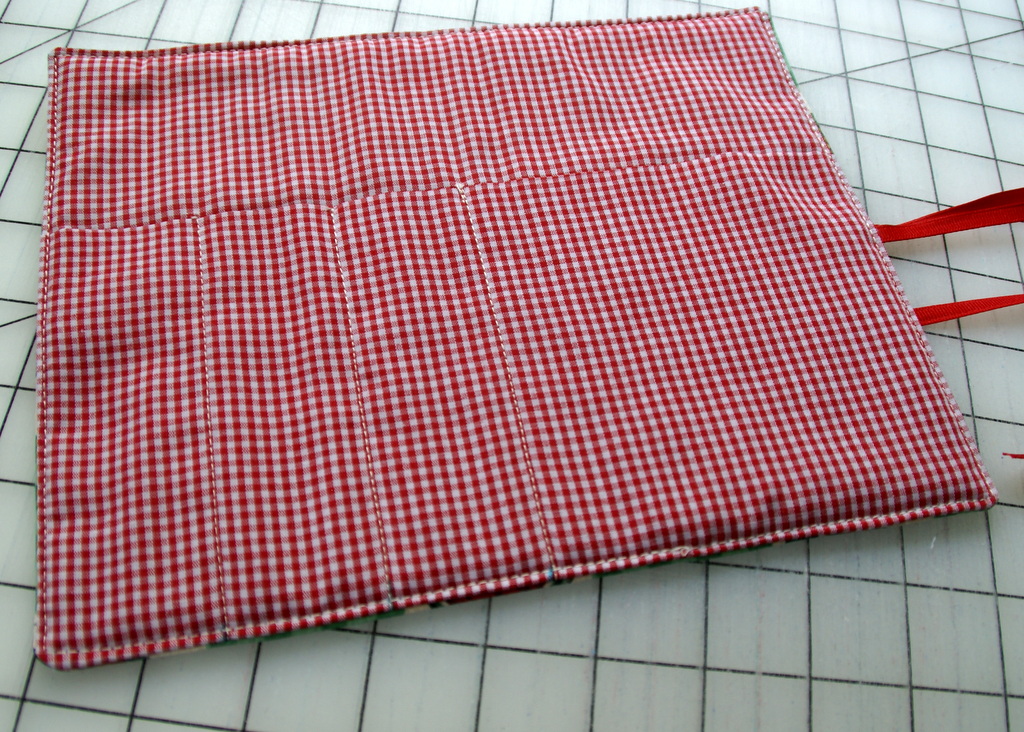
- With a 1/4″ seam, stitch all the way around the roll leaving an opening for turning on the bottom. Clip corners.
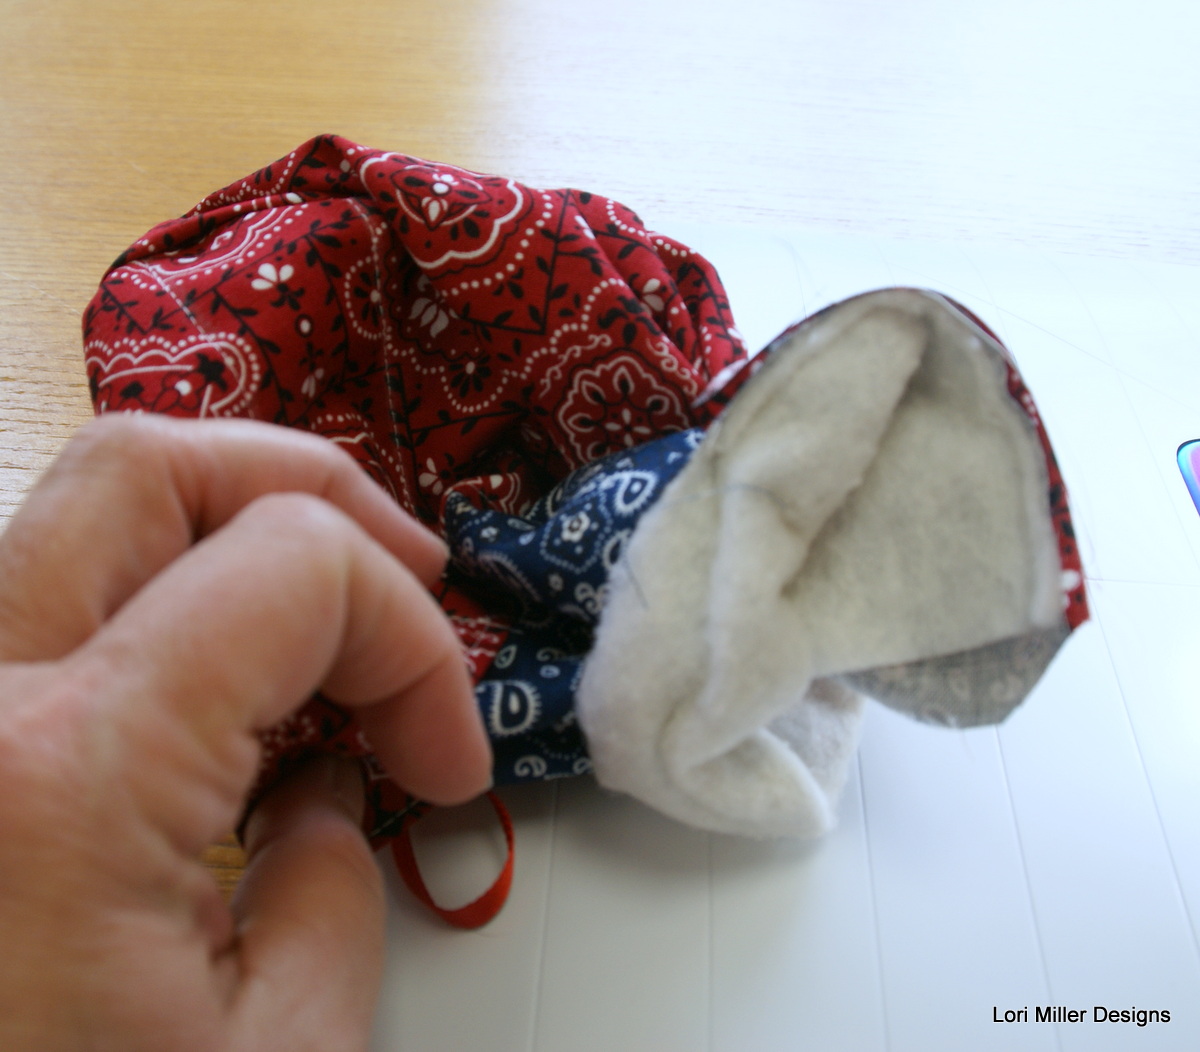
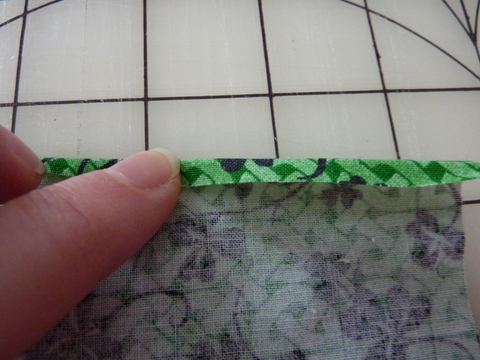
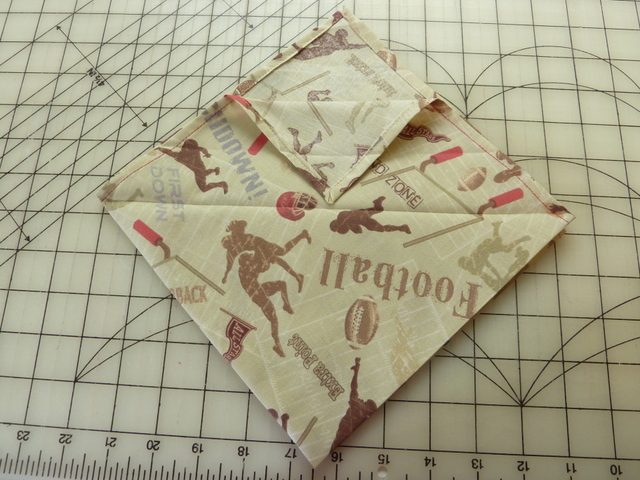
- Turn the roll right side out and tuck in the raw edges on the opening. Iron the silverware roll flat.
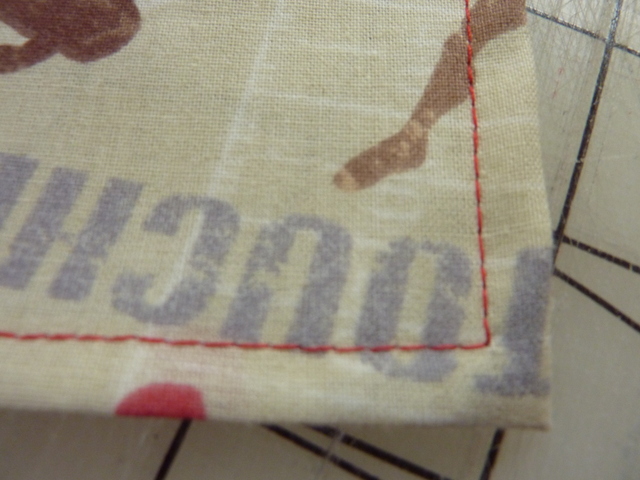
- Top stitch close to the edge of the roll all the way around being sure to catch the edges of the opening and sew them shut.

- Your first silverware roll is completed, now just make three more! These really do stitch up fast, sew them assembly line style! To store, just roll them up and tie with the ribbon.


