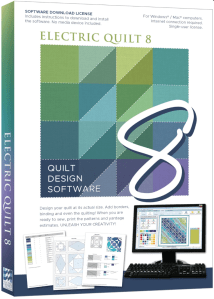
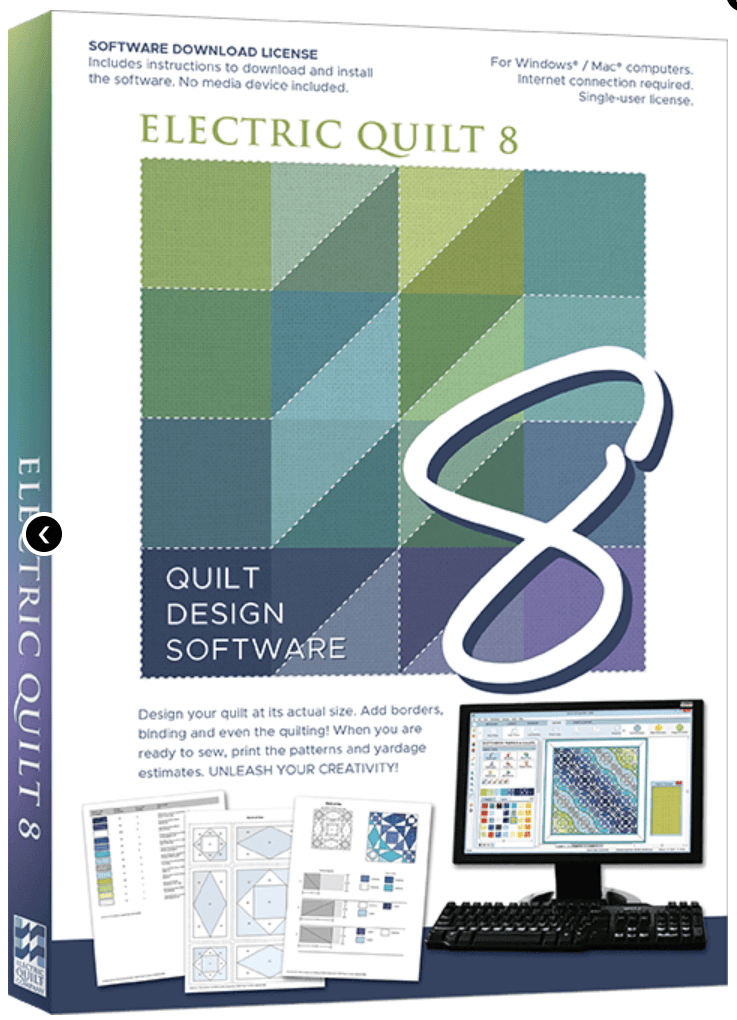
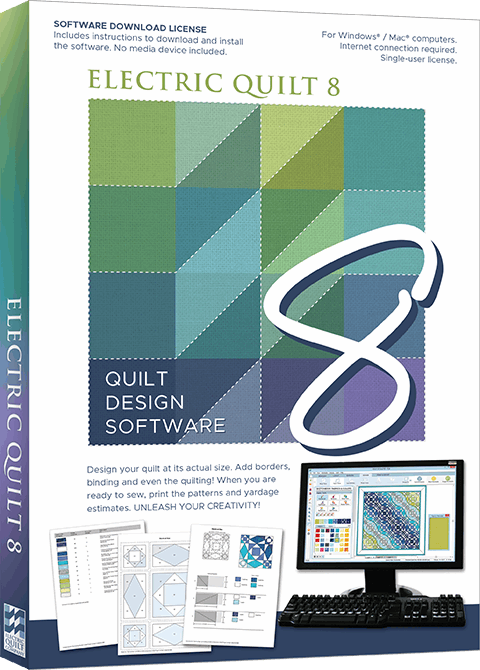
I am happy to share my lineup of EQ8 classes for 2026. EQ8 is Quilt design software that allows you to design beautiful quilts and quilt blocks.
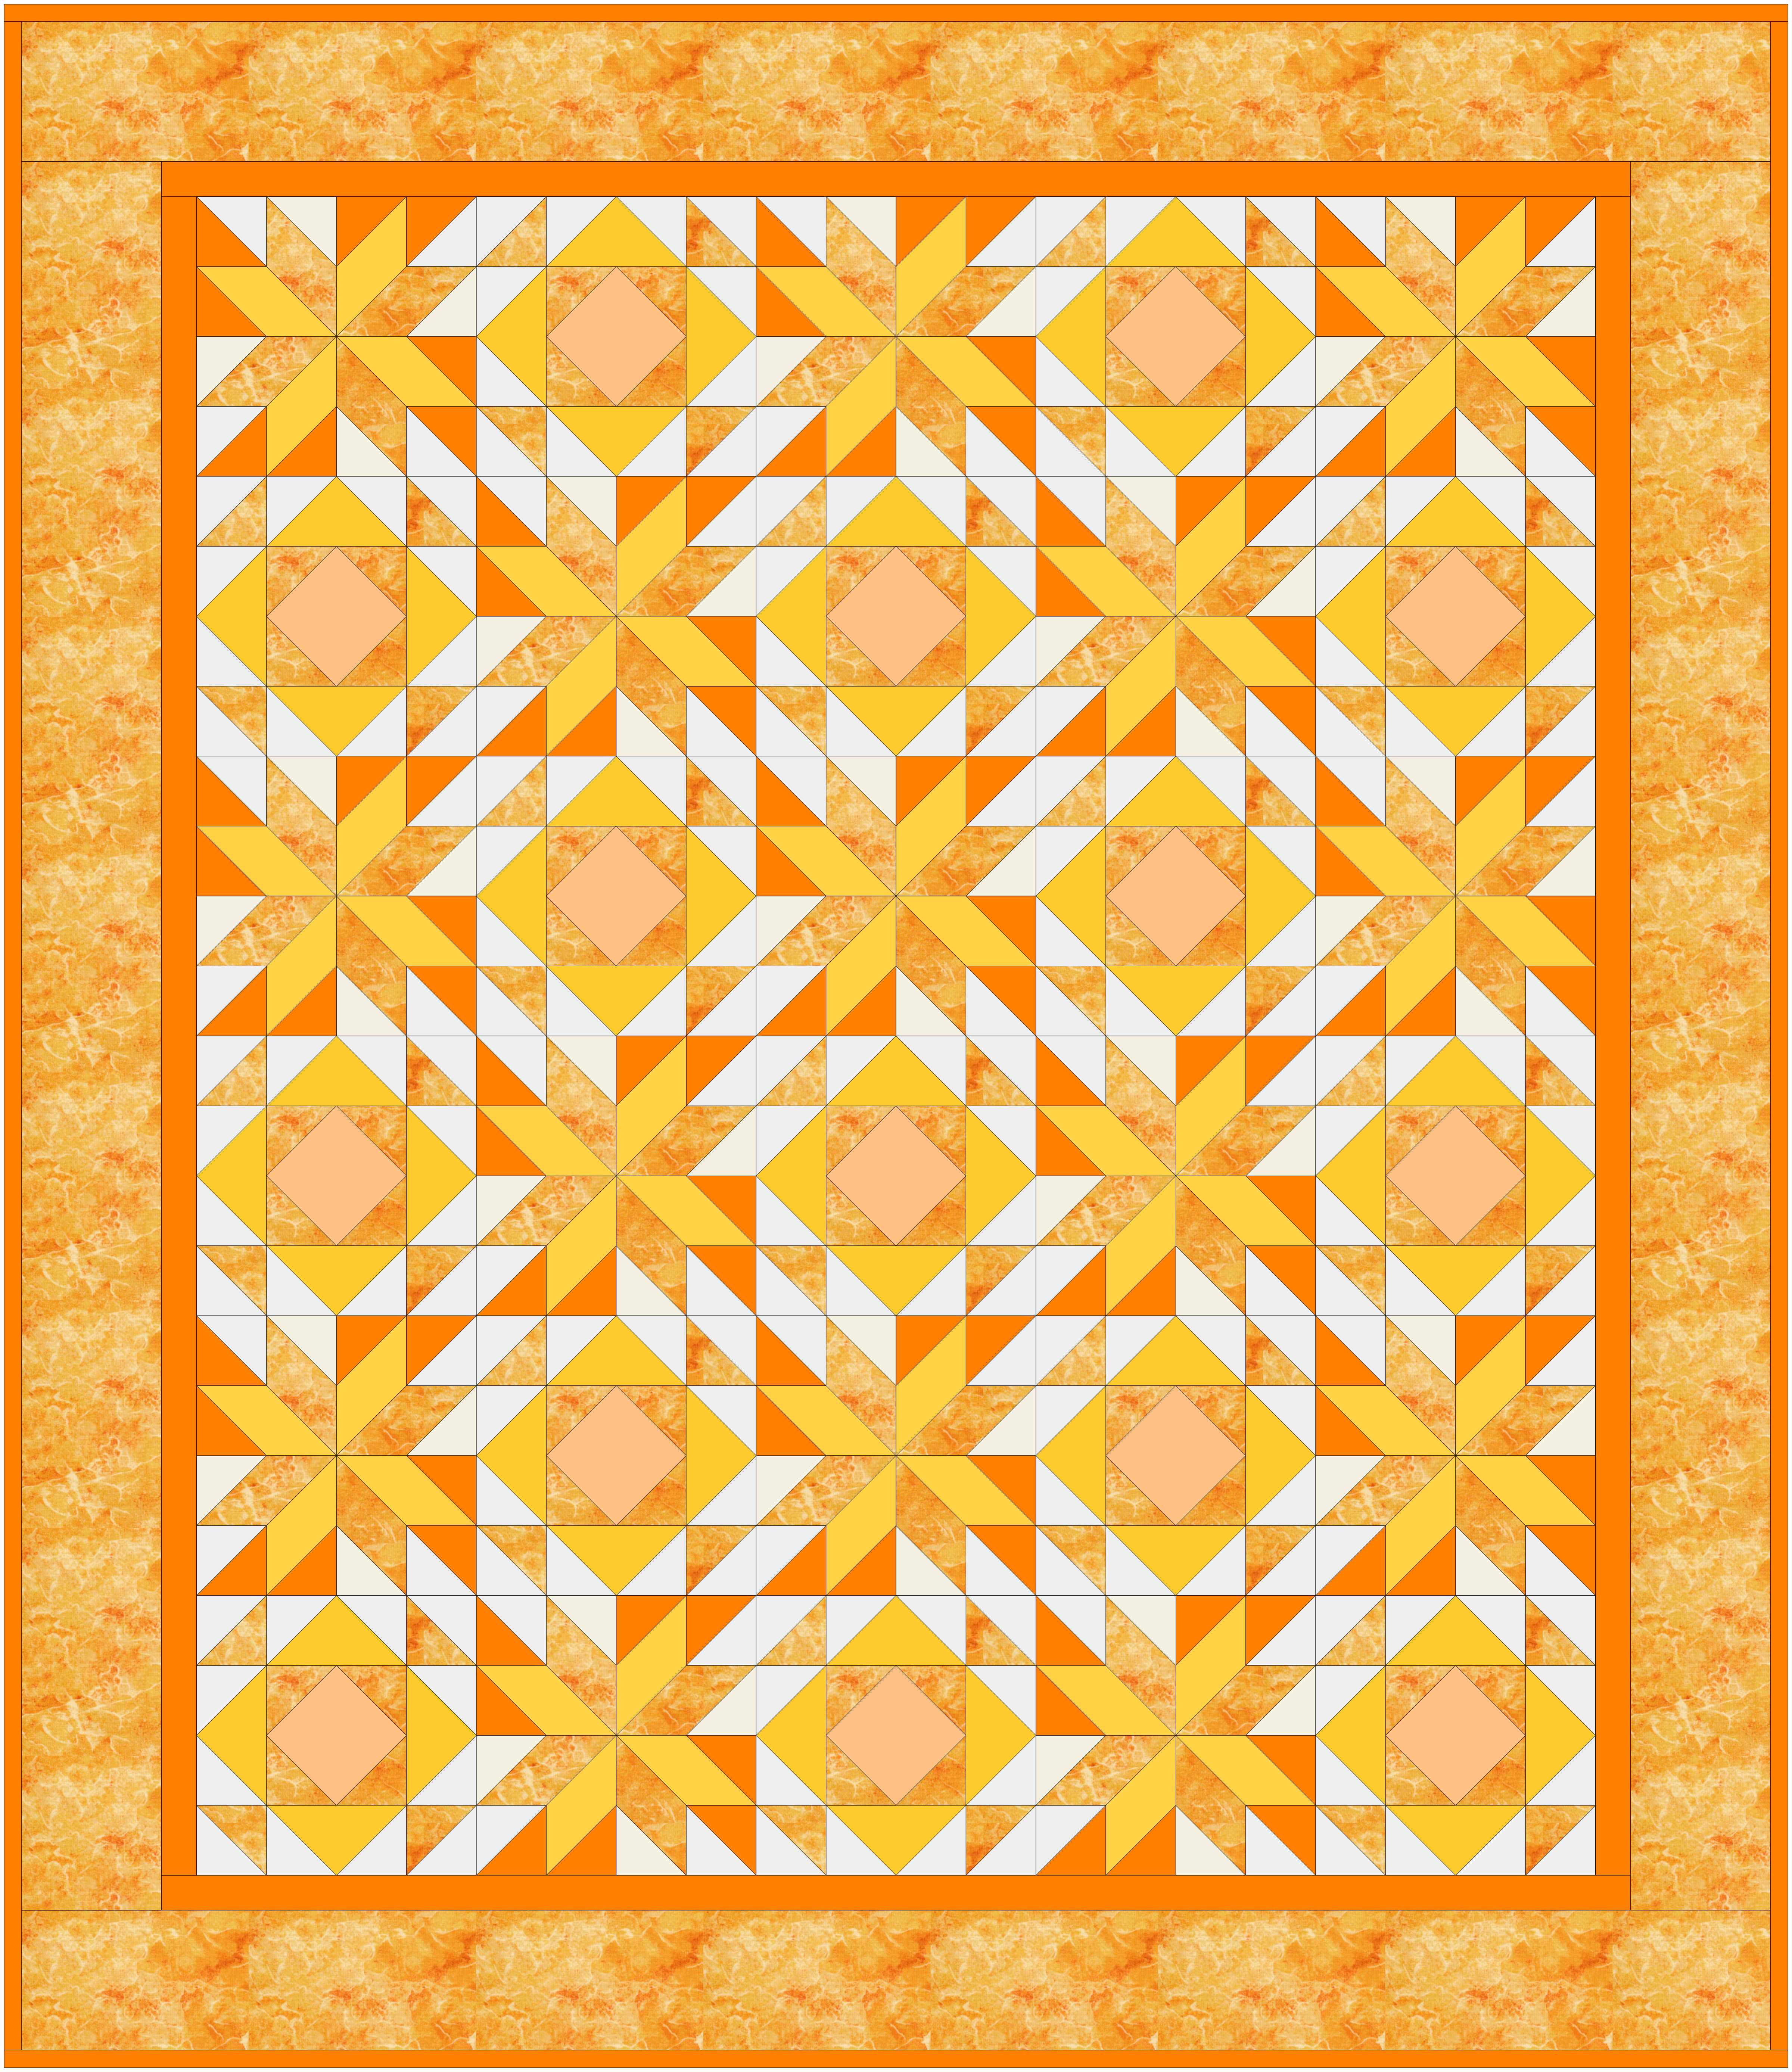
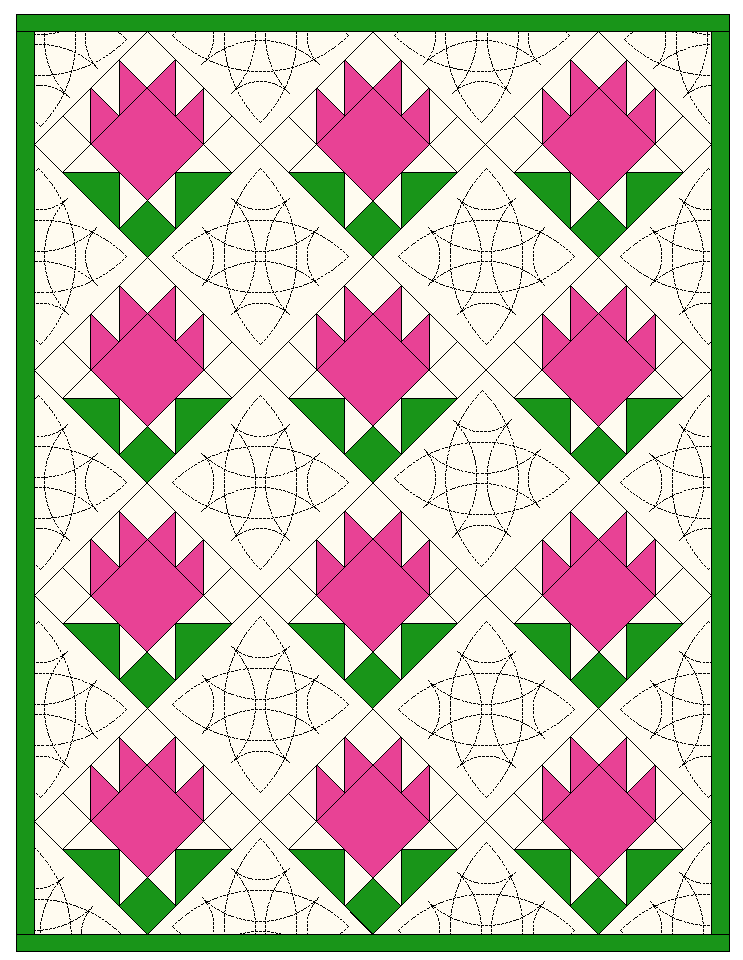
I use EQ8 myself to design all of my quilts. It is the leading quilt design software in the world. As a full-featured software, it lets you see your quilt on the screen before you even cut a piece of fabric. You can swap and rotate blocks, add borders, and play with different colorways and fabrics.
EQ8 is perfect for beginner or professional quilters with computer skills of all levels and is available for PC and Mac.
If you have your software, but have not cracked it open or just need an in person class to pick up those skills, these classes are for you! I specialize in my beginner class that will help you navigate the software and build confidence to design on your own. I hope you can join me.
I have a full array of classes at the following shows and dates. Full descriptions of the classes follow below.
EQ Academy 2026
Perrysburg, OH
March 26 – 28
- March 28 AM Adding Fabrics and Photos to EQ8
- March 28 PM Fabulous Framing Borders and Sashing
Above are the classes that I am teaching at EQ Academy, but there is a whole 3 days of EQ8 classes to choose from, including beginner classes and more to check out!
AQS Paducah 2026
Schroeder Expo Center, Paducah, KY
April 22 – 25
- April 22 EQ8 Start at the Beginning
- April 23 EQ8 I want to Learn More
- April 24 EQ8 Fun with Fabrics (Adding Fabrics and Photos to EQ8)
- April 24 EQ8 Fabulous Framing (Borders and Sashing)
- April 25 EQ8 KickStart Mini Beginner
AQS Columbus 2026
Schroeder Expo Center, Paducah, KY
September 23-26
- September 23 EQ8 Start at the Beginning
- September 24 EQ8 I want to Learn More
- September 25 To be Determined
- September 25 To be Determined
- September 26 EQ8 KickStart Mini Beginner
Class Descriptions
EQ8 Start at the Beginning
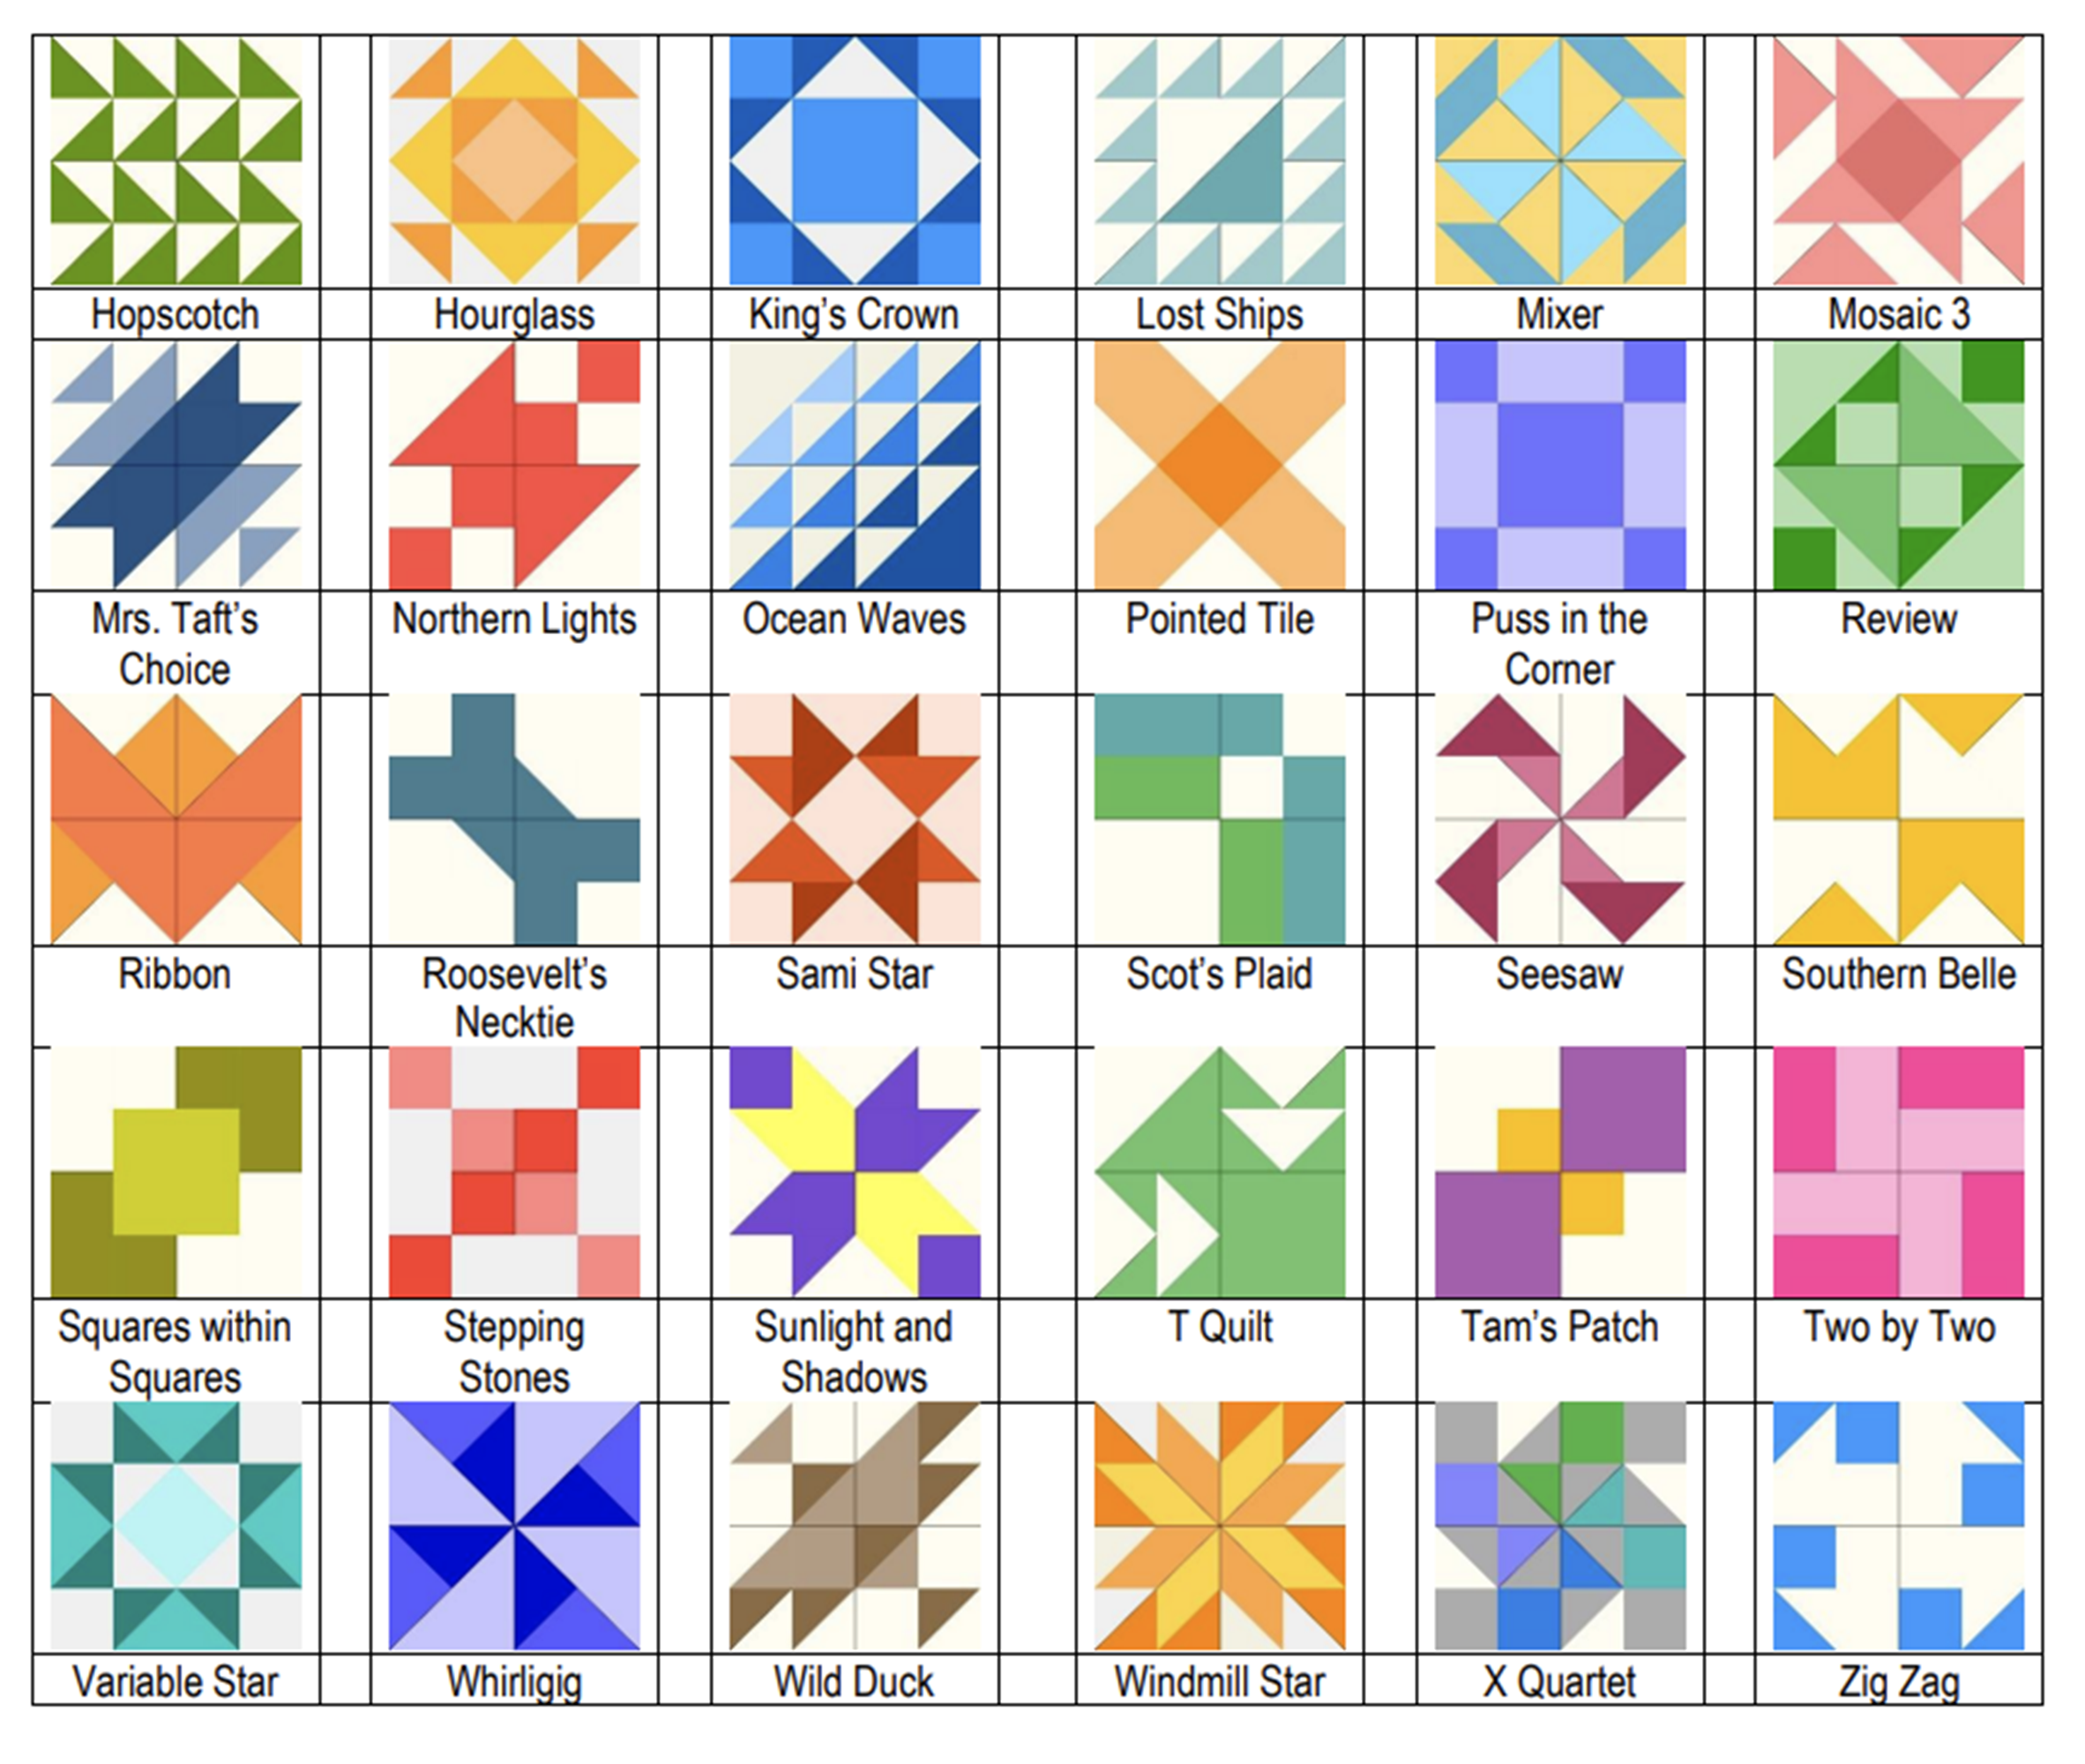
Build your EQ confidence! Tour the workspace and begin designing a variety of beautiful quilt styles. Search the EQ8 libraries for the perfect block or fabric to turn your quilt designs into reality. You can even add fabrics from your own stash. Learn how to print yardage estimates, rotary cutting charts, and more. Nicely paced and encouraging workshop for those who want to understand and practice the basics. Windows and Mac users welcome
EQ8 I want to Learn More
Take the next step learning EQ8. Learn to draw or edit your own blocks to place in your quilt creations. Explore appliqué and stencils to better understand the three layers of the quilt in EQ8. Take a deep dive into borders and Auto Borders. Create personal libraries, use text and photos, and explore free-form quilt settings. By the end of the workshop, you will have the confidence to design your own beautiful blocks and quilts. Windows and Mac users welcome.
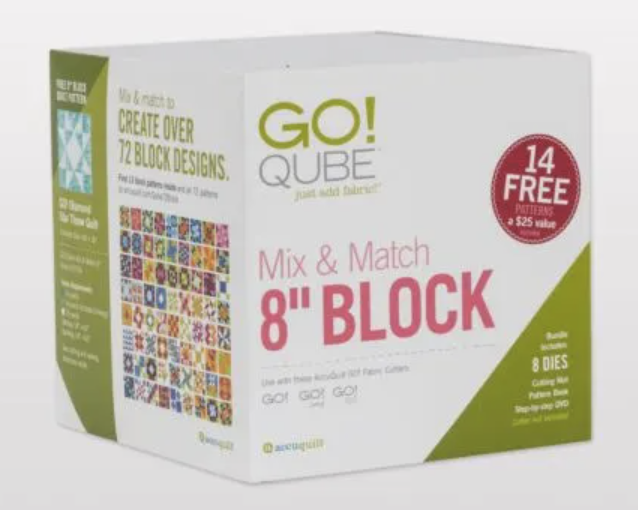
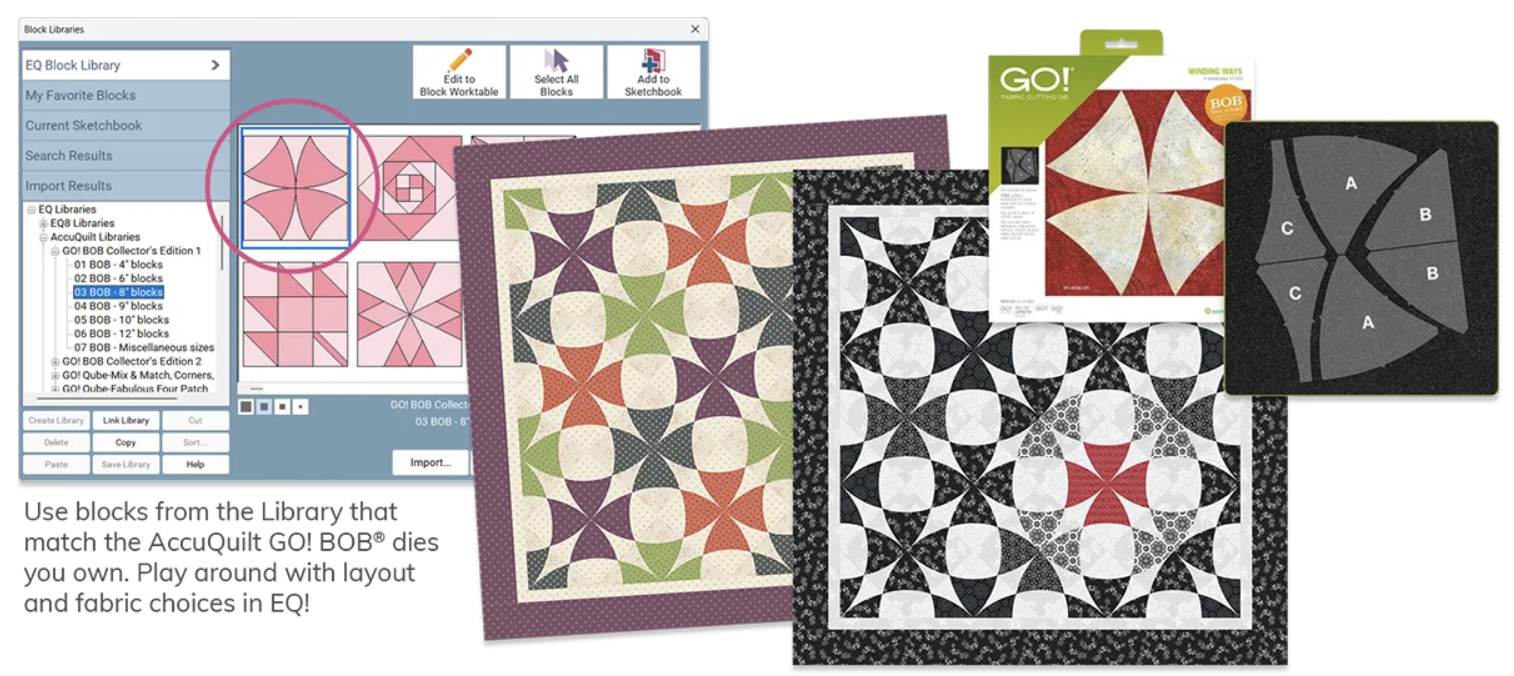
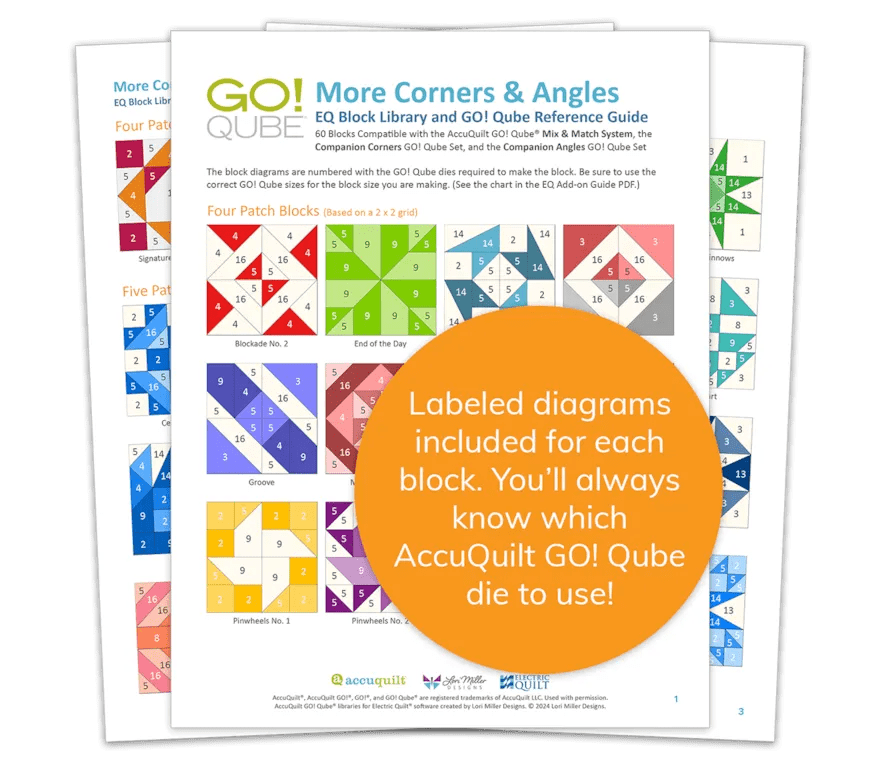
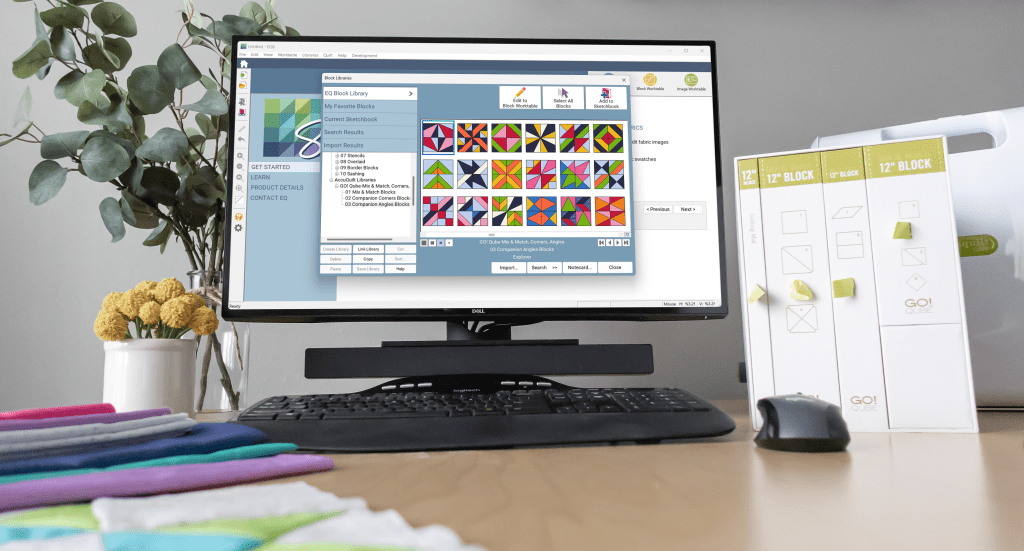
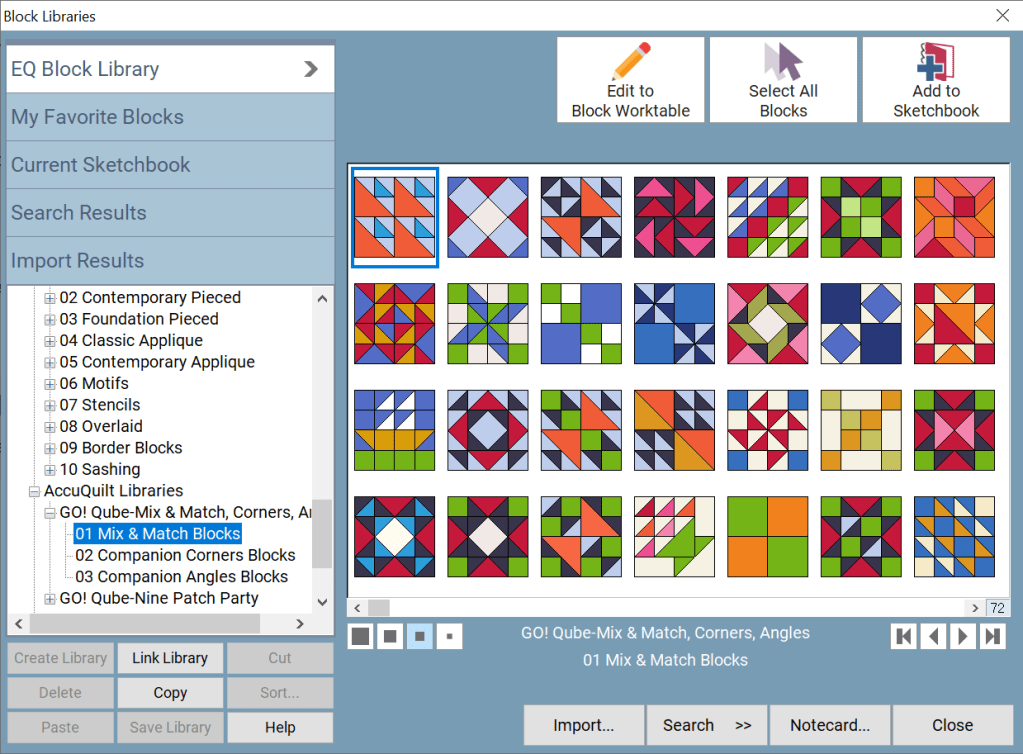
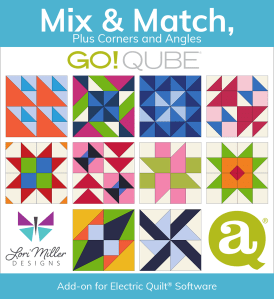
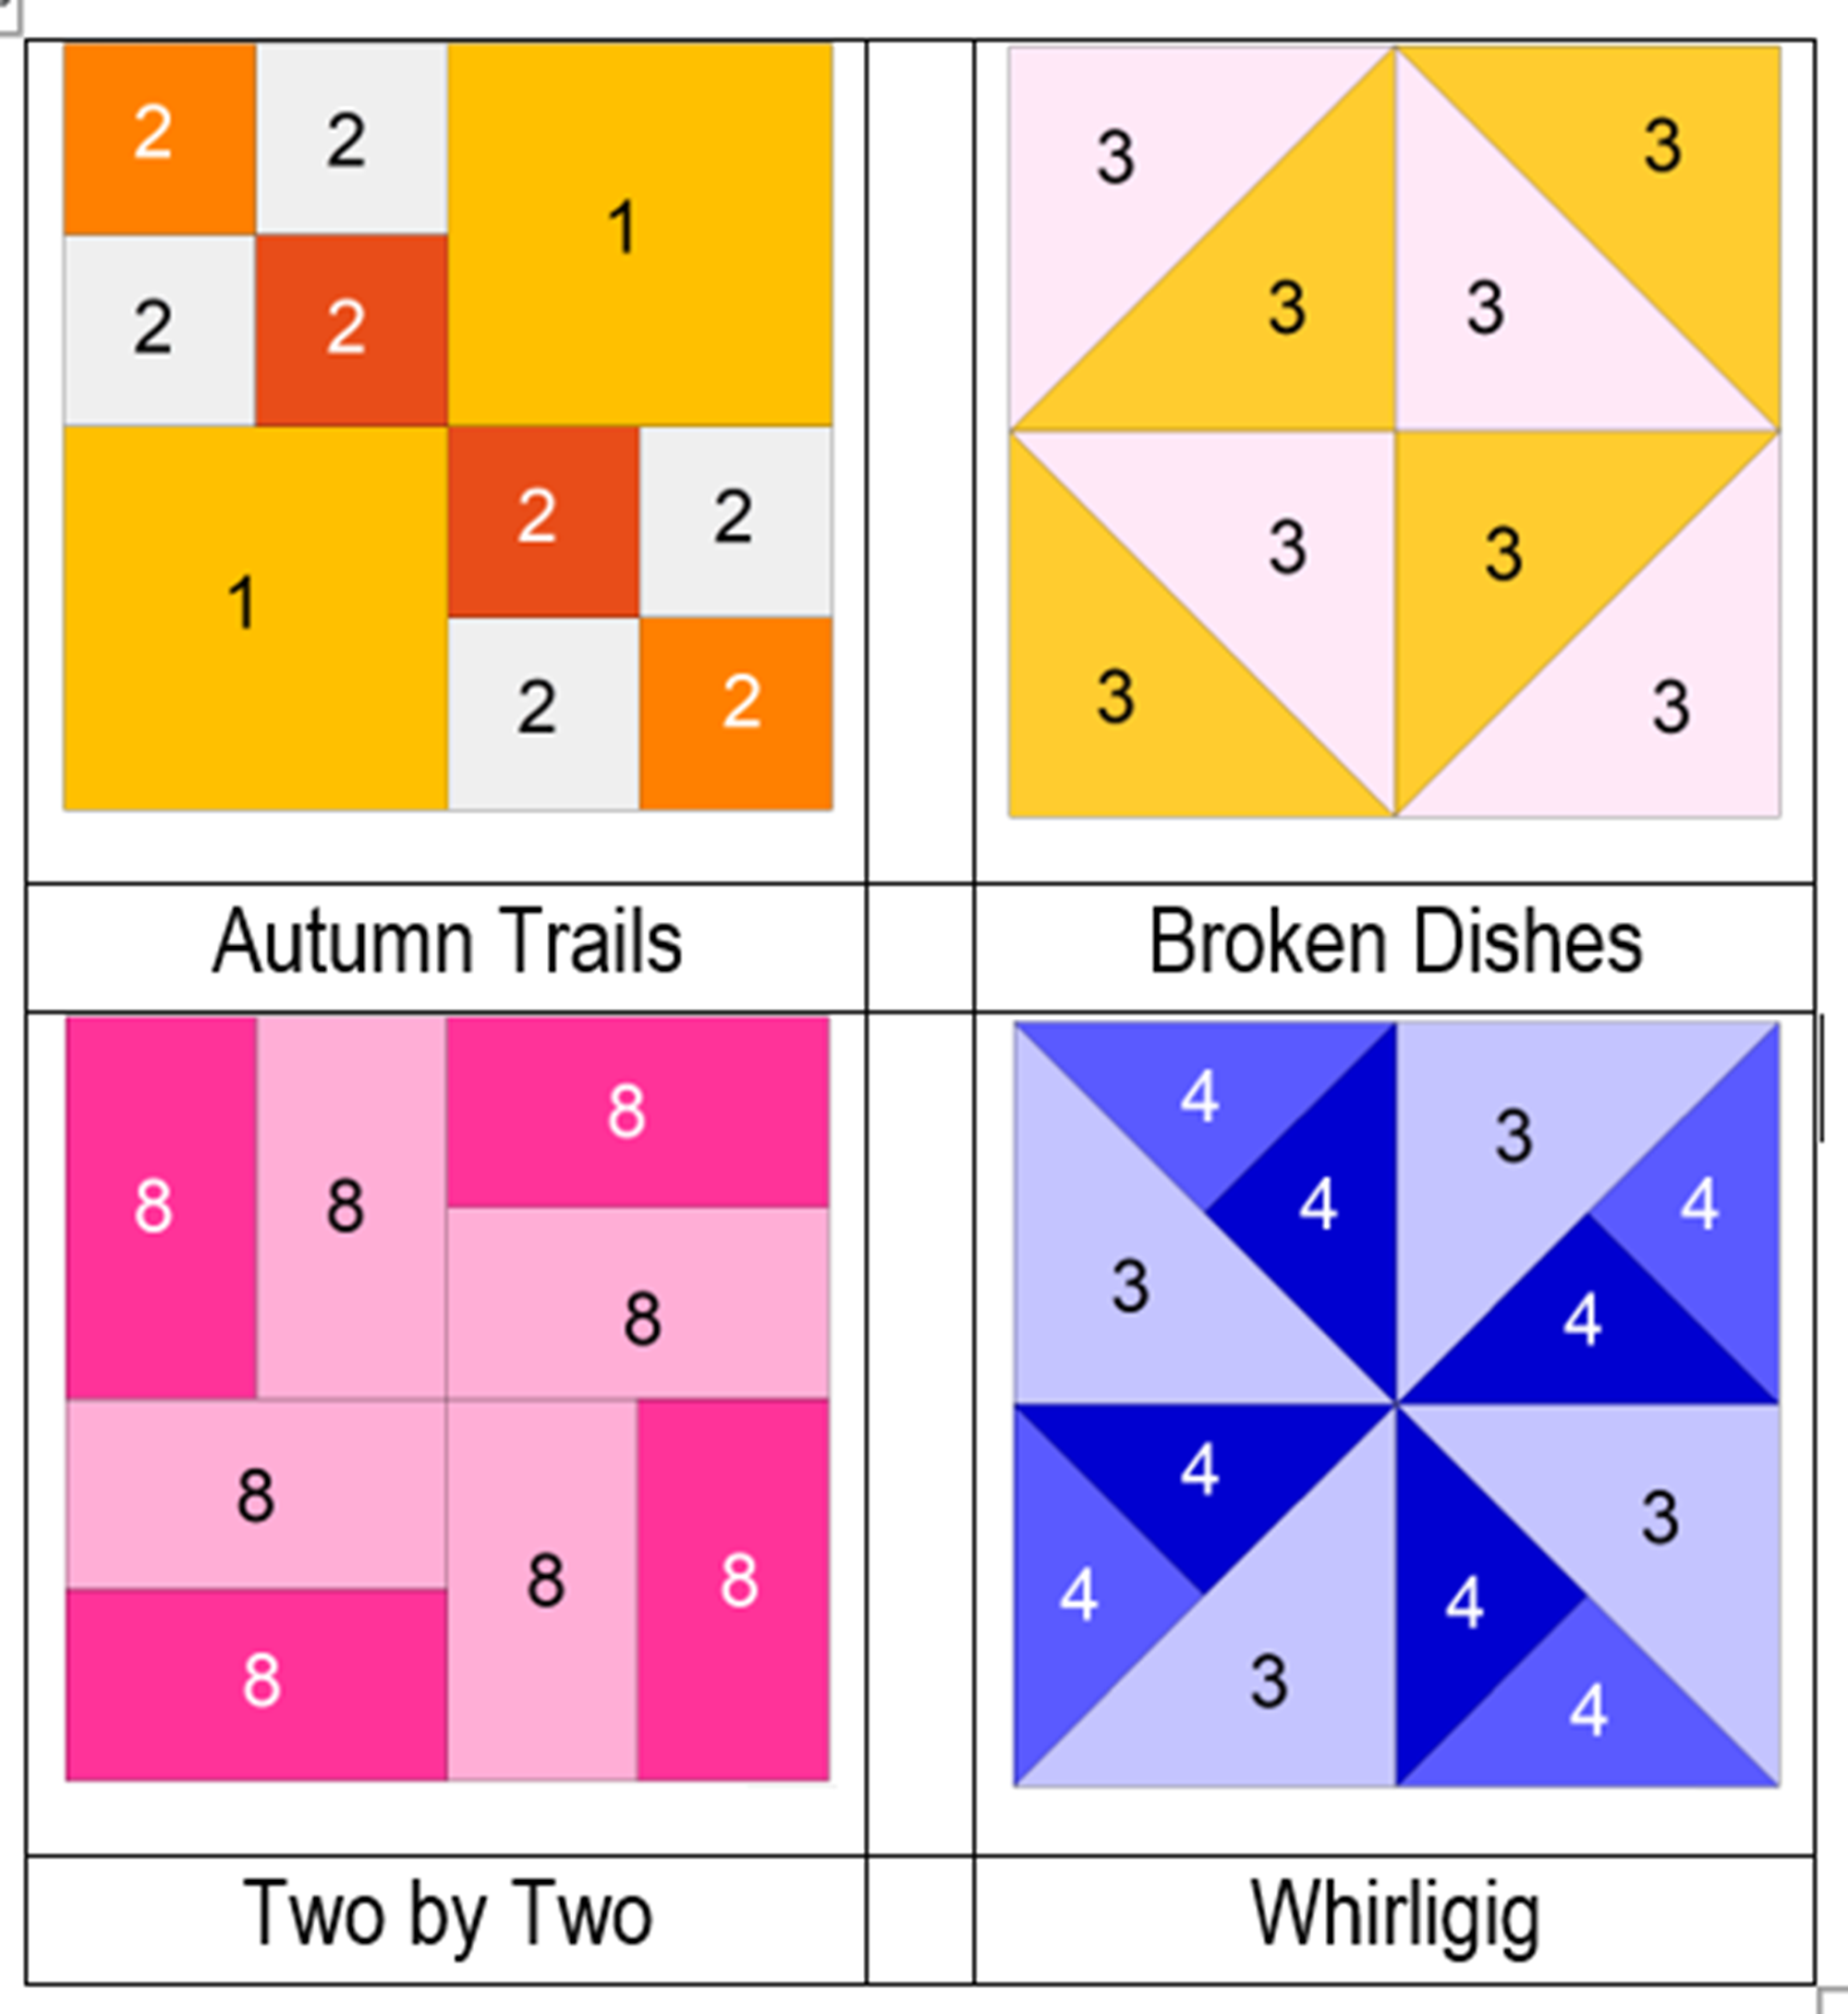
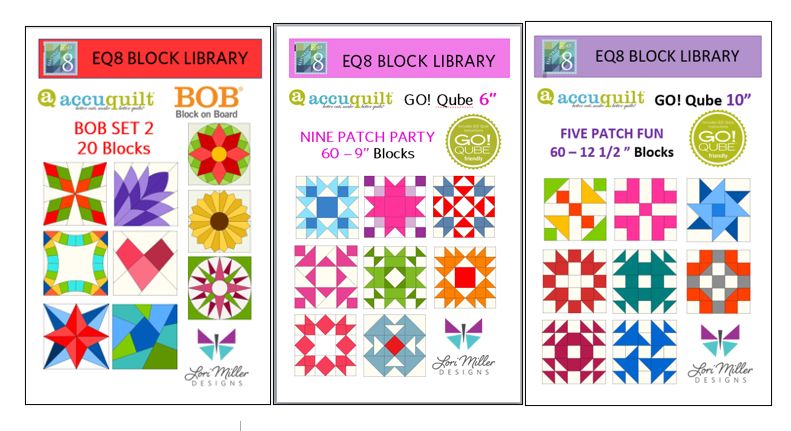
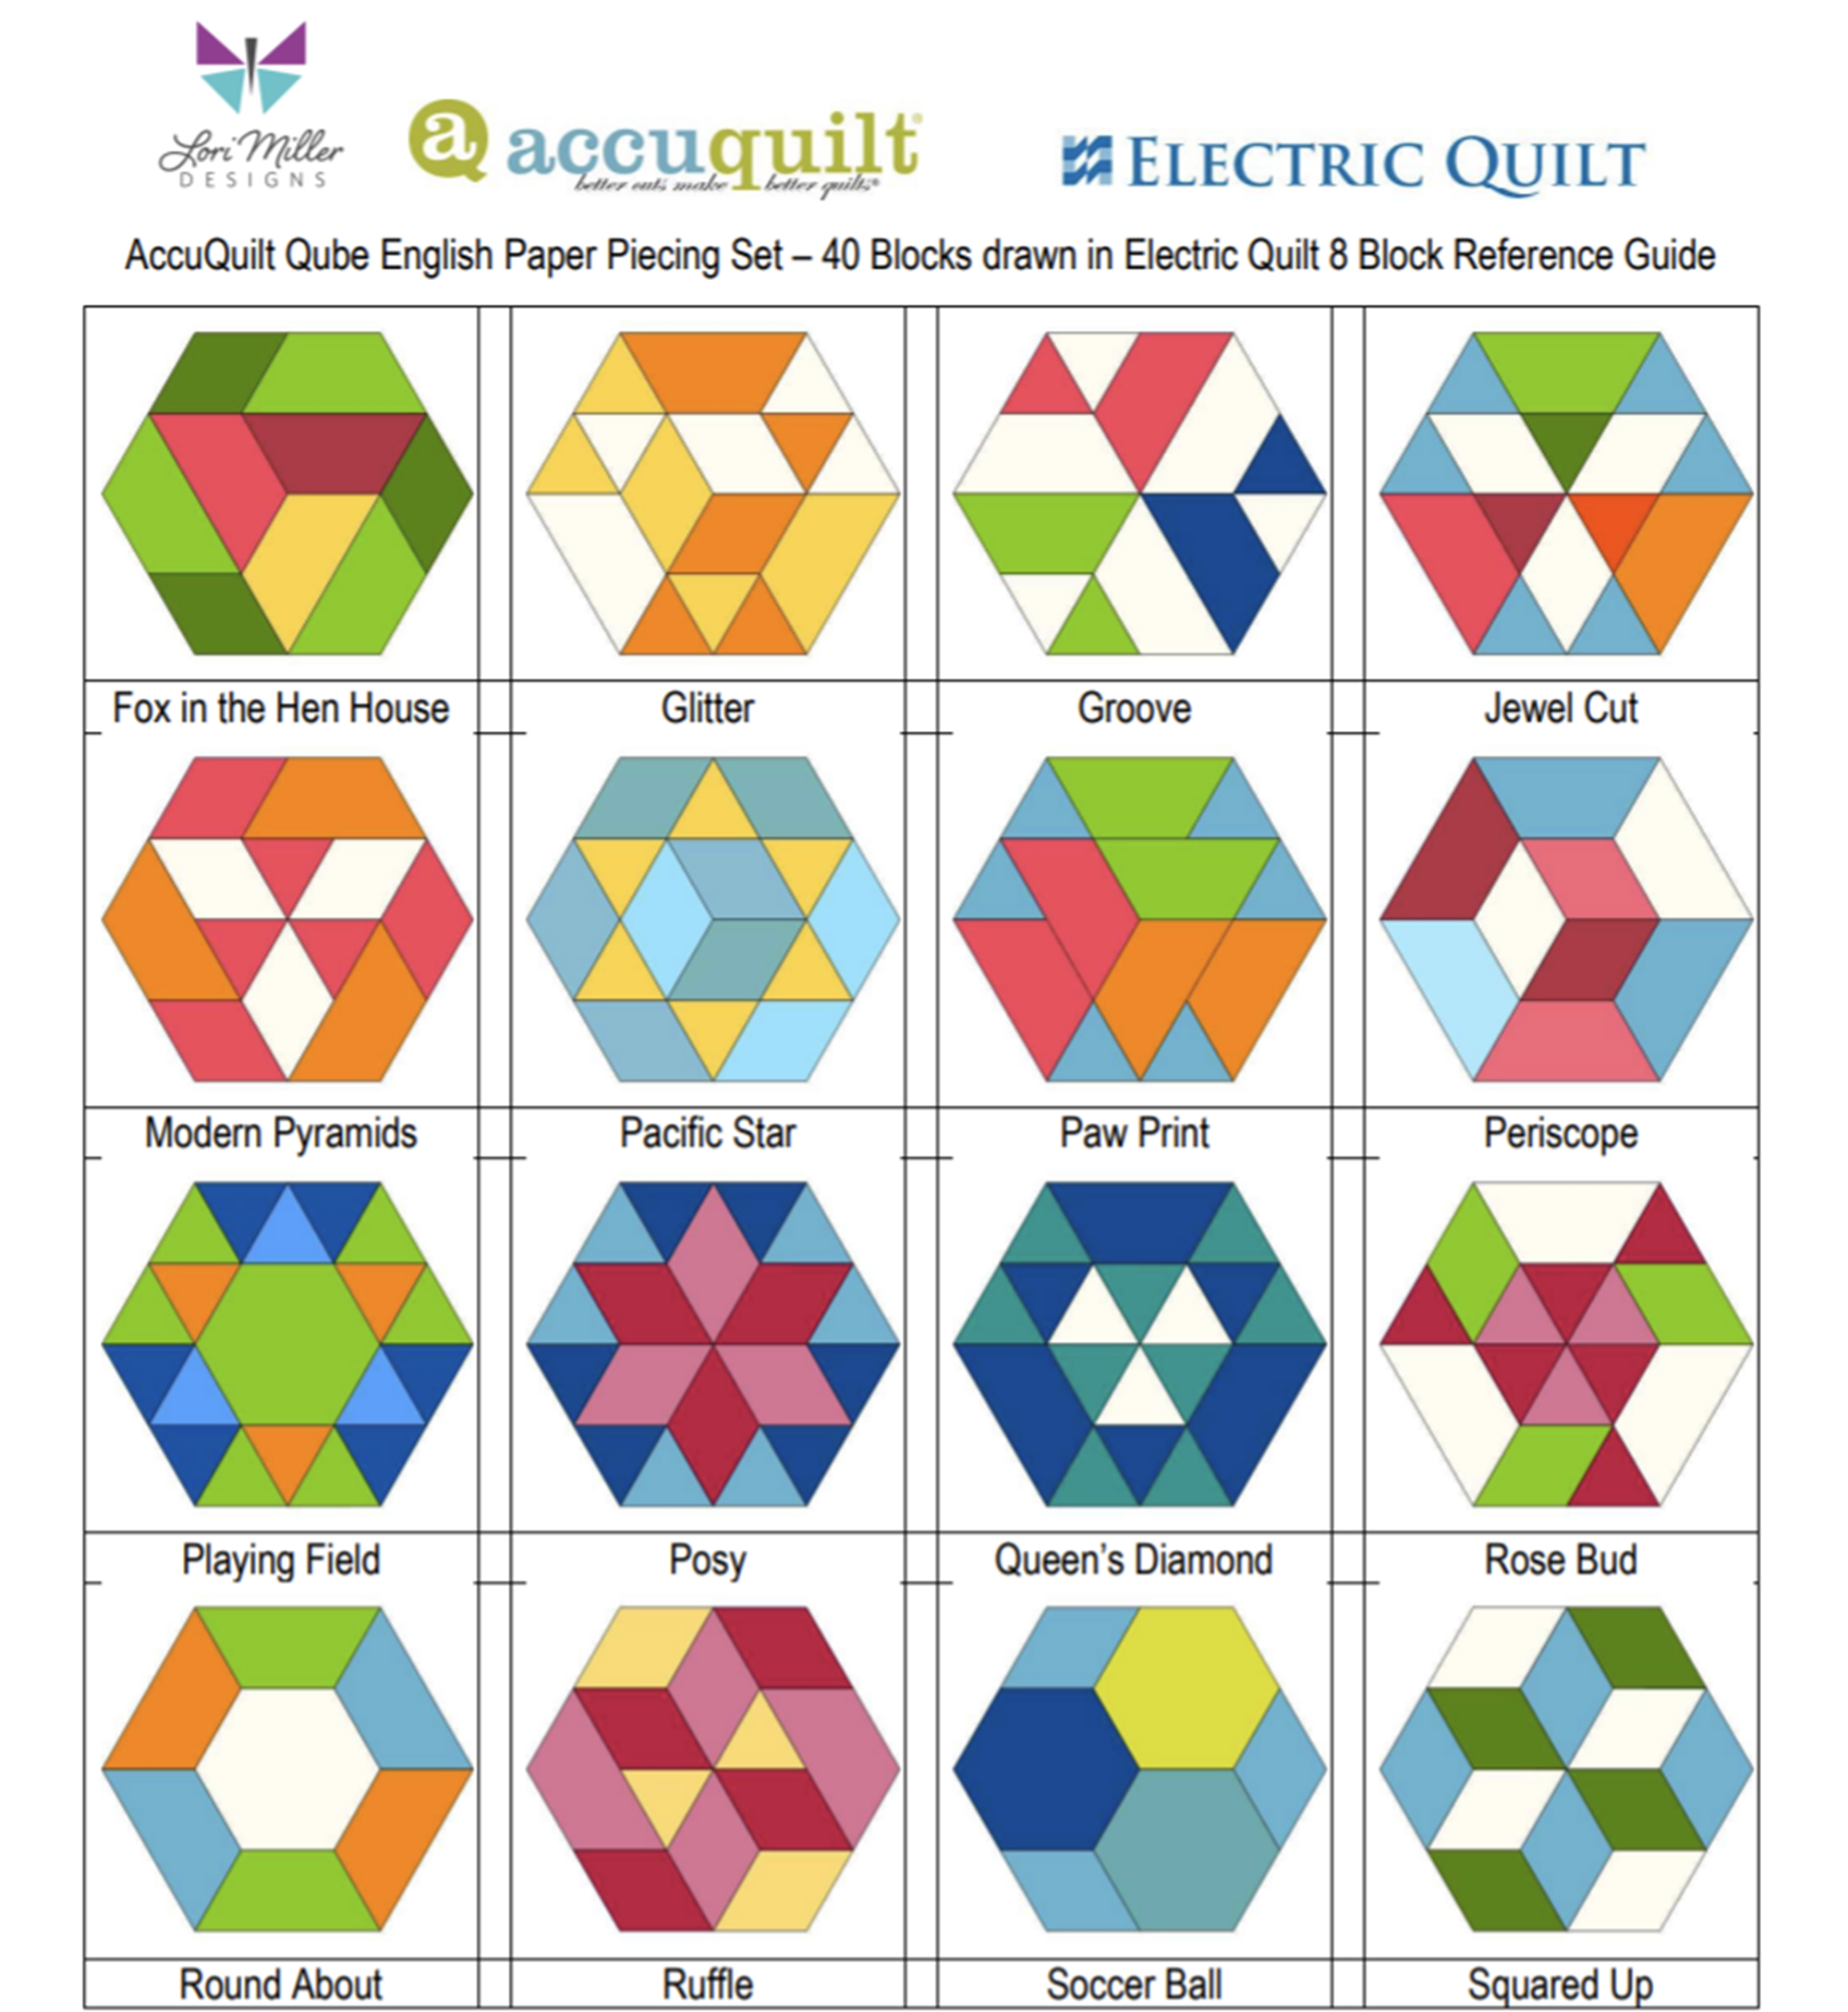
Design with EQ8 and AccuQuilt GO!
In this class, we will combine the power of EQ8 quilt design with the ease of fabric die cutting. The AccuQuilt GO! Qube system is made up of building blocks in a four-patch design grid that make up some of the most common blocks already available in Electric Quilt. Use those blocks to design beautiful quilts, try colors and fabrics and then when you are ready, use your AccuQuilt GO! Cutter to cut your fabric. The new AccuQuilt add-ons are not required for this class. The concepts covered in class will make working with EQ8 and AccuQuilt easier, with or without the add-on products.
Please note: This class will focus on the EQ8 design process for compatible blocks and quilts. No die cutters will be used.
EQ8 Fun with Fabrics
This half-day class will show you how simple it is to add your own fabrics and panels to EQ8. Learn how to import fabrics, straighten, scale, crop, and add the fabrics to your Favorites library! Discover the differences between fabrics and panels and how to edit them for your design.
Using photos in your quilt is very similar to how you would use fabrics. Learn the difference between photos and fabrics, import photos for use in a photo quilt, and discover new ways to use photos that you may not have even imagined.
EQ8 Fabulous Framing (Borders and Sashing
Are your borders simply boring? Do you just slap on strips of fabric to add length and width to your quilt? Is your sashing simple? Take your borders from blah to beautiful and your sashing from sad to stunning with the built-in tools in EQ8. This fun workshop explores a variety of borders and border styles from pieced, Flying Geese, appliqué, checkerboard, and more. Use borders to jazz up a panel or medallion quilt. Discover creative sashing with pieced blocks and clever design ideas. Your quilts are limited only by your imagination. NOTE: This workshop moves at a faster pace than beginner EQ8 workshops. PC and Mac Users welcome.
EQ8 KickStart Mini Beginner
Are you brand new to EQ8? This is the perfect workshop to get to know your exciting new quilt design software. This workshop will go over the basics for beginner EQ8 users needing an overview of the EQ experience. Take an in-depth tour through the software to get a better understanding of the three worktables, the Project Sketchbook, and how to navigate the entire workspace. We will start designing quilts right away using EQ8 as your virtual design wall. Study the many pattern-printing options available and learn how to find yardage estimates. The best way to learn is by doing! This workshop is nicely paced for beginners. Windows and Mac users welcome. Please note, this workshop is designed for brand new EQ8 users and is focused on EQ8 basics. If you have taken the full day beginner workshop, this workshop covers similar topics.
I am looking forward to seeing you in class!