
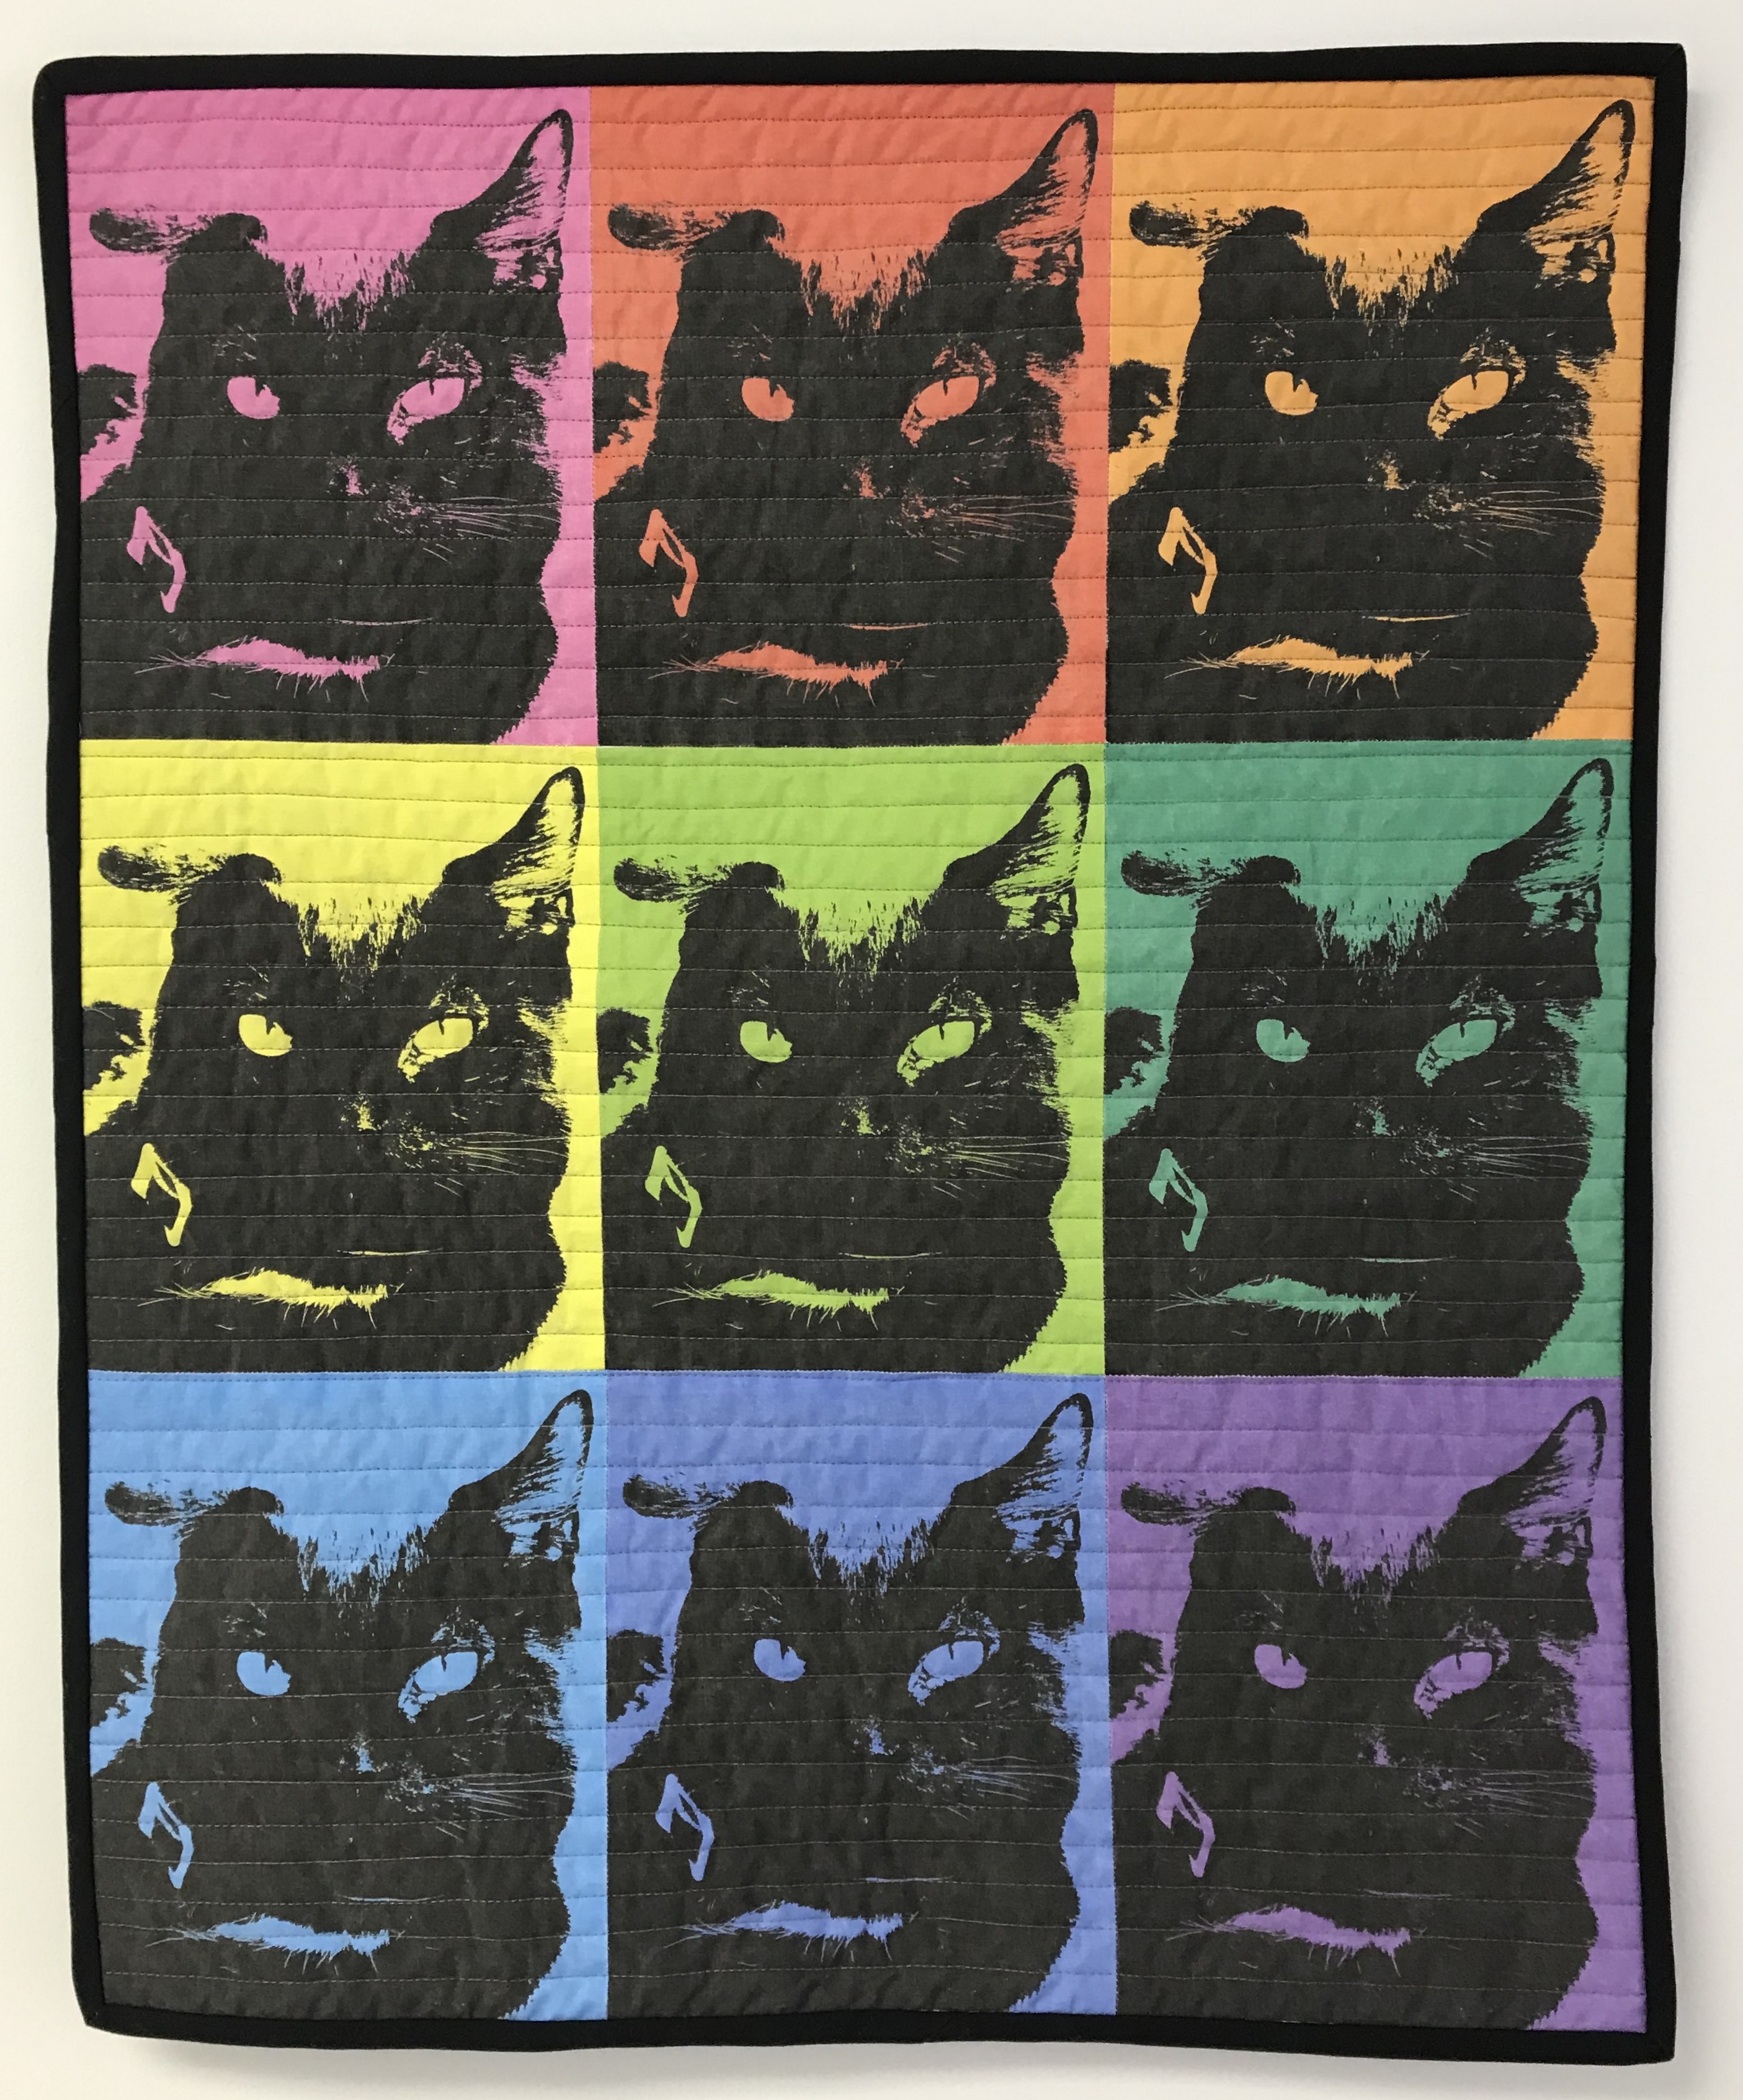
Greetings! I am making this quilt for my son for the holiday, it is a picture of his cat, Oreo. Being a 20 something young man, I wanted something a little more grown up but still fun. This quilt is made by taking a picture of Oreo and editing it using EQ8 Quilt Design Software. The edited pictures are then printed on EQ Printable Inkjet Fabric Sheets. You can use the general tutorial with any picture of the same size but what makes it so much fun, is the ability to edit the picture to black and white and then add different background colors. It makes this quilt reminiscent of the visual art created by Andy Warhol. If you have not tried using the photo editing functions of the Image Worktable in EQ8, here is your chance. Let’s make a Pop Art Wall Quilt.
Pop Art Wall Quilt
Finished size is 24″ x 30″
Materials
- 9 — 8 1/2″ x 10 1/2″ printed fabric pictures
- 1/4 yd black fabric for binding
- 1 yd backing
- 1 yd batting
Directions
Cut Fabric:
Black
- 4 — 2 1/4″ strips

Print your edited 8″ x 10″ pictures onto Printable Fabric. (Link for quilt design and photo editing at the end of post) Be sure to follow manufacturer’s directions when printing. I used EQ Printables Inkjet Fabric Sheets. There are several types of fabric sheets to choose from. I really like them and I use them a lot for quilt labels. The fabric holds the color very well and is pretty soft to the touch when you wash it. You can get more information about them HERE.

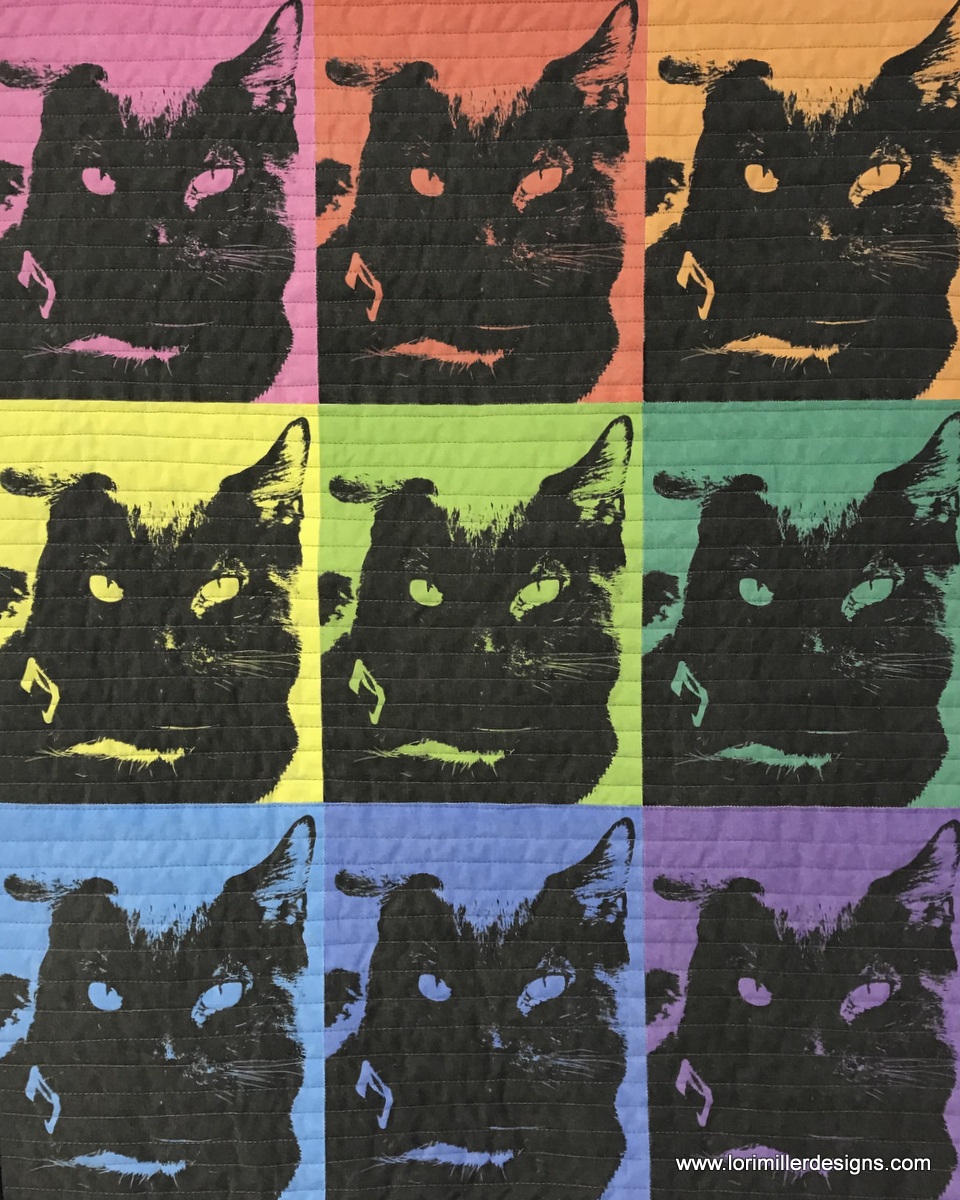
These are the sheets that I printed. Then I trimmed them to 8 1/2″ x 10 1/2″ with a seam allowance.
I pieced them into a nine patch. Arrange the colors how you like.
Quilt the Wall Quilt

Layer quilt top with the backing, batting and kitties quilt top.
Pin baste the quilt layers together.
Quilt as desired. I used painters tape to mark horizontal lines and then I quilted about 1/2″ apart with my walking foot with a dark gray thread.
Then I pieced the black binding strips together and bound the quilt. I need to make a hanging sleeve, but it is finished.

Here is a sneak peek at my work area. As you can see, my new studio is still in progress but I just had to sew, it has been months of moving and unpacking.

Here is my original design from EQ8. The colors are not quite as vivid when you print them on the fabric, but they are still eyecatching!

And here is the original picture of Oreo. He had an issue with his ear, so he always has that rakish, debonair look.
Share pictures of your Pop Art Quilt! Tag me on Facebook or Instagram @lorimillerdesigns
Looking for the EQ8 Design Instructions? You can find them HERE!
For more projects and tips and techniques on using EQ8, visit my Electric Quilt blog series EQ8 Lessons with Lori.
For more information on EQ8, go to Electric Quilt 8 Software.

