Free Tutorial – Scrappy Toddler Tumbler Quilt

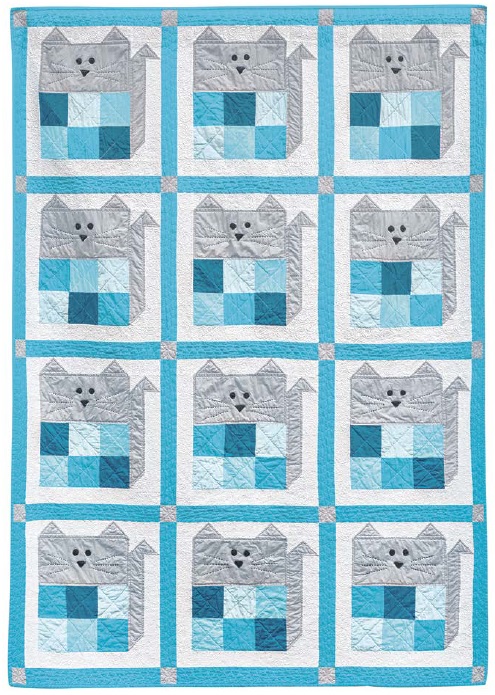
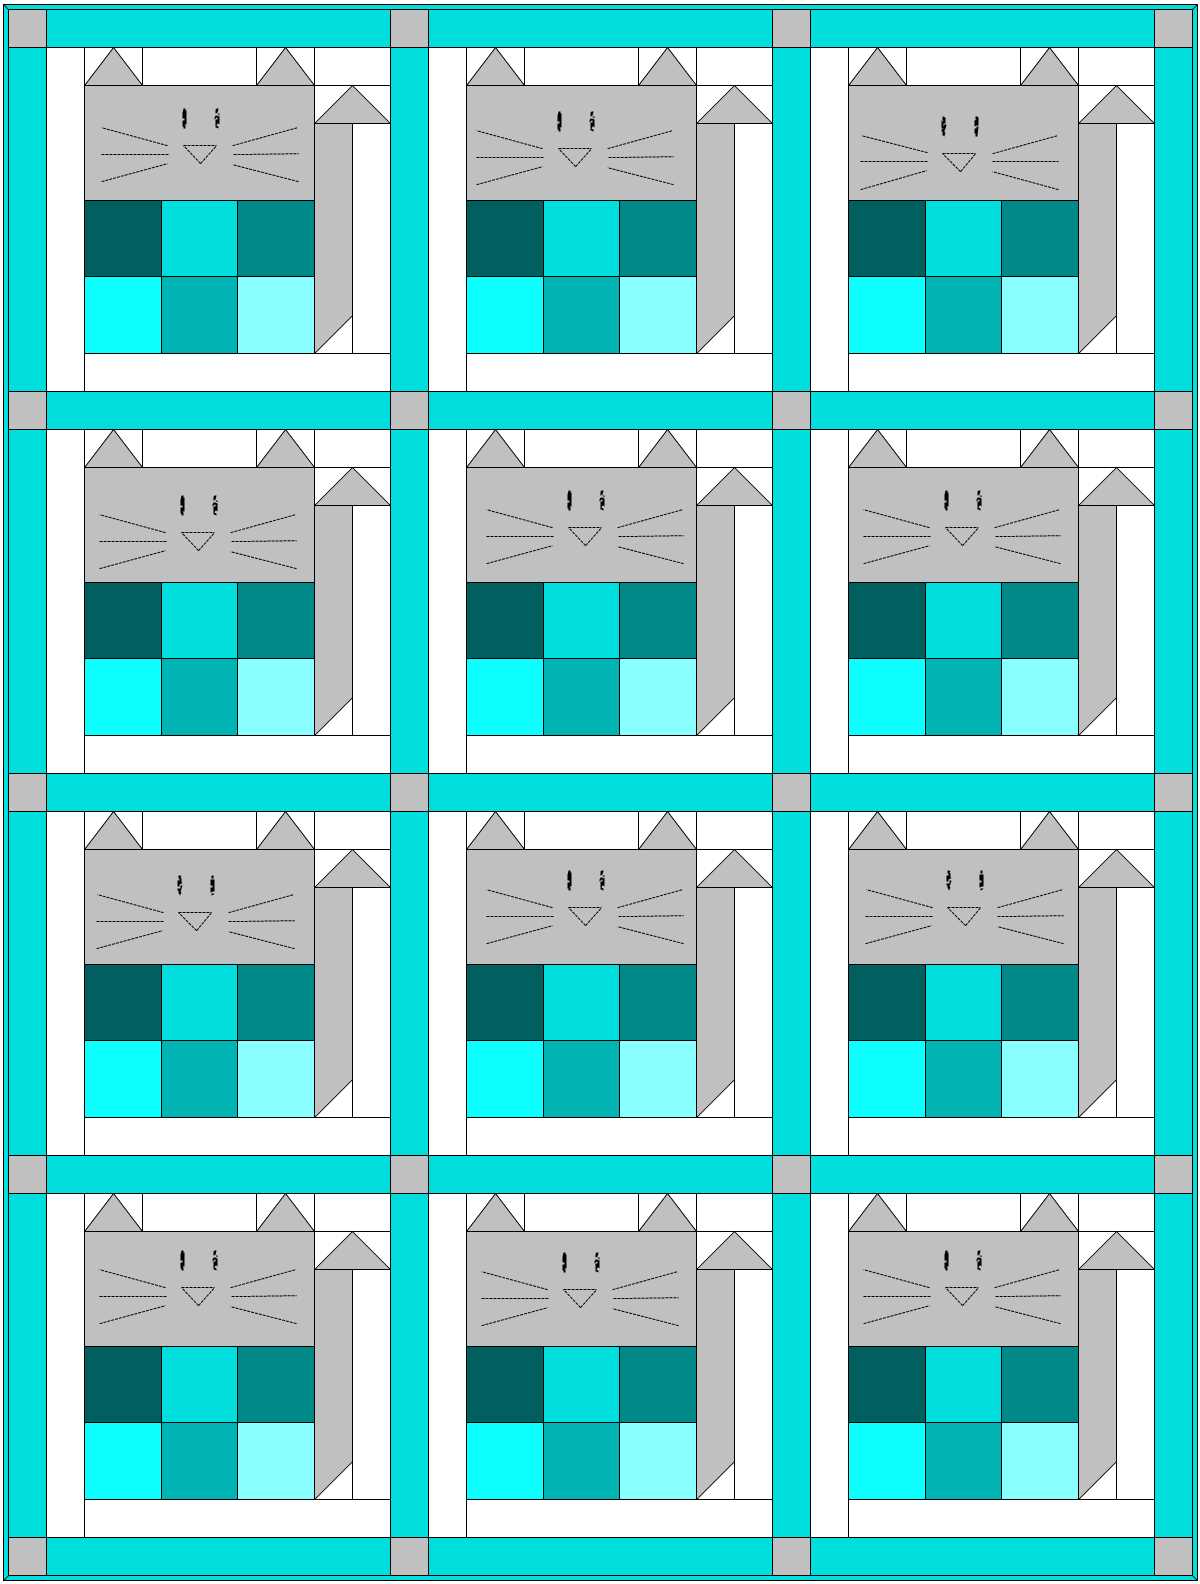
This tutorial is an adorable toddler quilt designed with EQ8 Software by The Electric Quilt Company .  Running about 45″ square, it’s a One Block quilt using the Tumbler shape.  I was able to use my Sizzix Bigz L Die Tumbler that is 5″ x 5″ to make my blocks but I also include templates if you don’t have a die cutter machine.

The super cute woodland animal print I had is the feature fabric and then I used fabric from my stash to give it that scrappy look.

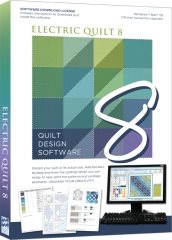
This quilt was designed with the new updated Electric Quilt 8 design software.  This version is more intuitive and easy to use and still has all the great things you expect from Electric Quilt.


When I designed this little quilt, I used the one block design from Electric Quilt and it allowed me to edit the Tumbler shape and size in my design so it matched the tumbler blocks I die cut with my Sizzix cutter.  You can cut a lot of very accurate blocks in a short amount of time with a die cut machine.  Don’t worry, if you don’t have a machine, I also provide templates for you to use.

Toddler Tumbler Quilt

Finished size is approximately 40″ x 40″

WOF – Width of Fabric

Materials

  • 1 yd of main print fabric
  • 3/8 yd of Seven coordinating fabrics
  • 2   yds  Background print for binding, backing and some tumblers
  • 50″ x 50″ piece of batting
  • Sizzix Die Cutter
  • Sizzix Bigz L Tumbler Die 5″x 5″ unfinished, 4 1/2″ x 4 1/2″ finished
  • Or you can use this Tumbler Template

Directions

Cut Fabric:

From background fabric, cut:

  • 1 — 54″ x WOF Rectangle for pieced backing
  • 1 54″ x WOF Rectangle for pieced backing, subcut into:
    • 1 – 12″ x 54″ strip for pieced backing
    • 4 – 2 1/2″ x 54″ strips for binding
    • Use remaining to cut approximately 14 tumbler blocks

From each of the seven coordinating prints, cut:

  • 14 Tumbler blocks

Assemble the Toddler Tumbler Quilt top

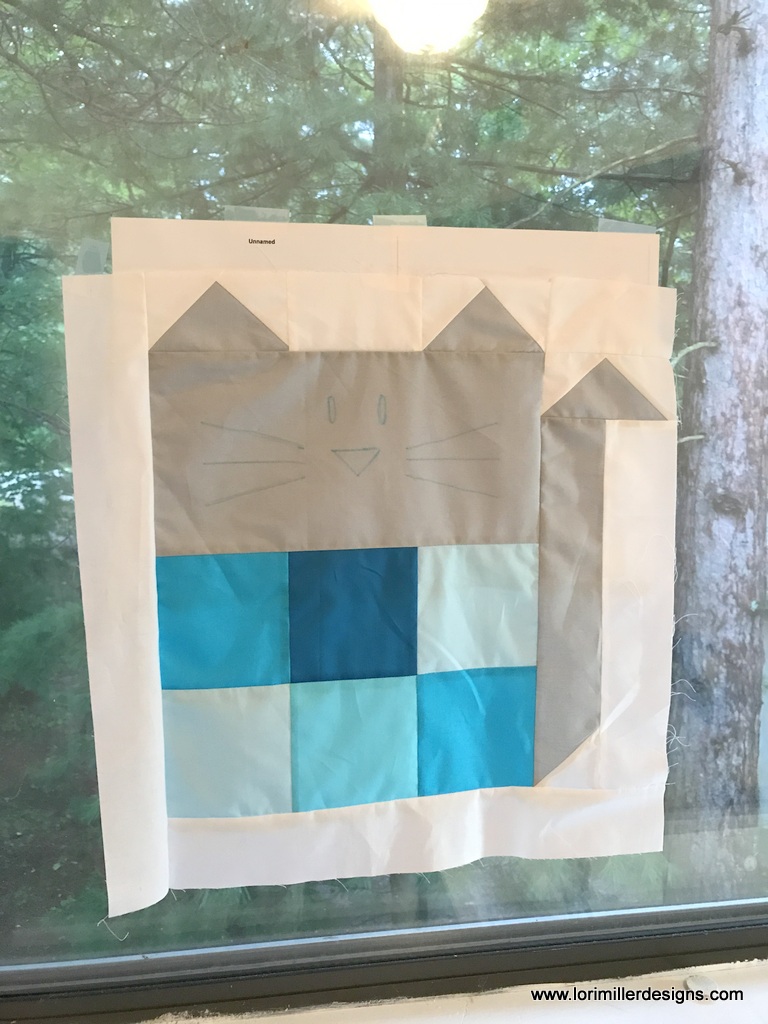
  1. Layout your tumbler blocks in a pleasing arrangement.  There are extra blocks so you can play with the placement until you like it.  There are 9 blocks in a row and 11 rows of blocks.
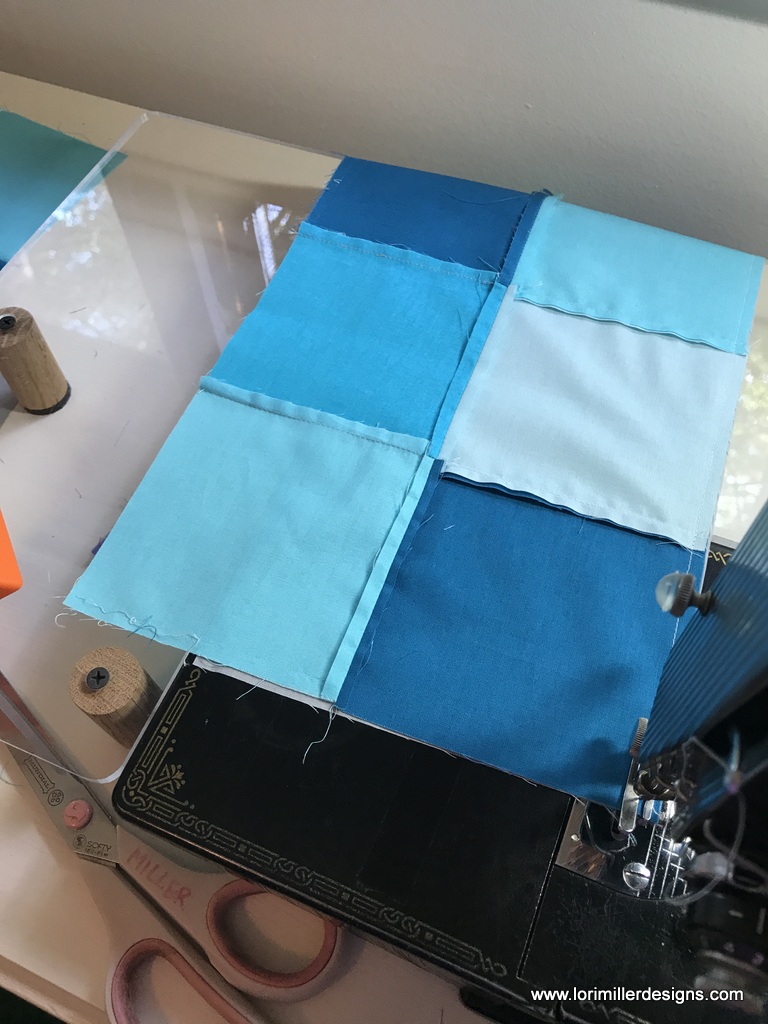
  2. Sew the tumbler pieces together in rows so the angled sides are on the left and right of the block.  I pressed the seams open.
  3. Then sew the rows together.  Press the seams open.
  4. Piece together the backing so that it is at least 4 inches larger than the quilt top all around.
  5. Make a quilt sandwich with the quilt top, batting and backing.
  6. Pin baste the quilt layers together.
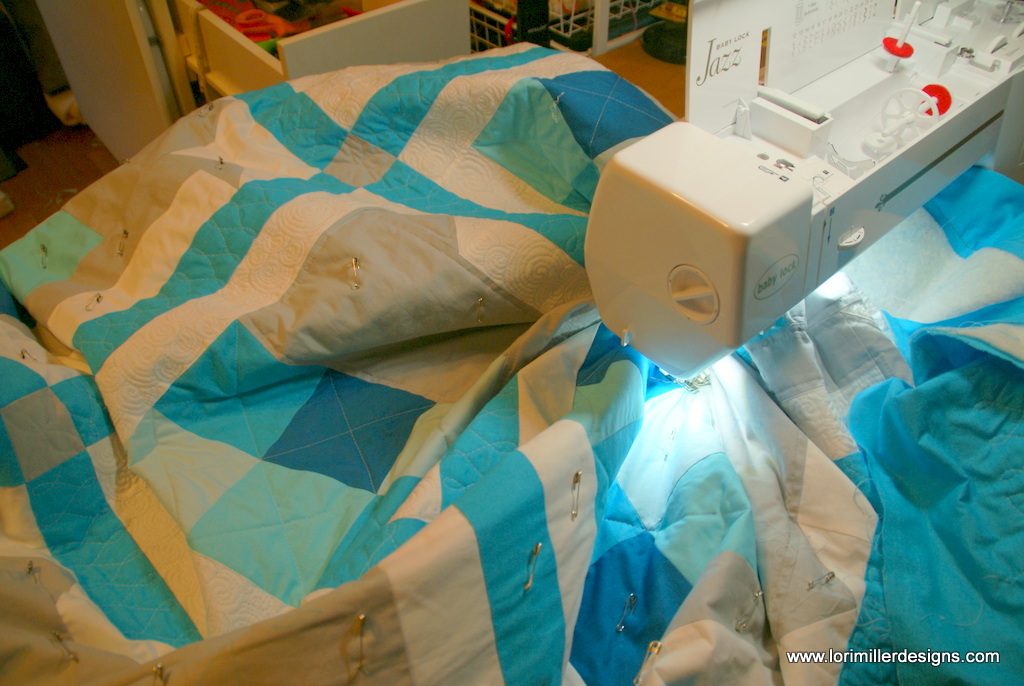
  7. Quilt as desired.  I just straight line quilted about 1/2″ away from the seams.
  8. Sew the 2 1/2″ strips together for the binding and add to the quilt.  The angled sides are pretty gentle so you can just ease the binding around.  You are finished!

I would love to see your Toddler Tumbler Quilt, tag me on instagram @lorimillerdesigns.

Looking for the EQ8 Design Instructions?  You can find them HERE.

For more projects and tips and techniques on using EQ8, visit my Electric Quilt blog series EQ8 Lessons with Lori.

For more information on EQ8, go to Electric Quilt 8 Software.

Published – Cookie Cat

MEOW!  Cookie Cat is here, my latest quilt made to celebrate my sweet kitty, Cookie.

You can find this fun little quilt in the March 2018 issue of American Quilter Magazine.  This magazine is published by the American Quilt Society (AQS).

Note: If any of you would like to join AQS in February, you will get access to the March digital issue as soon as you join, plus you can get 6 additional issues, a full year, in print.  Also, if you join and log into americanquilter.com, all AQS members have digital access to ALL American Quilter magazines back to 2013.  I just happen to be a member, so I though I would share.

Here is the real Cookie Cat, he loves to help me with my quilting.

As usual, I designed this cutie with Electric Quilt design software.  It makes the process easy and I had quite a few iterations on this block until I got it where I liked it.

I started quilting at my cottage in Northern Michigan.  I have a well used Featherweight Singer up there and it pieces a quilt quite nicely.

I generously received cotton solid fabric from  American Made Brand to make this sweet quilt.  The pieces are sized at five inches so they are charm square friendly too.

There are two variations in the colors for the blocks.  These are large 18″ blocks.  I love a large block, easy to sew, easy to have a large quilt quickly.

Here is my fancy light box at the cottage.  Yes, its a window from the second story, so I have a lovely pine tree backdrop.  I just taped the template to the window and then moved the block to where I wanted the face and taped the block to the window.  Then I traced with a water soluble marker.  Once I had the face on, I hand embroidered the whiskers.  The little nose is a piece of fleece.

I went a little crazy with the quilting.  I wanted to try out my Babylock Jazz on a larger quilt.  It may look like a jumble, but the large throat made it easy to do free motion quilting and the walking foot quilting.

Here you can get a better idea of all of the quilting.  I made the tiny swirls so tiny around the kitty, that took me forever.  Next time, I will make those babies just a bit bigger to get it done sooner.  I cant complain too much, I do love all that texture it creates, especially since the kitty is so basic.

I have enough scraps to make a baby quilt with just four blocks.  That just might be a great idea if you want to try this block but not make a twin size quilt.  Just one block would make a super cute pillow too.

Happy Stitching!


Published – Baby Raccoon Bandit Quilt

This little sweet Baby Quilt with the Raccoon Bandit has been published in Fons and Porter’s Easy Quilts Summer 2017 Magazine.  I am happy to share this cozy little cutie with you.

My girlfriend called to say she had received her newest issue and had found my original pattern.  It is always a nice surprise since you make your quilt months in advance for the Magazine and have to wait for the published issue to arrive.

I used EQ7 to design this quilt.  I was able to upload swatches of the actual fabric I was going to use and get a good idea of what the quilt would look like.  Northcott Fabrics generously provided the material which was a gorgeous, heavy weight flannel.  I used prints from TeePee Time by Deborah Edwards that had a super cute little raccoon in the design and I coordinated with Toscana flannels also by Deborah Edwards that has a nice mottled look that blends well with the prints.  These sewed and washed up beautifully and they have a very nice hand feel.

For this quilt, because I had some interesting piecing directions I wanted to try, I made a prototype quilt.  And I made him super modern, a blue raccoon!

I print out the rotary cutting directions from EQ7 and then I adjust them based upon how I want to assemble the quilt using my quilting knowledge.  I like to avoid bias edges and make things as easy as possible to assemble.  So I write up all my notes as I sew.

Here is my Baby Blue Bandit.  It just gives you an idea of how by just changing colors, you can make lots of different styles from one pattern.

I used some simple constructions shortcuts to make this giant 20″ block even faster.  There is only one template for the ears.  I loved this cute little critter, I hope you enjoy making one too!

Thanks for letting me share!  Happy Stitching!

Tutorial – Charming Baby Quilt

This tutorial introduces my first project designed with EQ Mini Software by The Electric Quilt Company.  Made with pre-cut charm squares, this first easy beginner project is the Charming Baby Quilt.  I am pleased to be blogging for Electric Quilt hosting EQ Mini Friday Fun and sharing how to design in EQ Mini.  In addition, on my blog here, I will be sharing tutorials to take the design from idea to finished stitched project.

eqmini-nohole-sm-226x300

EQ Mini is the new scaled down, simpler version of EQ7 quilt design software.  This program was created for quilters who are just getting started using software for quilt design.  EQ Mini will help you create, edit, share, and print patterns and yardage for your quilt designs.  I had the good fortune to beta test EQ Mini and I was very impressed with the easy flow and friendly beginner aspects of the software.

eq mini baby quilt select horiz medallion

I love the colored step by step tabs that let you easily work to create and edit a design.  And even though it is a Mini version of the Electric Quilt 7 software, it is still robust enough to offer a ton of design possibilities. It contains a block library of 300 pieced and appliqué blocks that can be set in 4 layout styles, there are 8 different border styles and a fabric library of over 3500 scanned fabrics to use to make your designs exactly how you want them.  Thats my EQ Mini spiel!  Let’s move on to the tutorial!

Charming baby quilt

Charming Baby Quilt

Finished size is 40 1/2″ x 40 1/2″.

Materials

  • 1 package of coordinating 5″ charm squares (you will need 32)
  • 1  yd for center of quilt
  • 1/2 yard for small border and binding
  • 1 1/4 yard for backing
  • 1 1/4 yard batting

Directions

Cut Fabric:

Center Square

  •  1 — 31 1/2 ″ x 31 1/2 ″ square

Inner Border

  • 2 — 1″ x 31  1/2″ strips
  • 2 — 1″ x 33  1/2″ strips

Outer Border

  • 32 – 5″ Charm squares

 Sew:

  1. Sew the 31 1/2″ inner border strips to opposite sides of the center 31 1/2″ square. Press seams.
  2. Sew the 33 1/2″ inner border strips to the top and bottom of the center square. Press seams.
  3. Take your charm squares and arrange them around the quilt until you get an arrangement you like.
  4. Sew together seven squares for each side.  Attach the sewn strips of seven squares to each side of the quilt center unit. Press seams.
  5. Sew together the remaining nine squares for the top and bottom of the quilt.  Attach the sewn strips of 9 squares to the top and bottom of the quilt center unit.  Press seams.
  6. Your quilt top is pieced.  Yay!
  7. Prepare the quilt backing.  You may need to piece part of the fabric on one side so that it is larger than your quilt top if needed.
  8. Make a quilt sandwich with the backing face down, then the batting, then your quilt top face up.
  9. Pin baste the quilt layers together.
  10. Quilt as desired.
    marking quilt
  11. Here is my super secret method I used to mark this quilt.  The smaller shapes were just smaller lids I found in the kitchen.
  12.  I tried quilting some large clamshells and stitched them with my walking foot.  I like the rainbow look and it echos some of the designs in the charm squares.
  13. Finally, add the binding.  I used 2 1/2″ strips to make my binding.  Here is the finished quilt in my sunroom, the lighter colors are dappled sunlight coming in the room.

Variation Suggestions

  • Mix it up and try a cute nursery print for the center and solid pre-cut 5″ squares for the outside.
  • Use that blank space in the center to personalize the quilt with baby’s name in embroidery or with applique letters.

This is a quick and easy baby quilt that you could easily put together in a diligent weekend.  I really liked the idea of using a pack of charm squares that I already had in my stash.  I would love to see pictures of your charming baby quilt.  Just tag me on instagram @lormillerdesigns.

Looking for the EQ Mini Design Instructions?  You can find them here: EQ Mini Friday Fun: Charming Baby Quilt