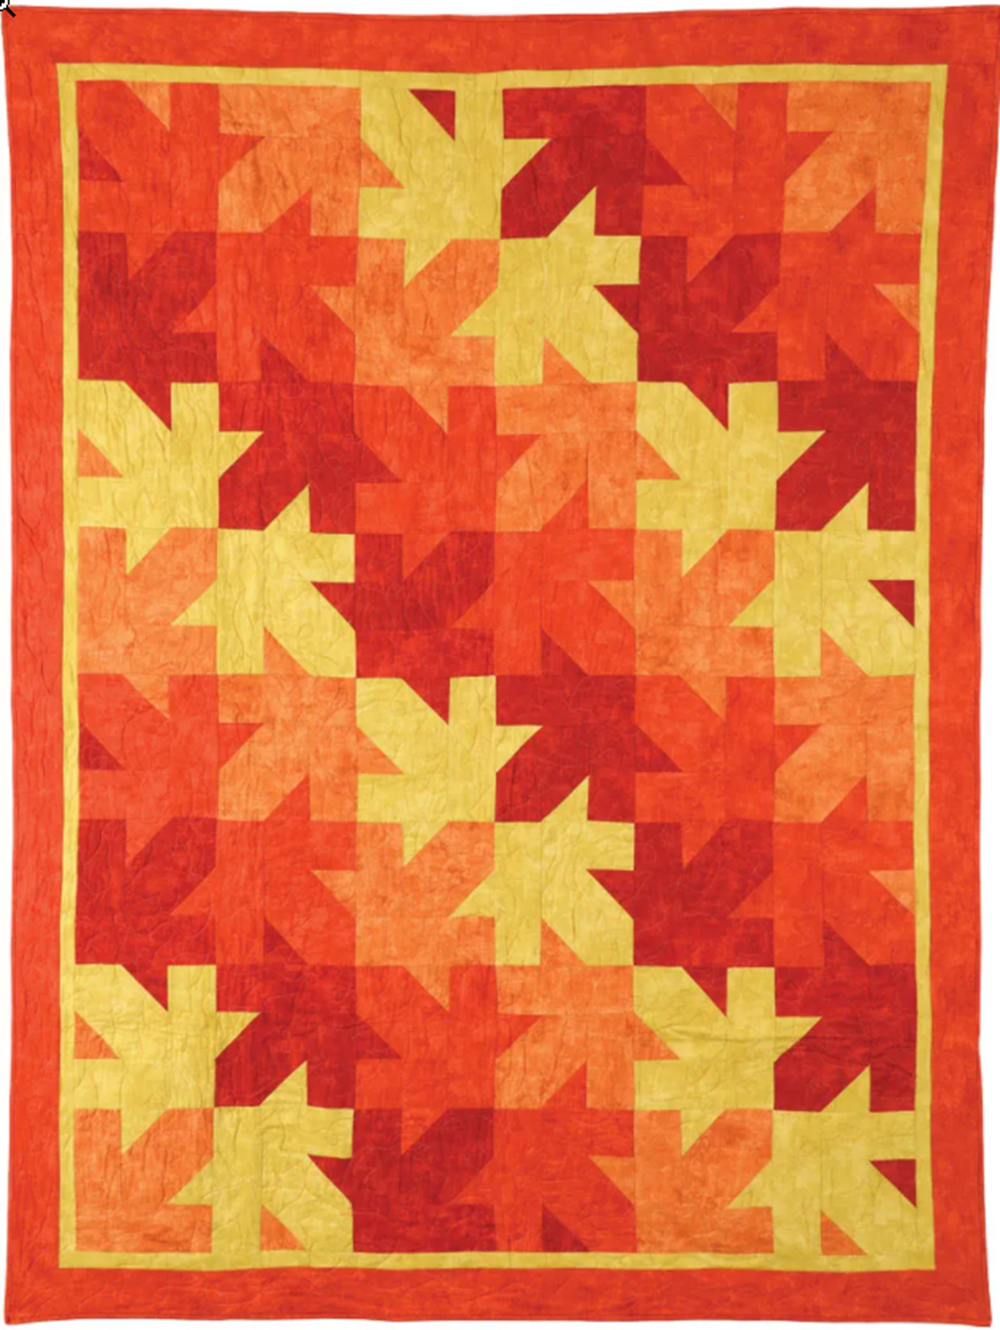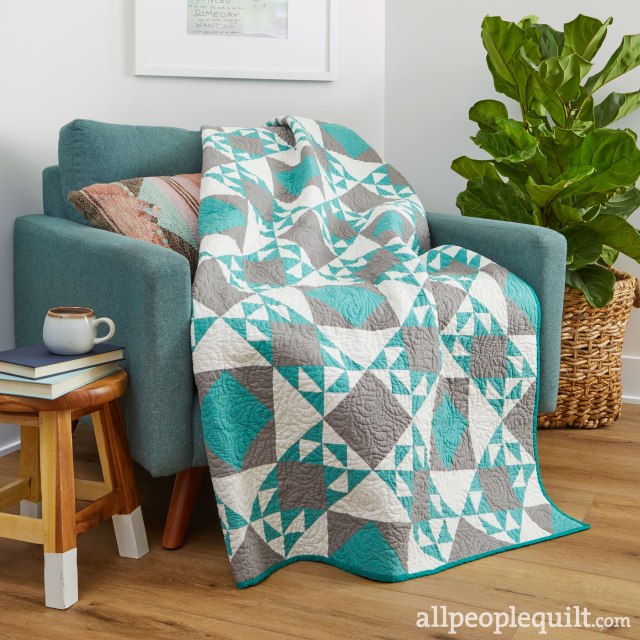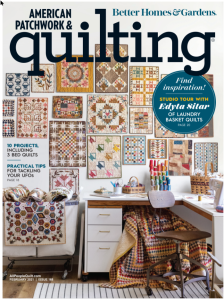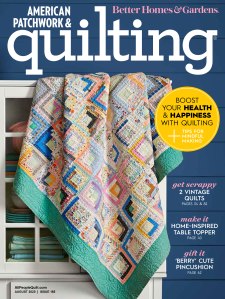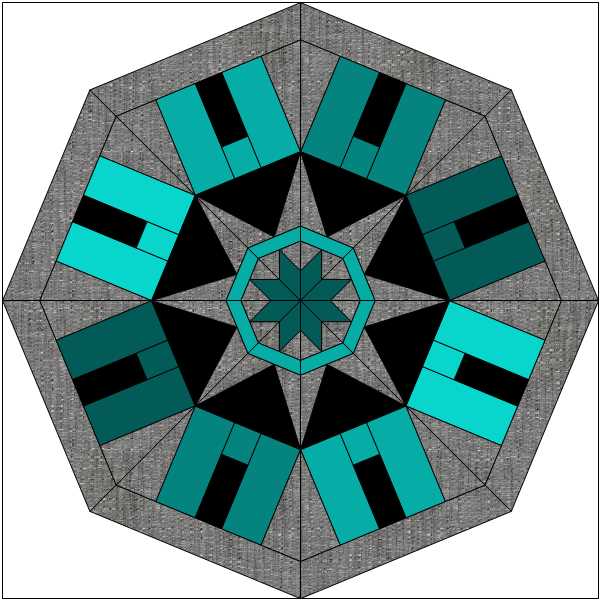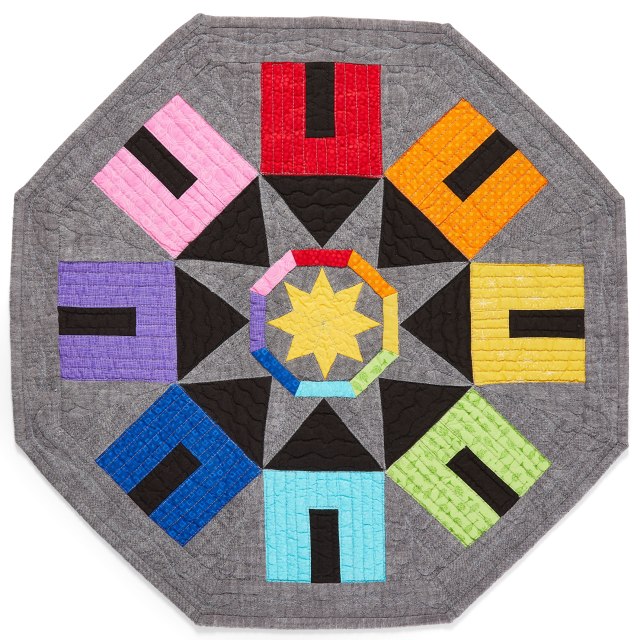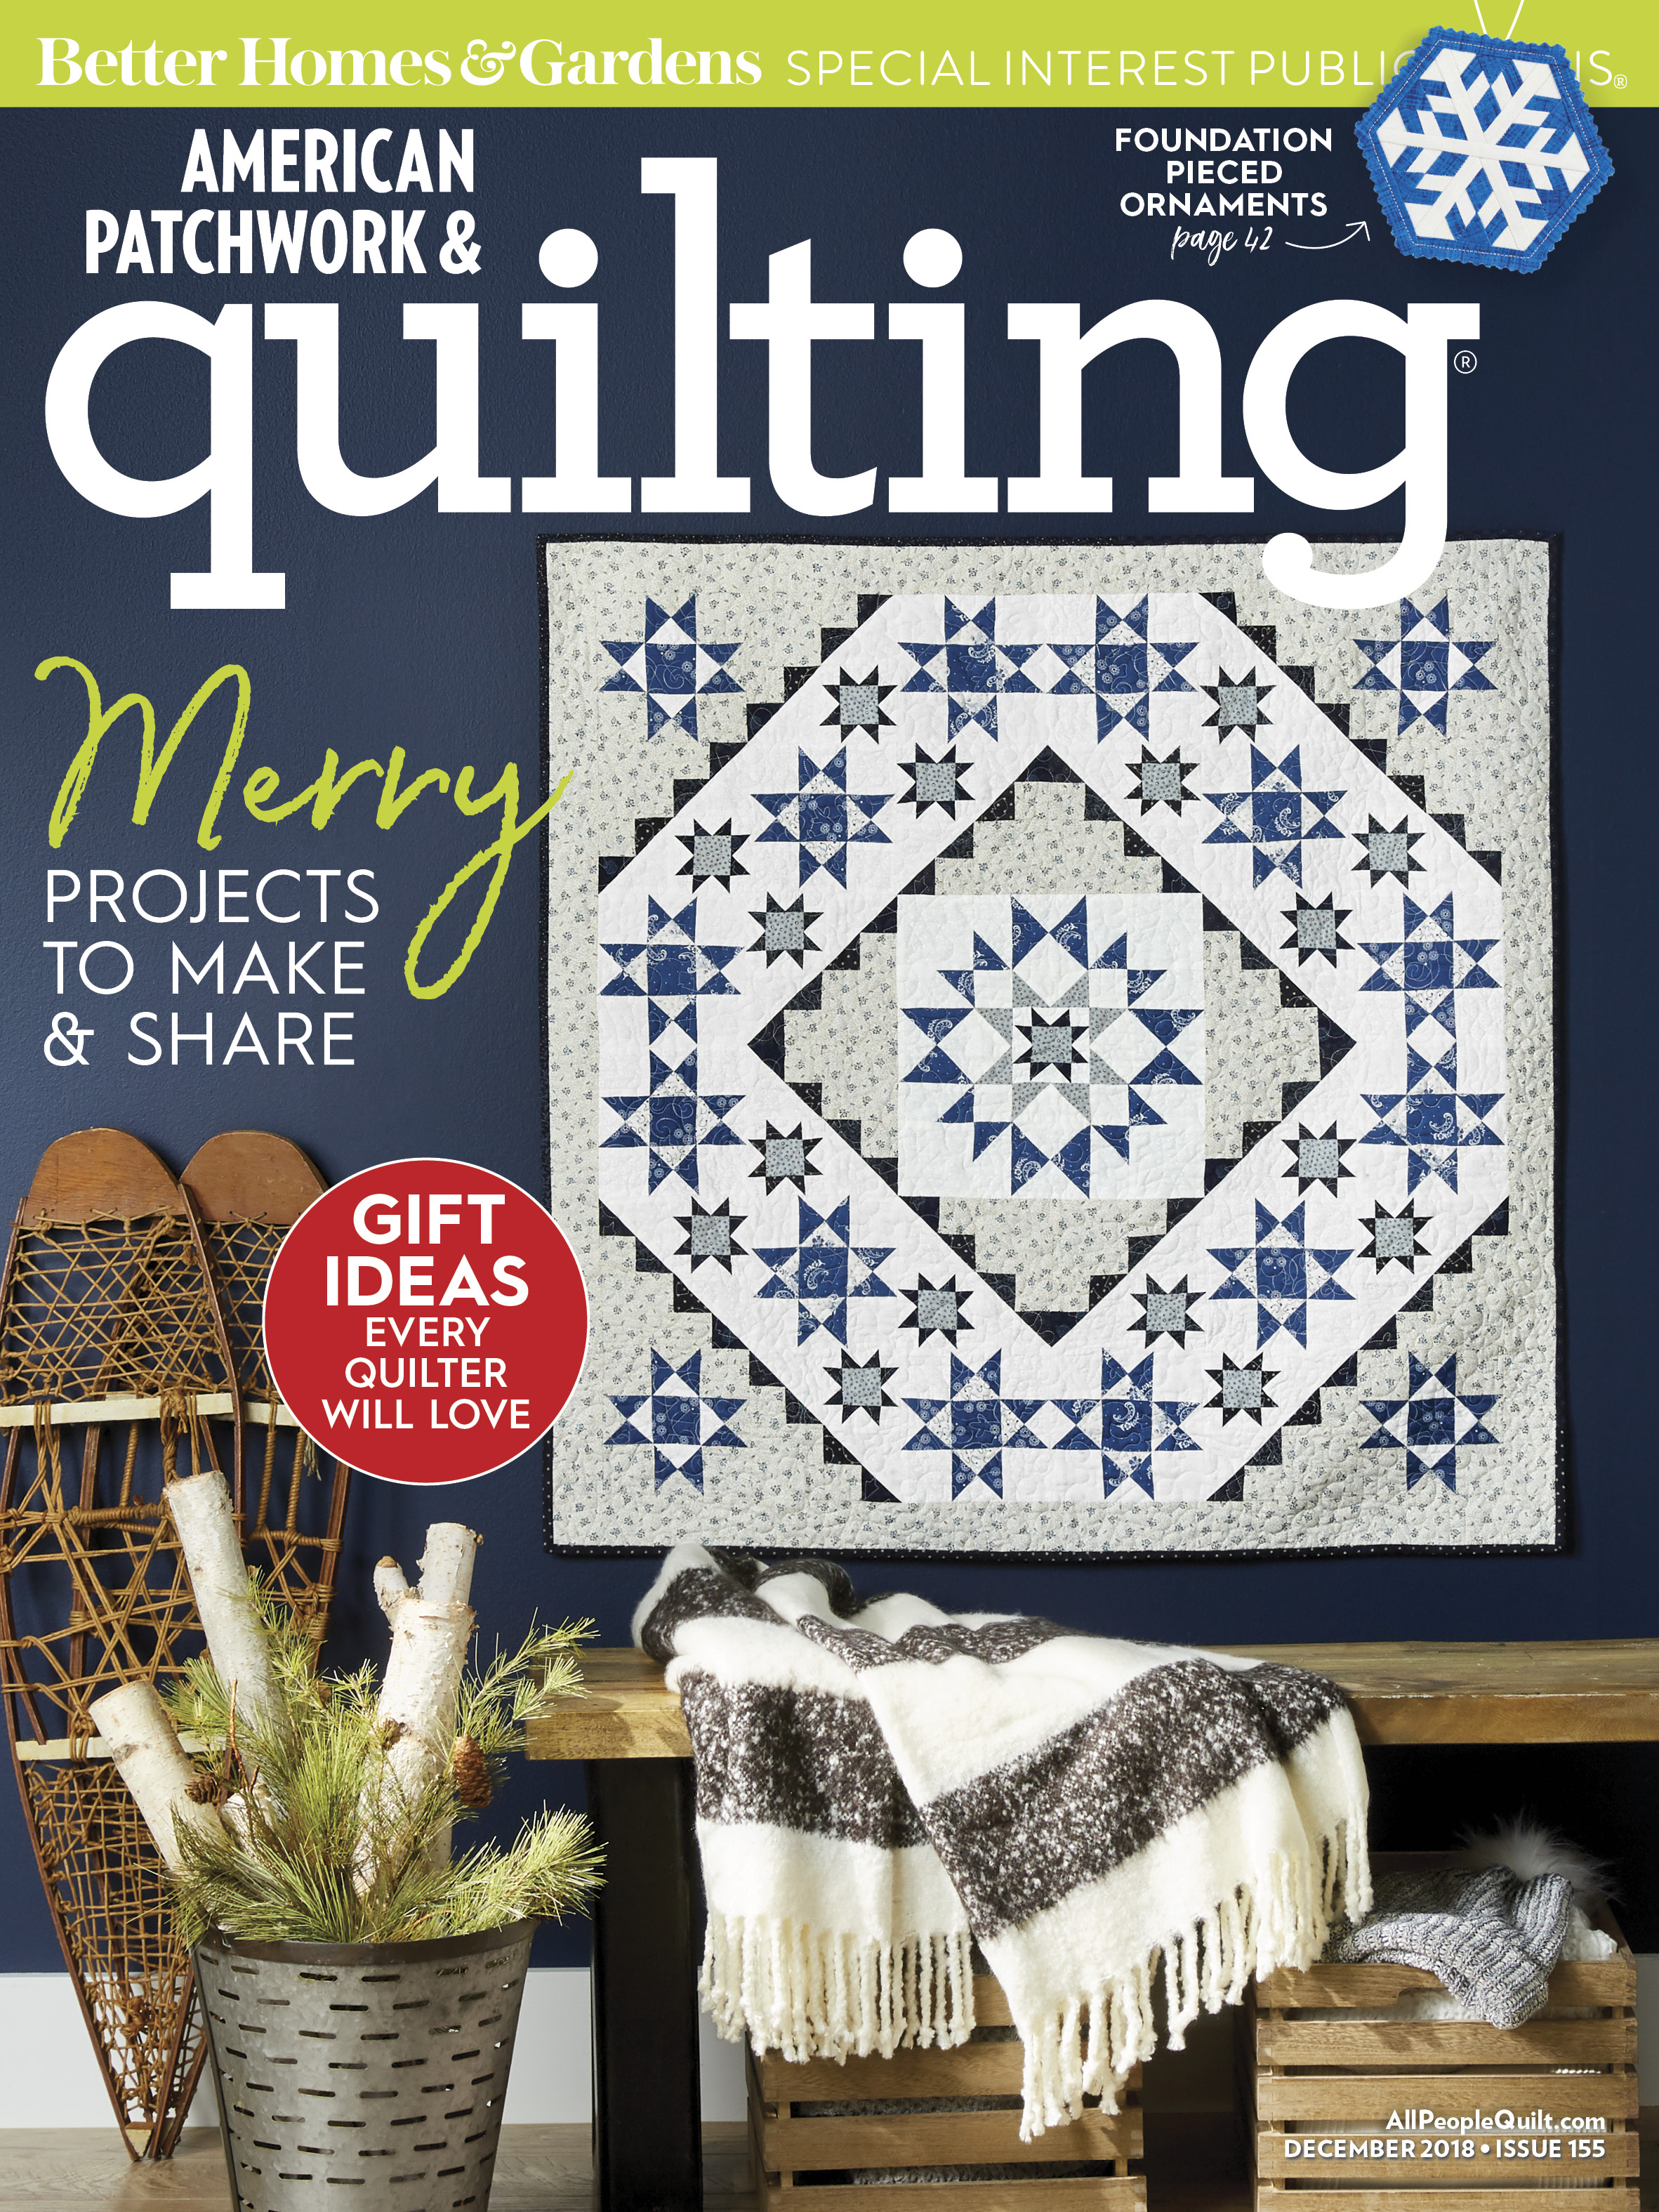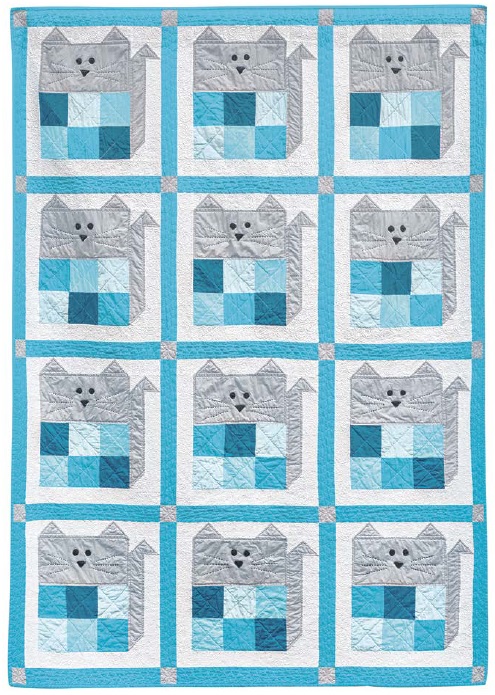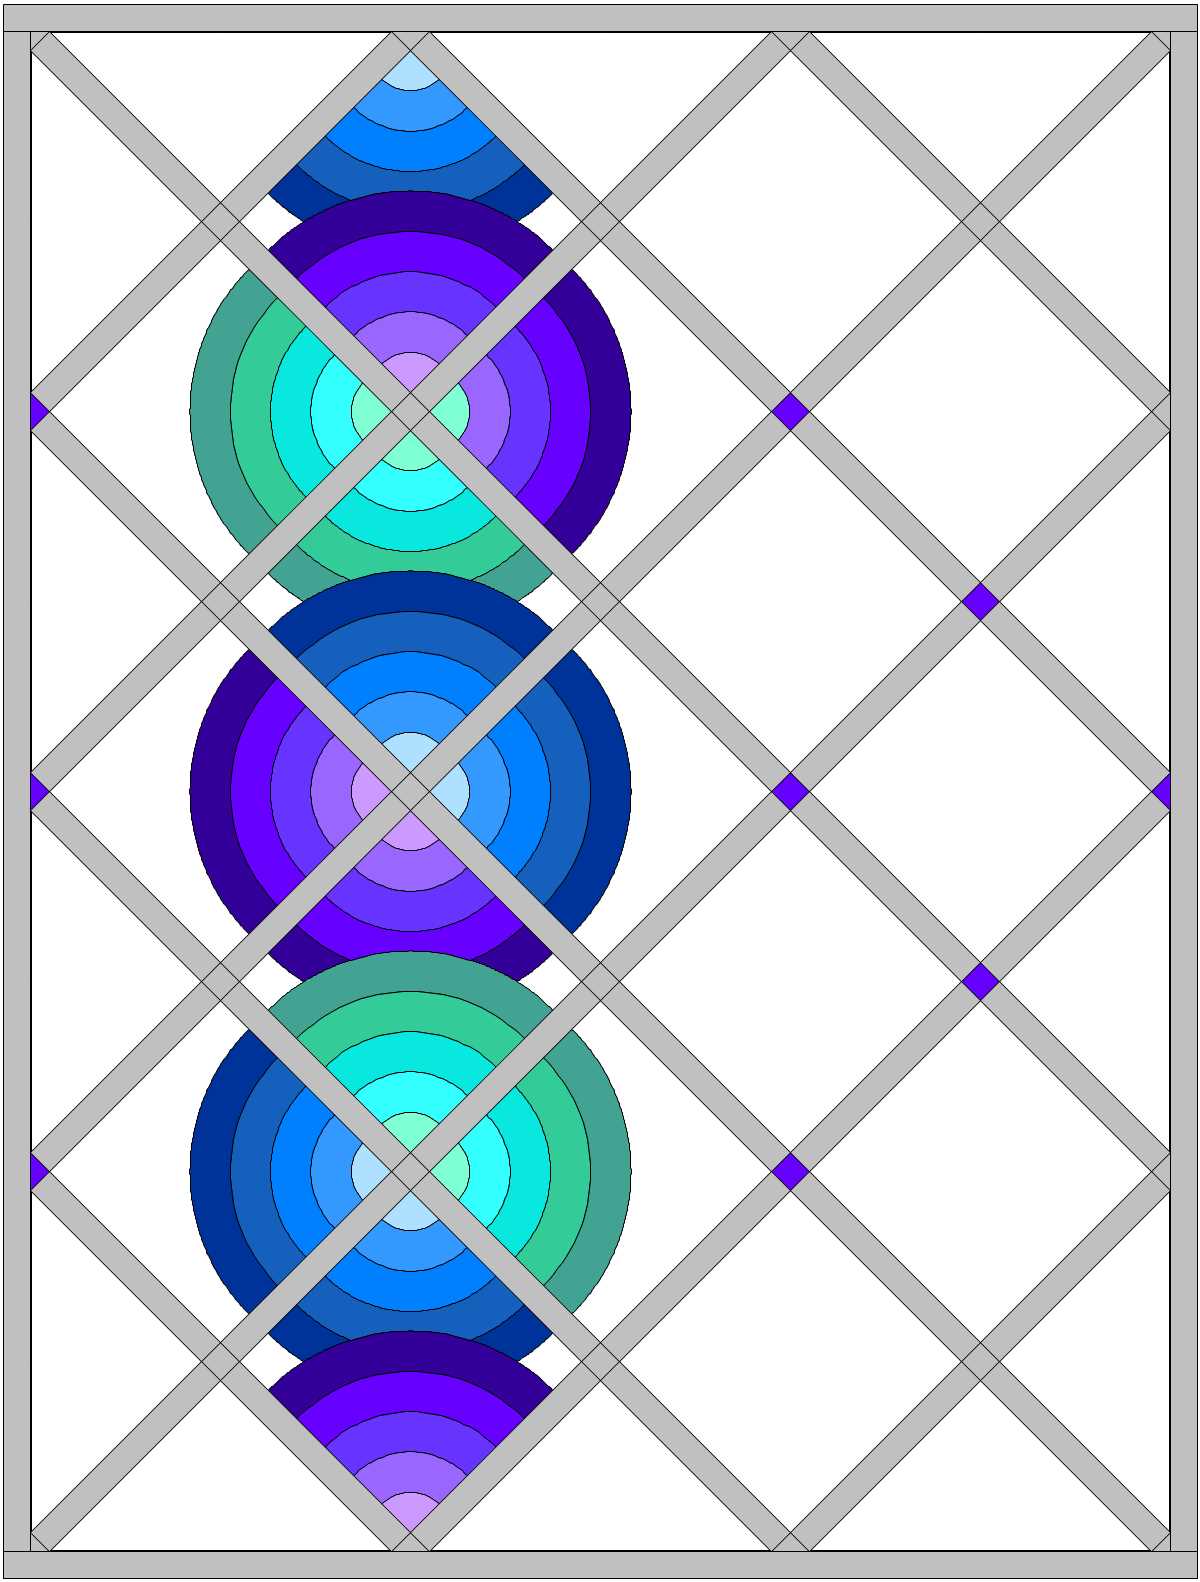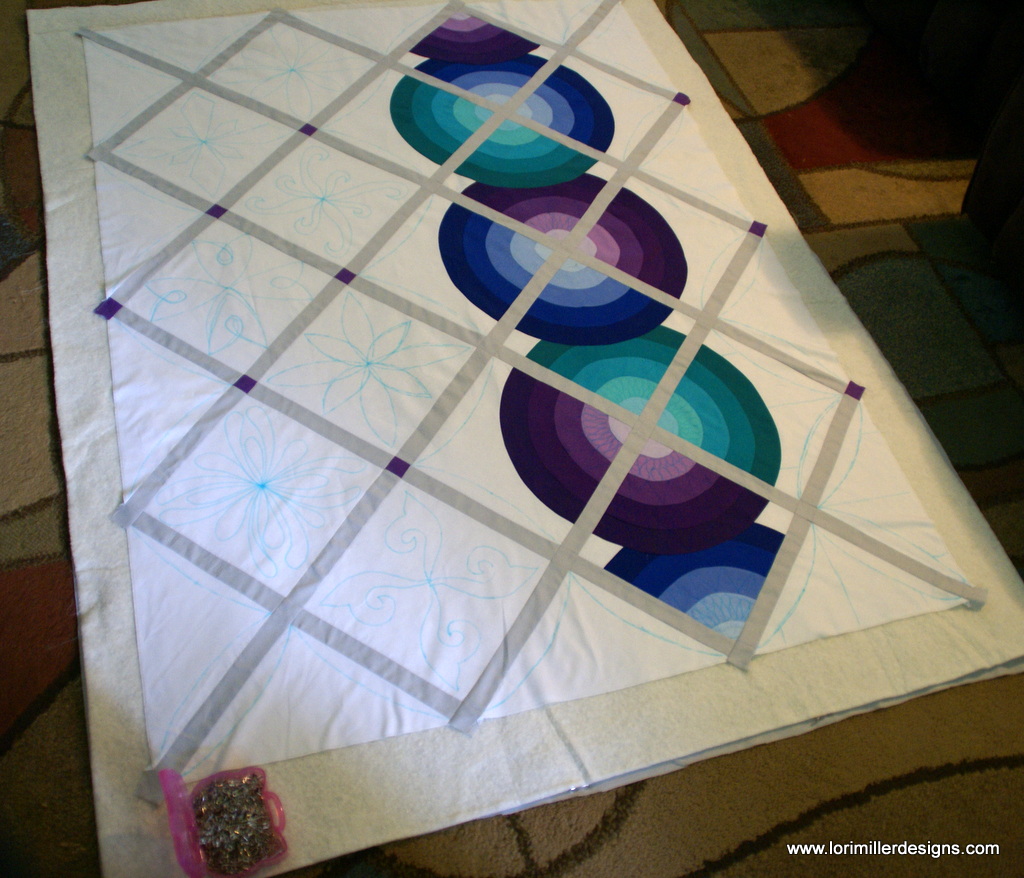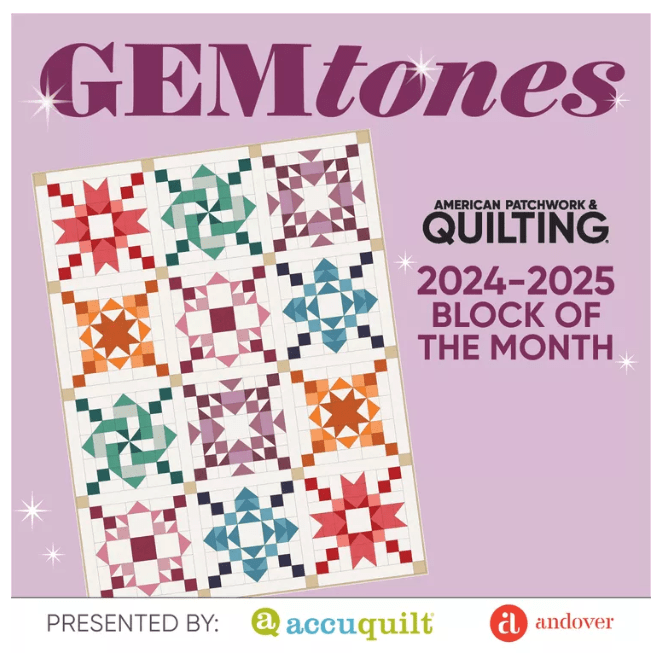
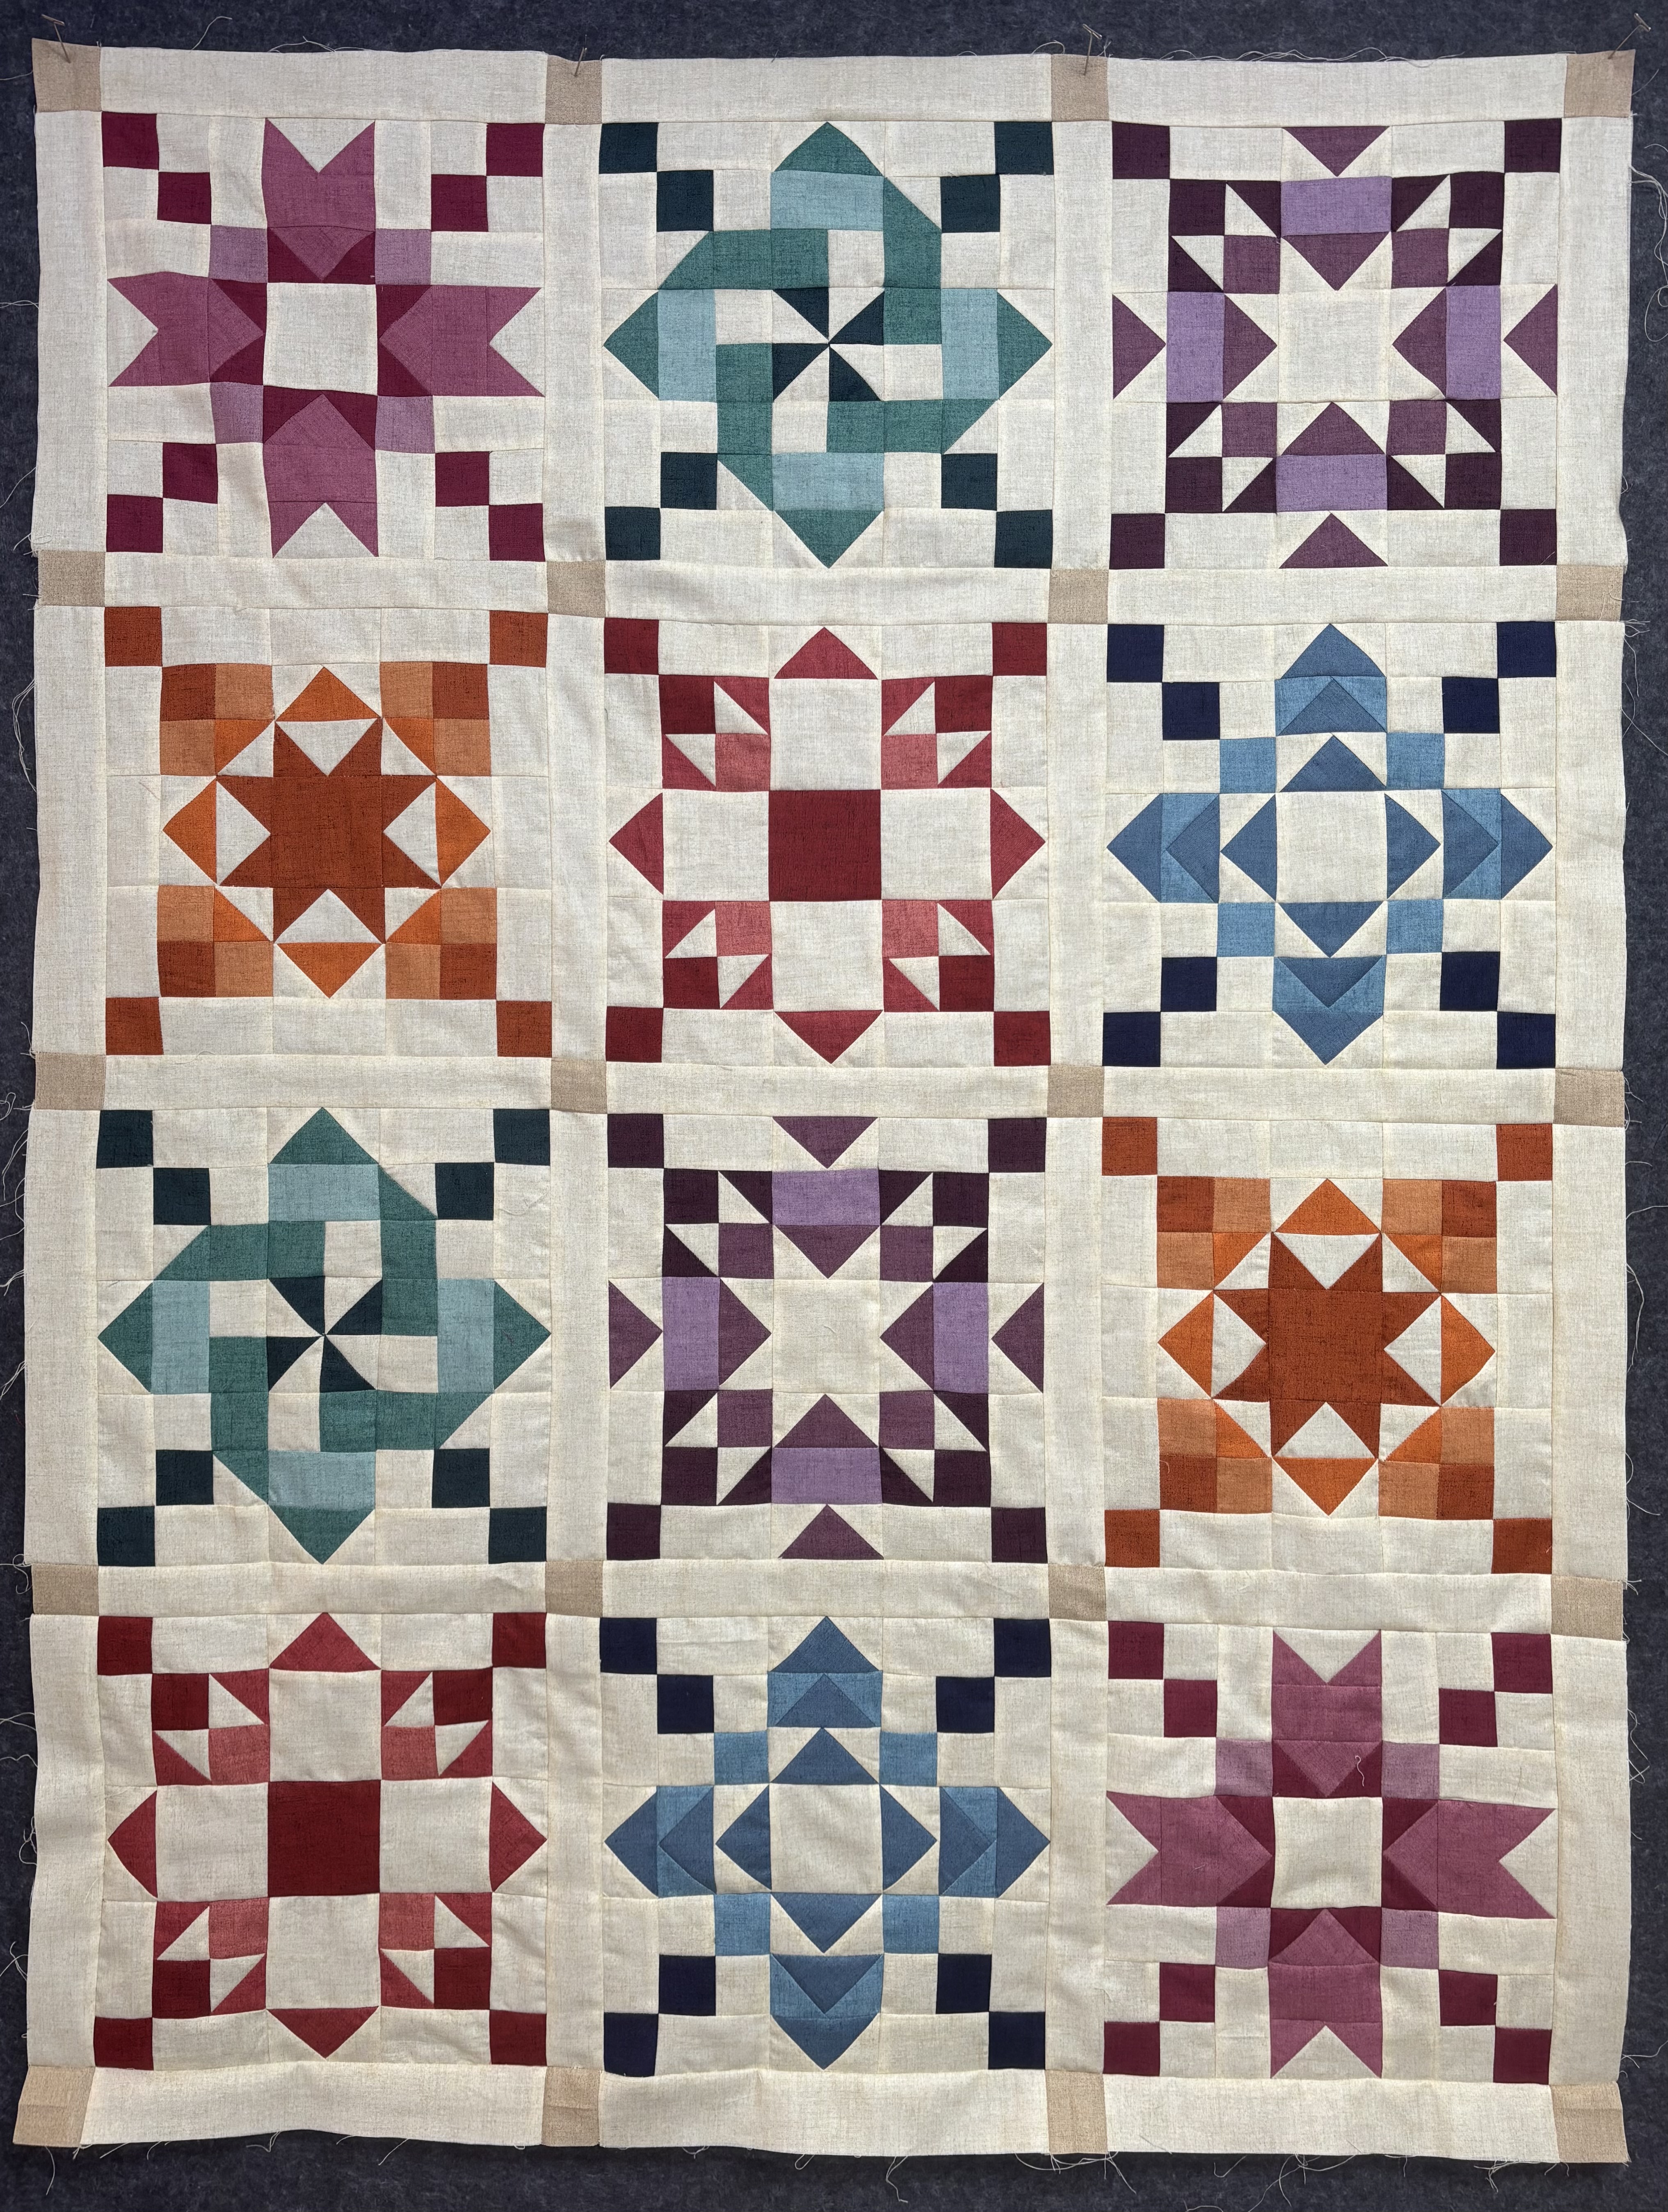
I wanted to share one of the Blocks of the Month (BOM) that I designed for American Patchwork and Quilting magazine for 2024-2025. This sampler quilt had gorgeous monochromatic blocks in sparkling hues resembling gemstones.
This BOM has wrapped up but all of the patterns are still available for FREE on the AllPeopleQuilt.com website.
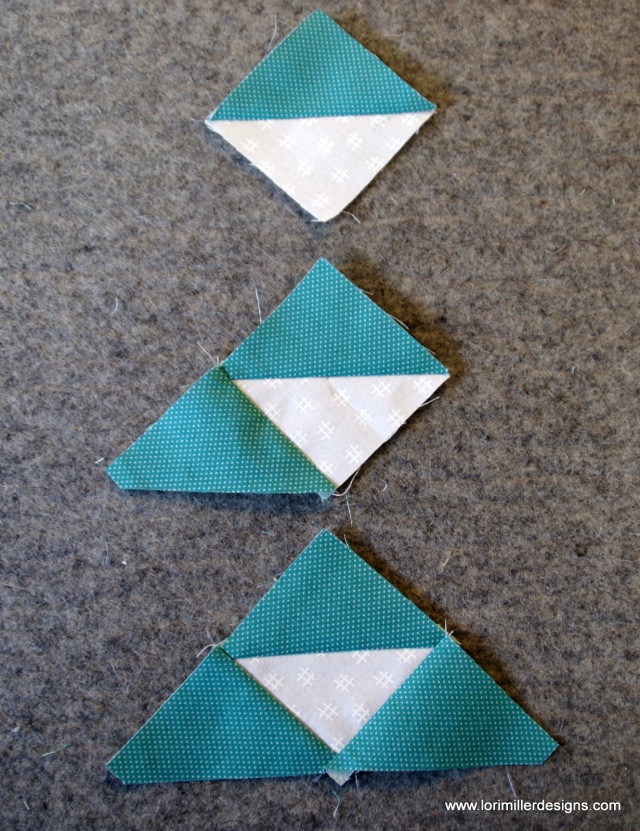
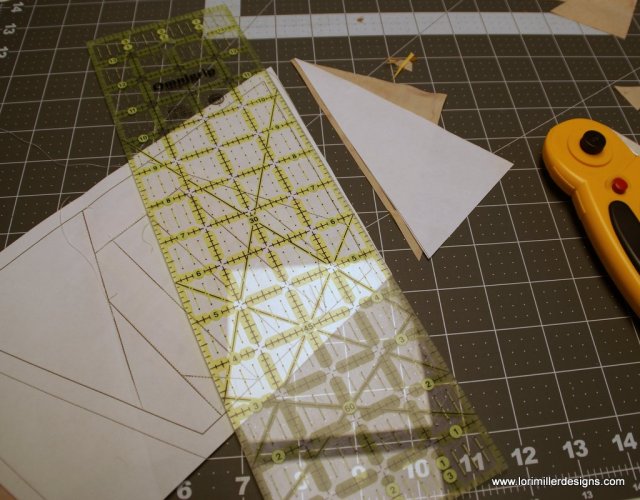
And the best part is there are BOTH Rotary cutting and AccuQuilt cutting directions, so you can choose your own method of cutting. Everyone can still join in!
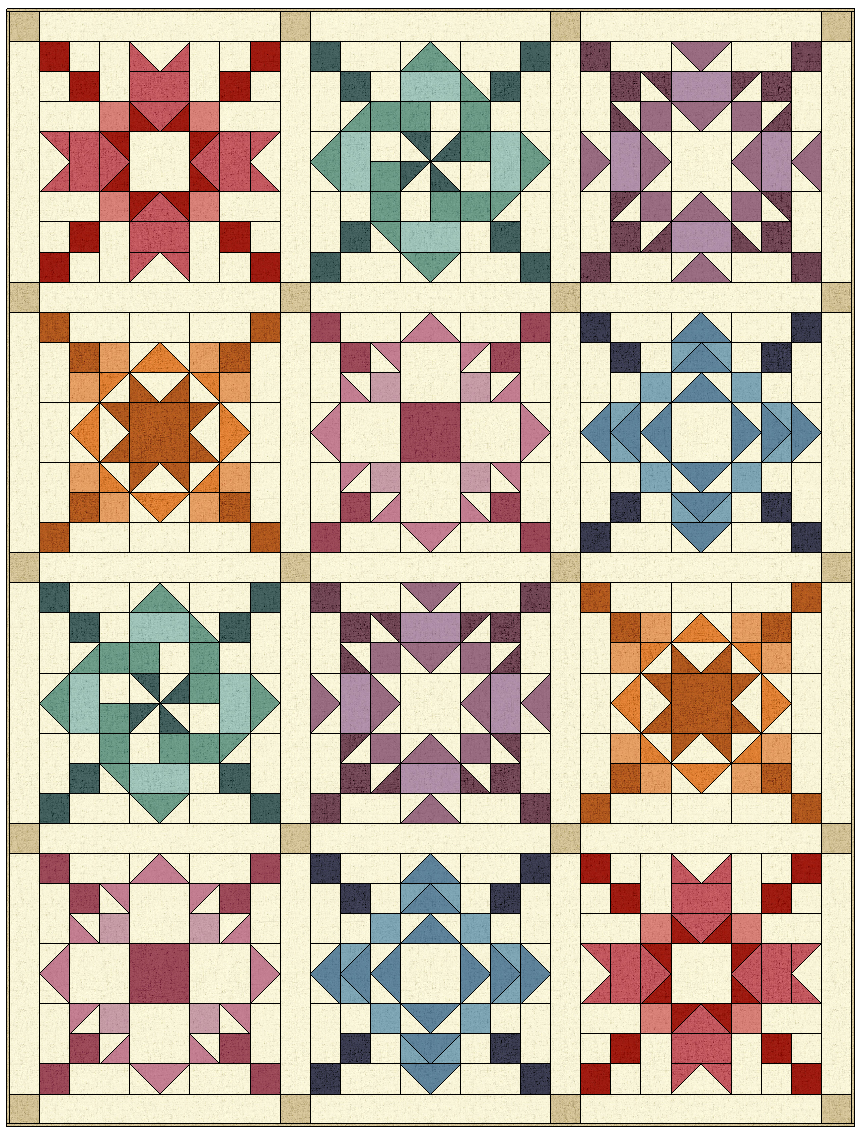
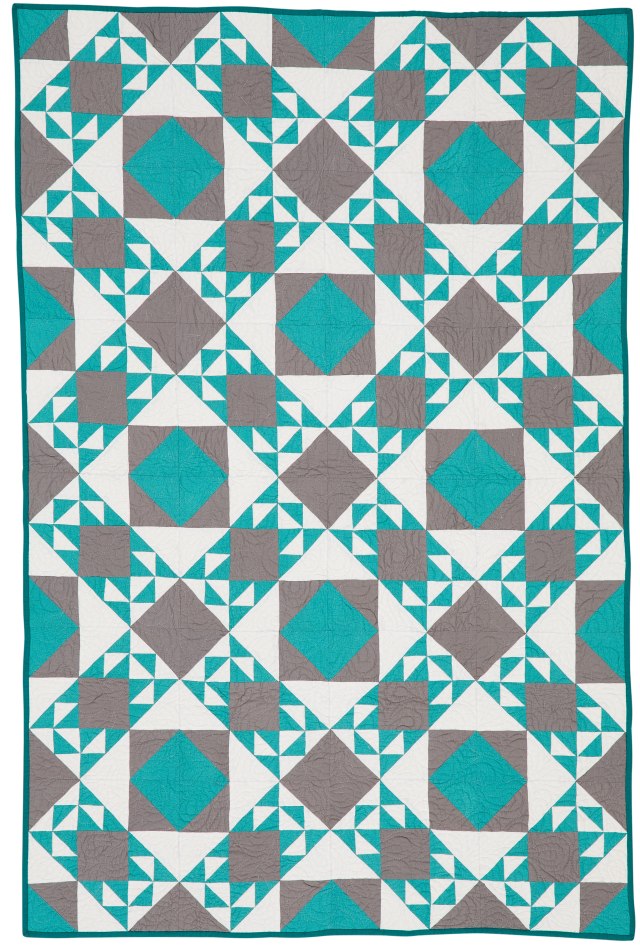
This quilt finishes at 70 1/2″ X 93″. The lovely soft colors are the Cottage Cloth and Cottage Cloth II collections by Renee Nanneman from Andover Fabrics. The All People Quilt website has all of the fabric requirements and instructions. Remember, those Instructions will be included for traditional Rotary Cutting AND for AccuQuilt Cutting.

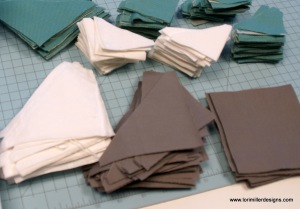
If you are using AccuQuilt die cutting, you will need the following dies:
- 55797: GO! Qube Mix & Match 10″ Block
- 55017: Strip Cutter 2 1/2″ (2″ Finished)
- 55084: Strip Cutter 3″ (2 1/2″ Finished)
Note: You can also use an 8″ or 9″ Qube set as well! The blocks will be a bit smaller, but all the shapes are the same.

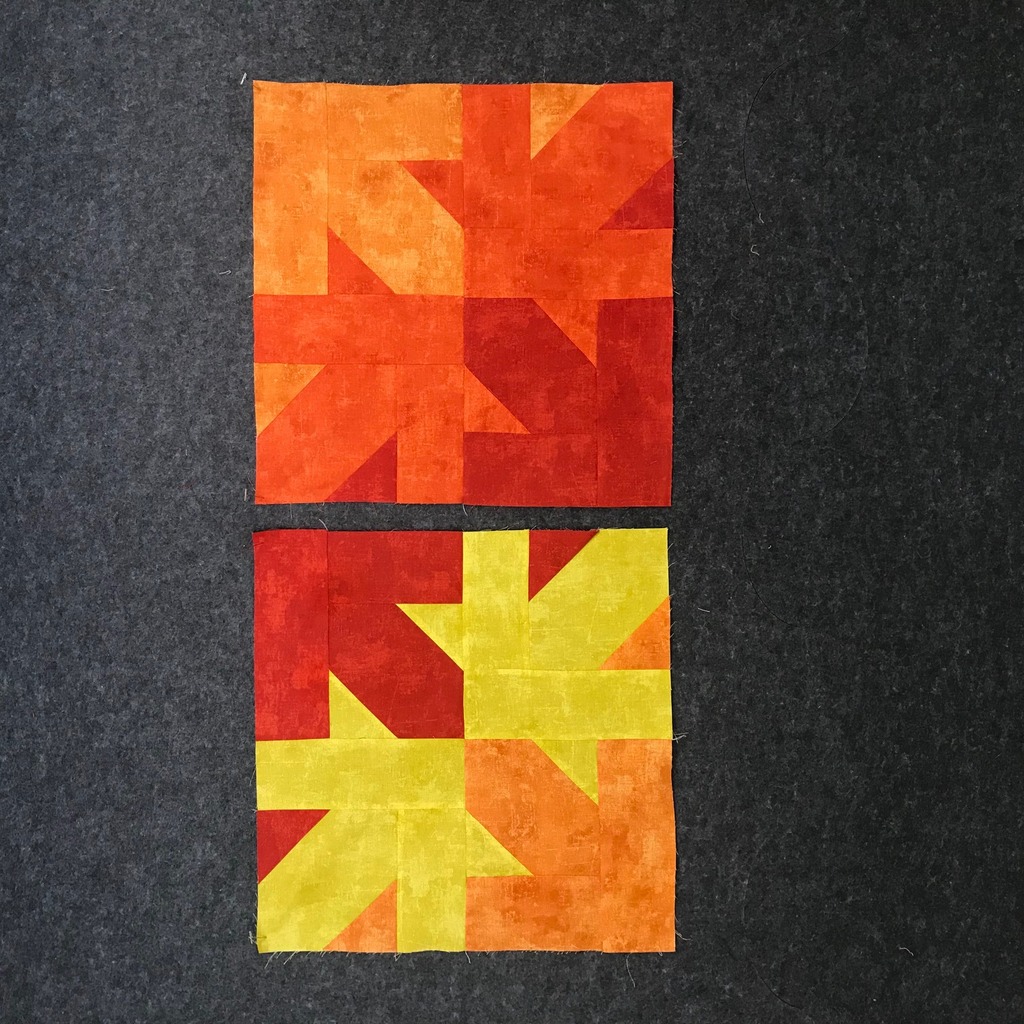
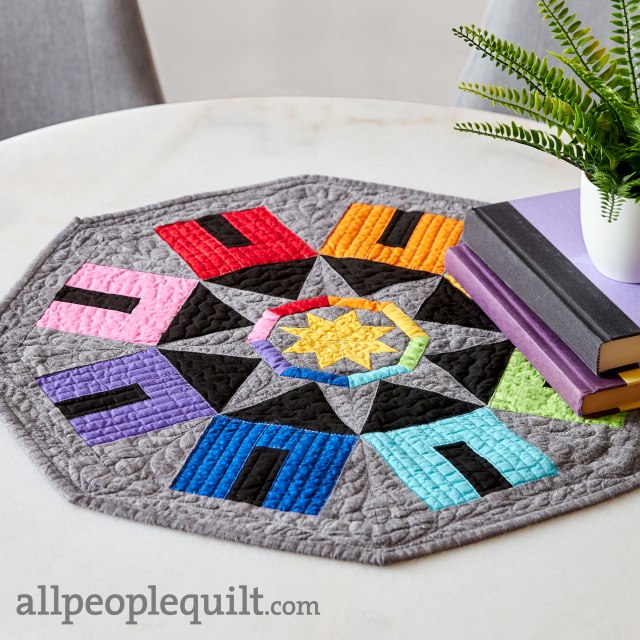
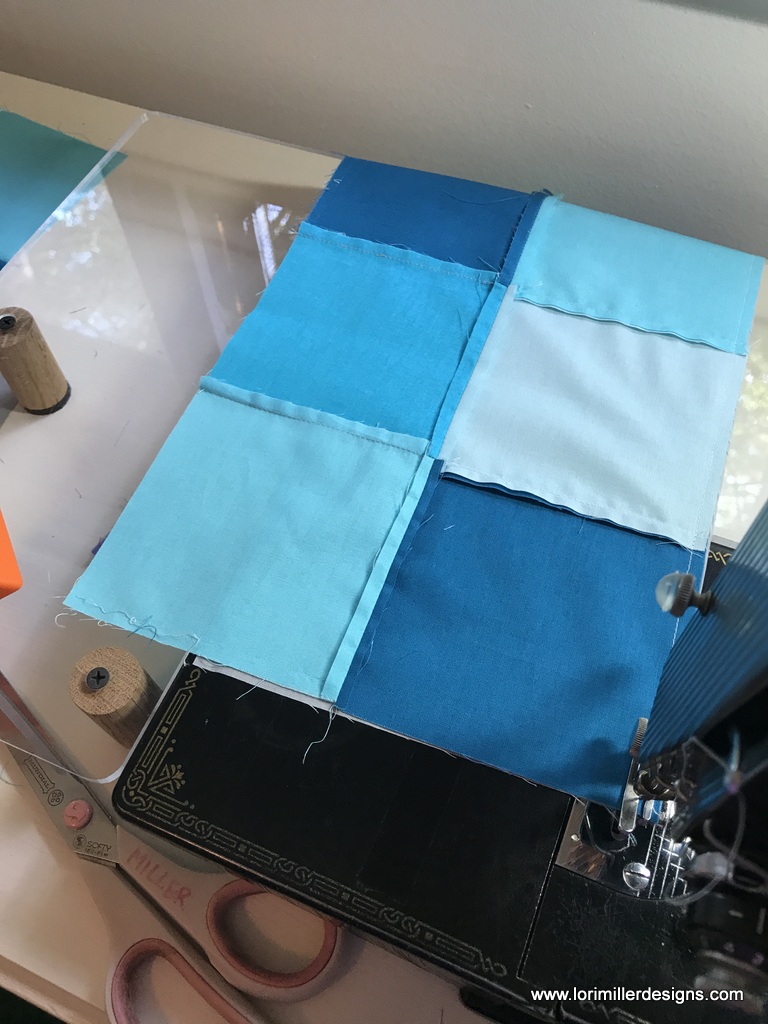
I used the 10″ Qube to make the quilt top. The blocks are 20″ square.
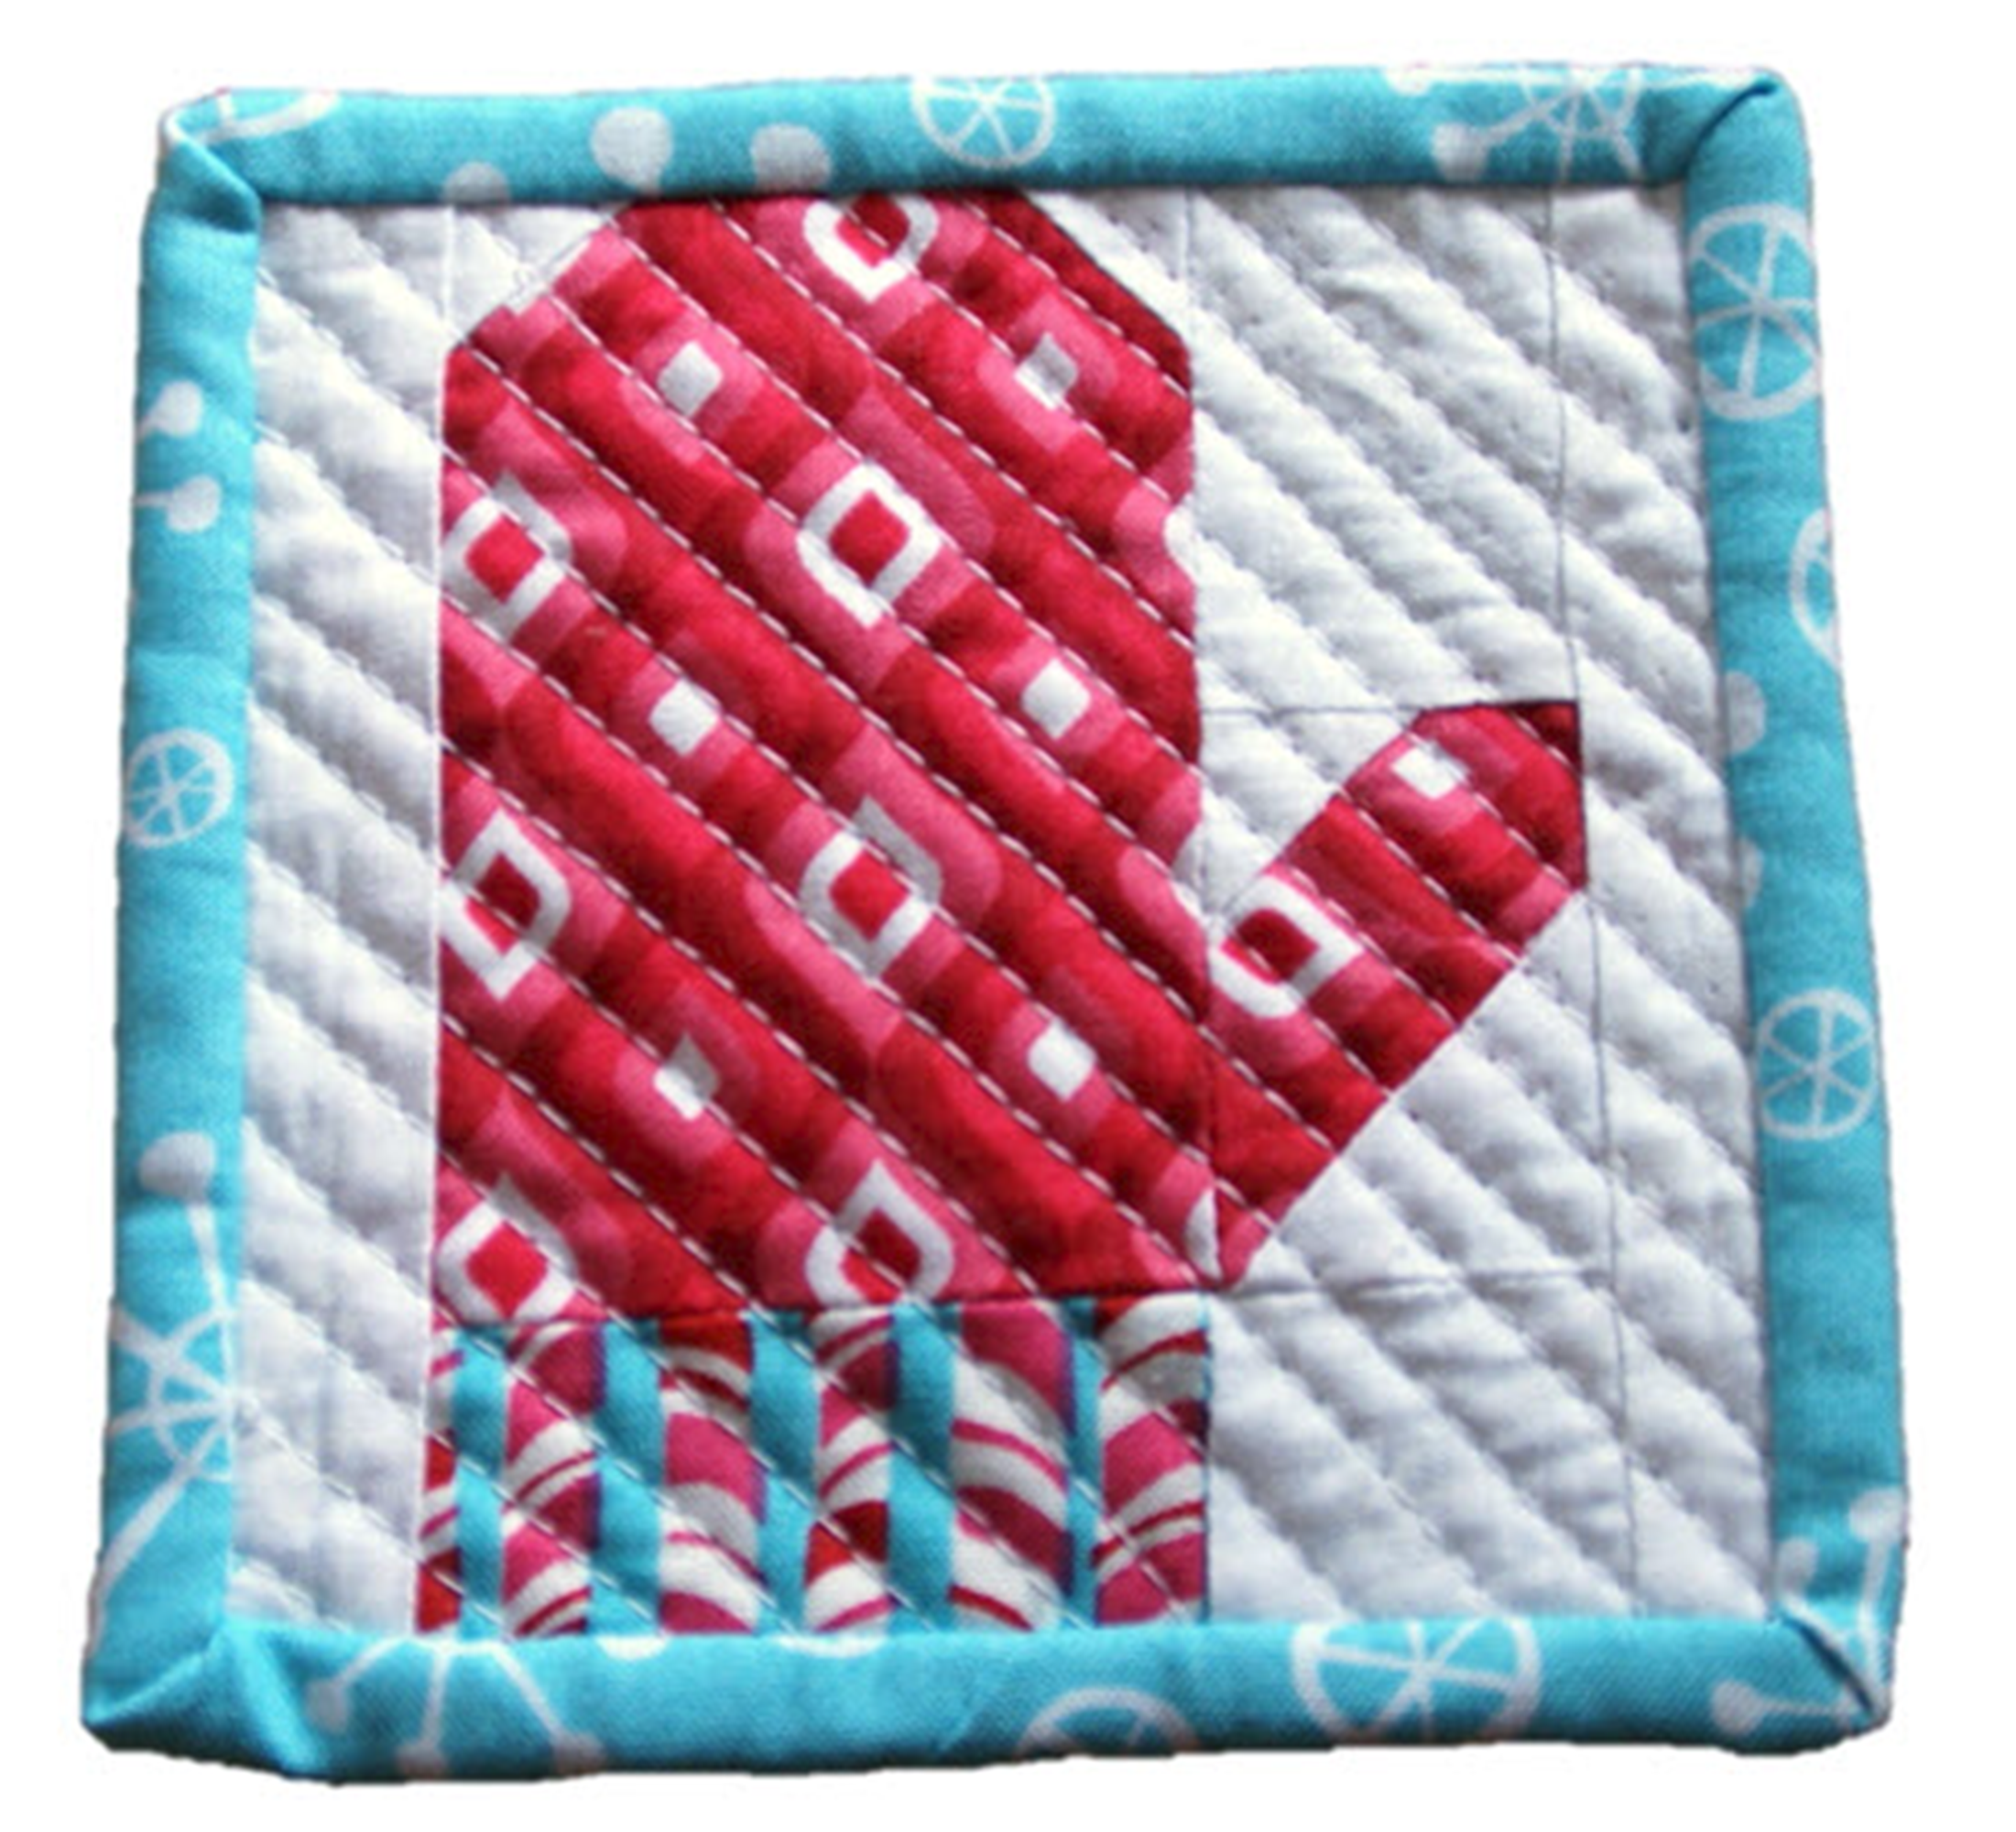
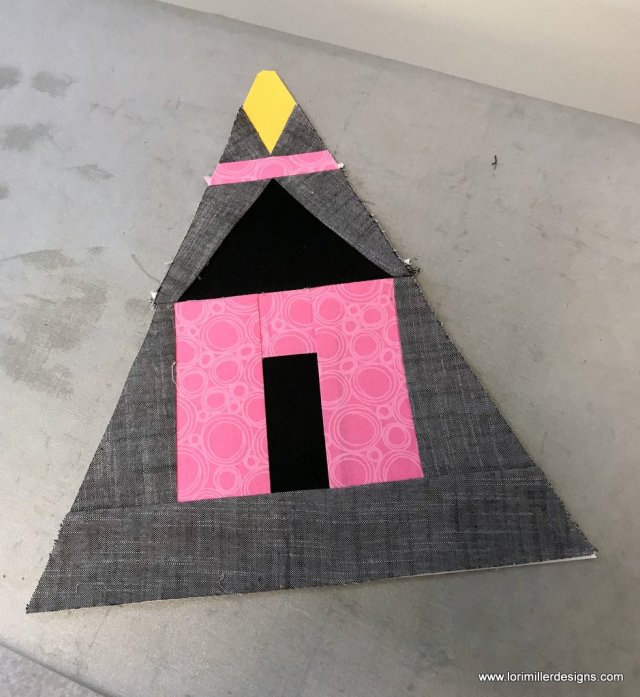
Then I used my 5″ Qube to make a mini quilt with half the fabric and half the size. So adorable! They both turned out wonderful.
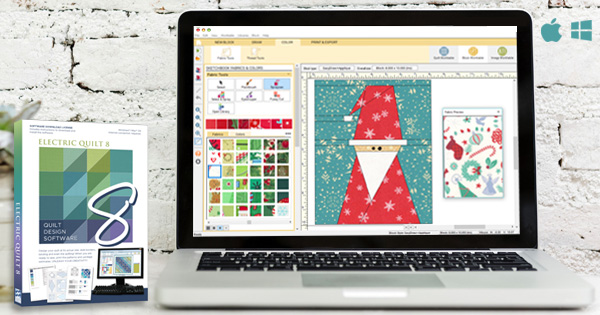
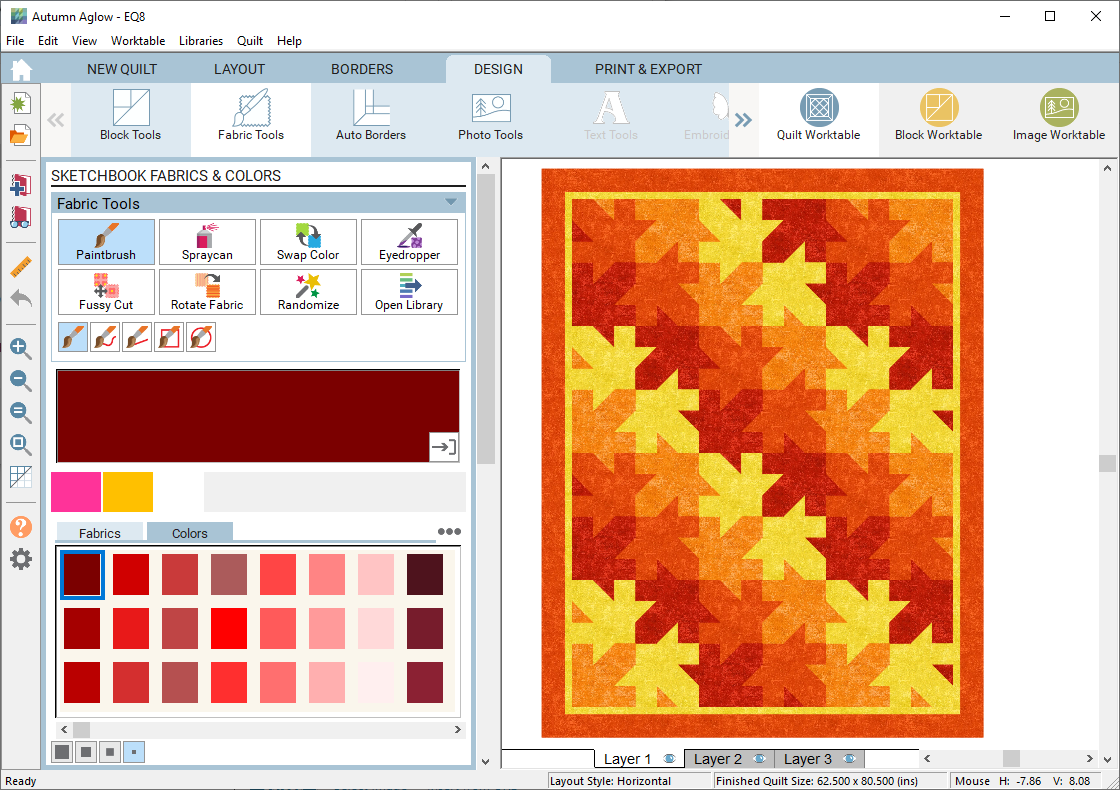
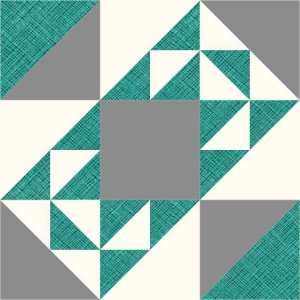
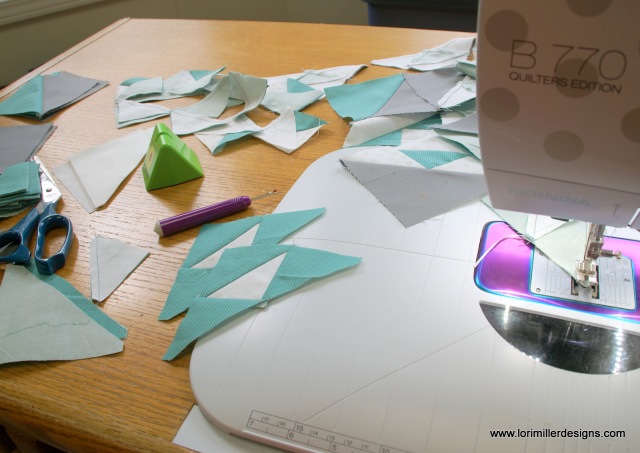
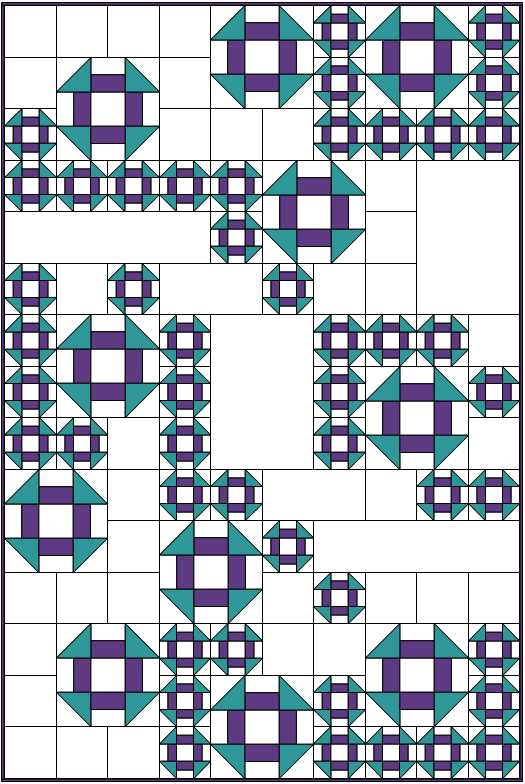
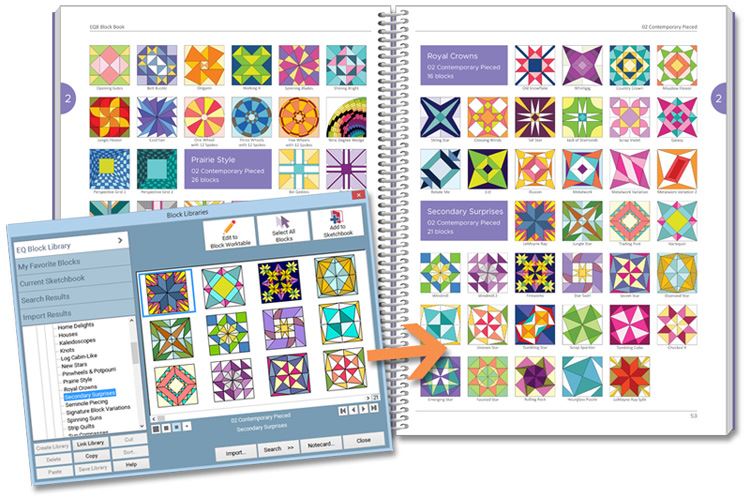
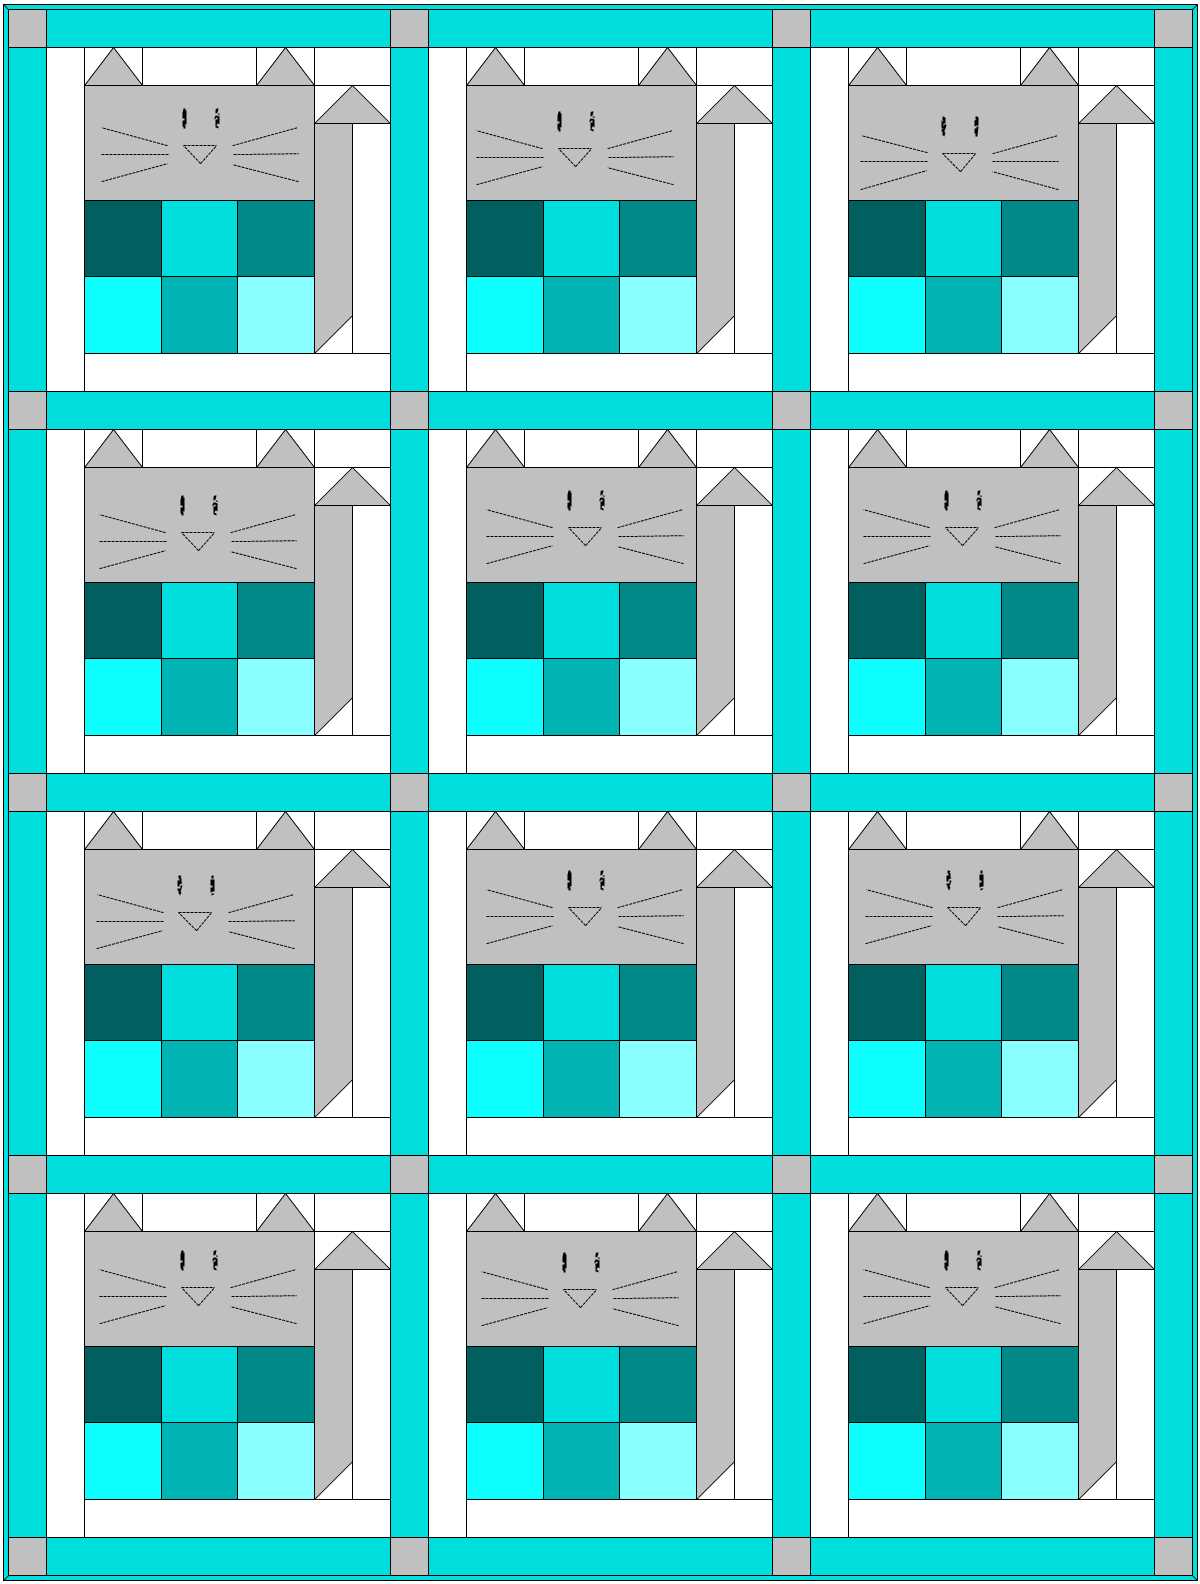
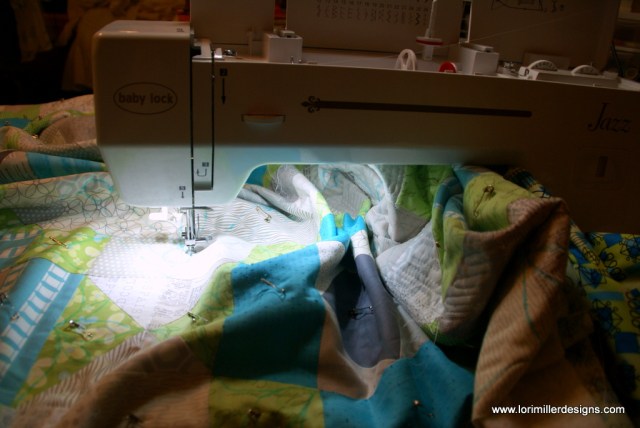
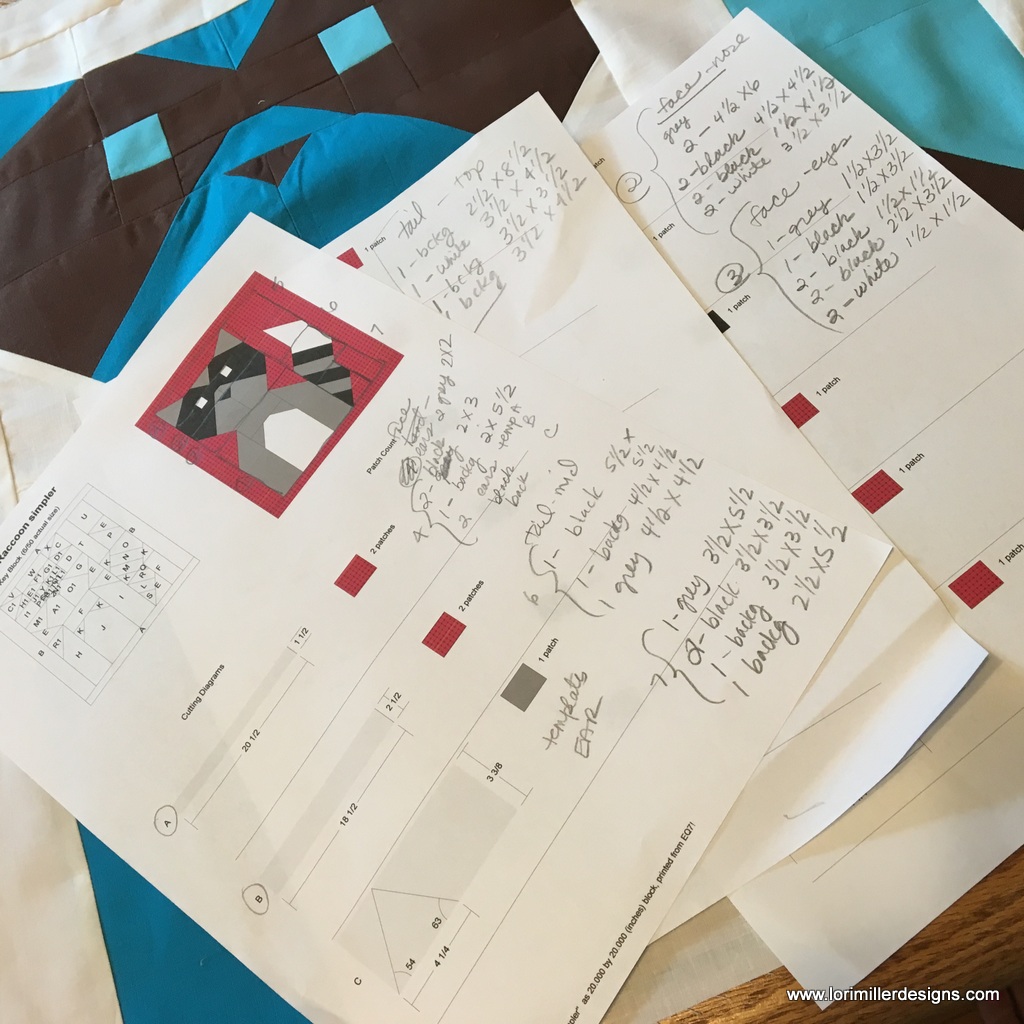
This quilt was designed with EQ8 Quilt Design Software. It is my go to tool for designing beautiful quilts.
I used blocks from my EQ8 Add-on Block Libraries for AccuQuilt. Each library for the AccuQuilt GO! Qube contain quilt blocks that are compatible with AccuQuilt GO! Cutters. The blocks I used in this quilt are adapted from my Sweet Sixteen EQ8 Block Library for AccuQuilt.

You can find these EQ8 Add-on Block Libraries available for purchase at Electric Quilt or AccuQuilt.
You can find Quilt Patterns and more in my Etsy Shop.
Happy Quilting!