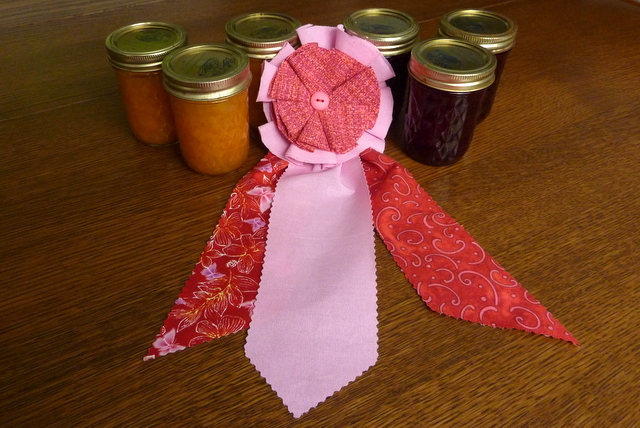

With all of the delicious fruit available, all I can think of is making pies and jam. It reminds me of the Iowa State Fair of my youth. Everyone went to the state fair and my family always had a few entries. My Dad was a beekeeper and he always entered some honey or an observation hive of bees. He won many ribbons and this cute and quick ribbon gives me fond memories of those days. This ribbon would also be good to make for quilt shows, your own contests or to decorate for a party, wedding or shower. How about red, white and blue? They feature raw edges and just a little bit of sewing so you can make several very quickly.
Materials:
- Scraps of coordinating cotton fabrics or use one color (1/4 yd is generous)
- A 5 x 5 piece of wool felt
- large button
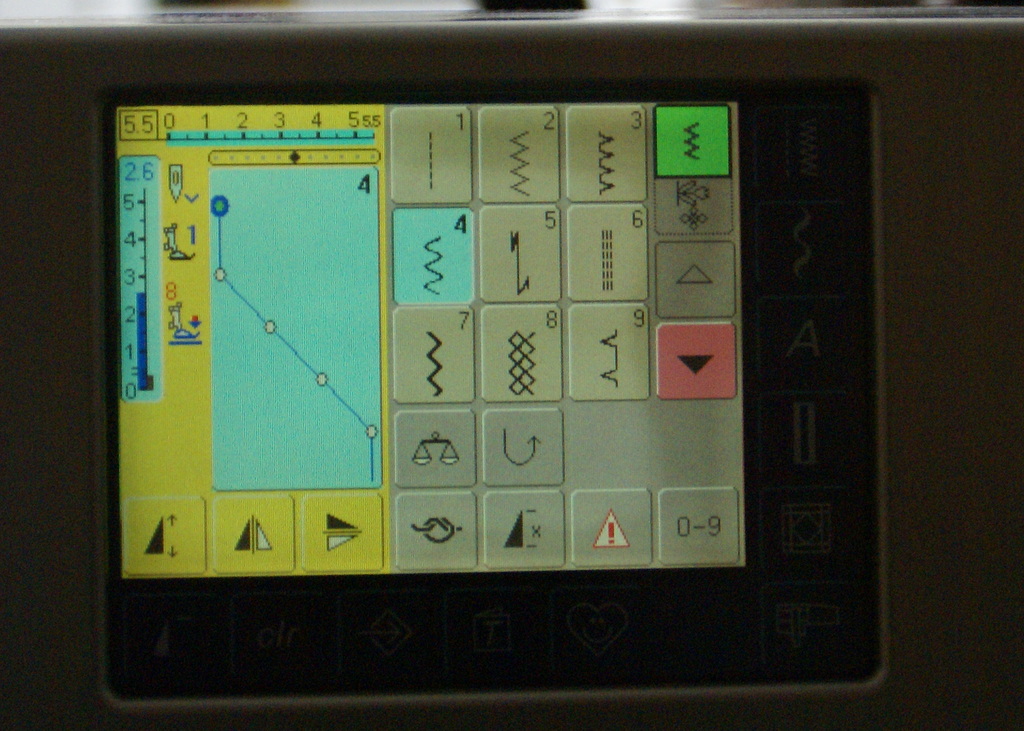
- coordinating thread
Directions:
Print out my FREE State Fair Winning Ribbon Pattern.
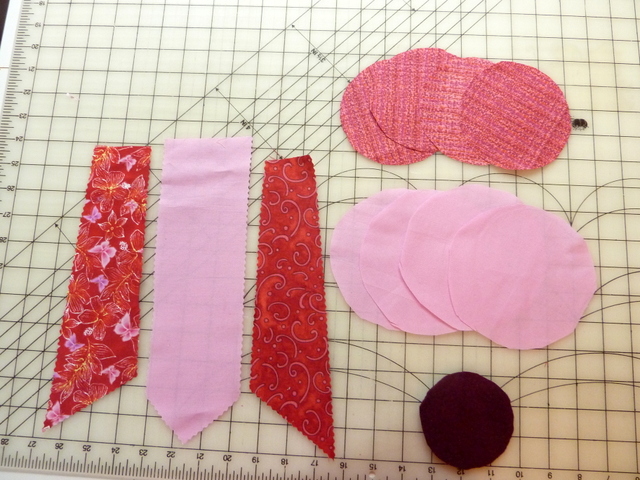
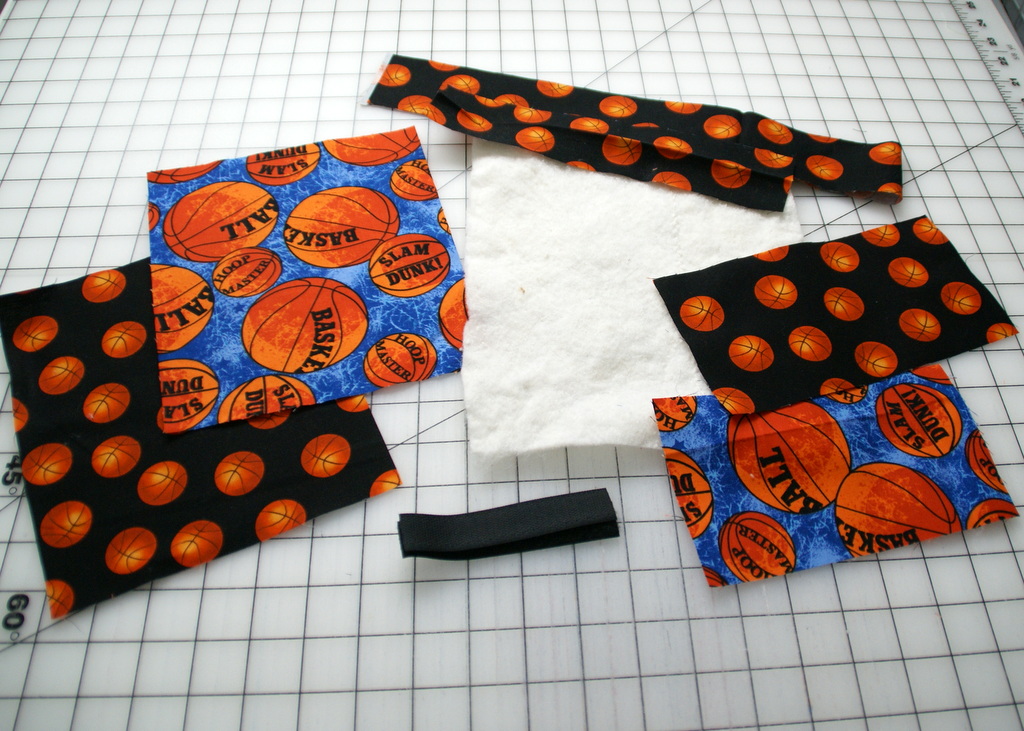
Cut
- 1 – Small circle pattern A from the wool felt for the base of the ribbon
- 2 – Side ribbons from pattern B (Be sure to flip the pattern so you have one going each way.)
- 1 – Middle ribbon from Pattern C
- 4 – Large circles with Pattern D
- 4 – Small circles with Pattern E
Assemble and Sew

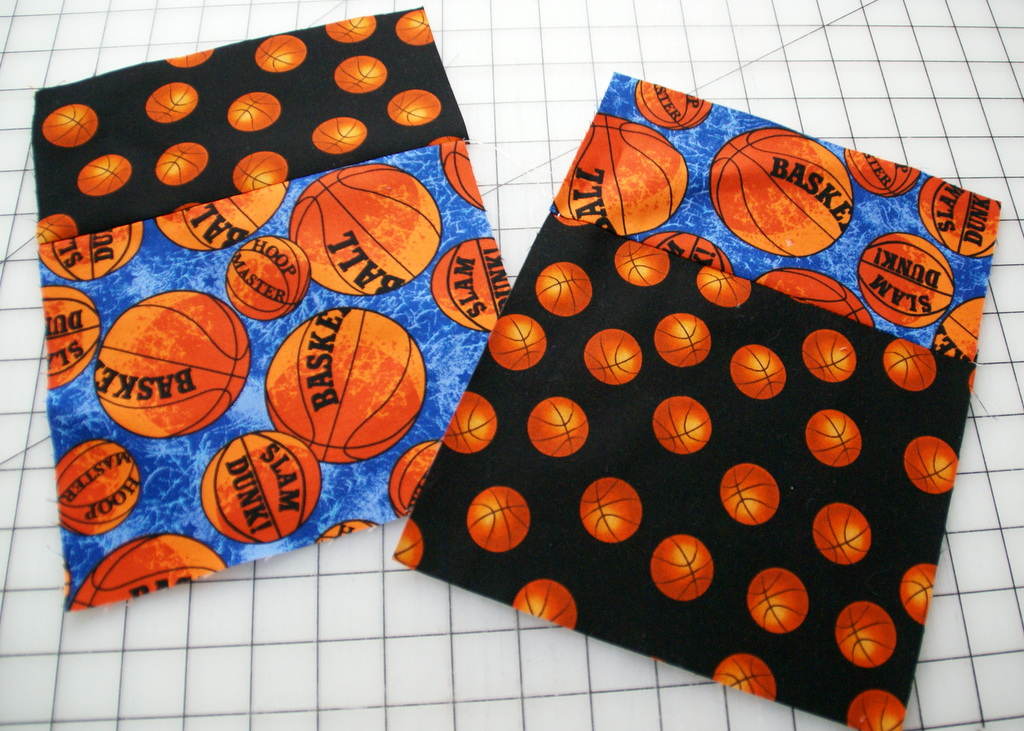
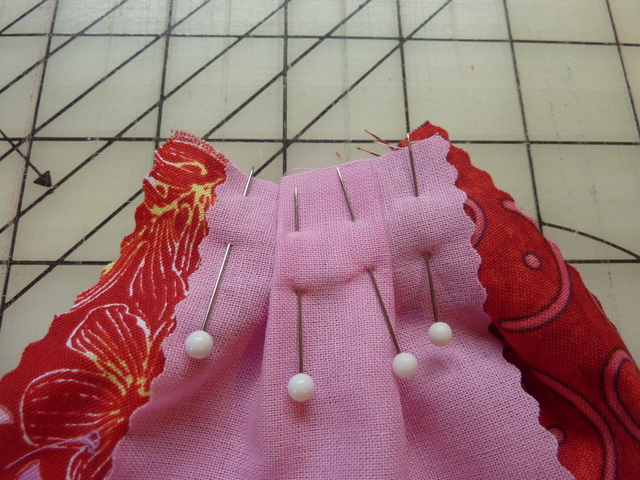
- Take one of the side ribbons B and take a small pleat or tuck to gather the top.

- Using a pin, pin the tuck to one side of the middle ribbon C at a slight angle.

- Take the other side ribbon B and make a tuck and pin to the other side of the middle ribbon C.

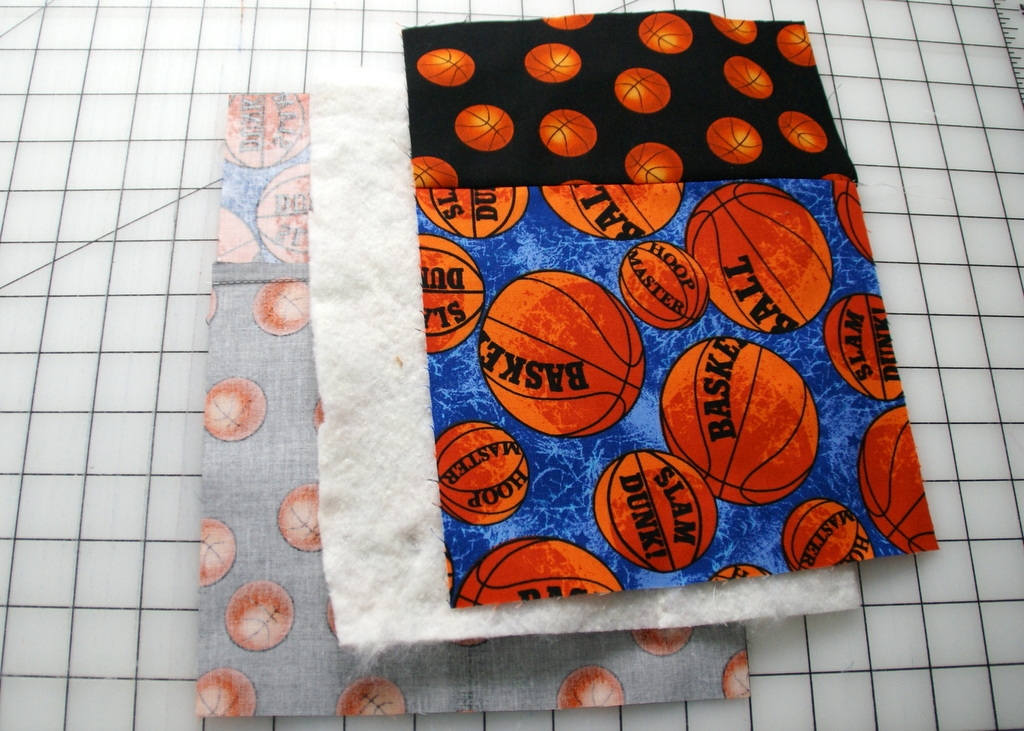
- Make two tucks in the center of the middle ribbon. Start with one side and pin it and then tuck the other side.

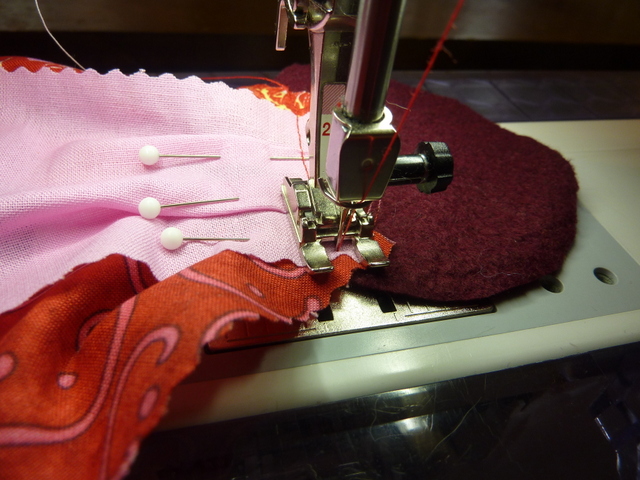
- Place your streamer ribbons over the bottom of the felt circle base. Stitch across all of the ribbon streamers and tucks, backstitching each side to hold it in place.

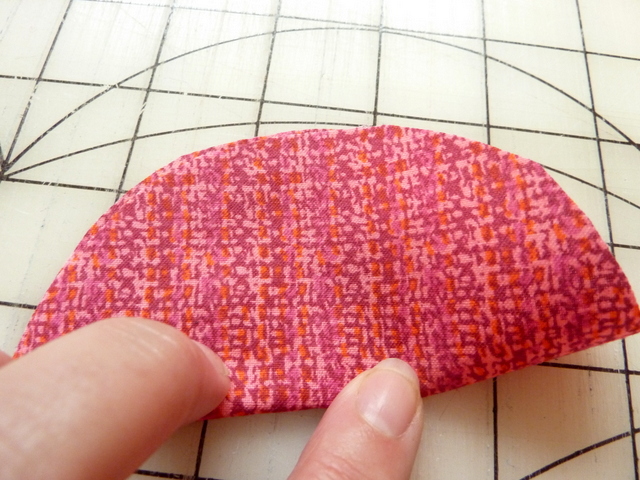
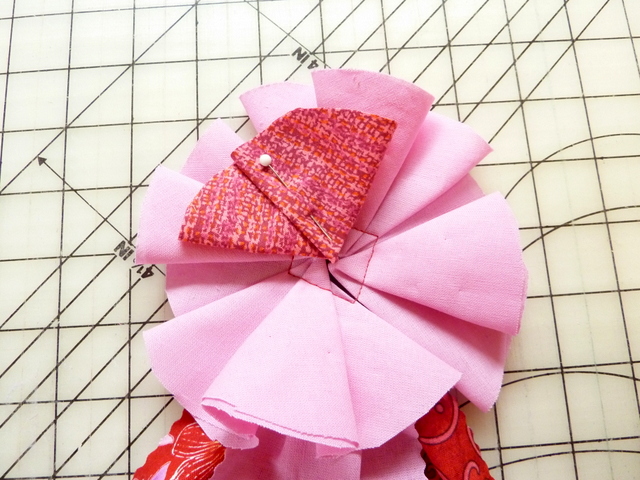
- Fold the centers of the ribbon. Take a large circle D.

- Fold it in half, wrong sides together. Next, you will need to make two pleats in the fabric but leave a point making it into a quarter pie shape. I will talk you through it.

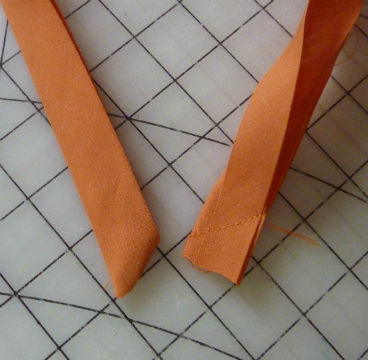
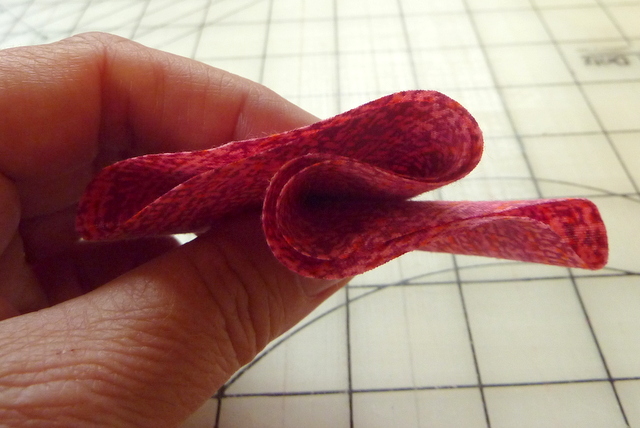
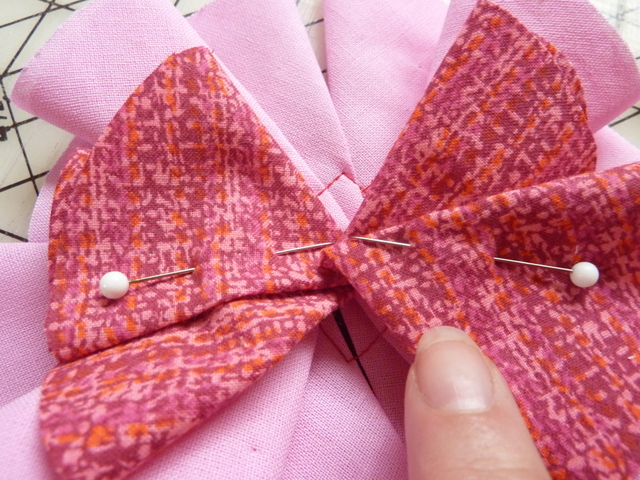
- Pleat and tuck one side.

- Fold the tuck to the back like the picture above and pin.

- Make another pleat and pin it too. Pleat and fold each circle into a quarter triangle shape. You don’t have to be too accurate but you will need the center point.

- Places the circles together on the felt base.

- Continue until you have all four pleated circles in place.

- Starting about 1/2 inch from the center on one side of a triangle point, stitch across the end point of each folded circle.

- You will stitch in a square, pivoting to stitch over each edge of the folded circles.

- Fold the small circles for the center of the ribbon using the small circle E.

- Fold the small circle in half, wrong sides together.

- Make one pleat to create a triangle that is about 1/4 size of the full circle and pin it.

- Begin laying the small pleated circles so that they cover the stitched seam from the large folded circles underneath.

- Slightly overlap the points on this layer of folded circles.

- Stitch a tiny triangle shape through the center of these points, catching all of them and stitching through the felt backing.

- Using a button large enough to hide your stitching, sew it in place in the center of your ribbon. That completes the ribbon.


Make it scrappy style to create a multi-colored state fair style ribbon.
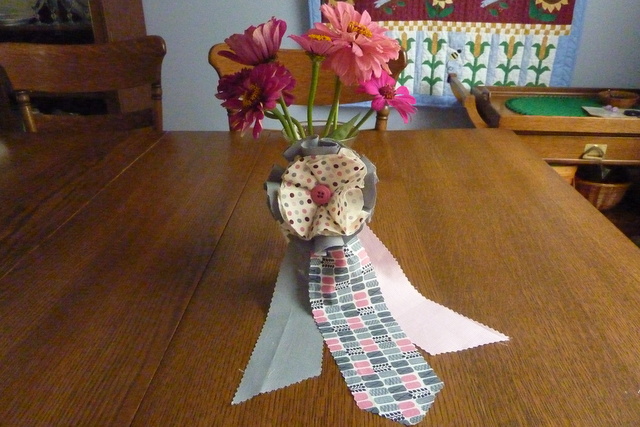
 Make it modern in pink and grey. I think the freshly picked zinnias from my garden make it special.
I hope you use your ribbons to celebrate in style!