New Pattern: Gingerbread House Pincushion and More

lori miller designs gingerbread house pincushion

I am pleased to share that my original pattern for My Gingerbread House Pincushion is now available for sale.  I have even added bonus instructions to make it into a soft tree ornament or a Gift Card Holder to hang on your Christmas tree.  This adorable holiday gift idea might look familiar.

SONY DSC

It was featured in Quilting Arts Holiday Magazine in 2014.  It holds a special place in my heart because this was the very first original pattern that I had published in a Magazine.

SONY DSC

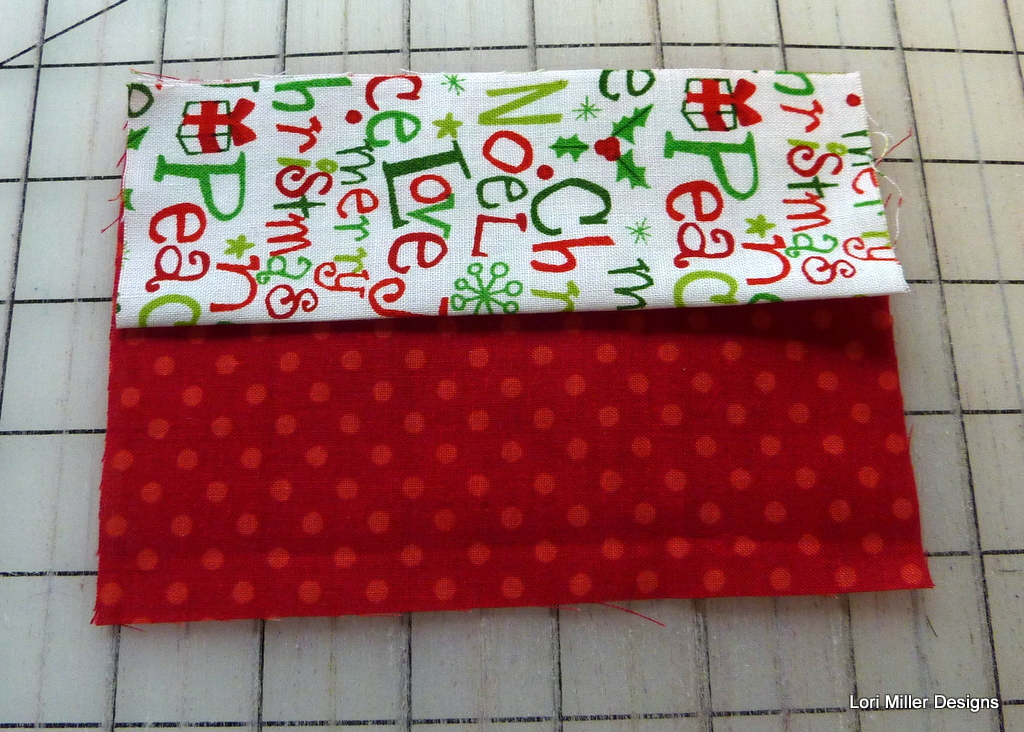
I was inspired to grab my holiday scraps to come up with a gift idea for my small sewing group.  Each year, we like to exchange home made gifts for Christmas.  We are all quilters and since I am totally addicted to pincushions, the idea took shape to make a Gingerbread House.

Lori Miller Designs supplies

I thought the jumbo white rick rack was a stroke of genius to mimic the snowy icing.
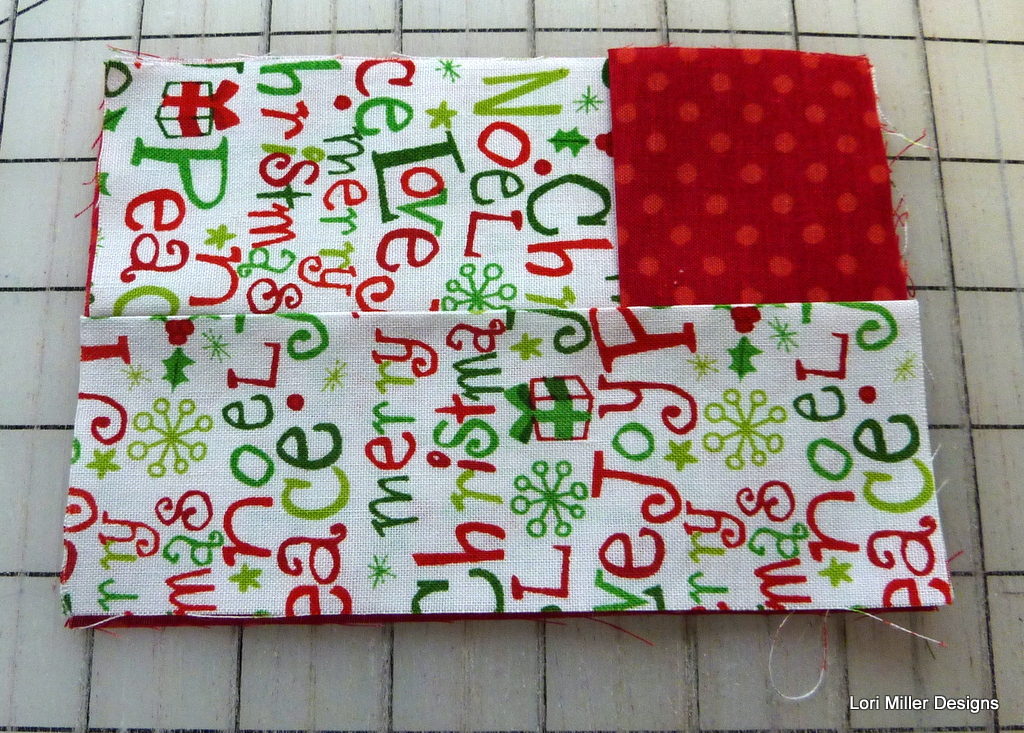
 It made an adorable pincushion and I use some very easy techniques to piece it all together that make it a jiffy to stitch up in an afternoon.  You can make multiples at once very easily.  Finished size is 5 ” square.

One of the bonuses I added to the pattern is to create a soft ornament for your tree.  You just add a ribbon hanger and only lightly stuff the little Gingerbread House.

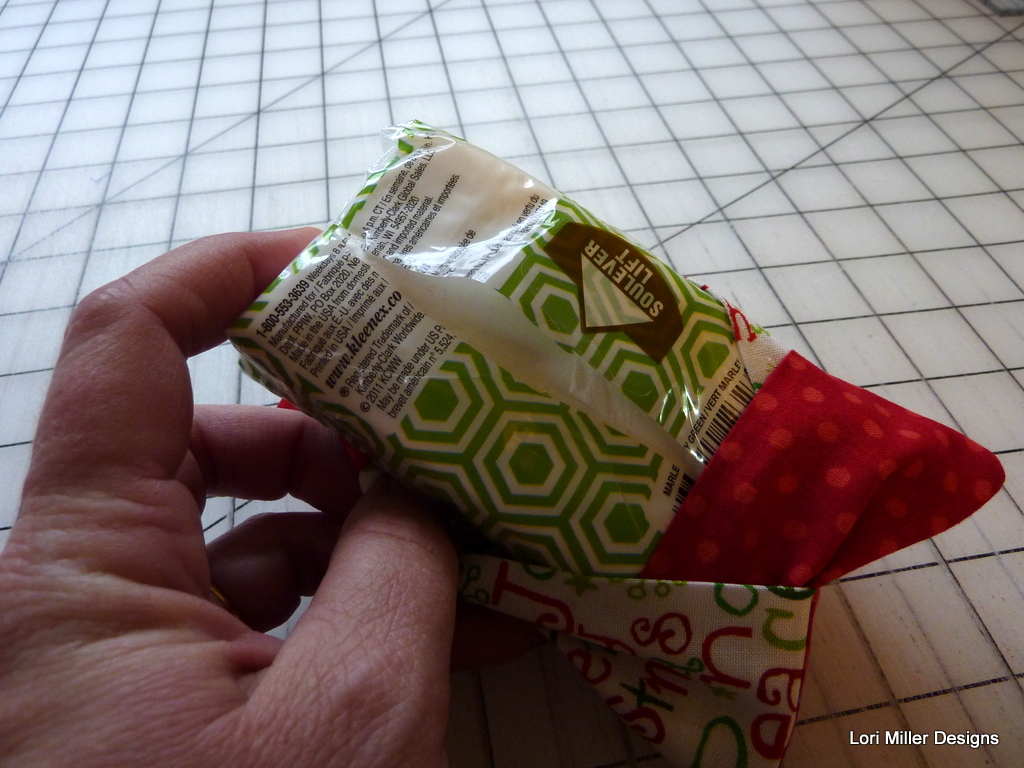
The second bonus instructions included is to add a little pocket on the back of the Gingerbread House to make it into a Gift Card Holder.  You can tuck in a couple of gift cards, a note from Santa or even a candy cane for fun.

You purchase  my Gingerbread house Pincushion and more pattern  as a PDF download by going to MY PATTERNS tab and following the link to My Etsy Shop!

Thanks for letting me share!  Tag me on Instagram at lorimillerdesigns, I would love to see your version!

Published – Mini Mitten Coasters

Mini Mitten Coasters by lori Miller Designs

I am pleased to share my latest published work, mini mitten coasters!  They are super cute, easy to stitch up and you can use some cute coordinating holiday prints or make them super scrappy with some leftover holiday fabric.

They are featured on page 34 of Modern Patchwork Gifts 2016.  This is the third year I have been published in the holiday issue and I couldn’t be more thrilled.

Mini Mitten

Even though this was basically a one block design, I still used Electric Quilt 7 to design it.  This tool is really versatile and it really helps you to visualize your project before you stitch it up.

1-IMG_4043

I worked on this little pattern back in March.  I had a really cute snowman print that I started with.  But sometimes the white of the snowman blended with the white of the background and I was worried that they would not photograph well.  I headed off to a local quilt shop, Cristina’s in Rochester, Mi to try to find holiday fabric in March.

And I wanted some fabric that looked modern but still holiday.  She had these lovely prints tucked in a back corner.  They are Winter Wonderland by Free Spirit Fabrics.  And when I saw that candy cane print, all I could think of was the perfect ribbing for a mitten.  These little guys are totally pieced and stitch up really fast.  You could make them in an afternoon.

I decided to do some straight line quilting and make it easy.  I think it adds some nice texture.  Then I put on that tiny binding.  It was not as hard as I thought.  My usual method for joining worked just fine.

Isn’t this little mitten just adorable?  You can make them with some fat eighths and a fat quarter for the backing and binding or use up your holiday scraps.

These are the perfect hostess, coworker or teacher gifts.  Add a mug and some tea or cocoa and you are all set.  Happy Stitching!

Handmade Holiday: Mini Tissue Holder Tutorial

Mini tissue cover Lori Miller Designs 1


Here is a cute quick gift you can stitch up in multiples for holiday party favors, stocking stuffers or just a little something for someone special.  I used holiday and Christmas fabric but you could tailor them for boys or girls with masculine prints, sporty fabric or another cute novelty print.  There is really very little sewing so it is perfect for a beginning stitcher.  It doesn’t take much fabric either, so use up some of your scraps or stash.

Materials Needed:

  • Fabric Scraps in coordinating colors (fat quarters are more than enough)
  • Coordinating thread
  • Mini Tissue packages

P1090771

Cutting:

Solid fabric:

  • Cut 1 — 4″ x 5 3/4″ rectangle
  • Cut 2— 4″ x 4″ squares

Print Fabric:

  • Cut 2 — 4″ x 5 3/4″ rectangle

Sewing:
P1090776

  1. Iron the two solid squares and the two print rectangles in half the long way, wrong sides together.P1090778
  2. Layer the first print piece over the solid rectangle piece, right sides together.  The fold should be facing the center and the raw edges should be aligned with the solid rectangle.P1090780
  3. Next, layer the solid piece on the end with the fold facing the center and the raw edges aligned with the solid rectangle.P1090782
  4. Continuing to work clockwise, layer the other printed piece on the solid rectangle laying on top of the previous piece and with the raw edges aligned to the bottom rectangle.P1090784
  5. Layer the final solid square and the end with the fold facing the center.  Lift up the other print piece and tuck it under aligning the raw edges with the bottom rectangle.P1090787
  6. The pieces will look like this all layered together.  Pin the layers together.P1090793
  7. Stitch around the entire outside of the cover with a 1/4″ seam.P1090795
  8. Clip the corners and turn it right side out.P1090788
  9. Take one of the mini tissue packs.  I just snip the upper plastic package down the middle so you can get to the tissues.  You can maybe just open them and put the little sticky closer out of the way too.P1090790
  10. Tuck it into the little cover.P1090798
  11. Now you have a cute small tissue cover to tuck in your bag, purse or car.