Quilted Halloween Cat Pillow

photo 2

Can it really be October already?  I dug out my Halloween fabric stash and decided I needed to put together a few holiday themed handmade items.  I recently ran across a pattern for a pillow using a quilted cat block by Elizabeth Hartman of Oh Frannson!  I envisioned it with a black cat theme and I was off to my stash to pull the perfect fabrics.

halloween cat Lori Miller Designs

The Janome Project site has a free pattern that you can get and print out.

P1090672

It is a pretty straight forward pattern that is simple and easy to piece together.

P1090668

There are just two main parts to the cat.

P1090670

The finished block is 6 1/2″ square.

P1090677

I decided to make 9 blocks for an 18″ finished pillow cover.

P1090684

I quilted the pillow top using straight lines and my walking foot.

P1090687

Here is the top all quilted.  I like to wash it before I finish it up.

P1090698

For the back, I used two pieces of the orange fabric 19″ x 13″.

P1090700

I folded over 1″ twice to hem the overlapping opening.  I stitched close to the edge.

P1090701

I stitched again by the fold so that it stays a little nicer, especially when you wash it.

P1090704

I place the front the the overlapping backs, WRONG sides together and pin them.

P1090706

Then I finish up the pillow with about 84″ of 2 1/2″ binding.

P1090708

It turned out so cute with all of those halloween black fabrics.  The orange fabric is a nice tone, not too bright.

Elizabeth also has some great pictures and tutorials from her own quilt along with the cat quilt block here.

What halloween themed items are you making this month?

Upcycled Quilty Folding Chair

Lori Miller Designs upcycled quilty folding chair


A few weeks ago I was spending a quiet weekend by myself at our “Up North” Michigan cottage.  It is so peaceful there and we are fortunate to live on a small inland lake.  I went into town for a few things and had to stop at the little local Goodwill store, you never know what bargains you will find.  I discovered a glass bread dish (perfect for some banana bread) and 3 well used folding chairs.  I looked at those chairs for a bit, I did need some extra seating in the cottage and they really had good bones.  The price sold me and I hauled my treasures out to my car.  I stopped at the local hardware store and picked up two cans of discontinued spray paint in a lovely stone grey for $3. Here is my adventure with those chairs.

Lori Miller Designs - before folding chair

My official before picture of one of the folding chairs.  Each chair had a cushioned back and a padded seat, a bonus.

IMG_1549

A price of only $5.99 each didn’t hurt either.

IMG_1555

When I got it home, I removed the back and cushion.  You can see it was definitely worn and rusted a bit.

Lori Miller Designs sanding folding chair

I took a 150 grit sandpaper and sanded down the whole chair.  I wanted the spray paint to really stick well.

IMG_1559

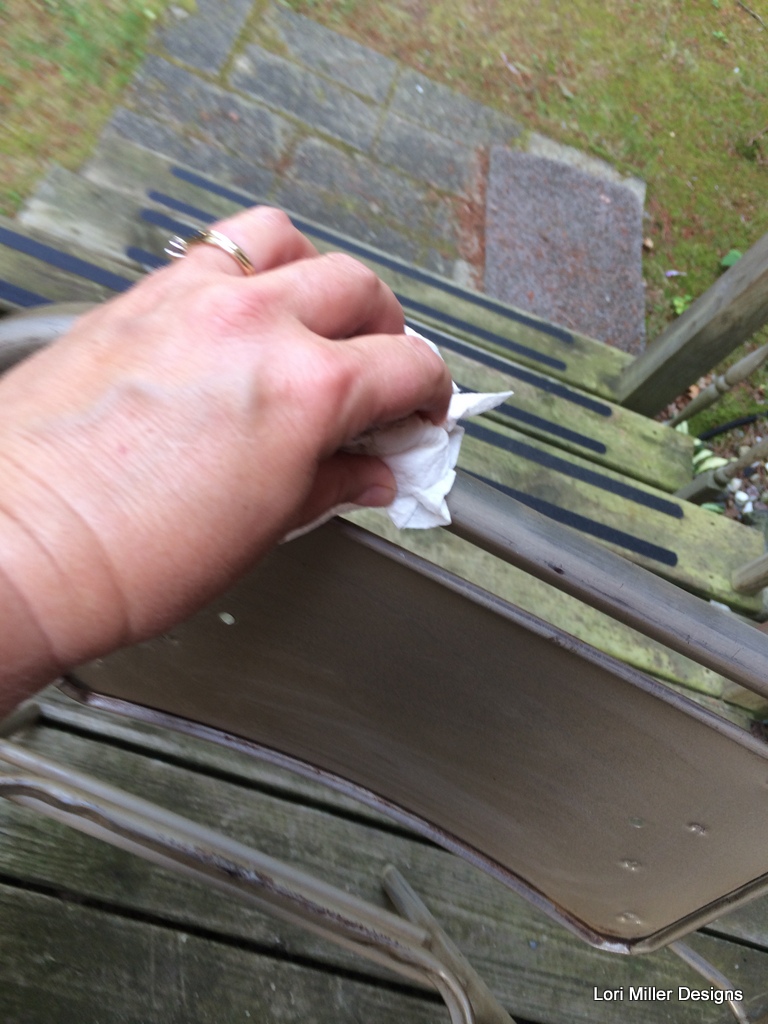
Then I wiped it down with a damp cloth to remove all of the loose debris.

Lori Miller Designs painting the folding chair

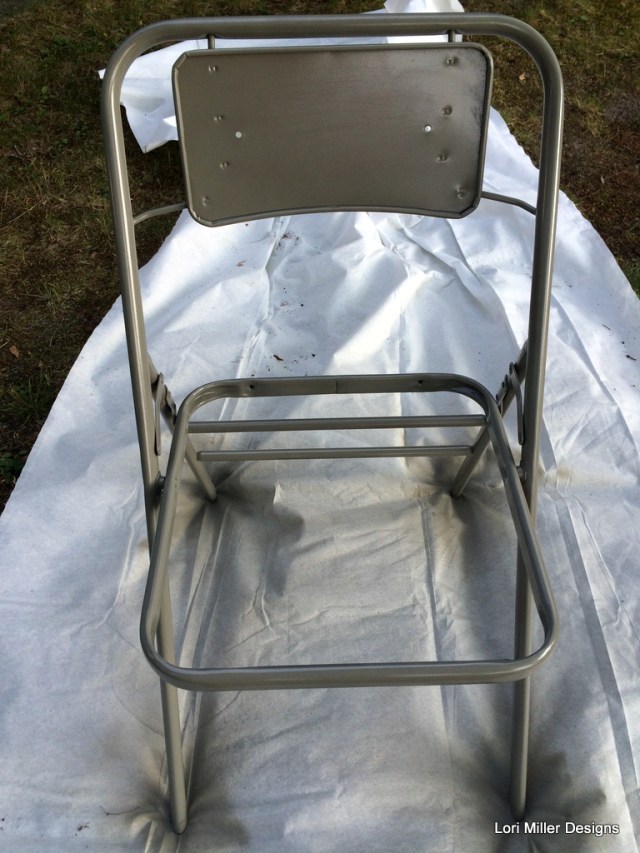
Next I began to spray paint the whole chair with my bargain spray paint.  I made sure to just shake it up extra good and I did not have any problems.  I painted in short light strokes so the paint would not drip.  I have decided spray paint is amazing.  After it dried, I flipped it over and painted any spots I missed.  It really dried pretty fast.  You can easily do this in a few hours.

IMG_1645

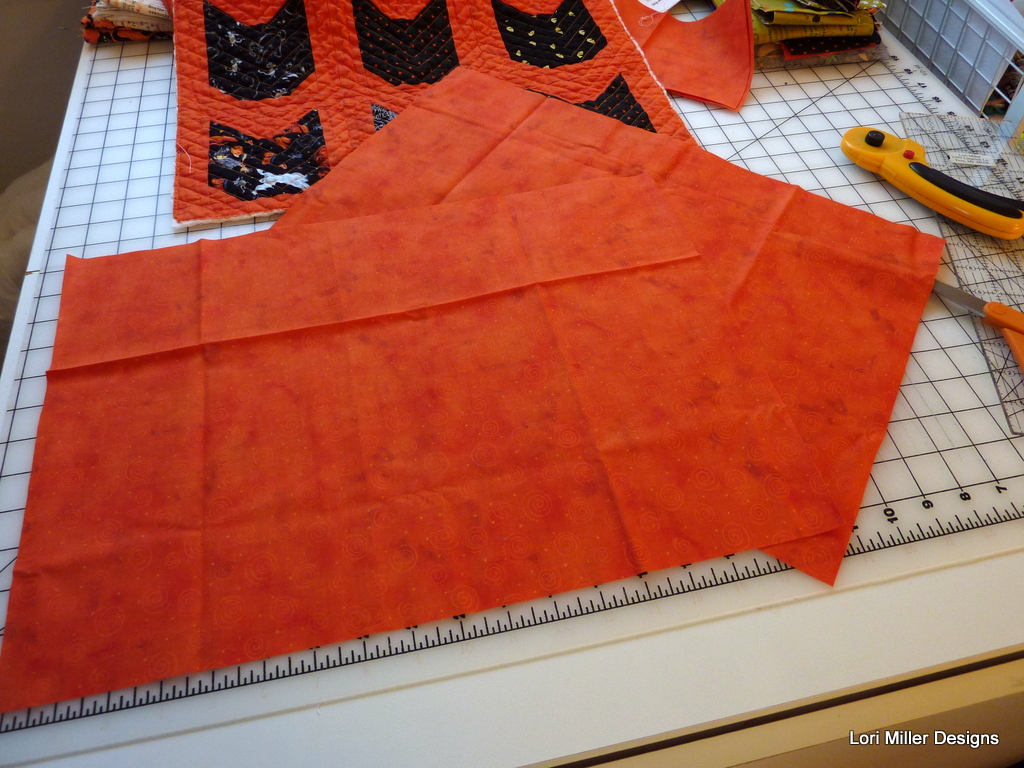
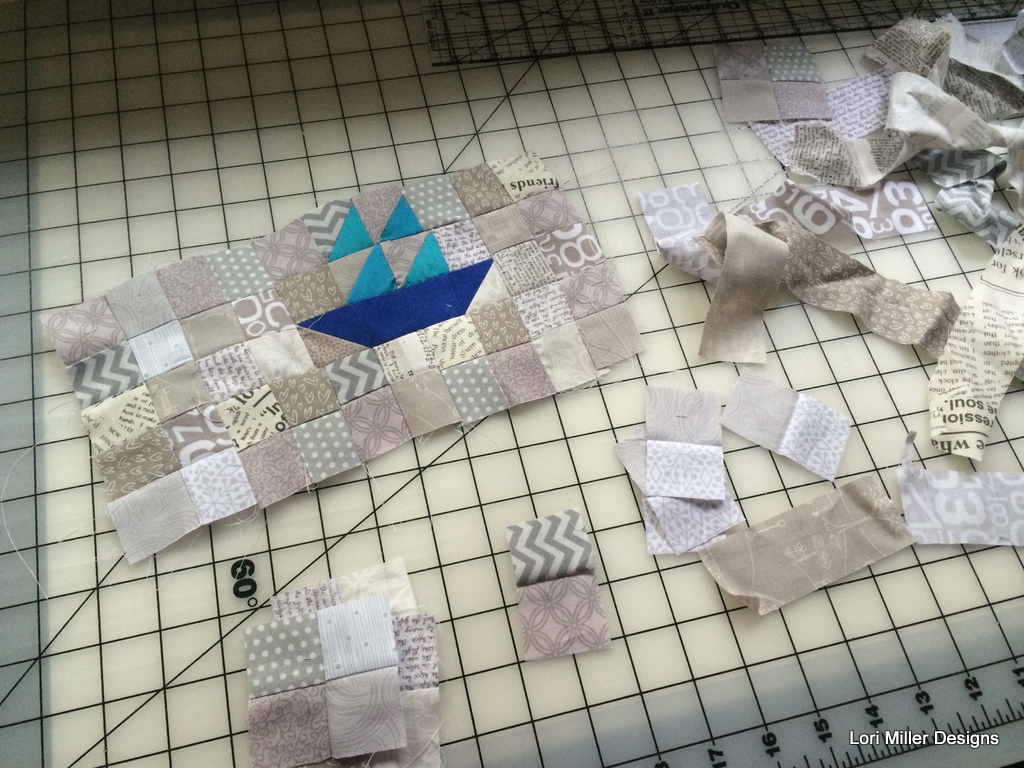
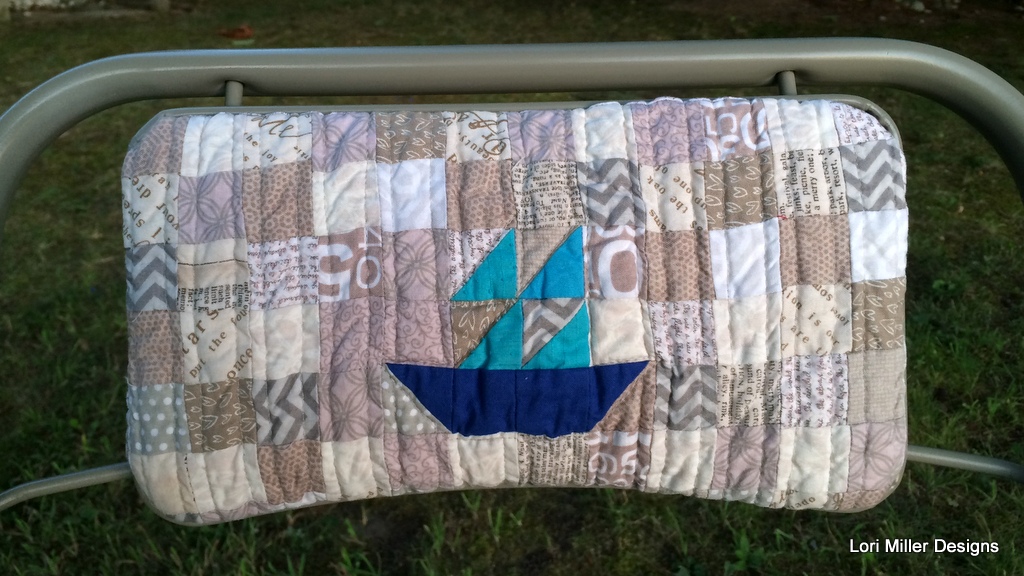
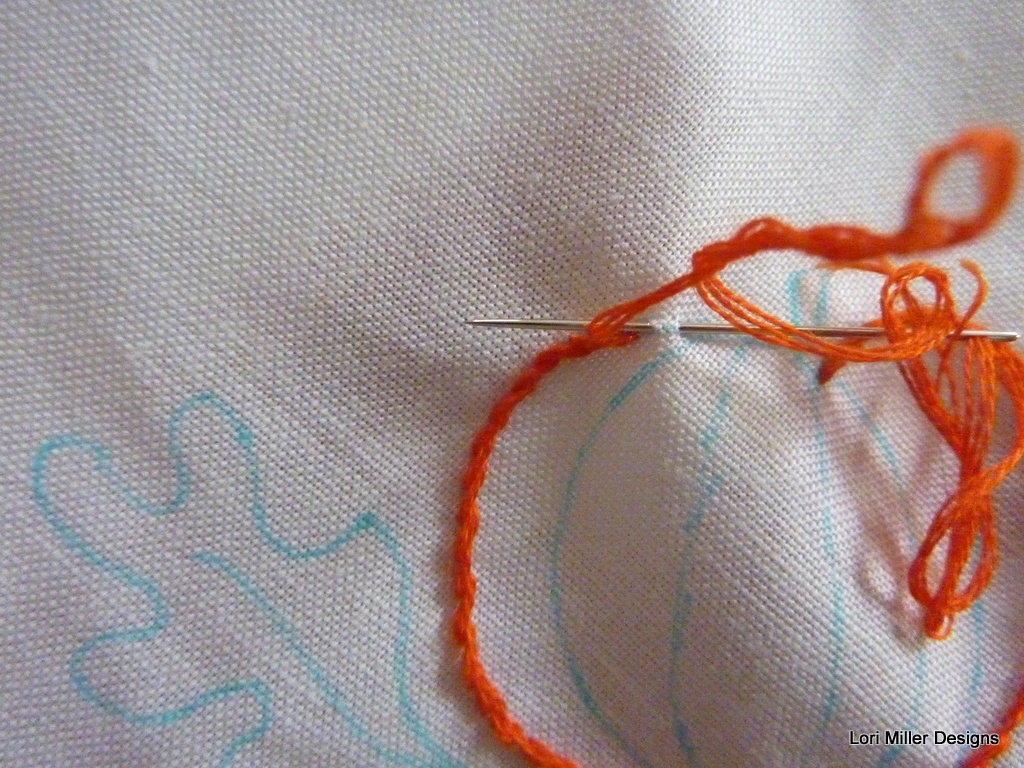
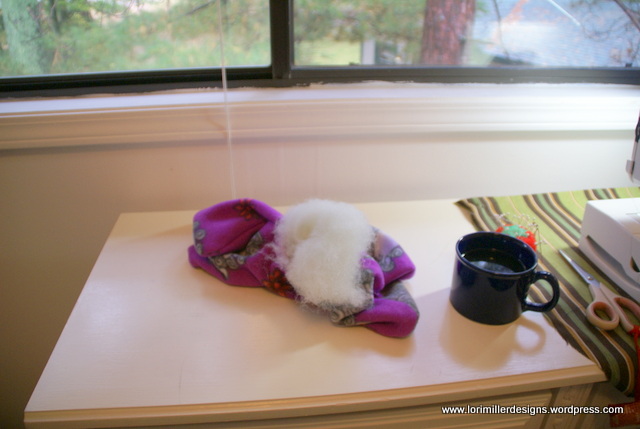
While my chairs dried, I started to make my quilty coverings.  I really liked the idea of a sail boat motif for the cottage, so that is what I started with.  I used my stash of low volume grey prints as a neutral palette around the boat.  These are all one inch finished squares.

IMG_1641

I used some batting and a backing of muslin and I quilted the design.  Then I covered the back cushion with it and screwed it back onto the chair.  The greys blended perfectly with the stone color spray paint.

IMG_1643

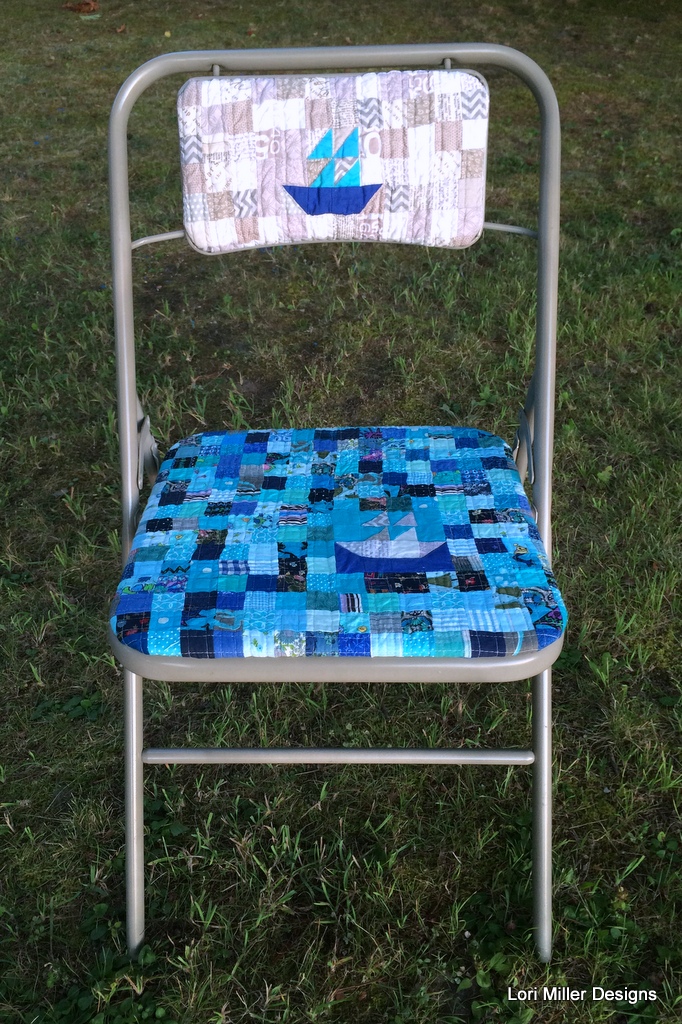
For the seat, I took all of my teal and dark blue scraps and cut out 1 1/2 inch squares and randomly sewed them together.  Now, this part did take quite a while.  I liked the look of the small blocks, but you could use larger squares and it would go a lot faster.   If you look closely, you will see another little sailboat motif echoed on the seat.  I quilted this seat cover with batting and a backing of muslin too.  I just used straight line quilting with a walking foot, nothing fancy.   I chose a darker set of colors for the seat since it would get a lot of use.

IMG_1603

For the seat, I had to staple it onto the seat with very short staples.  I pulled it as evenly as I could and worked carefully around the seat.

IMG_1605

The corners were a little tricky, I just tried to position staples where I only had to go through one layer of fabric.

Lori Miller Designs finished upcycled quilty folding chair

Here is my finished upcycled chair, it turned out so cute.  I plan on spraying it with ScotchGuard to make it easy to clean.  These chairs look brand new!

Playing Catchup with Holiday Placemats

Wow, it has been several months since I started this adventure and the holidays and life in general has kept me busy.  But I did take some pictures, so I am going to catch up!  Bear with me as I post a little history to get current.  I am going to start with these fun holiday placemats.

LMDesigns holiday yo yo

For the holidays, I dug out my Clover Yo-yo maker, and made a pile of peppermint yo yos.

LMDesigns holiday yo yo

I stitched and strung groups of them together.

LMDesigns holiday yo yo

Then I added them to some plain red placemats I made out of solid red kona.

LMDesigns holiday yo yo

A cute holiday placemat is born.  But wait, there is more.

LMDesigns holiday yo yo

I took my old pattern for gift cards and made them up for silverware holders.

LMDesigns holiday yo yo

They are completely lined so they have a contrasting cuff when you fold them over.  I used this apple green candy cane print.

LMDesigns holiday yo yo

Isn’t that a cute Holiday place setting?

Enjoy!

I Love Bread

I love bread.  I have a very old bread-making machine that keeps chugging along and I usually make it in the dough cycle so I can finish the goodies up in the oven.  It does the  mixing, kneading and rising for me.  This was about Thanksgiving time and I was inspired by an heirloom bread cloth  my Mother in Law had given me, but it was very plain.  I decided to make two new ones, one for me and one for her with some added embroidery pizzazz.  I got to play with fancy stitches and needles on my sewing machine too.

LMDesigns Bread Cloth

I started out with this basic pattern.

LMDesigns Bread Cloth

I just used white cotton kona for the fabric, wish I would have had some white linen.  I used a fancy heirloom stitch on my machine and a very large wing needle to hem the entire thing.  I sewed right along the seam so the stitch caught it.

LMDesigns Bread Cloth

I sketched out a couple of designs and started to embroider on one of the flaps.  this is a cute orange pumpkin and oak leaves.

LMDesigns Bread Cloth

Here you can see the fancy stitches better and my embroidery.  I just used a simple stem stitch for the whole thing.

LMDesigns Bread Cloth

For my heirloom bread cloth, I stitched a tree with colorful fall leaves all in a chain or lazy daisy style stitch.

It was a perfect gift to send for Thanksgiving since we could not be together.  And I made a big batch of dinner rolls nestled in my cloth for us here in Michigan.


In My Studio: Making the best fleece neck pillows ever

I discovered a FREE PATTERN at http://www.sew4home.com for the best little neck pillow ever!    It looks like a big dog bone!

I made one out of some leftover fleece and it sewed up so nice and was sooooo soft.   I dug out a huge bag of fleece scraps and took it up to our cottage in northern Michigan for the weekend.  It was cool and rainy…a perfect day for sewing.  Here is a peek into my weekend of work.

SONY DSC

Here is part of my pile-o-fleece dumped out on the bed.

SONY DSC

I started just cutting out as many pillows as I could.

SONY DSC

Here is my glorious stack of pillows all cut out.  These are my brilliant idea for christmas gifts for everyone this year.

SONY DSC

I wanted to leave one pillow at the cottage, so I stitched up the sides of this cute little sheep that matches my robe.

There are no fabric stores very handy by the cottage, so what to do to stuff my pillow?

SONY DSC

How about a $2 pillow from the only local store, Kmart.  So yes, I cut open that pillow and used the stuffing for my little relaxing neck pillow.

SONY DSC

So I stuffed that little pillow full of my ingenious stuffing.

SONY DSC

Here is my little pillow all stuffed and ready to be stitched closed.

I grabbed the rest of my pillows to take home to sew whenever a need a little break.  I think the family will be delighted with these gifts and I destashed a huge amount of fleece.  I even kept a small pile of the scraps to use just like felt for applique, there were so many colors.

What fun things do you make with your fleece scraps?