New Pattern – Pinwheel Pincushions

I am pleased to offer my own pattern for this adorable pinwheel pincushion.  It was featured in Quick to Stitch Precuts Magazine in 2015 and I have had a wonderful response for this useful and cute pincushion.  It is really very easy to stitch up in pairs using mini 2 1/2″ square charms.

I made these delightful versions using Color Theory charms by V & Co.  They coordinated beautifully so it was easy to make the pinwheel shapes.

I used vintage buttons and stacked buttons in the centers of the pincushions for some extra pizazz.

For these pincushions, I used tiny newsprint for the neutral background.  I think it makes them very modern and bright.

These pincushions measure 4 3/4″ x 4 3/4″ x 1″ finished.  I hope you enjoy the pattern.

You can purchase my Pinwheel Pincushions pattern as a PDF download by going to MY PATTERNS tab and following the link to My Etsy Shop

Thanks for letting me share!  Tag me on Instagram at lorimillerdesigns, I would love to see your version!

Hexie Pincushion Tutorial

I love pincushions, all kinds and I have a bunch all around my sewing studio.  I first saw a version of these pincushions at Quiltcon 2015.  I was in Carolyn Friedlander’s class and behind me on a table sat a cute hexie pincushion.  I found out later it belonged to Nicole Daksiewicz from Modern Handcraft.  (She has some amazing hexagon quilt projects, check them out on her blog!) I discovered that she had a Hexie Pincushion tutorial and I wanted to make one for myself.  She used a die cutting machine to cut out all those cute 1/2 inch hexies.  I bought a bunch of wool felt and decided I would cut them out by hand.  Fast forward to December 2015 and my hubbie gifted me a Die cutting machine and that little 1/2 inch hexie die. I decided to make some of those pincushions inspired by Nicole but I added my own twist.  Here is how I made it.

I had several colors of wool felt and I ran them through the die cutting machine.  I used a muffin tin to organize all of the colors of hexies.

I cut a 6 inch strip of a linen blend.

I folded the fabric in half with the fold at the bottom.  Then I used a 60 degree triangle and positioned it so that the  top and sides measured 3 1/2 “.  This is an old Kay Wood ruler that I had.  I am thinking I really need to update some of my rulers, but this one still worked.

When you open up the fabric, you have a nice large hexie shape.  I fold it to mark the center and then iron out the fold lines.

Then, using some fabric glue stick, I arrange the hexies in a sort of circle shape.

Once the shapes are all arranged, I get a piece of scrap batting and start to quilt.

First you stitch through the center of each little hexie starting at the edge of the big hexie.  I like to use a large stitch and a walking foot to quilt this part.

Then you just keep quilting across the little hexies from point to point.

This shows the final quilting of the last corners of the little hexagons.

Here is a picture of one trimmed after the quilting.  Now you are ready to stitch on the bottom of the pincushion.

Trim the excess batting from the top of the pincushion.  Using the same method as the linen hexagon top, cut a coordinating bottom for the pincushion.

Stitch a 1/4″ seam all around the hexie leaving an opening for turning on one side.  Trim the corners and turn right side out.

Tuck in the open sides and press.

I stuffed my pincushion with a bunch of batting scraps I had.  You can stuff it with your favorite pincushion filling.  Then just whip stitch the opening closed.

These would make great gifts or be a good project for a sewing group to stitch up together.  Happy Sewing!

My new Fabric Die Cutter Storage bag

I had a lovely christmas with my family.  One of my favorite gifts was a new Die Cutter machine.  It is a little machine to cut out accurate quilt blocks and appliques from fabric!  These machines have been popular with scrapbookers but now they have a lot of options for fabric.  You can really cut out intricate pieces fast with this little machine.  I needed something to carry the machine and dies in and searched all over for a case or tote.  I found an older design that did not seem to be in stock anywhere.  So what does a pattern designer do but design a cute storage bag?  Here is a little journey through my process.

I rough sketched a sort of retro bag design and drew up some pattern pieces.  Yes, when the inspiration strikes, things just seem to work out.  I had it in my head to do some kind of quilt as you go design.  I wanted some structure to my bag, so I used headliner to quilt on with a bottom fabric of natural canvas.  Some people use Soft and Stable brand but I had headliner on hand so that is what I used.  I also had two colors of headliner, so you will see that in the pictures.

I had a lot of black and white scraps left over from another quilt project and I used scraps of bright blue for some contrast. I even did some fancy quilting on a few of the accent blue boxes.  I started the quilting in three places so there would be lots of different fabrics.

Of course, my usual quilt helper, Cookie cat, showed up.  How he knows I am in my studio quilting is amazing and he always sits right on top of whatever I am trying to work on.  I just stop and give him some loving and then get back to work.  It is a nice break. Smile.

Here you can see how I just kept working my way around each of the three sections of quilting and I am getting ready to join two sections.

In this picture, you can see how I pull together the different places where I started the quilt as you go.  The middle strip on the left pulled those two sections of quilting together.  I just pieced it with two fabrics, but it is really one sewn piece.

Here is that section sewn into one side of the bag.  I left this side plain just attaching the handles.

This is one of the ends on the sides of the bag.  I made two of these.

I quilted some black canvas for the center sides in just a diamond shape.  I added a double zipper that I upcycled from an old backpack.  This design allows me to open up the bag wide enough to drop the Fabric die Cutter in easily.  It fits right down inside.  I have room on the inside to add the rest of my die cutters.  The bag is tall enough for the medium size dies as well so there is room to grow.


On this side, I added a pocket.  Can you see the little clear cutting pads tucked into the left side, they fit perfectly.  The pocket could hold a smaller die as well.  I sewed the seams on the outside and just bound them like I would have added binding to a quilt.

I fussy cut little black kitties all over this bag.  Look through the pictures to see if you can find them.

My other cat, Oreo, had to check out the bag too!  I am thinking of writing up the pattern.  Let me know if that is something that might interest you.  I think I might make some small totes to go inside to fit the individual dies so I can keep them all together.  I love how this turned out.

Happy Stitching!


New Pattern – Dizzy Daisy Threadcatcher, Needlebook and Mini Pincushion

P1090937

I have been making this cute little dizzy daisy pincushion and threadcatcher for my friends for years and they have been asking for the pattern.  I added a Needlebook and Mini Pincushion for some cute bonus items to go with it.  You use a threadcatcher to well…catch the threads and little snips and bits as you are sewing.  It helps keep your sewing area neat and it is simple to carry to the trash can to empty it out when it is full.  The little daisy on the attached pincushion is pretty and clever – you can park your needles here so they are easy to find.

Dizzy Daisy Threadcatcher

I have several.  One is perched on my sewing table next to my machine where it is handy but I won’t knock it off.  I have one in my travel bag for sew-in days and retreats.  And I have one to carry with me to my recliner.  I have it hanging off the arm of the chair when I am doing hand sewing and watching tv.  I like to think I am being productive while I watch my favorite shows.

Dizzy Daisy Needlebook

I added this cute little Needle book too.  I have several of these too.  One for embroidery needles, one for applique needles, and one for quilting betweens.  I even have a special one with my big eye needles for Big Stitch Quilting.  It makes it easy to grab what you need for any project.

P1090943

Use it for pins or regular needles too when you are sewing on your quilt binding if you do it by hand like me.  I find it to be relaxing to do it by hand.

Dizzy Daisy Mini Pincushion


Finally, there is this tiny mini pincushion.  It is a 3″ x 3″ 9 patch.  I even tried to fussy cut the center square on this one.

This tiny size is easy to throw in a hand sewing bag or for a travel pincushion.  It is so simple and quick to make.  I stitched up a bunch of them for stocking stuffers this past Christmas.  I think they would be a fun gift to make for your sewing group too.

P1090848

Here is an example of another set I stitched up with a natural linen.  I embellished the items with embroidery floss in a running stitch and some twill tape.

P1090847

 I even changed up the little pincushion but it is still a petite 3″ x 3″.  Once you have the pattern, you can explore your own creativity to create something that is one of a kind.

Thanks for letting me share my new pattern with you.

You can purchase this Dizzy Daisy Threadcatcher pattern as a PDF download by going to MY PATTERNS tab and following the link to My Etsy Shop!

P1080584


Handmade Holiday – Personalized Zip Bags

P1090746


Last month at my Modern Quilt Guild Retreat, my friend Vicky gifted everyone at the retreat with a personalized zip bag.  She tried to personalize the fabrics she chose to match each gals personality too.  It was so thoughtful and so cute.  It was a wonderful idea and I am not too proud to say that I stole it.  I thought it would make great holiday gifts for all of my sewing friends and family. I have a huge stash of sewing themed prints that I have picked up along my travels.  It does not take much fabric and who doesn’t love something homemade?!

P1090733-001

P1090734-001

Here is the bag that Vicky made for me.  It features a see thru vinyl zip pocket and on  the back there is another pocket.

P1090732-001

The pattern is an embroidery pattern where the bag is sewn entirely in the hoop!  It is made by Lisa from Pickle Pie Designs.

I have an old Bernina 630e Embroidery Machine and I was able to squeeze it in the mega hoop that I own.  All the details for the pattern, size of hoop needed, and types of embroidery machines she supports is on her website.  She has a lot of other cute patterns too that you might want to try.  You have to have your own alphabet and pattern for any personalization.

handmade holiday 1  LM Designs

You start out by hooping some tear away stabilizer and it stitches guides for your zipper placement.

P1090738

Just align the zipper and it is all stitched for you!  No reason to fear the zipper here!

P1090740

It satin stitches on your vinyl and attached the upper fabric to personalize.

P1090741

You switch to your personalized name embroidery and position and stitch it on.

P1090743

Then she shows you how to add all of the other fabric and stitch it all in the hoop.

P1090744

She leaves a section to turn it right side out.  You just need to pull it out of the hoop, trim and turn it right side out.

P1090746

P1090748

This one is for one of my sit and stitch sisters, Wanda.  Shhh.  It is for our Christmas exchange.

Here is another bag I made for myself to hold all my pens and pencils that I carry around to jot things down when inspiration strikes.

P1090735

I am going to make a pile of these and fill them with some fun goodies for the holidays.

Do you have some great small handmade items that you are making for this holiday season?  Let me know!


Quilting Arts Holiday Blog Hop 2014 and a Giveaway!

Welcome to Lori Miller Designs!  I am very excited to be participating in the Quilting Arts Holiday Blog Hop 2014.  All of the contributors have joined the hop and you can find great give-aways, tips and ideas for holiday gift giving along the way.  The magazine features a slew of great holiday gift ideas that you can whip up for the special people on your gift list this holiday season.   I really enjoy making handmade gifts for my friends and family, especially for the holidays.  These unique, one of a kind gifts seem to be well received and I like infusing a little love into each item.  In recent years, I have started making multiples of similar gifts to give away.  These small, useful items are on the agenda for everyone on my list.

SONY DSC

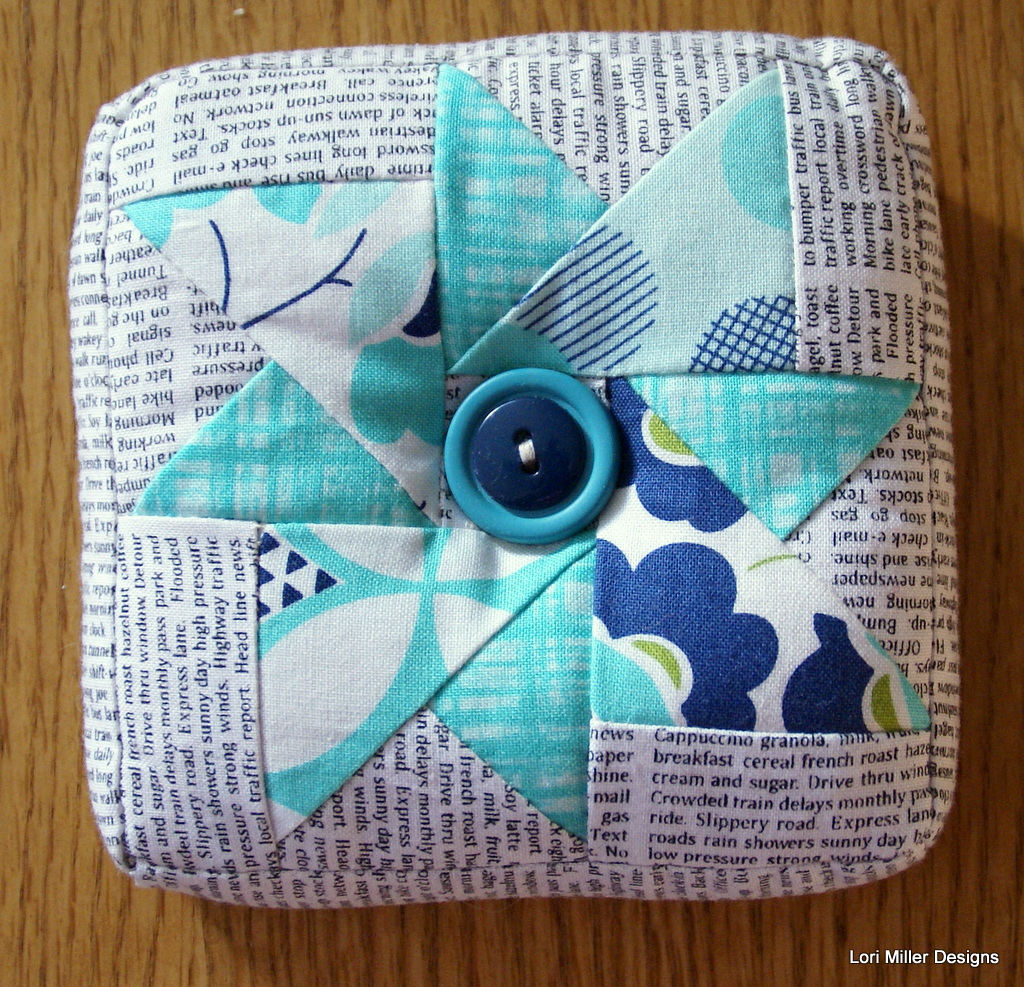
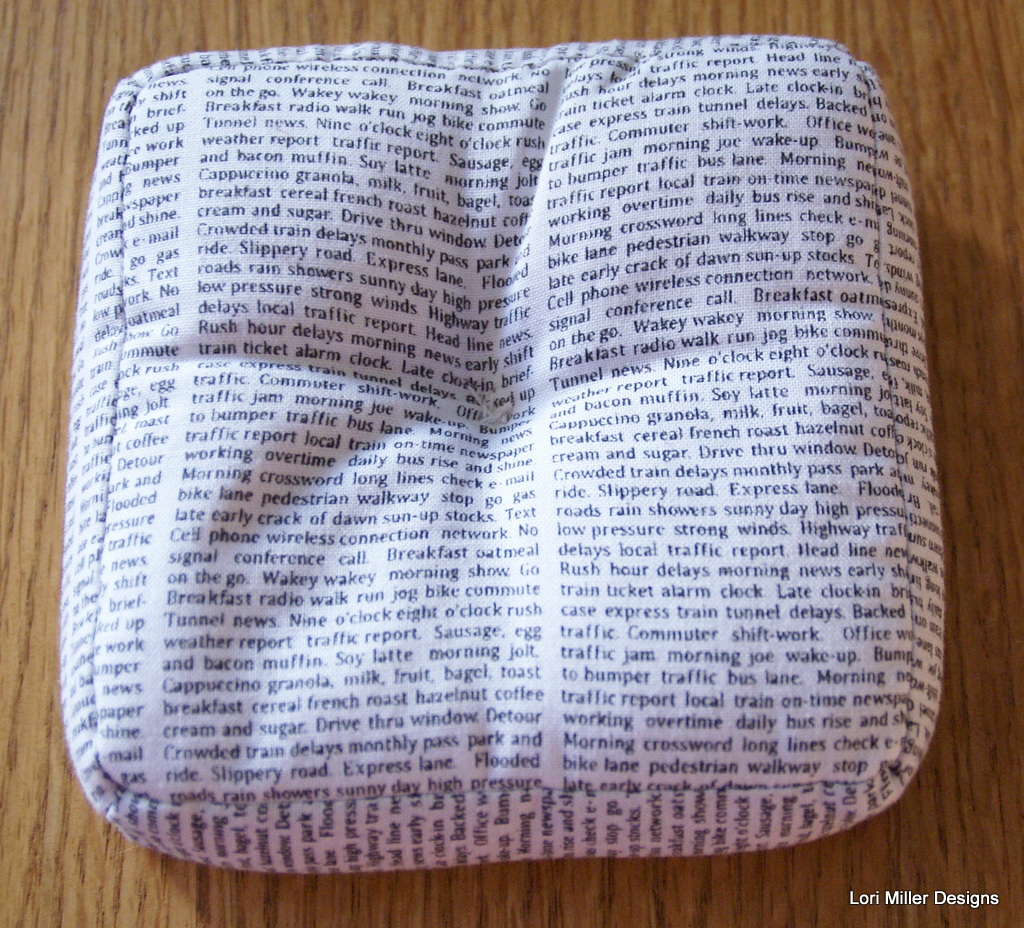
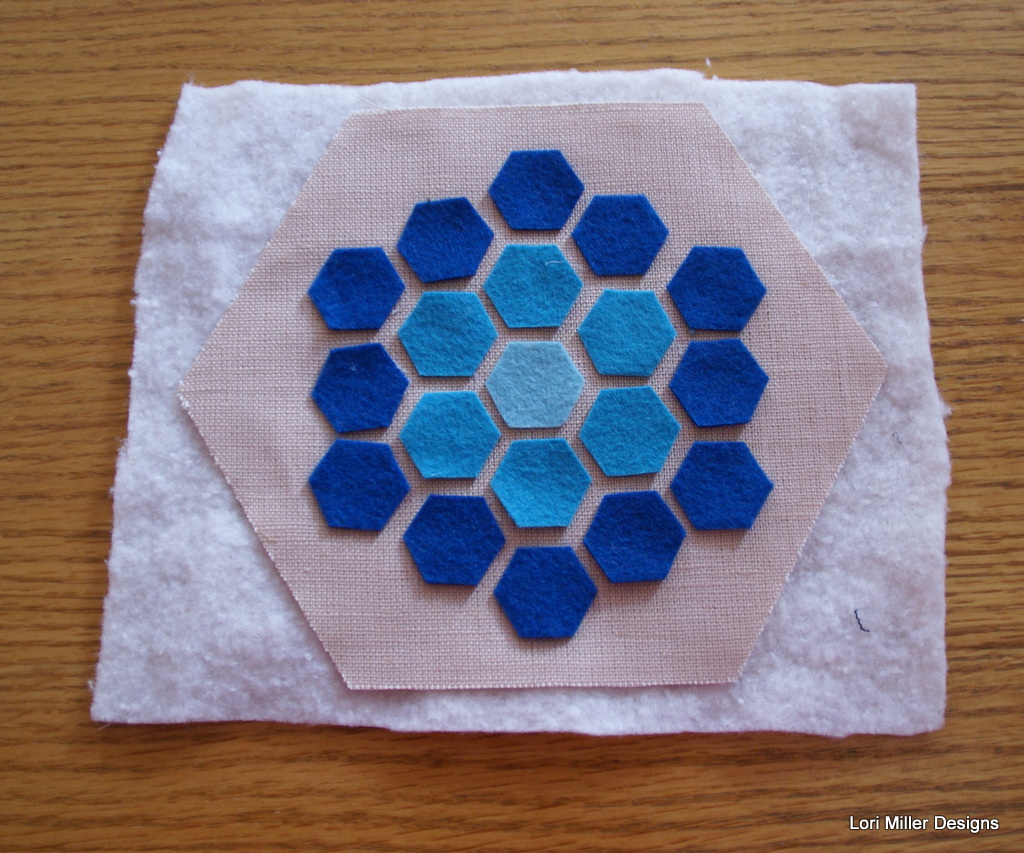
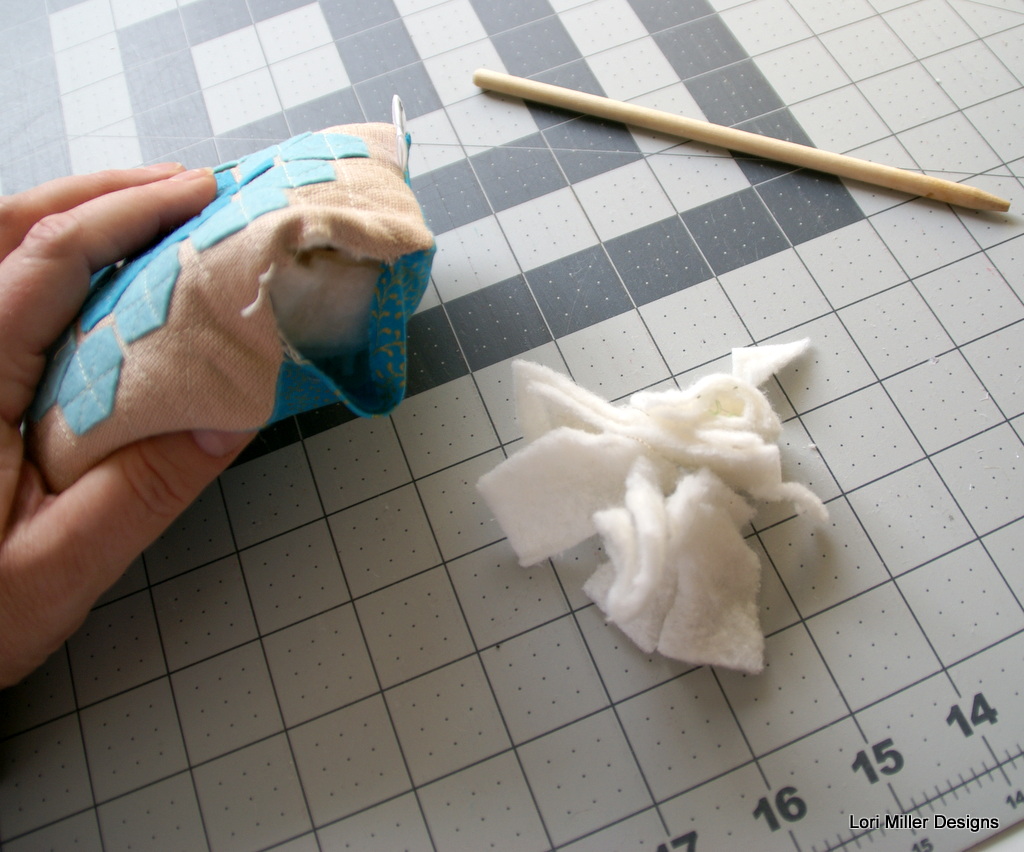
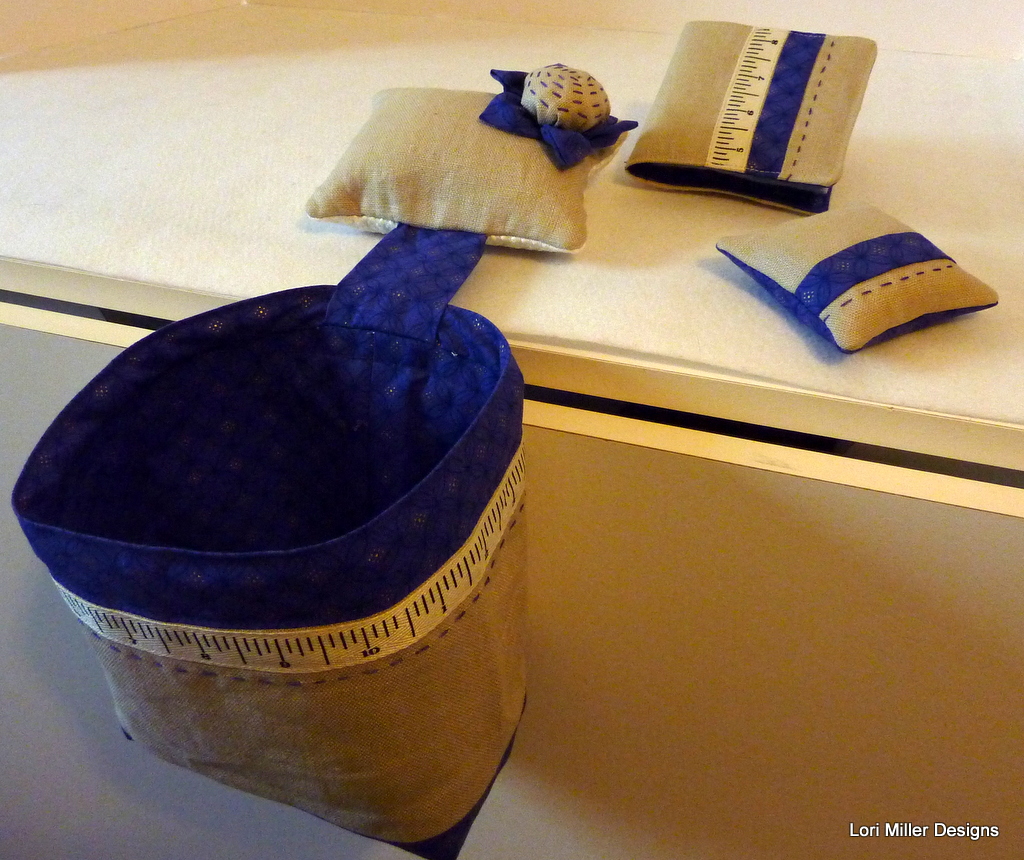
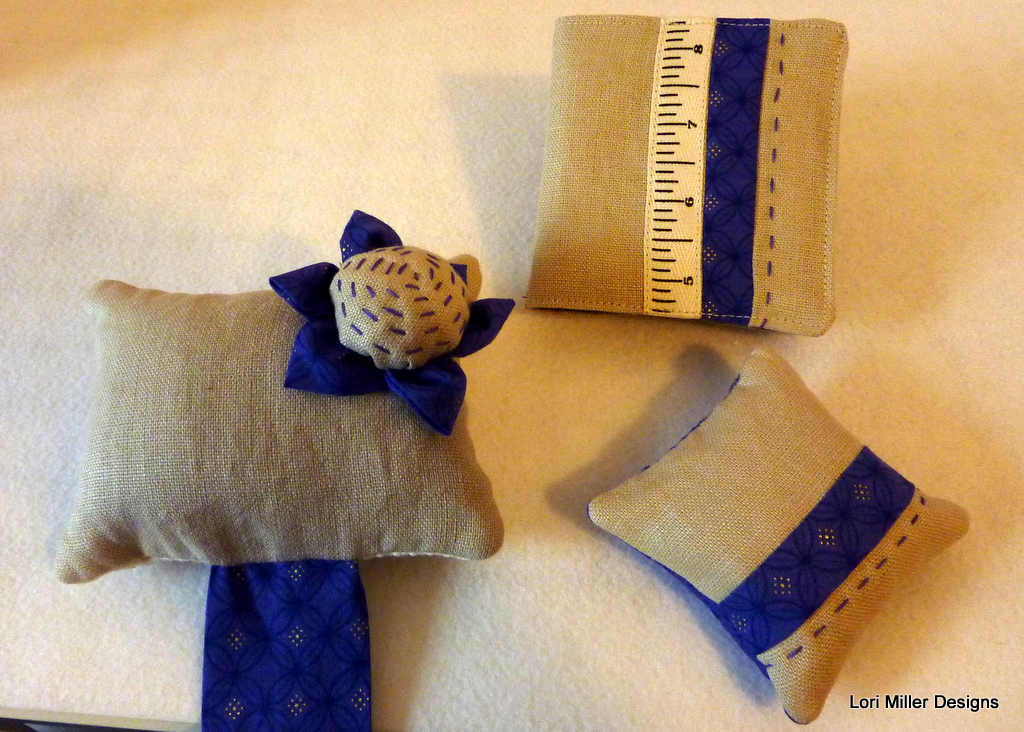
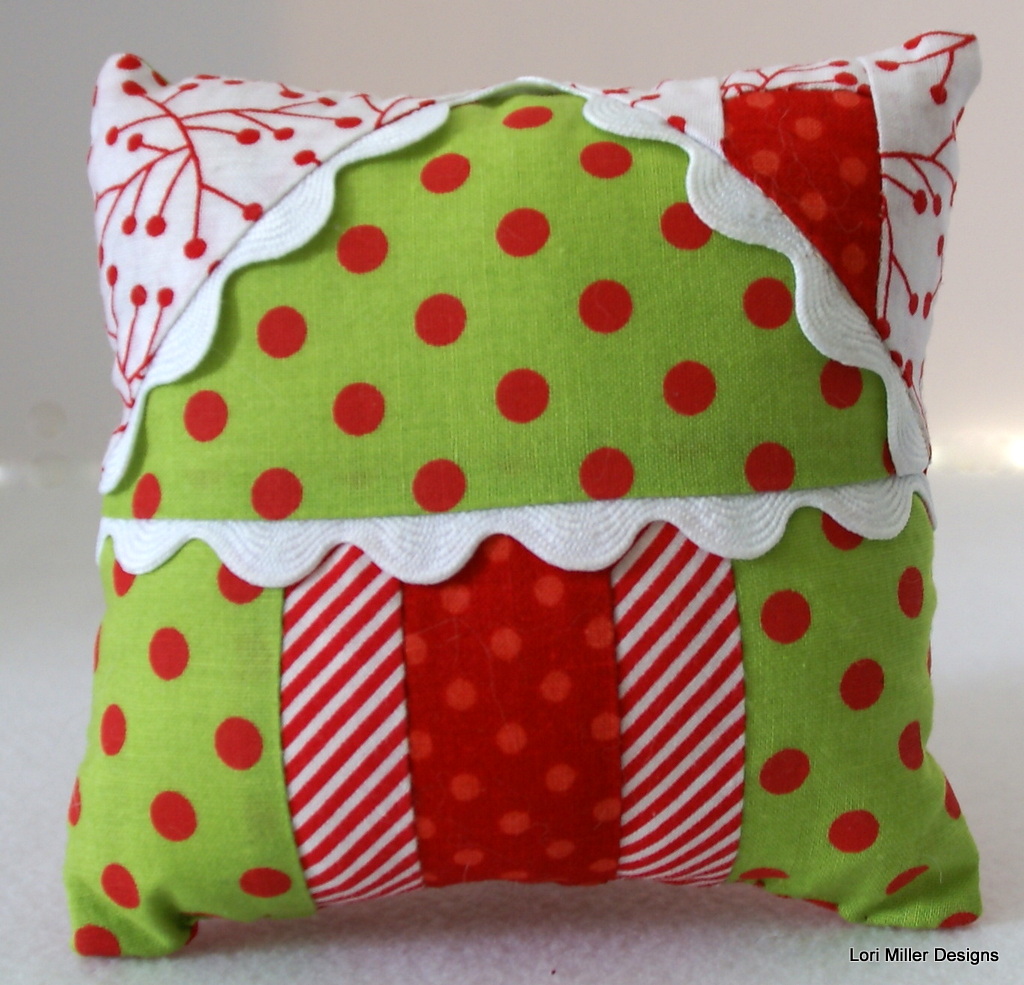
This year I am making these cute Gingerbread House Pincushions featured in the magazine.  It is a great little project for gift giving to your creative sewing and quilting friends for the holiday and it is not too early to start getting ready.  All  of the directions are included in the magazine and you can sew up these cute little confections in a jiffy.  Make a bunch of them using my ideas below to create gifts in multiple quantities.

Nifty Gifty Tips

LM Designs calendar and list

Start planning early.  Figure out what kind of item or gift you want to make in early fall so you can gather patterns and materials and have time to stitch them up.  I like to start in September and pace myself so I am not pulling my hair out as the holiday gets closer.

SONY DSC

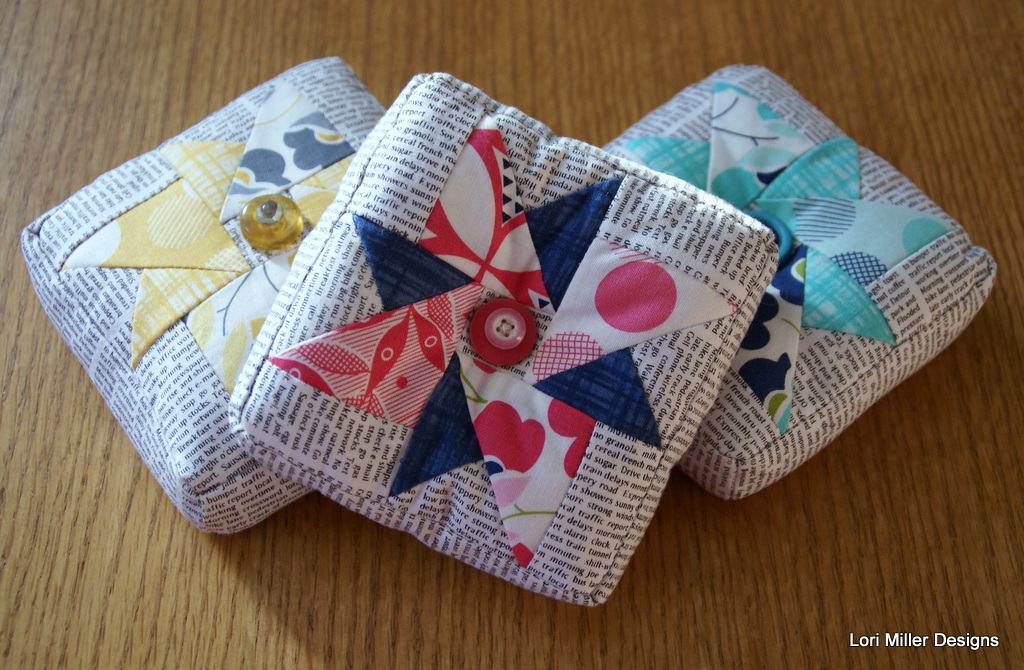
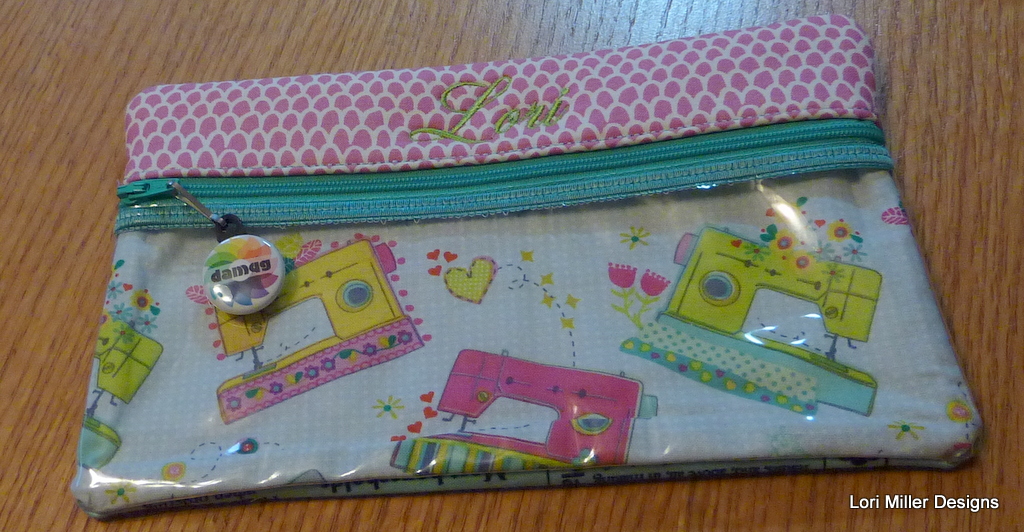
Customize the gift. Just because you are making many of the same item does not mean that you can’t tailor them to individuals and make them special.  Personalize them with names or with your choice of fabrics.  Try a fabric with a theme or hobby or favorite color that matches the individual or their décor.

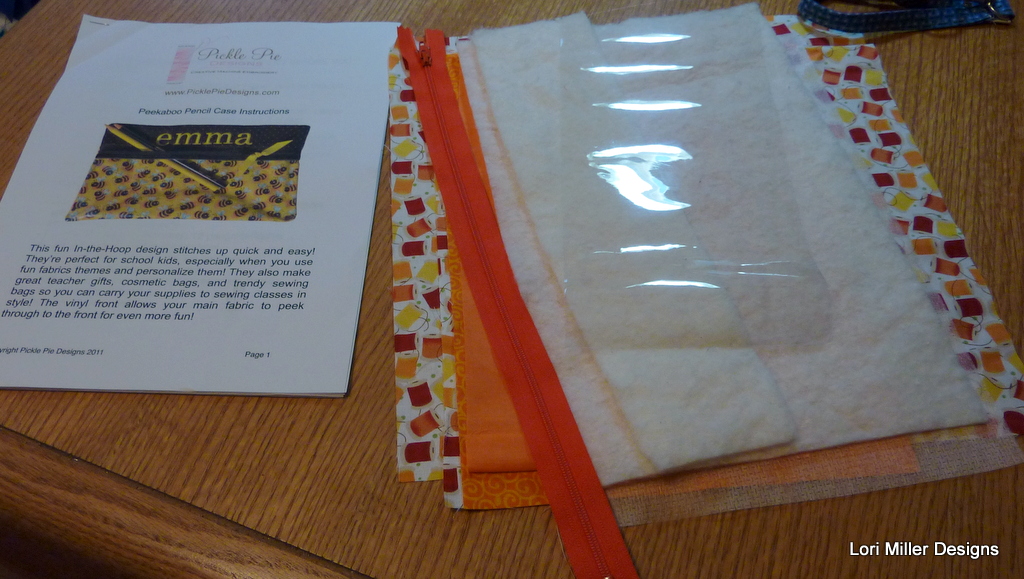
Practice.  Take an afternoon and completely sew through one version of the gift to have a feel for the time it will take, any special notions you will need, and to make notes on the pattern that will make the assembly go faster.  Also, it may eliminate a few surprises if you get in a hurry.

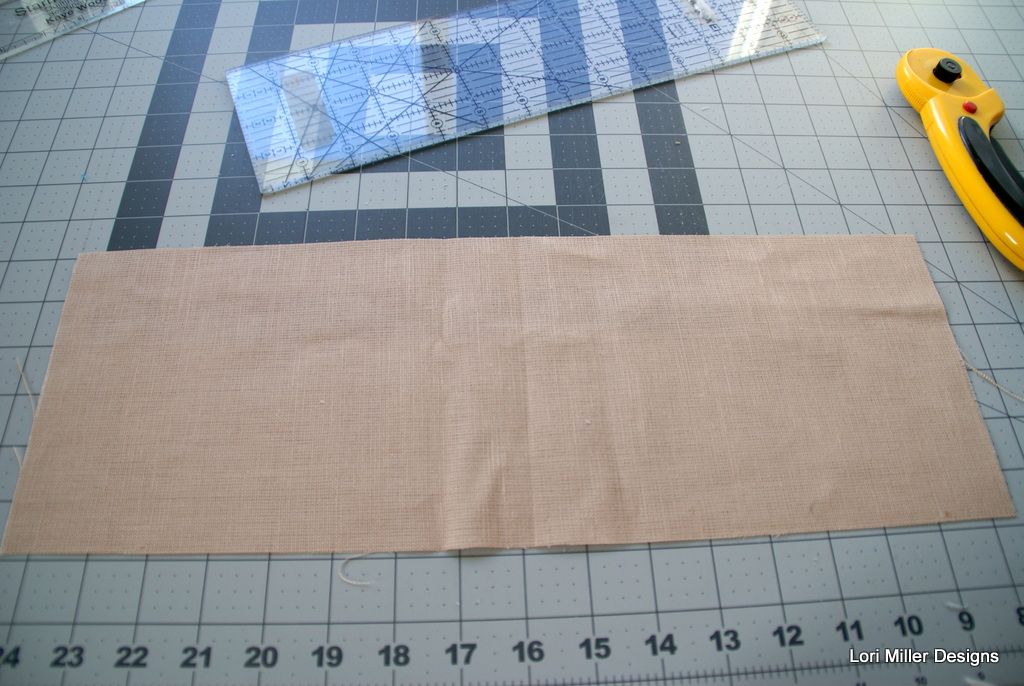
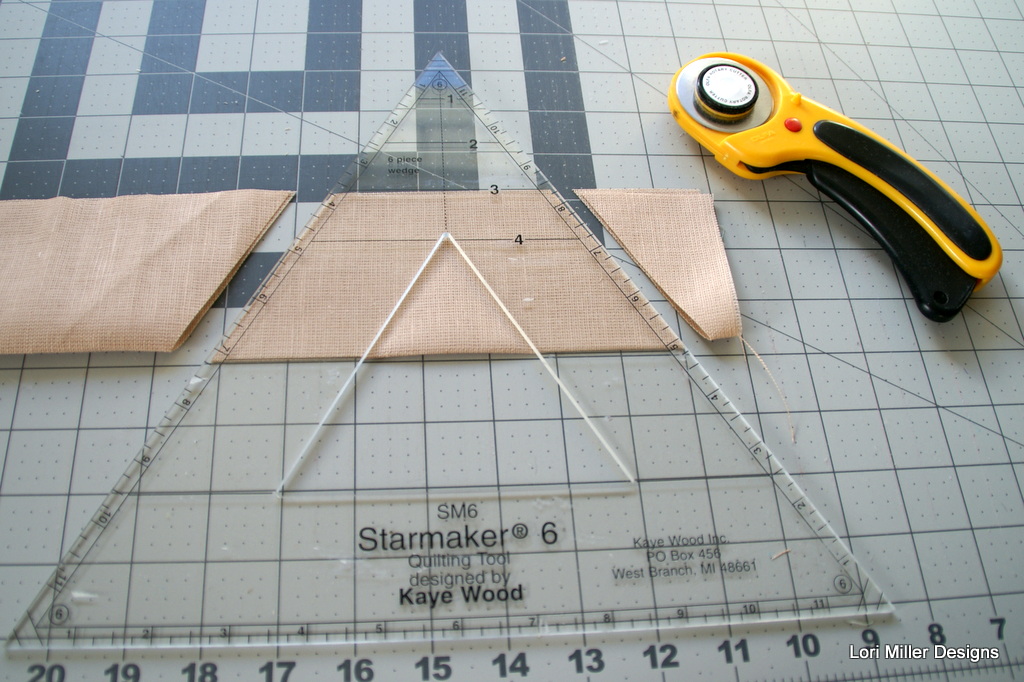
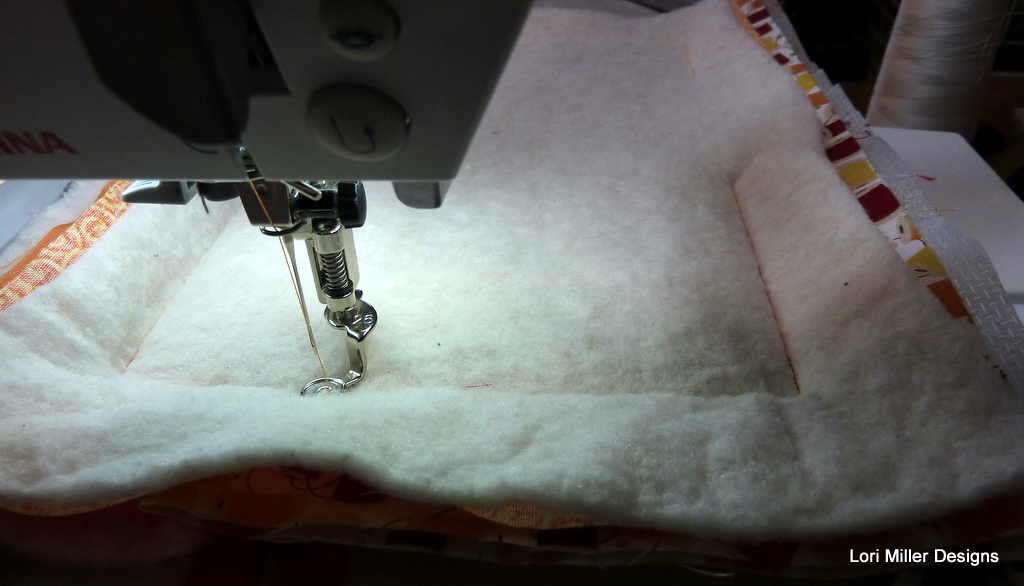
Set up an assembly line.  When you do similar items at once, I think the work simply goes faster.  Group the tasks together.  Consider cutting everything out at once, then stitching and piecing, then quilting, and finishing.  If you are appliquéing or sewing, try to sew all of the things with that particular thread color so you are not constantly changing the spool.

LM Designs rainbow baskets

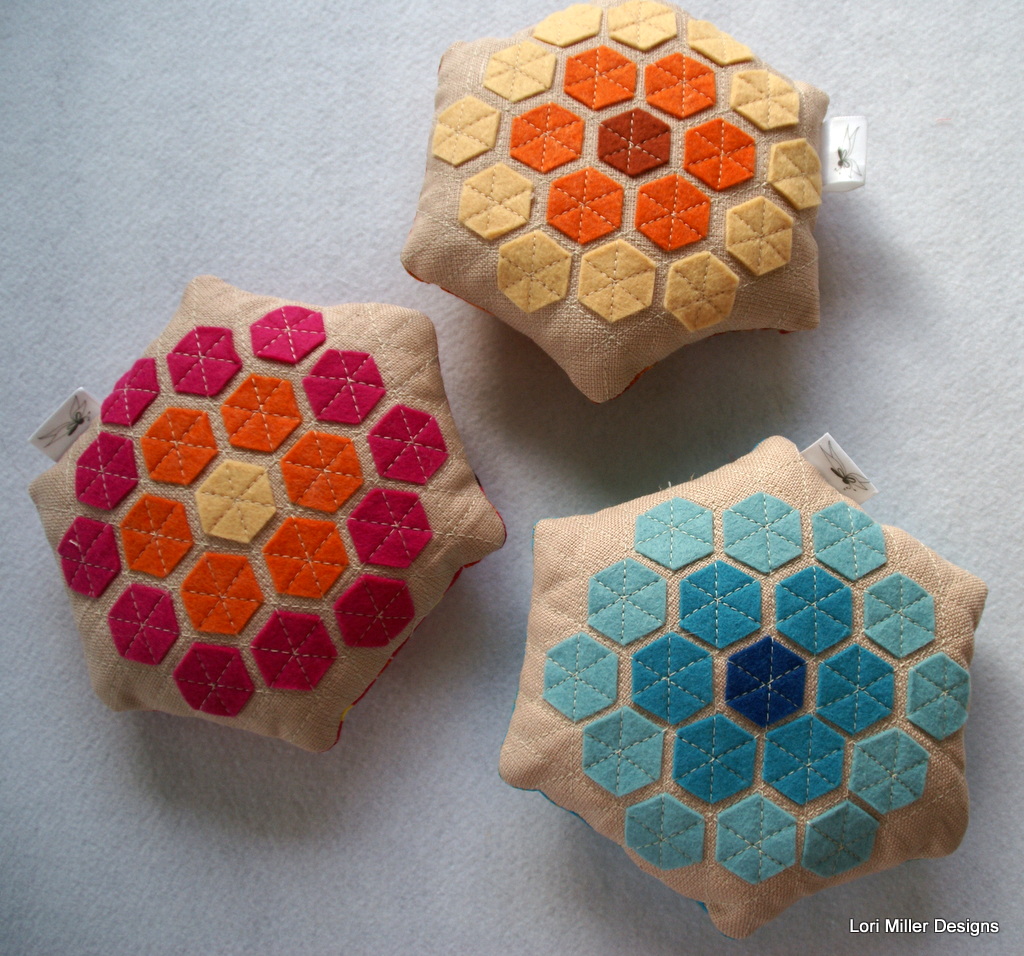
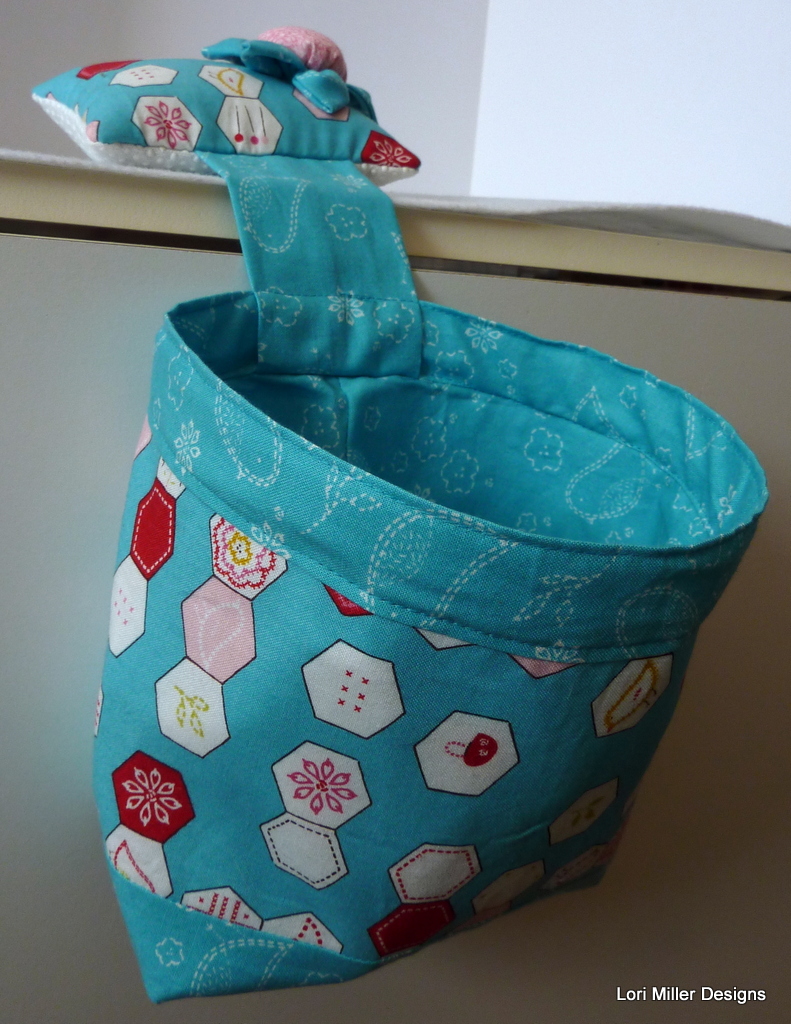
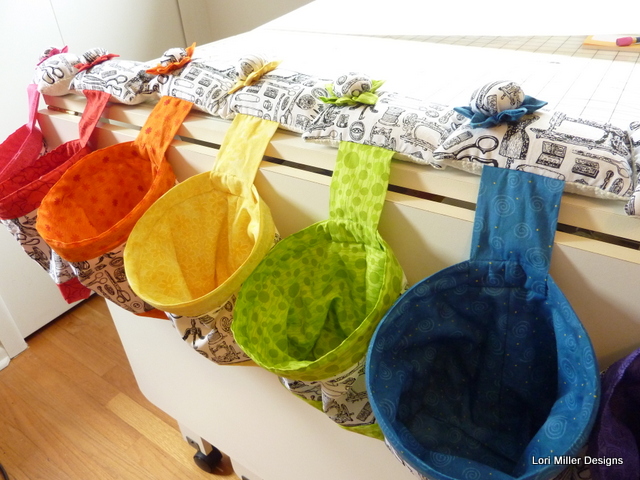
Don’t get too ambitious.  Ask me how I know this one.  I made these lovely rainbow baskets for my sewing friends last year.  I used all scraps to make the 2 ½ inch squares, but these were huge and the quilting took forever, I thought I would never get them finished.  One friend even got a few pins instead of buttons as I rushed to gift them.  Oops.  May I suggest you find a simple but useful item, big is not always better.

Lori Miller Designs supplies

Stock up on supplies. Be sure  to have extra thread, needles and notions handy.  Needles break and threads run out and if you are in the stitching zone, you don’t want to have to stop to get a needed supply.  Stock up and be ready.

Have fun! Sew with a friend.  Turn on your favorite music, invite your crafty friend over stitch and EAT the day away.  You will not believe what you can accomplish, and the fun memories you will have,  when you share the day sewing with a friend.

lori miller designs gingerbread house pincushion

To celebrate my pattern being published in the magazine, one lucky reader will receive this Gingerbread House Pincushion in a giveaway.

Contest Closed.Thanks to those who entered. Winner is Josie Davis, congratulations.

Here is the Holiday Blog Hop Schedule:

Friday, September 12, Vivika Hansen DeNegre

Saturday, September 13, Lyric Kinard

Sunday, September 14, Claude Larson

Monday, September 15, Linda McLaughlin,  and Kathy Kerstetter

Tuesday, September 16, Lori Miller

Wednesday, September 17, Melanie Testa and Liz Kettle

Thursday, September 18, Susan Brubaker Knapp,

Friday, September 19, Lisa Chin

Saturday, September 20, Sarah Ann Smith

Sunday, September 21, Catherine Redford