Published – EQ8 Designing More Quilts

I am honored to have a Chapter in the new EQ8 book, Designing More Quilts from the Electric Quilt Company.  I have been partnering with the Electric Quilt Company to share quilt design lessons on their DoYouEq,com blog for both EQ Mini and EQ8 for a couple of years.  Many of you have made those designs with the tutorials I offer right here on my Lori Miller Designs Blog.

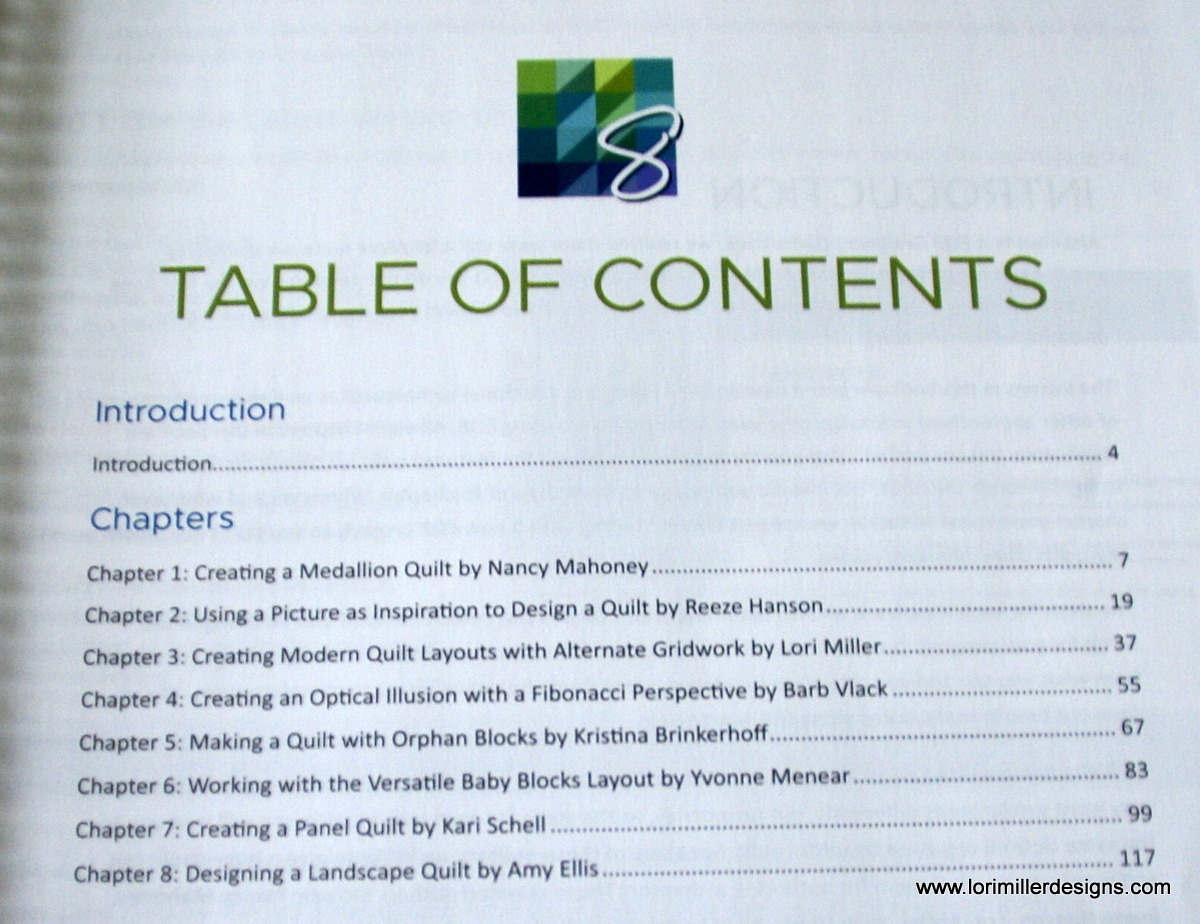
I have the privilege of joining many EQ Experts who share their Quilt Design Tricks in this book.  They include lessons on creating Medallion quilts, panel quilts, baby block quilts and more.


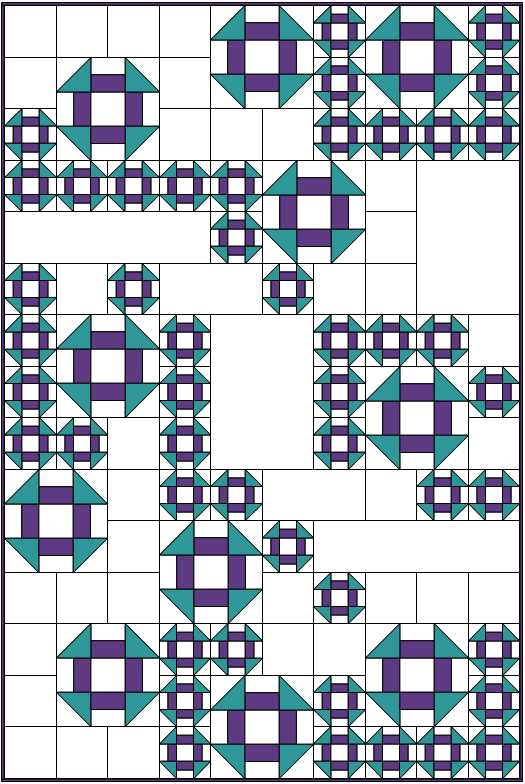
I wrote Chapter 3 Creating Modern Quilt Layouts with Alternate Gridwork.  Wow, that’s a mouth full but it includes a chapter jam packed with ideas to use EQ8 to create modern elements like asymmetry, exaggerated scale, negative space and minimalism in your quilt designs.

There are lots of tricks to creatively use borders, horizontal layouts, whole top designs and clever block placement to create beautiful designs.


I finish with ideas to use the built-in Irregular grids provided by EQ8 to add to your design toolbox.

It’s a fun lesson if you are exploring modern quilt design concepts using the tools that came with your software.  My lesson is just a jumping off point to highlight design tips you might not have thought of or tools with EQ8 you have not used before.

EQ8 has other books that might be of interest to you.


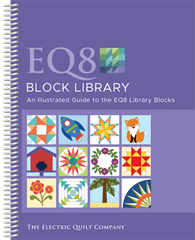
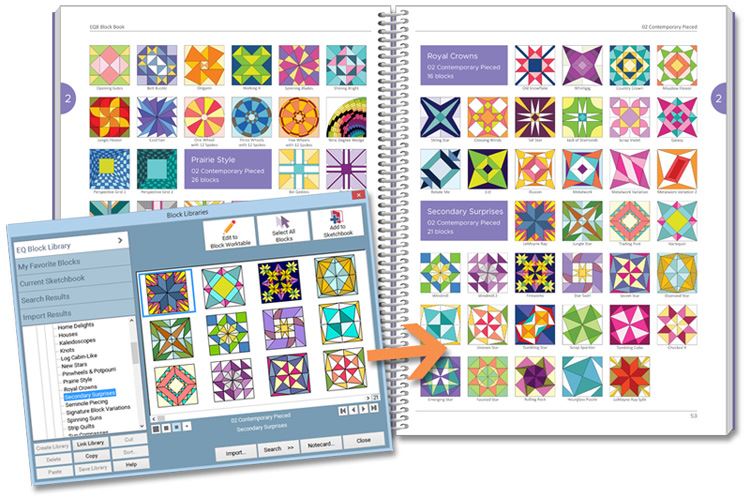
A couple of my favorites are the EQ 8 Block library book (You can peruse all of the free blocks that come with the software at your leisure, it is great inspiration too!)

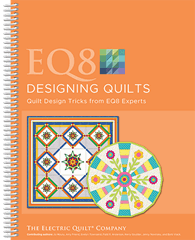
and the first design book, EQ8 Designing Quilts.

For more information on the EQ8 Designing More Quilts book, you can visit Electric Quilt HERE.

Happy Quilt Designing!


Free Tutorial – Shipmates Bench Pillow

Ahoy!  It is summer and that means sewing projects that are fun, easy and quick to stitch up.  That leaves you plenty of time to soak up the sun and play in the outdoors.  This nautical themed pillow is designed to sit on an outdoor bench or decorate a bench in your home.  It was designed with Electric Quilt 8 using a Horizontal Strip quilt layout.  With some very easy shortcut piecing and machine applique, you can make this pillow up in an afternoon.  Enjoy!

Shipmates Bench Pillow

Finished size is 16″ x 28″

Materials

  • 1/2 yd light blue fabric
  • 1/8 yd navy blue fabric
  • 1/2 white fabric
  • 1 yd backing print
  • 1/4 yd red fabric for binding
  • 1/2 yd muslin
  • 1/2 yd batting or 20″ x 32″ piece

Directions

Cut Fabric:

Light Blue

  • 1 — 16 1/2″ square
  • 2 — 4 1/2″ x 16 1/2″ rectangles

Navy Blue

  • 2 — 6 ” squares

White

  • 2 — 6 ” squares
  • 1 — 16 ” square

Red

  • 3 — 2 1/4″ x  WOF strips for binding

Printed Backing

  • 2 — 18″ x 33″ rectangles

Muslin

  • 1 — 18″ x 30″ rectangle

Batting

  • 1 — 18″ x 30″ rectangle

Water Soluble Marker or Pencil

1 — 16″ square of double sided fusible web

Anchor Template


Piece the Pillow Top

  1. Make the half square triangles to resemble a rope design.  Take the two white 6″ squares and  mark them from corner to corner.
  2. Place the white square right sides together with the navy blue 6″ squares.  Stitch 1/4″ away from each side of the diagonal marked lines.
  3. Carefully cut the squares on the diagonal lines and then in half both ways as in diagram above.  This will create 8 half square triangles for each square for a total of 16.
  4. Press the seams to the darker fabric.  Trim the blocks to 2 1/2″ square.
  5. Stitch the half square triangles together in groups of two to start, then piece them all together to form the rope strips.  I stitched both in the same directions.  Set aside.
  6. Next, print out  the anchor template and tape it together using the guidelines.  Using a light box or a window, trace the anchor outline to one side of the fusible web.  Press the fusible web according to the manufacturers instructions to the wrong side of the white fabric 16″ square.  Carefully cut out your anchor applique.  Peel off any backing.
  7. Position the anchor in the center of the 16 1/2″ light blue square.  One you have it where you like it, press the anchor onto the center of the pillow.
  8. Now applique around the outside edge of your anchor to finish the applique.  You may need to use some stabilizer underneath the design as you stitch so that the background fabric does not pucker.  Use a light tear away or other stabilizer of your choice.  I used  a zig zag stitch that was a little bit larger than a satin stitch.  For the points, I taper the stitch down before I turn.
  9. Next assemble all of the strips to create the pillow top.

Quilt the pillow top

  1. Layer pillow top with the muslin, batting and pillow top, right side up.
  2. Pin baste the quilt layers together.
  3. Quilt as desired.  I used painters tape to mark diagonal lines and then I quilted straight lines diagonally.  Trim the pillow top to 16 1/2″ x 28 1/2″.  It might be slightly smaller depending on how much quilting you did. 

Finish the Pillow

  1. Fold each 18 ” x 33″ background print rectangle in half, wrong sides together, to form two 18″ x 16 1/2″ rectangles. Press.
  2. Top stitch along the folded edge of the pillow about 1/2″ away from the fold.
  3. Place the quilted pillow top, right side down.pillow-back
  4. Place two folded rectangles over each pillow, overlapping the folded edges in the center by about 4″.
  5.  Baste 1/8″ along the outside of the layers.  Trim.  Don’t you love this cute print that matches the applique so perfectly?  I found it in my stash.
  6.  Bind with the red binding strips.
  7.  Finish by inserting a pillow form through the opening.


I would love to see pictures of your Shipmates pillows!  Tag me on Facebook or Instagram @lorimillerdesigns

Looking for the EQ8 Design Instructions?  You can find them HERE!

For more projects and tips and techniques on using EQ8, visit my Electric Quilt blog series EQ8 Lessons with Lori.

For more information on EQ8, go to Electric Quilt 8 Software.