
I am home from Austin and Quiltcon 2015. It was everything I had hoped for and more. I don’t think I have ever had this much fun at a Quiltshow. There was so much going on but I pared it down to my top 10 favorite things. In no particular order….
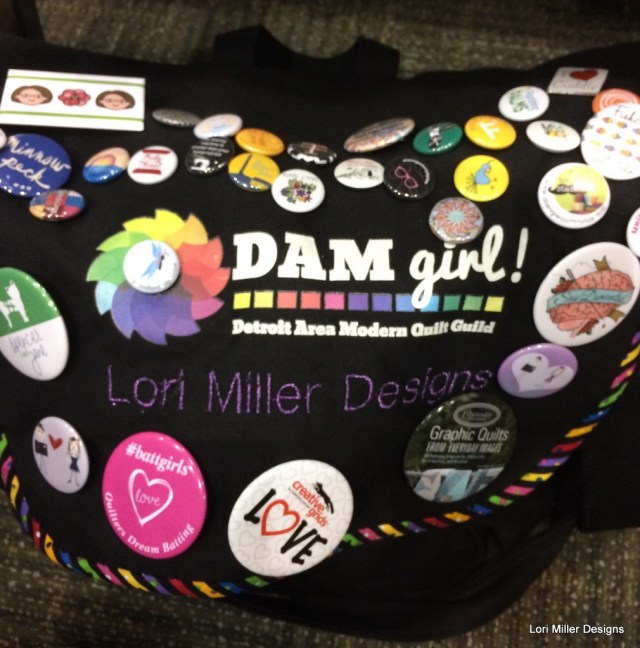
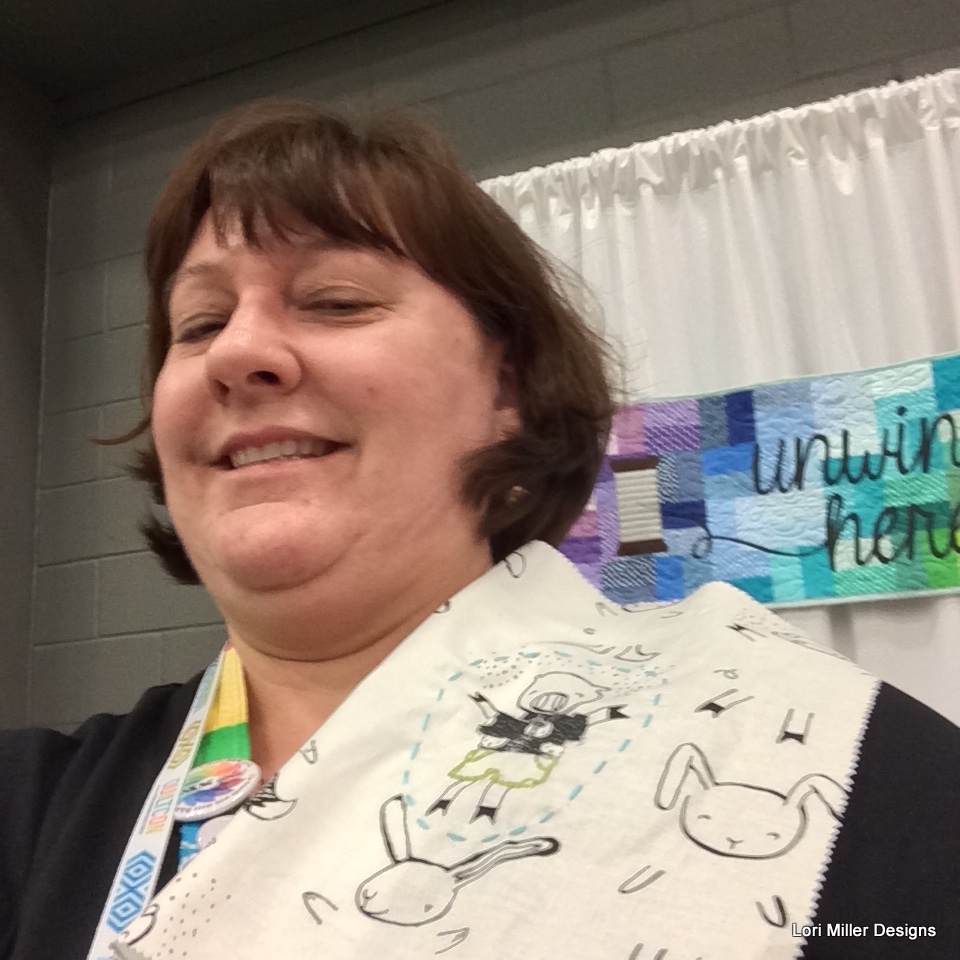
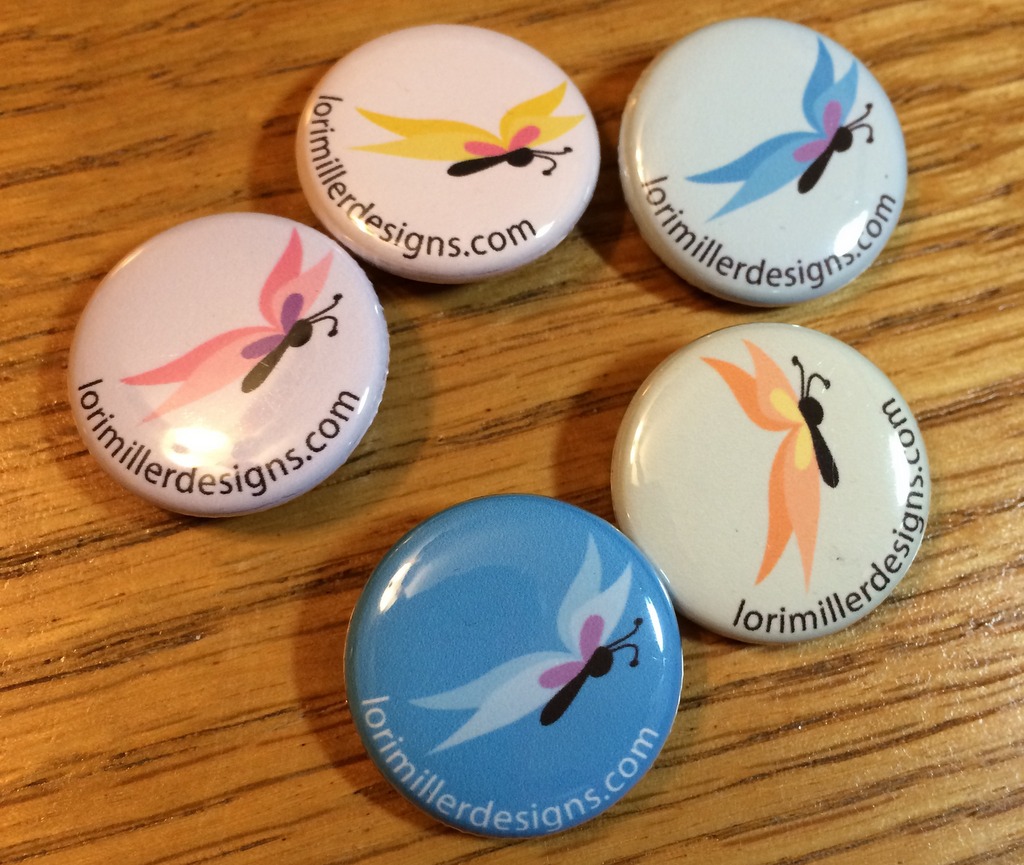
#10 Buttons Buttons Buttons
This year there was a button swap. Folks who wanted to participate made up little metal pin on buttons with their guild logo, or their business logo, or their instagram handle. It was a great conversation starter and I talked to lots of people I might have been too shy to talk to normally. Those little buttons gave me a reason to meet a lot of new friends and share a little about ourselves. You could swap them about anywhere, I kept my little bag of buttons with me wherever I went. I even made the Quilting Daily blog with a picture of me swapping buttons, check it out HERE.

#9 Stocked up on hard to find goodies
There were some really awesome vendors and I picked up my kitty japanese prints, oohed and aahed over the Oakshot cottons, admired the Doe fabric, and even splurged on some Aurifil thread. There were some new technology based services like Massdrop, a group buying service and Pattern Jam, online quilt design software, that I had not been aware of that I now definitely need to look into. There were sewing machine and long arm dealers to try out your dream machine brands. There was something for everyone in the vendor area.
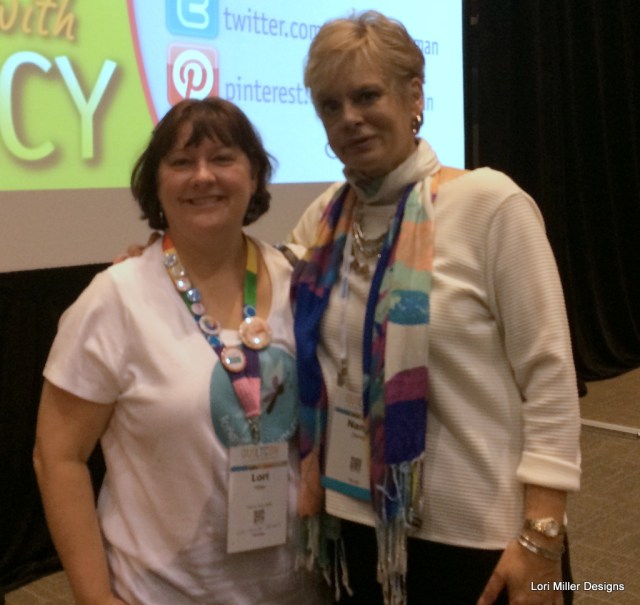
Nancy Zieman and myself
#8 Met a mentor I admire in person
She may not be officially modern, but she is sewing royalty. I met Nancy Zieman after her lecture about how Sewing with Nancy came to be. She was a gracious and genuine speaker and I really enjoyed her inspirational journey. And she brought Clover goodies for everyone! The authors, lecturers and teachers were very accessible and you could find them everywhere at the venue.

#7 Gave a little of my time for others
When I needed a little rest and sit down time, I found the perfect booth. There I sat and embroidered and stitched a little outfit for a pig. It was the cutest little quilt square on fabric printed for you to dress the little characters. When I finished, I turned him in to be made into a charity quilt. A very nice way to take a little breather. Of course, my Detroit Area Modern Quilt Guild had a charity quilt that I worked on displayed in one of the large halls. It is so nice that the Modern Guilds also give back to our communities.

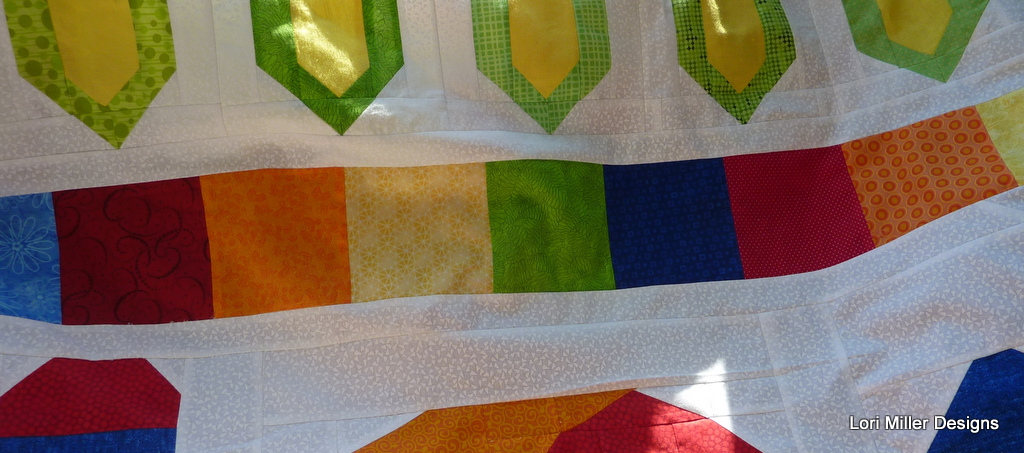
#6 Gained Loads of Inspiration from the beautiful quilts
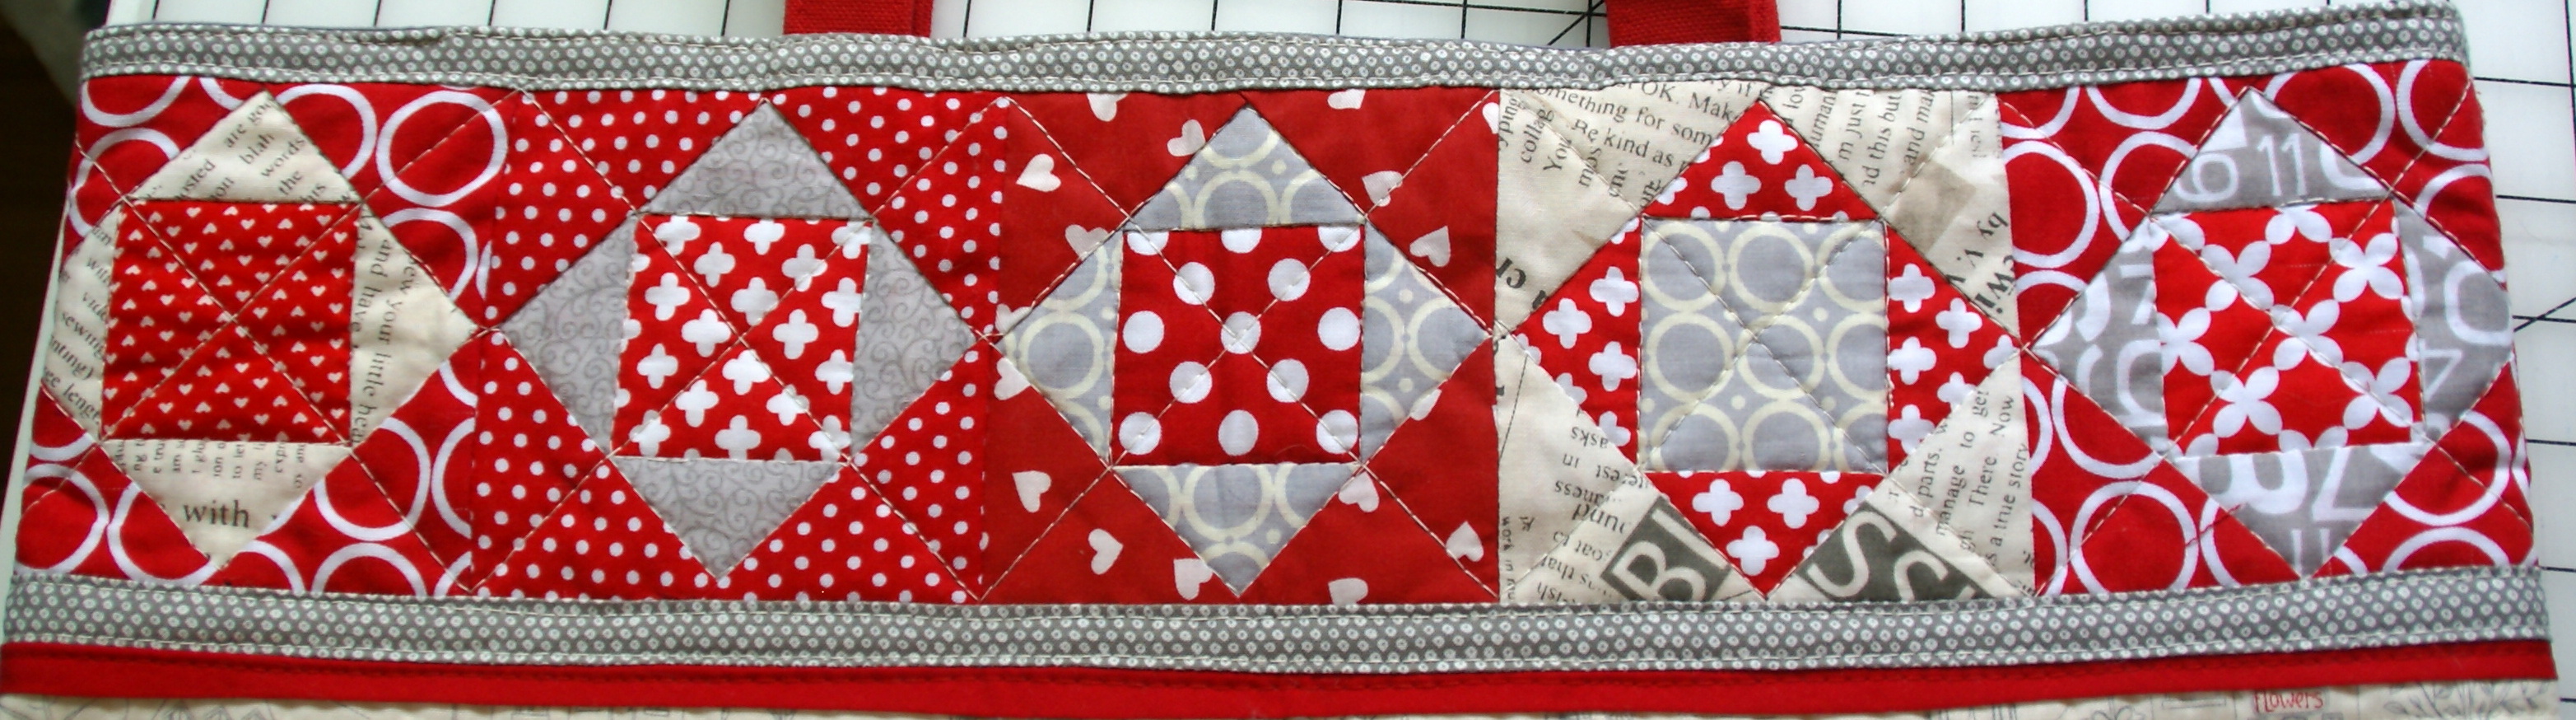
There were so many quilts, I think I walked the floor about 3 times and every time saw a quilt I had missed before. They were beautiful and detailed. The textures, fabric choices and colors were amazing. From simple to complicated piecing, they all told exquisite stories. Here is some of thebeautiful texture, I apologize that I did not get the name and designer of this quilt.

My roomie, Donna A and me
#5 Old friends, New friends
It was hard not to make a new friend at Quiltcon. Even an old friend that you might have only known before from their instagram pictures or perhaps you had a swap partner you wanted to meet. Even the dear friends that you brought with you to the show was an opportunity to build a deeper friendship. It was such a friendly atmosphere from the attendees to the people manning the booths, the atmosphere was buzzing.

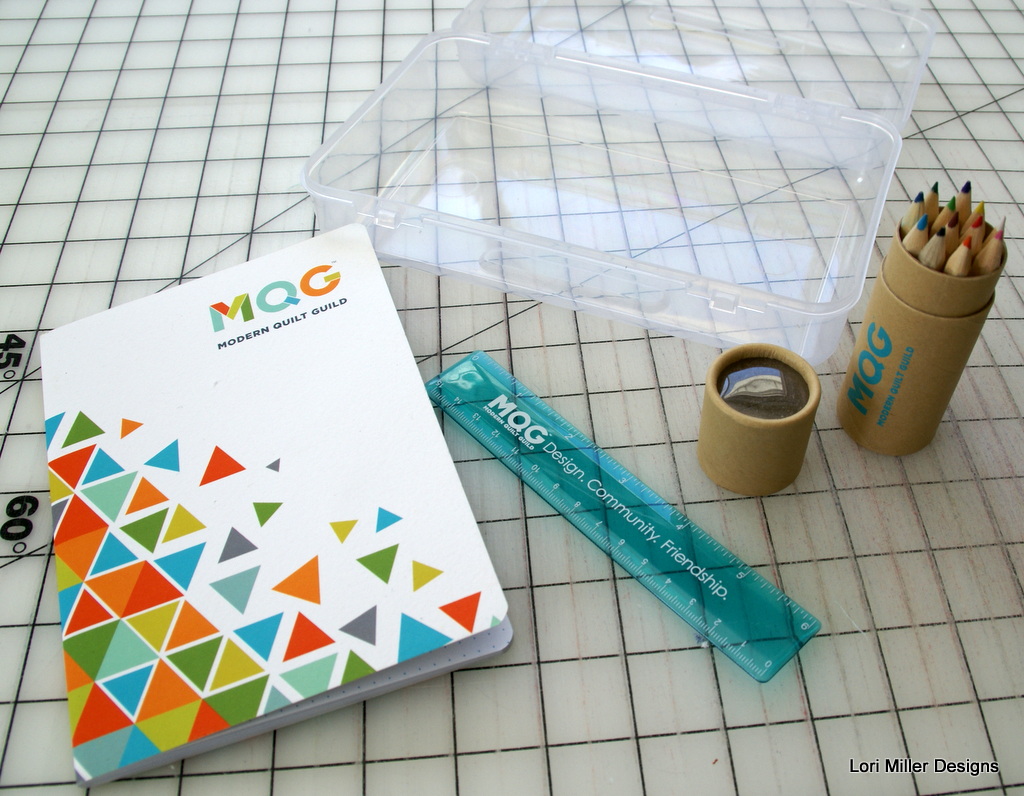
#4 Free Stuff
I do love me some free stuff. Well, I did spend enough to receive on the conference to receive the MQG swag bag too. This bag was filled to the brim with patterns, thread, fabric and the cutest little container, book and colored pencils from the MQG. All around the floor were fabric and thread manufacturers with games, temporary tattoos and freebies for everyone. Even the demos had prizes.

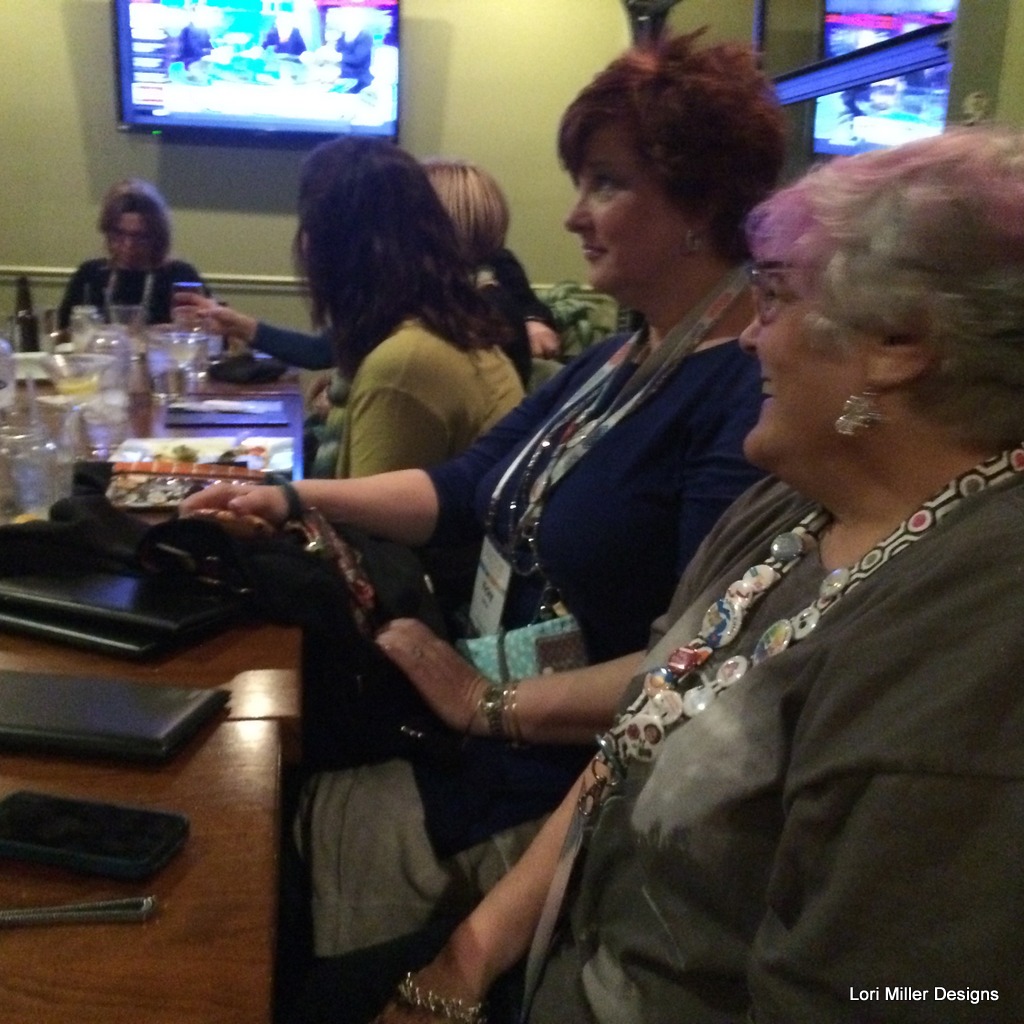
Donna A, Whatsonemoreproject, HouseofDuke, and Sewtogether Phyllis at dinner
#3 Yummy Food
Austin did not disappoint. There was the expected Tex Mex and BBQ, but just about anything you might desire was there too with lots of fresh ingredients. I enjoyed delicious fried chicken, some wonderful Italian and a had great Mexican food at some of my favorites.

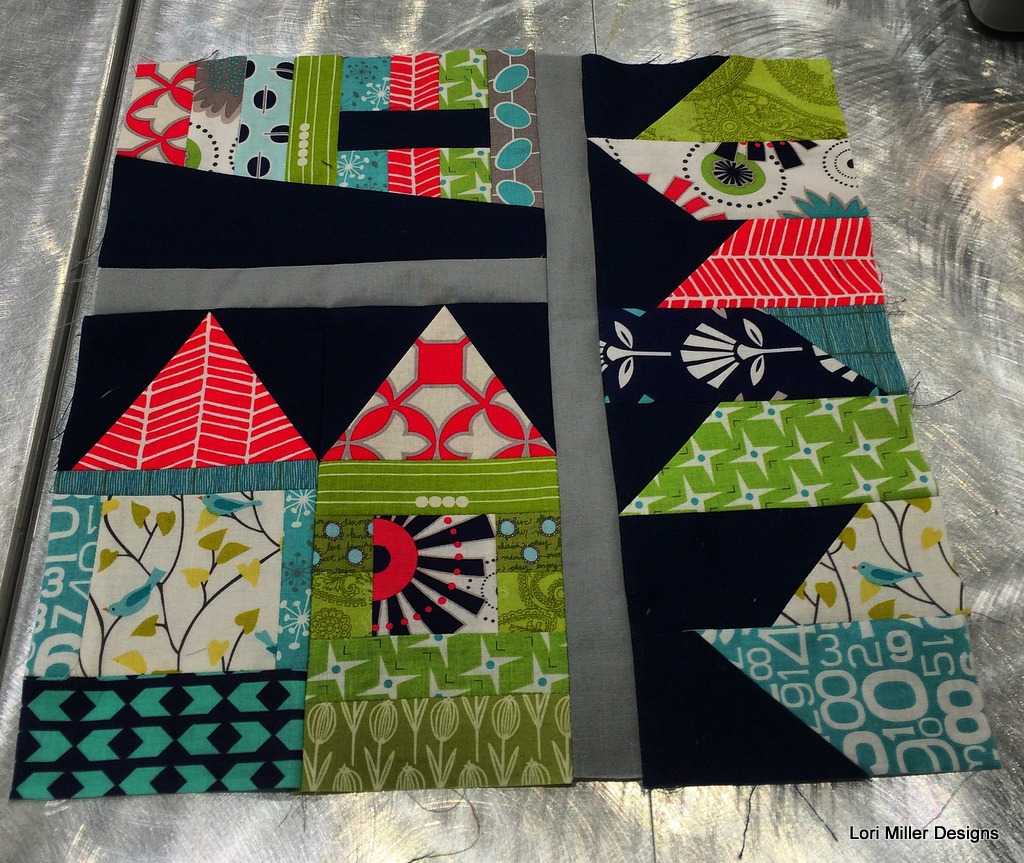
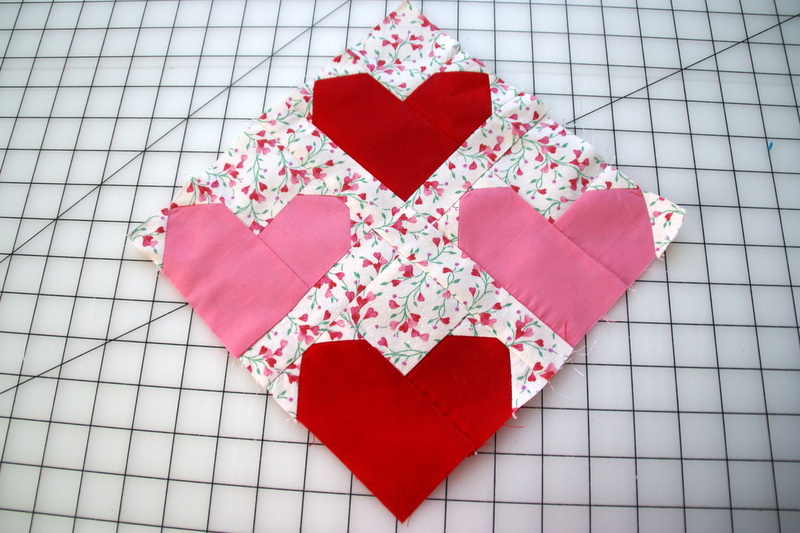
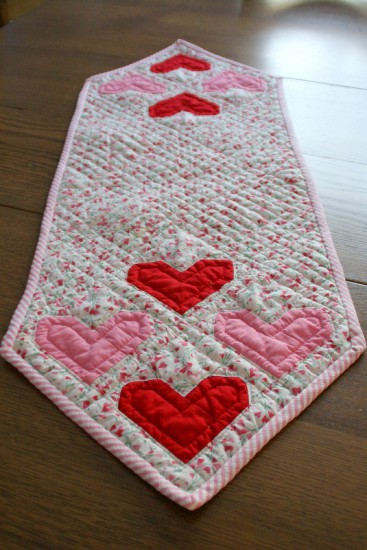
My blocks from the Patchwork City class
#2 I learned something new!
I took two classes by some wonderful teachers. My first class was Patchwork City with Elizabeth Hartman. I learned about texture and color and looked at the combination of block parts, colors and patterns so differently than I had before. Here are three finished blocks all put together.

Donna (dolce-t), Carolyn Friedlander and myself with our aerial grove projects
My second class was Aerial Grove with Carolyn Friedlander. This class with hand applique on Sunday was the perfect relaxing activity for the end of Quiltcon. Again I worked with color and scraps. In both classes, I discovered that less is more and limited the colors for a great effect. I feel if you learn at least one new thing, the class is always worth it.

RubyThreads and I goofing off in the Moda Photo Booth
#1 Had fun
Whether I was shopping, in class, or hanging out with new or old friends, I had a ton of fun. I laughed a lot. Joy makes any adventure memorable. I had a sweet roomie who made me laugh until I cried. I caught up with an old friend for lunch and just had fun goofing off with all my pals. Could it have been any better?
If you were not sure before, start saving up for Quiltcon 2016 in California.
I am home now recovering, napping and doing laundry. And of course, sewing. Happy Stitching!


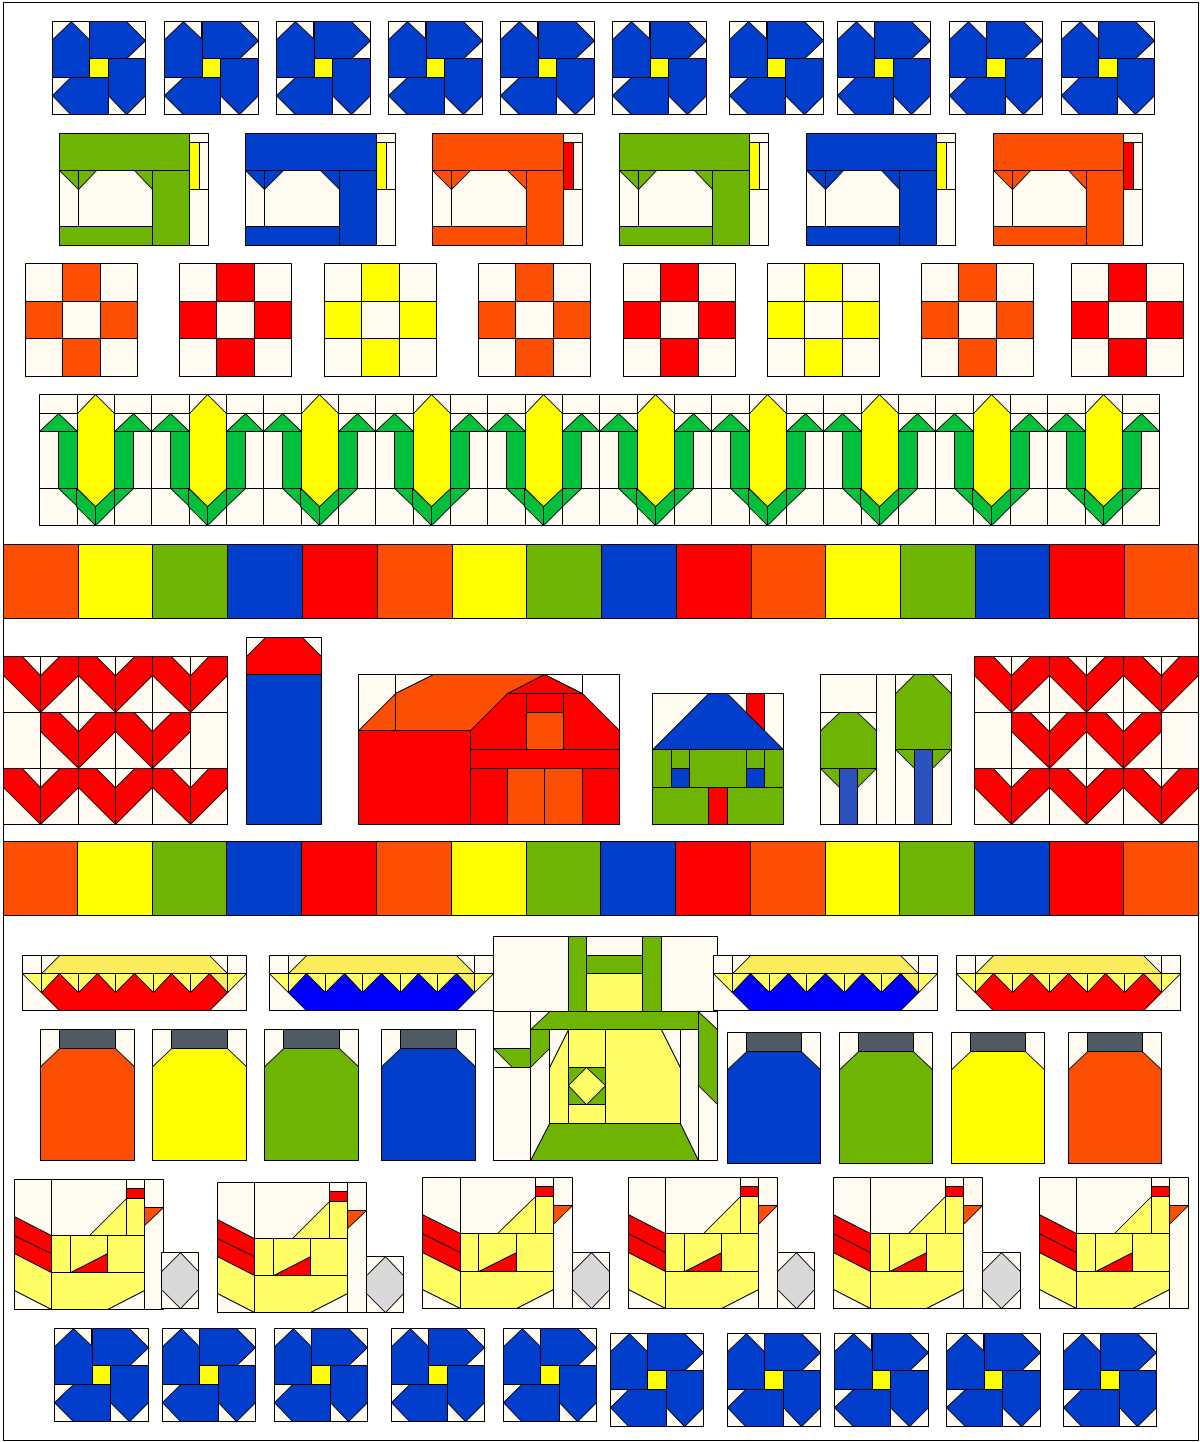
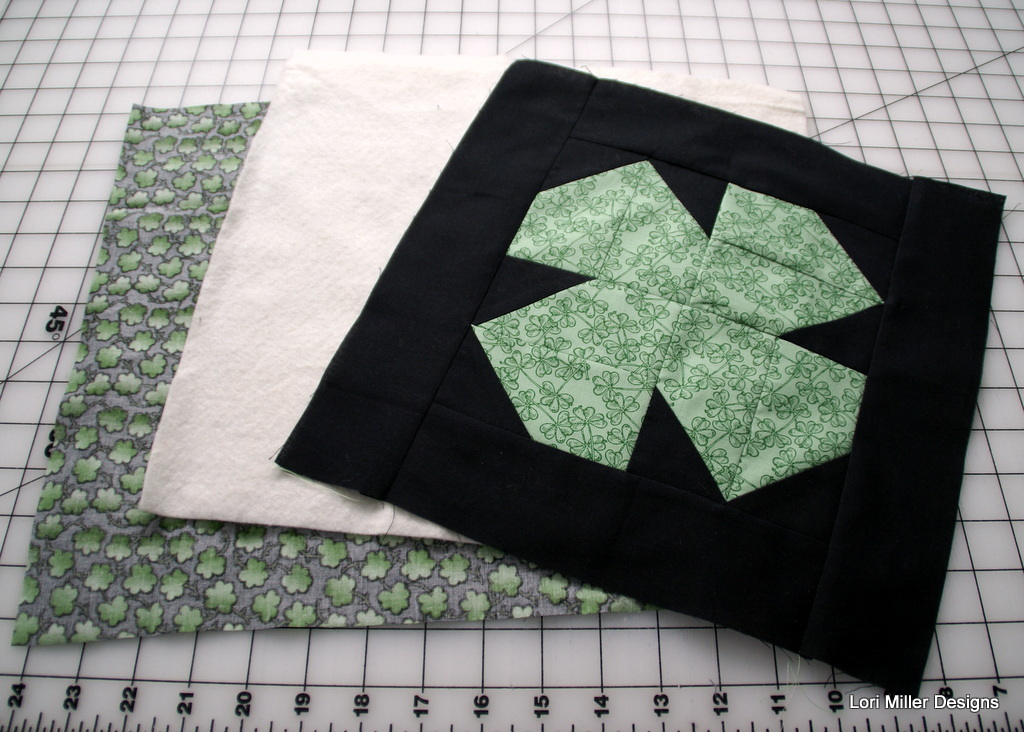
 My Grandma made very utilitarian quilts and the Nine Patch quilt square was simple to cut and stitch by hand. I have found some churn dash squares that Grandma made on a quilt top I found in her attic, but most of her quilt tops certainly were made from a lot of Nine patches in very interesting color combinations. They were made from scraps after all, and nothing went to waste.
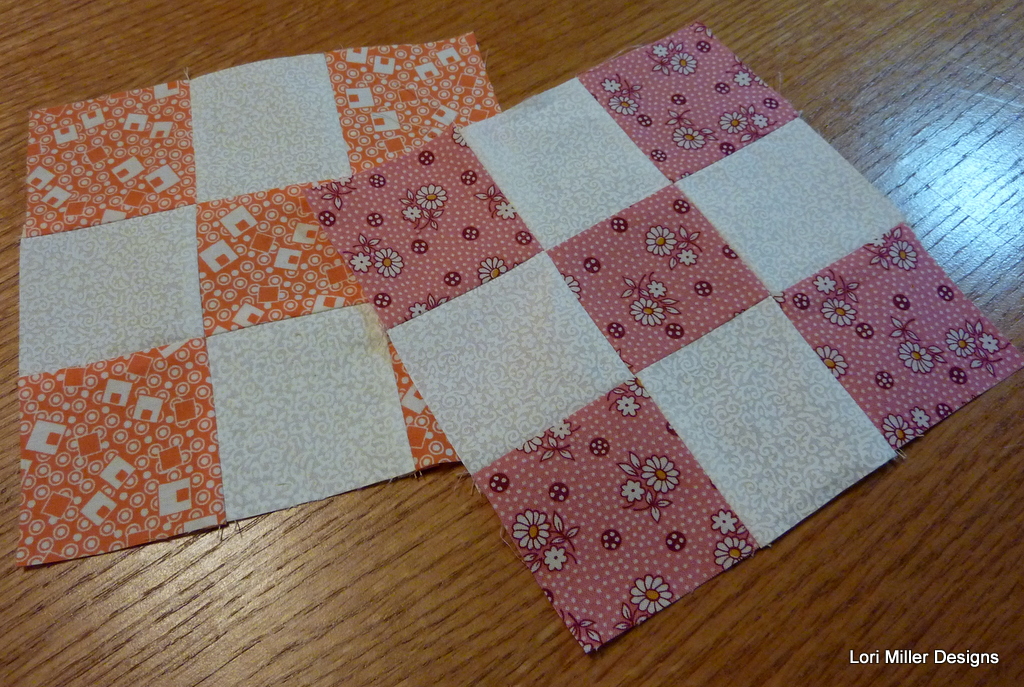


%20%20Lori%20Miller%20Designs)


%20%20Lori%20Miller%20Designs)

%20%20Lori%20Miller%20Designs)


