
Hello Quilty Friends!
If you have been wanting to design your own quilts and are ready for the next step, you will want to consider learning EQ8 Quilt Design Software. If you are looking for an in person class to take, I wanted to share that I am teaching EQ8 in person in September at the AQS Des Moines Quilt Show and in October/November at the Houston Quilt Festival.

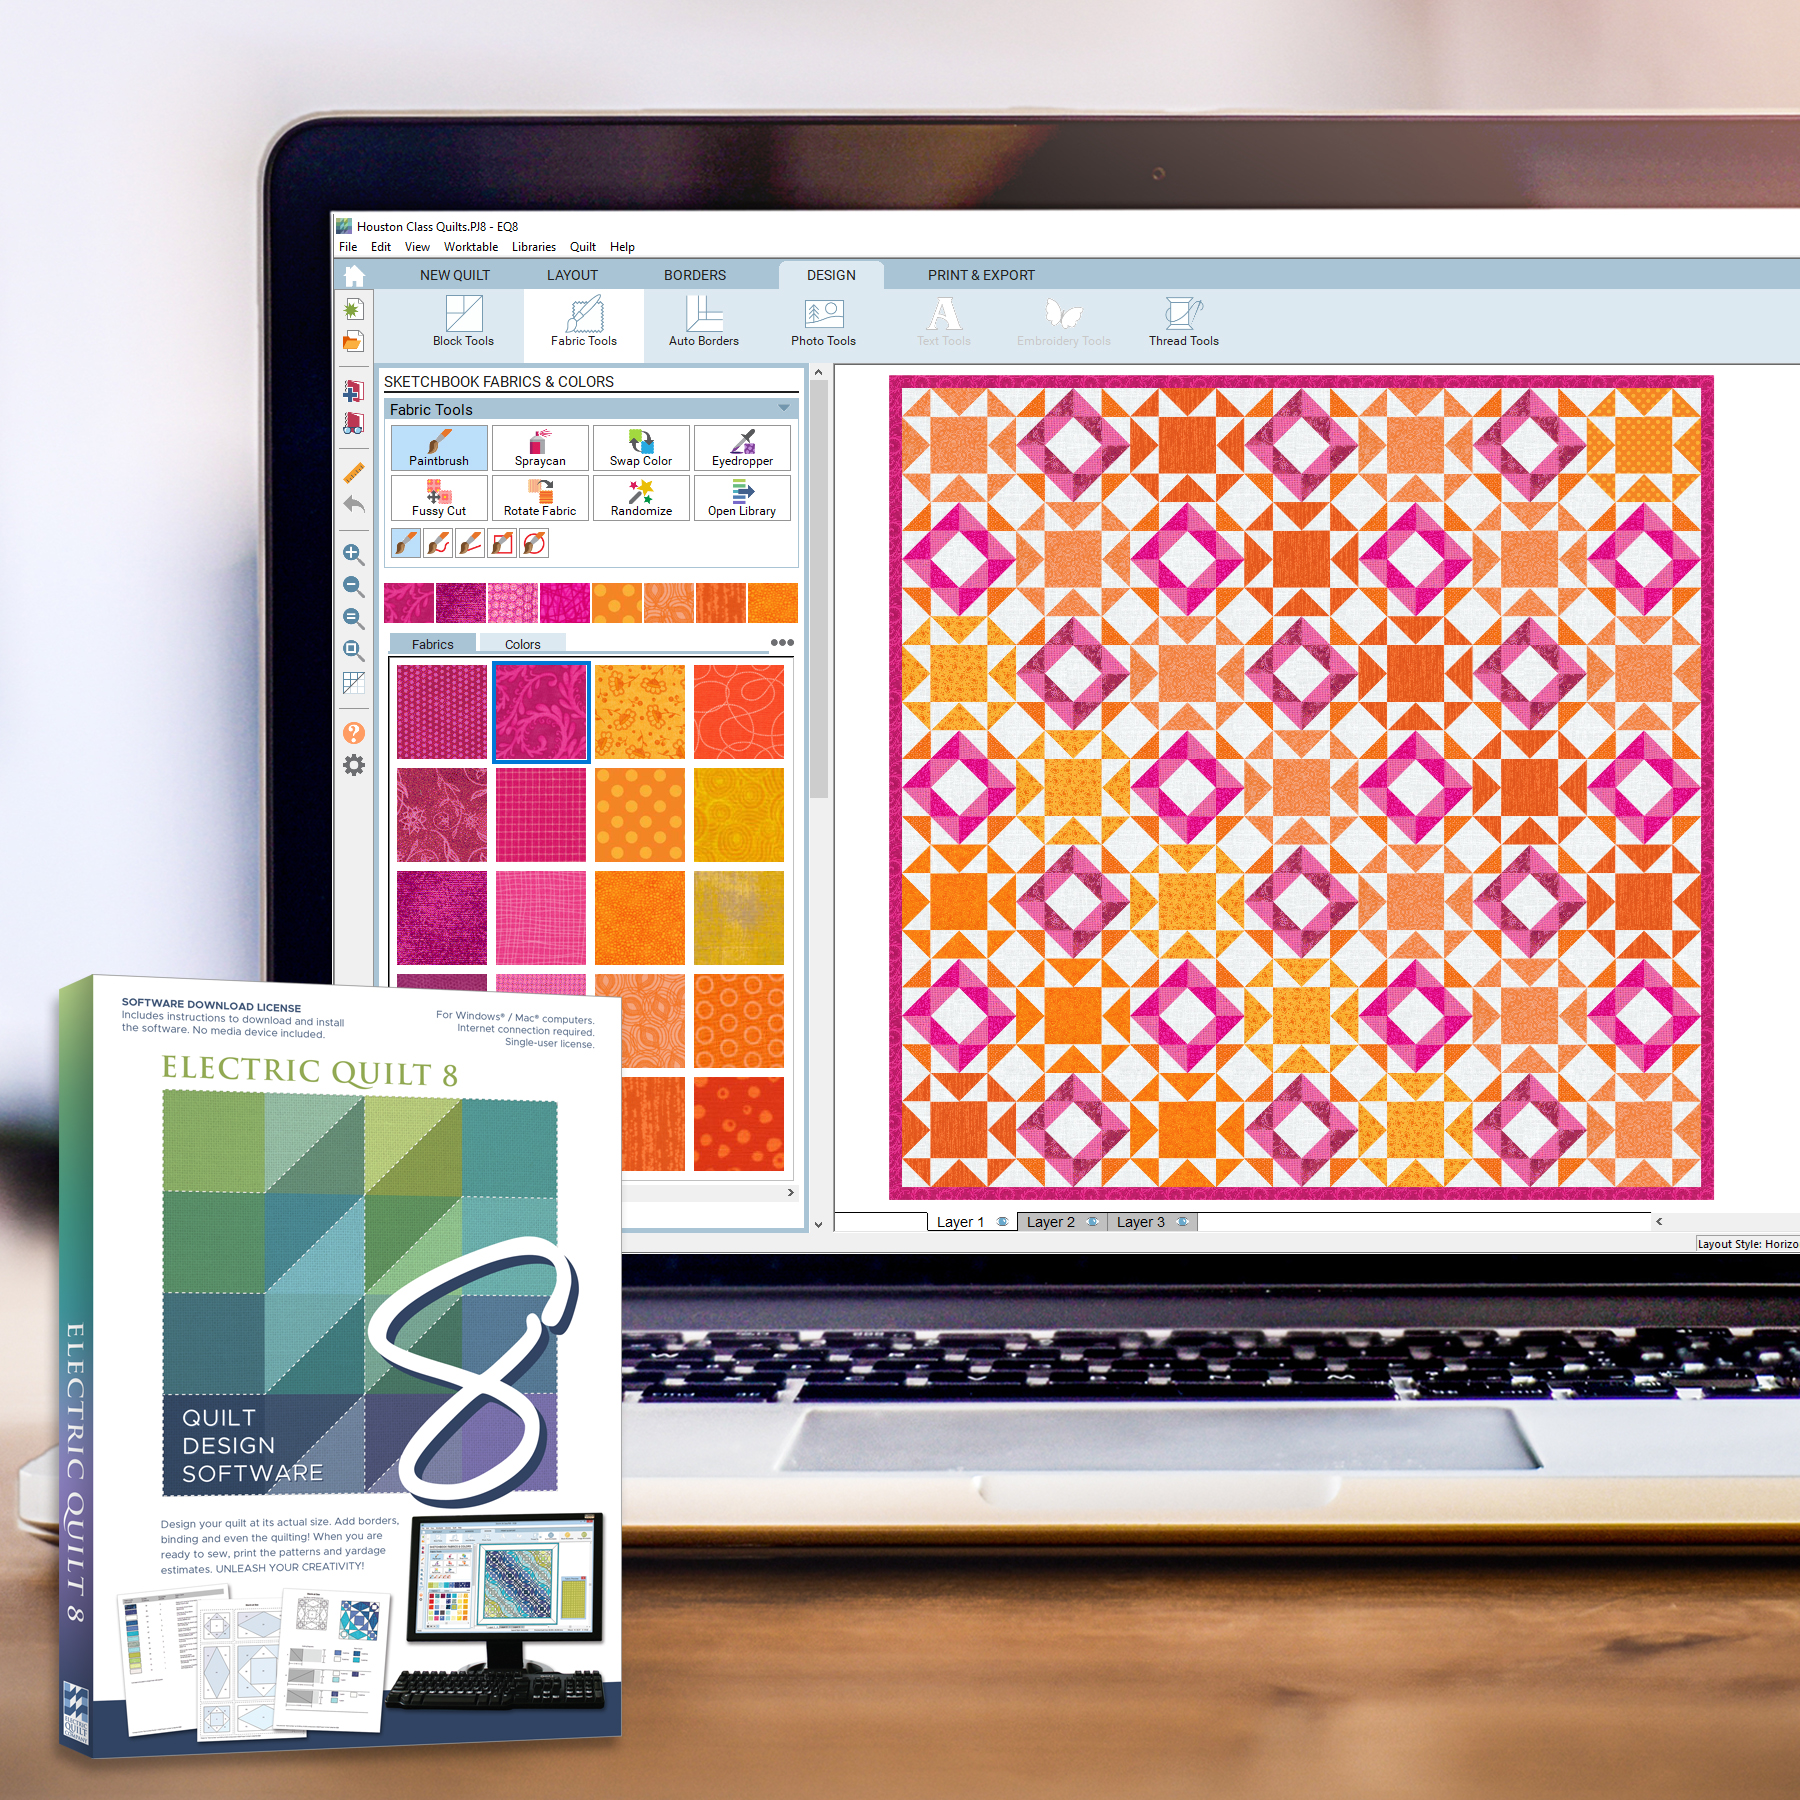
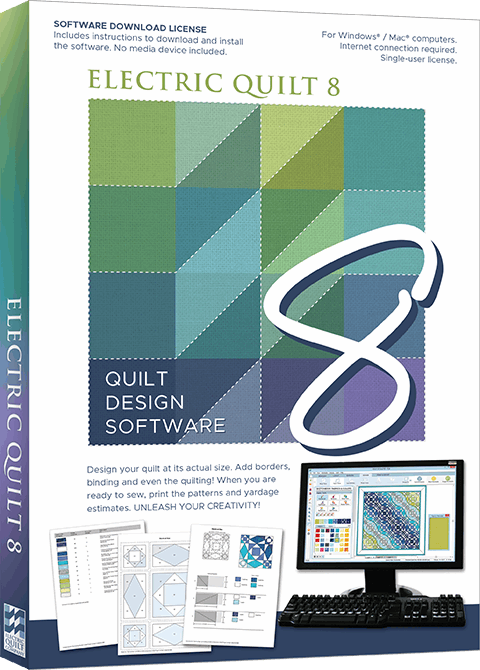
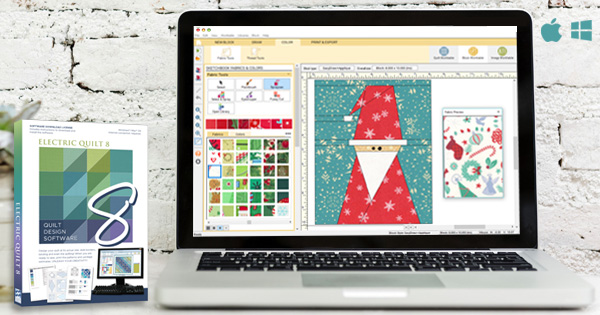
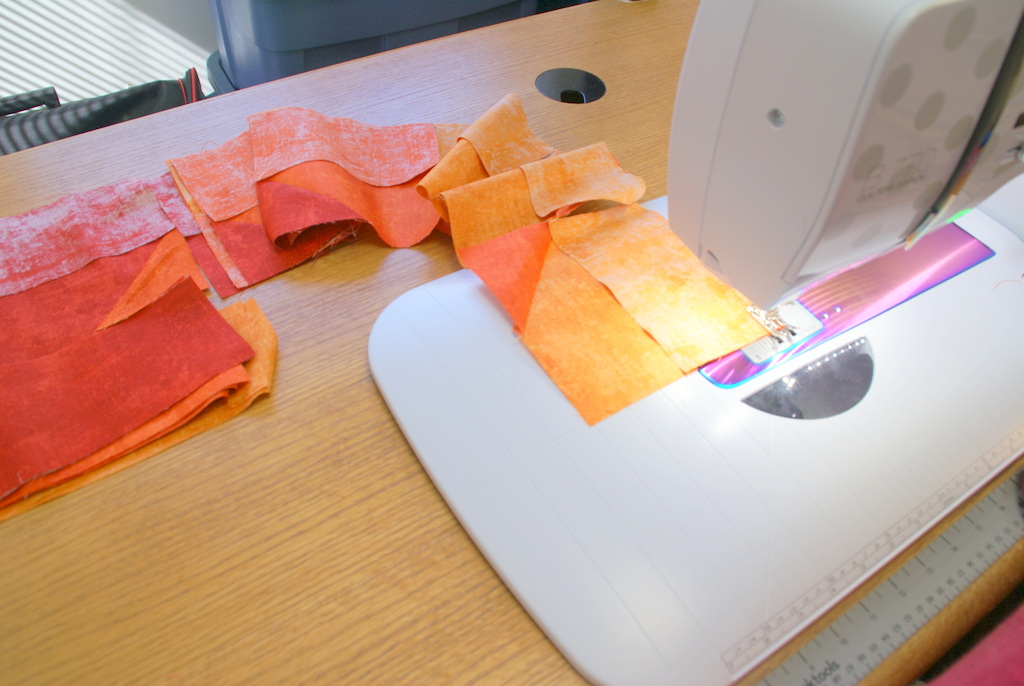
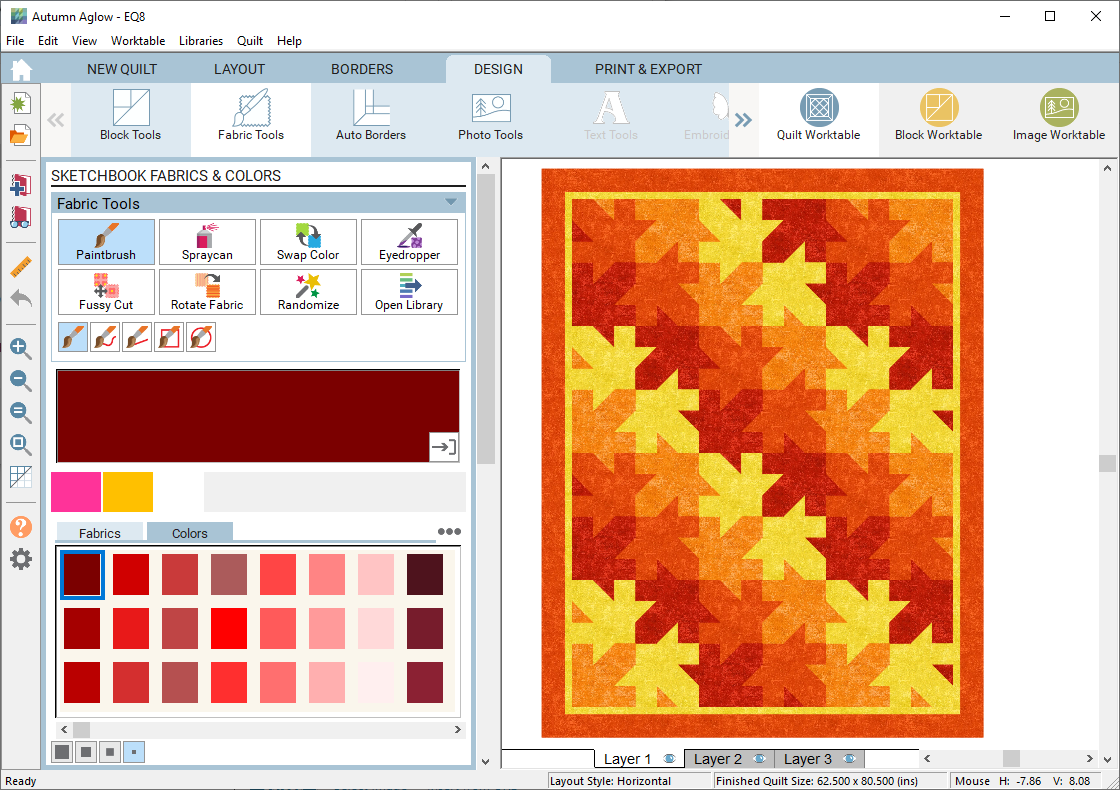
If you are not familiar, EQ8 is my design tool of choice to make and create beautiful quilts. It is quilt design software available for the PC and the MAC. It allows you to ditch the pencils and graph paper and design all kinds and styles of quilts using your computer.
If you have never seen it, check out this brilliant demo from The Electric Quilt Company for a great overview.
Watch a demo of EQ8!Teaching Schedule and Classes
AQS Des Moines EQ8 Classes
September 27 – 30th
Des Moines, Iowa Events Center.
I am teaching a full slate of classes and there is still room to join me.
EQ8 Start at the Beginning, #59101w
Build your EQ8 confidence! Tour the workspace and begin designing a variety of beautiful quilt styles. Search the EQ8 libraries for the perfect block or fabric to turn your quilt designs into reality. Or add fabrics from your own stash. Learn how to print yardage estimates, rotary cutting charts, and more. Nicely paced and encouraging class for those who want to understand and practice the basics. Windows and Mac users welcome. Registration for this class includes show admission for Wednesday.
EQ8: I Want to Learn More, #59102t
Take the next step learning EQ8. Learn to draw or edit your own blocks to place in your quilt creations. Explore appliqué and stencils and understand the three layers of the quilt in EQ8. Take a deep dive into borders and Auto Borders. Create personal libraries, use text, photos, and explore free-form quilt settings. By the end of the class, you will have the confidence to design your own beautiful blocks and quilts. Windows and Mac users welcome. This is a great followup to the EQ8 Beginner class.
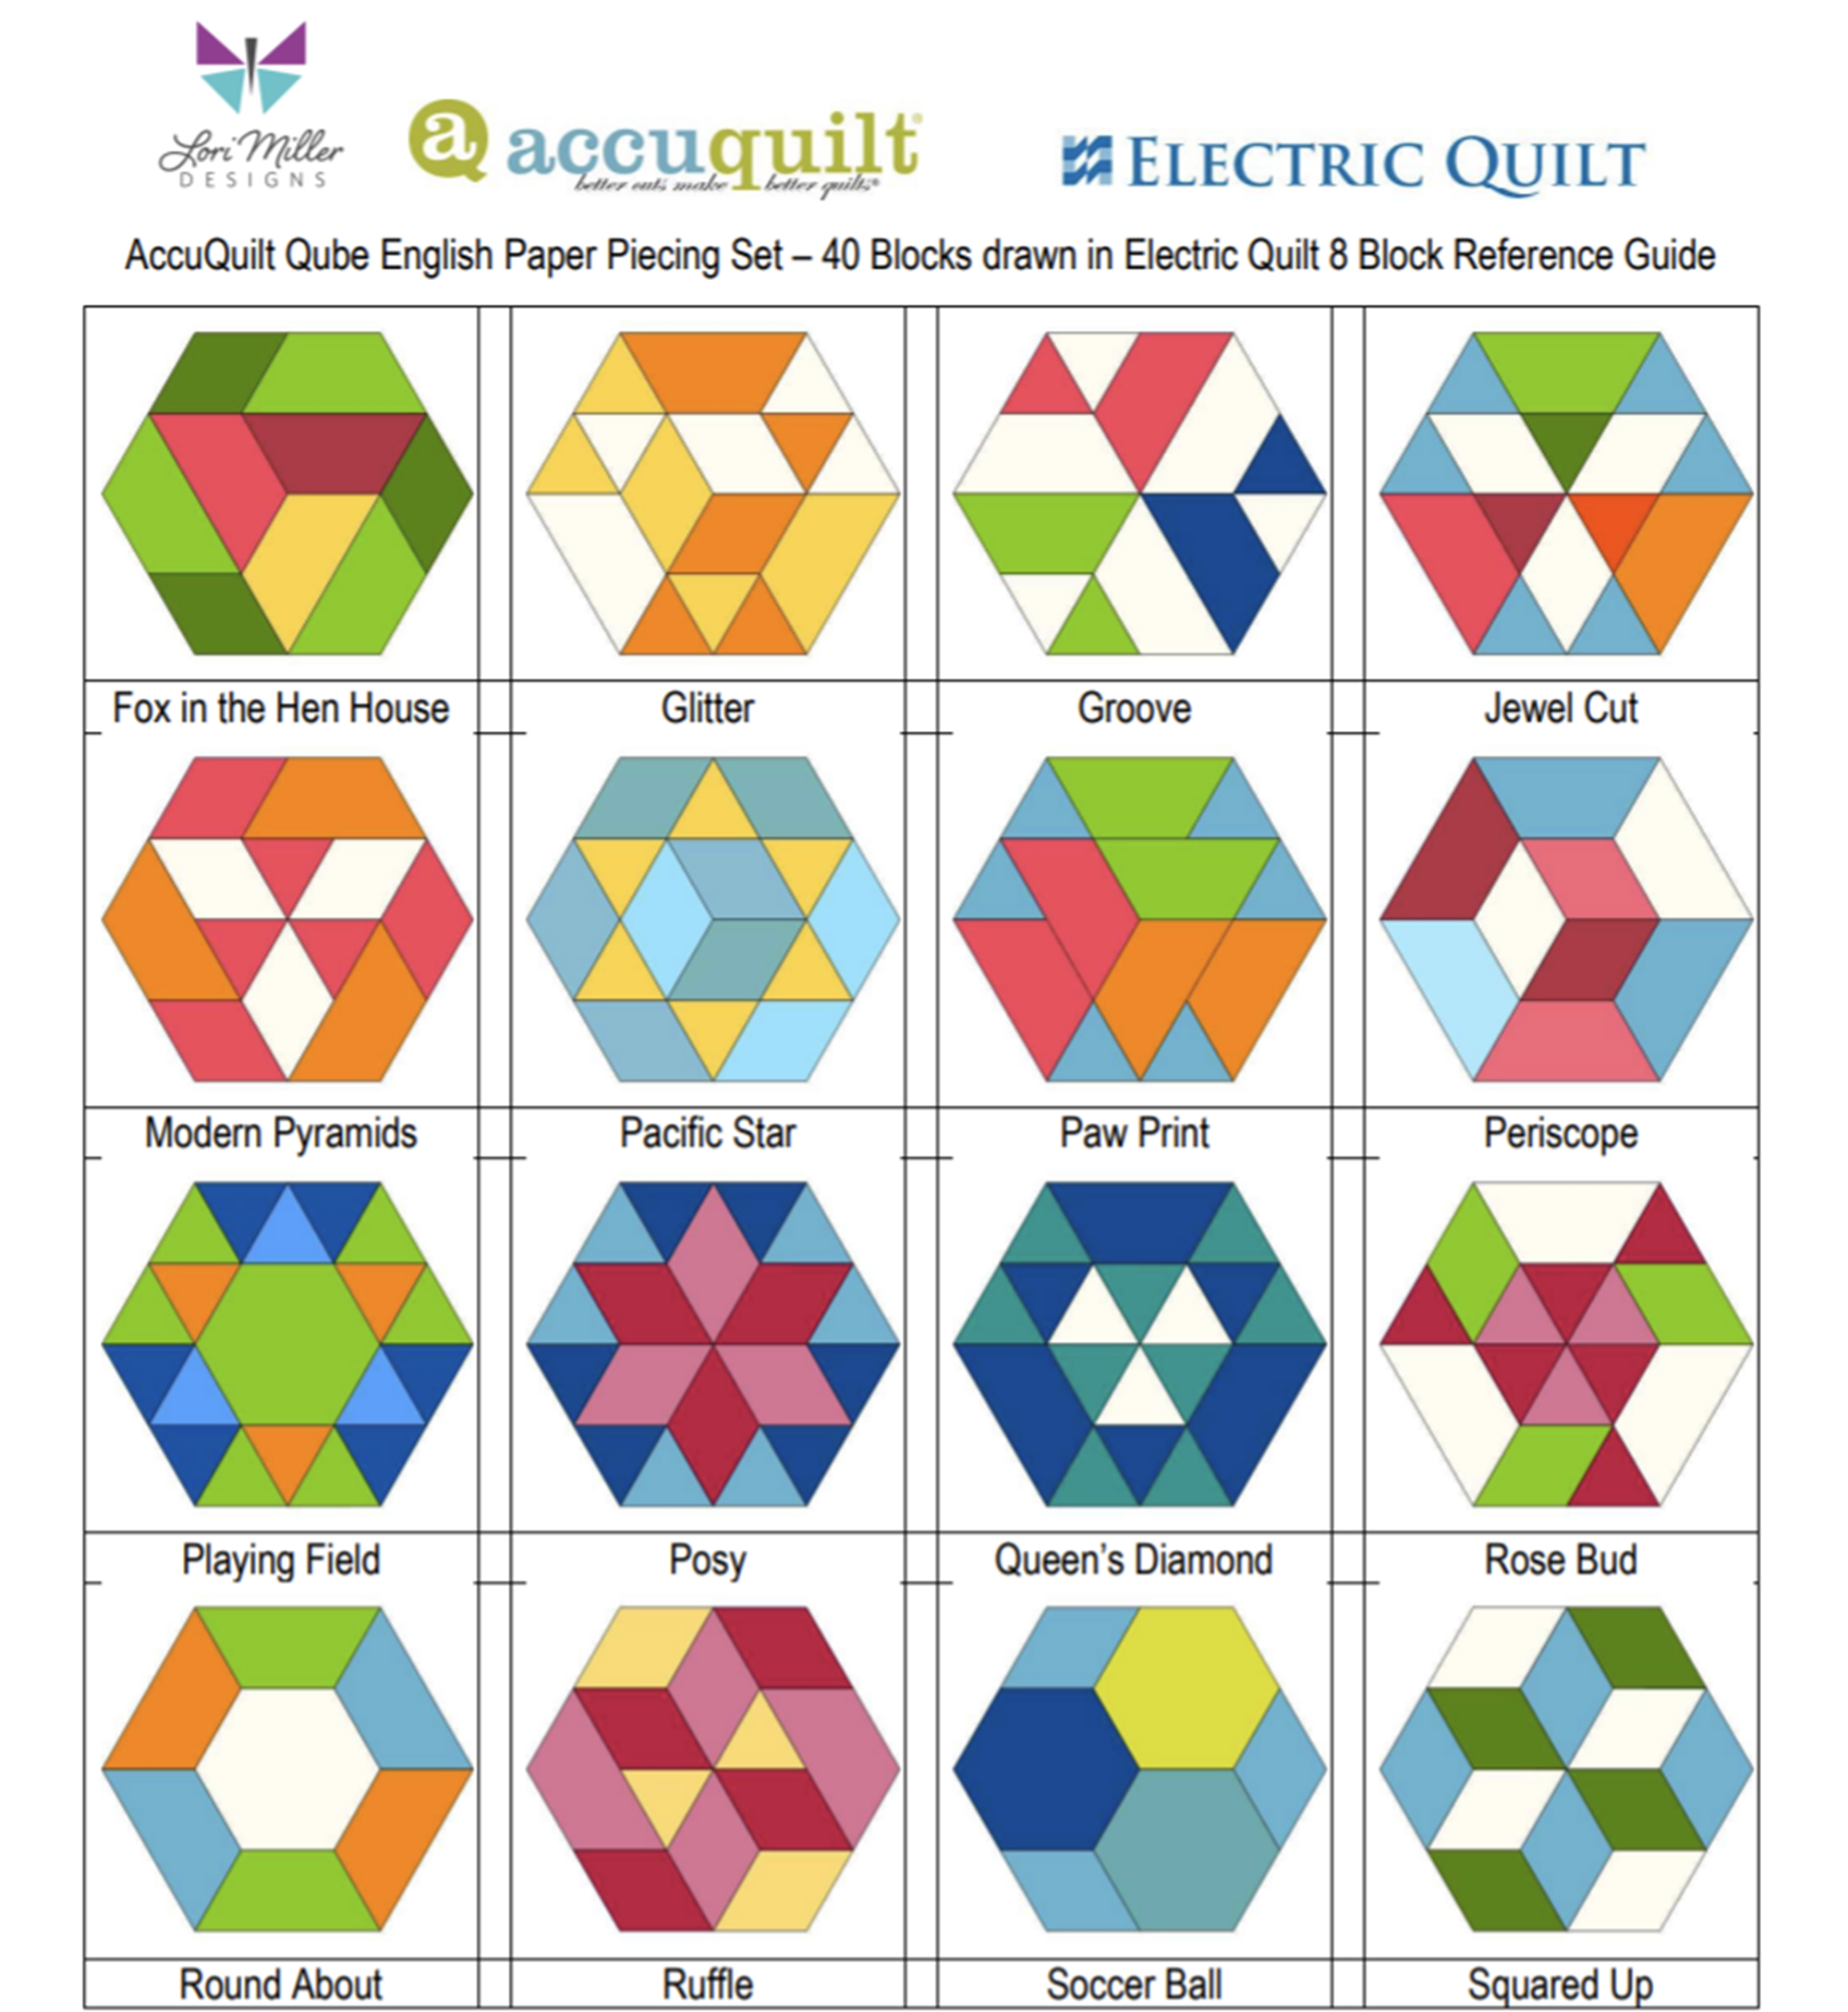
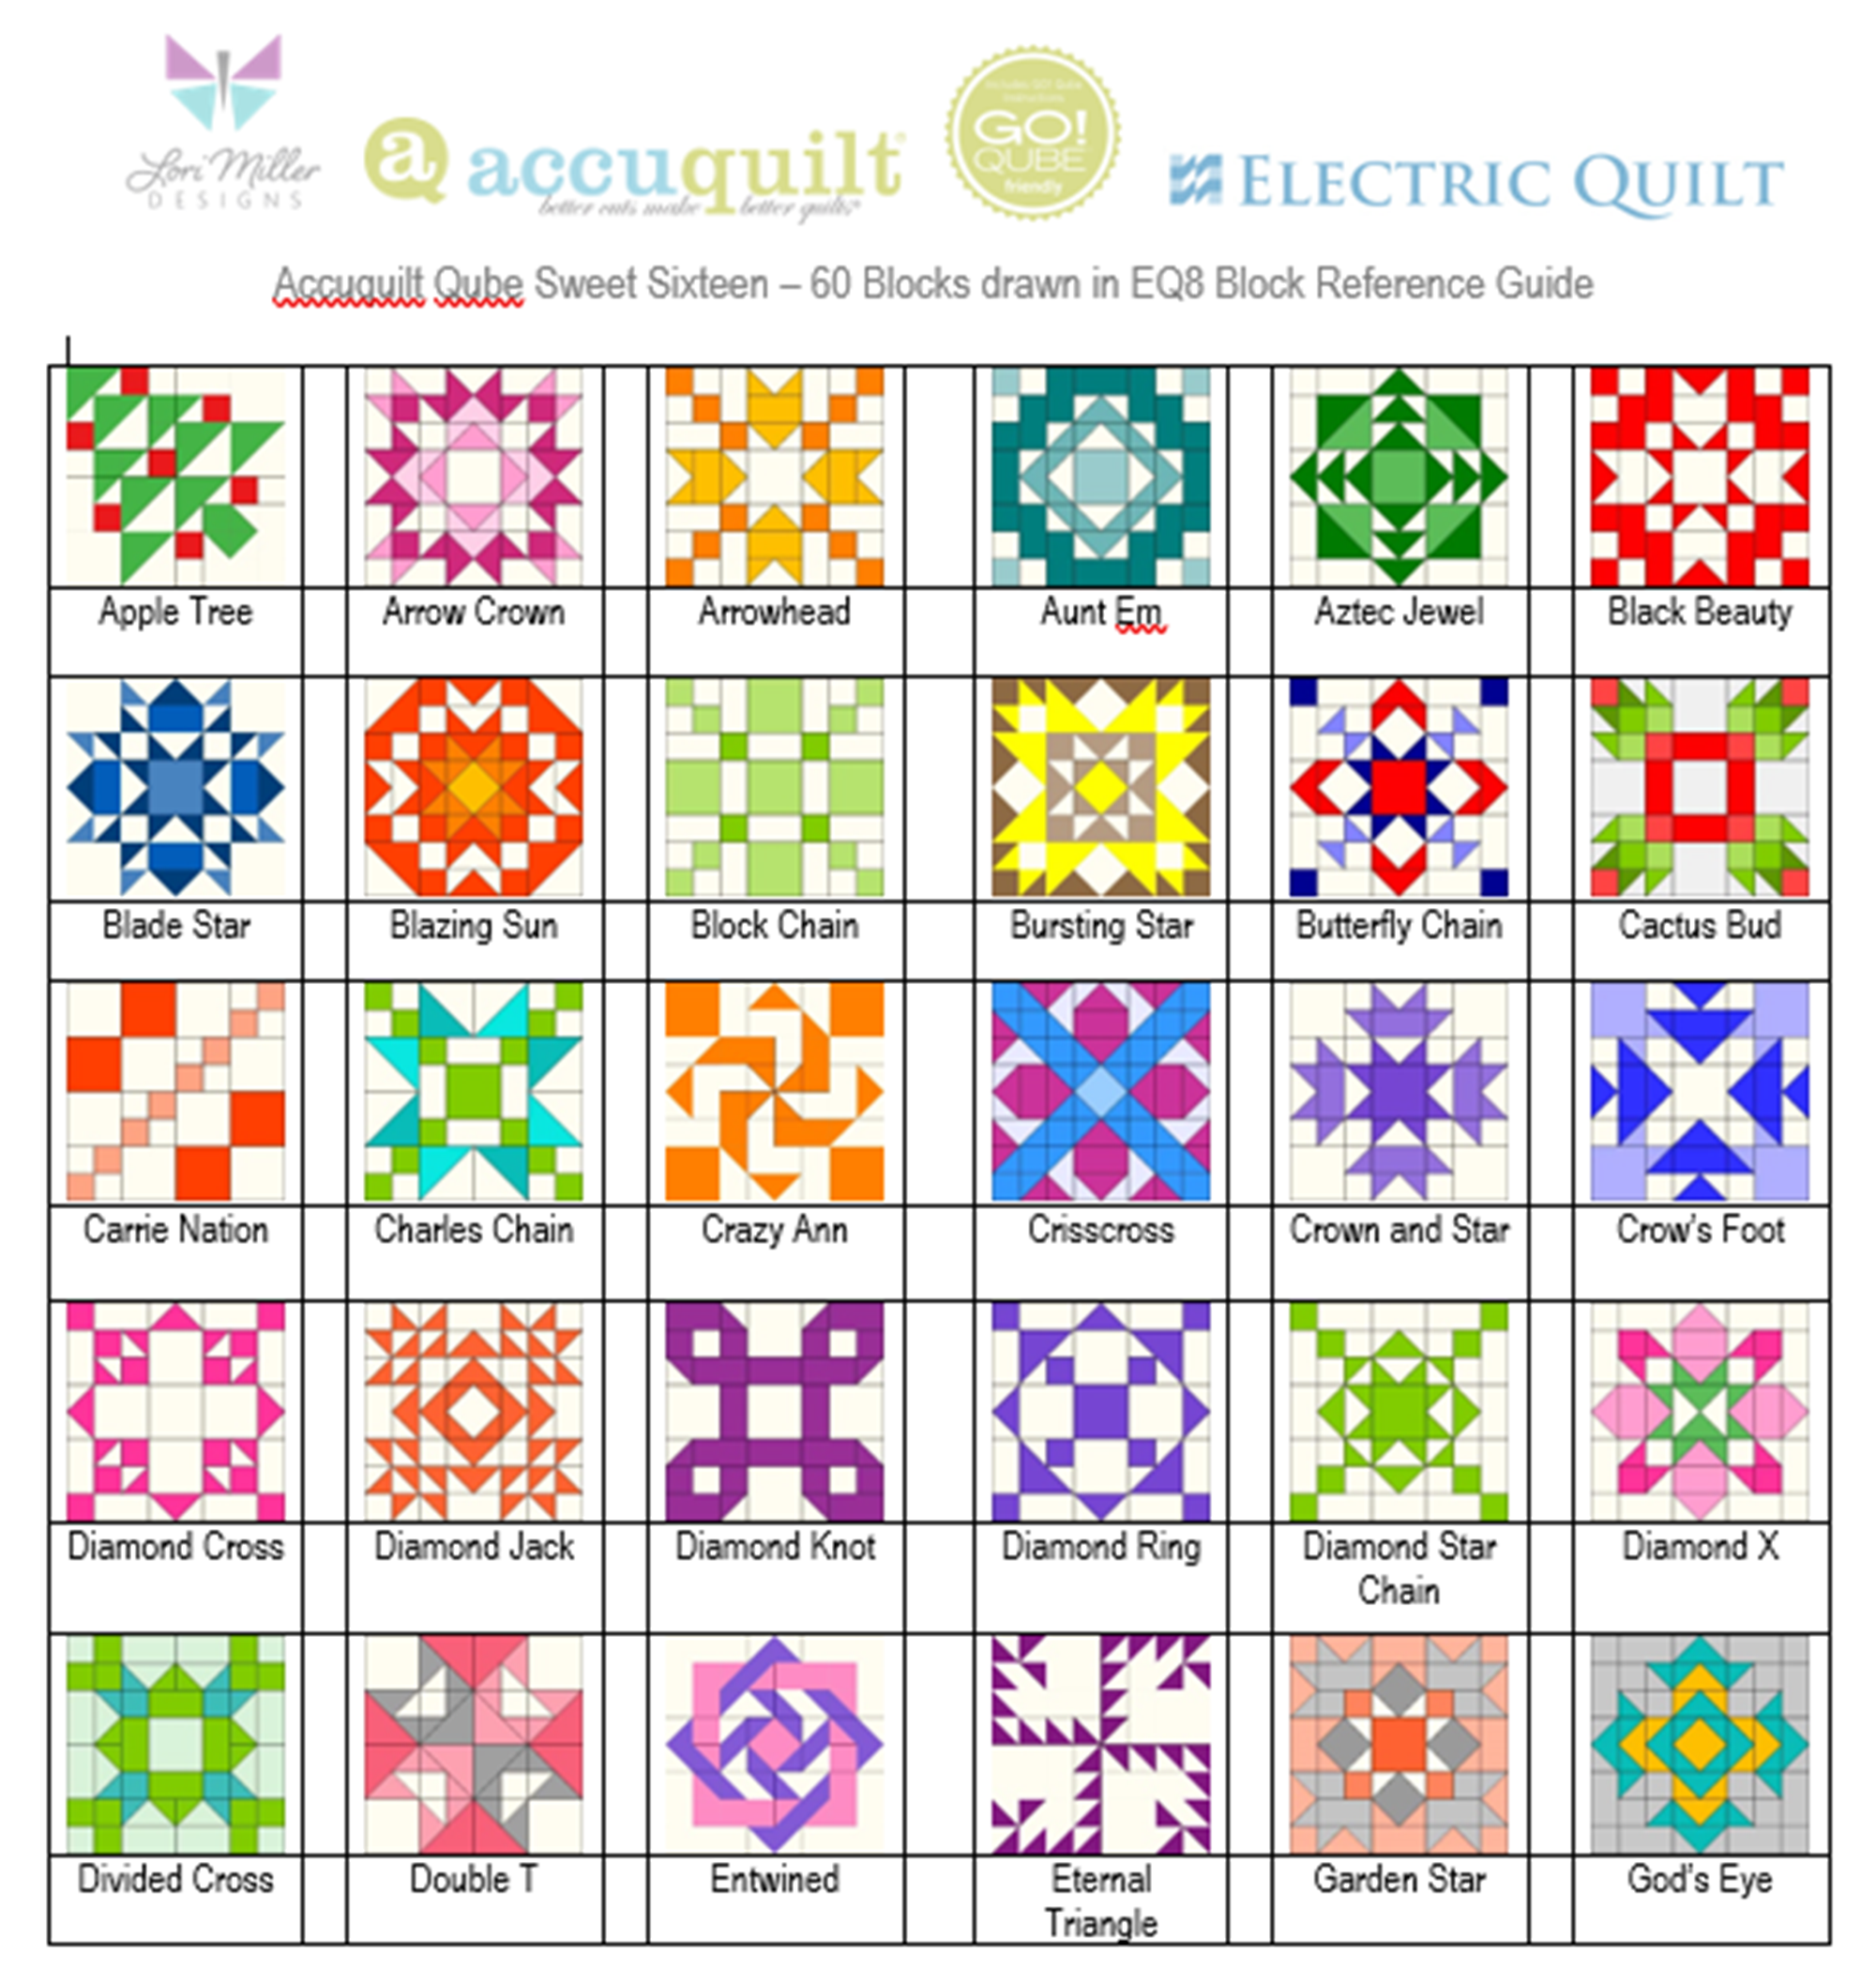
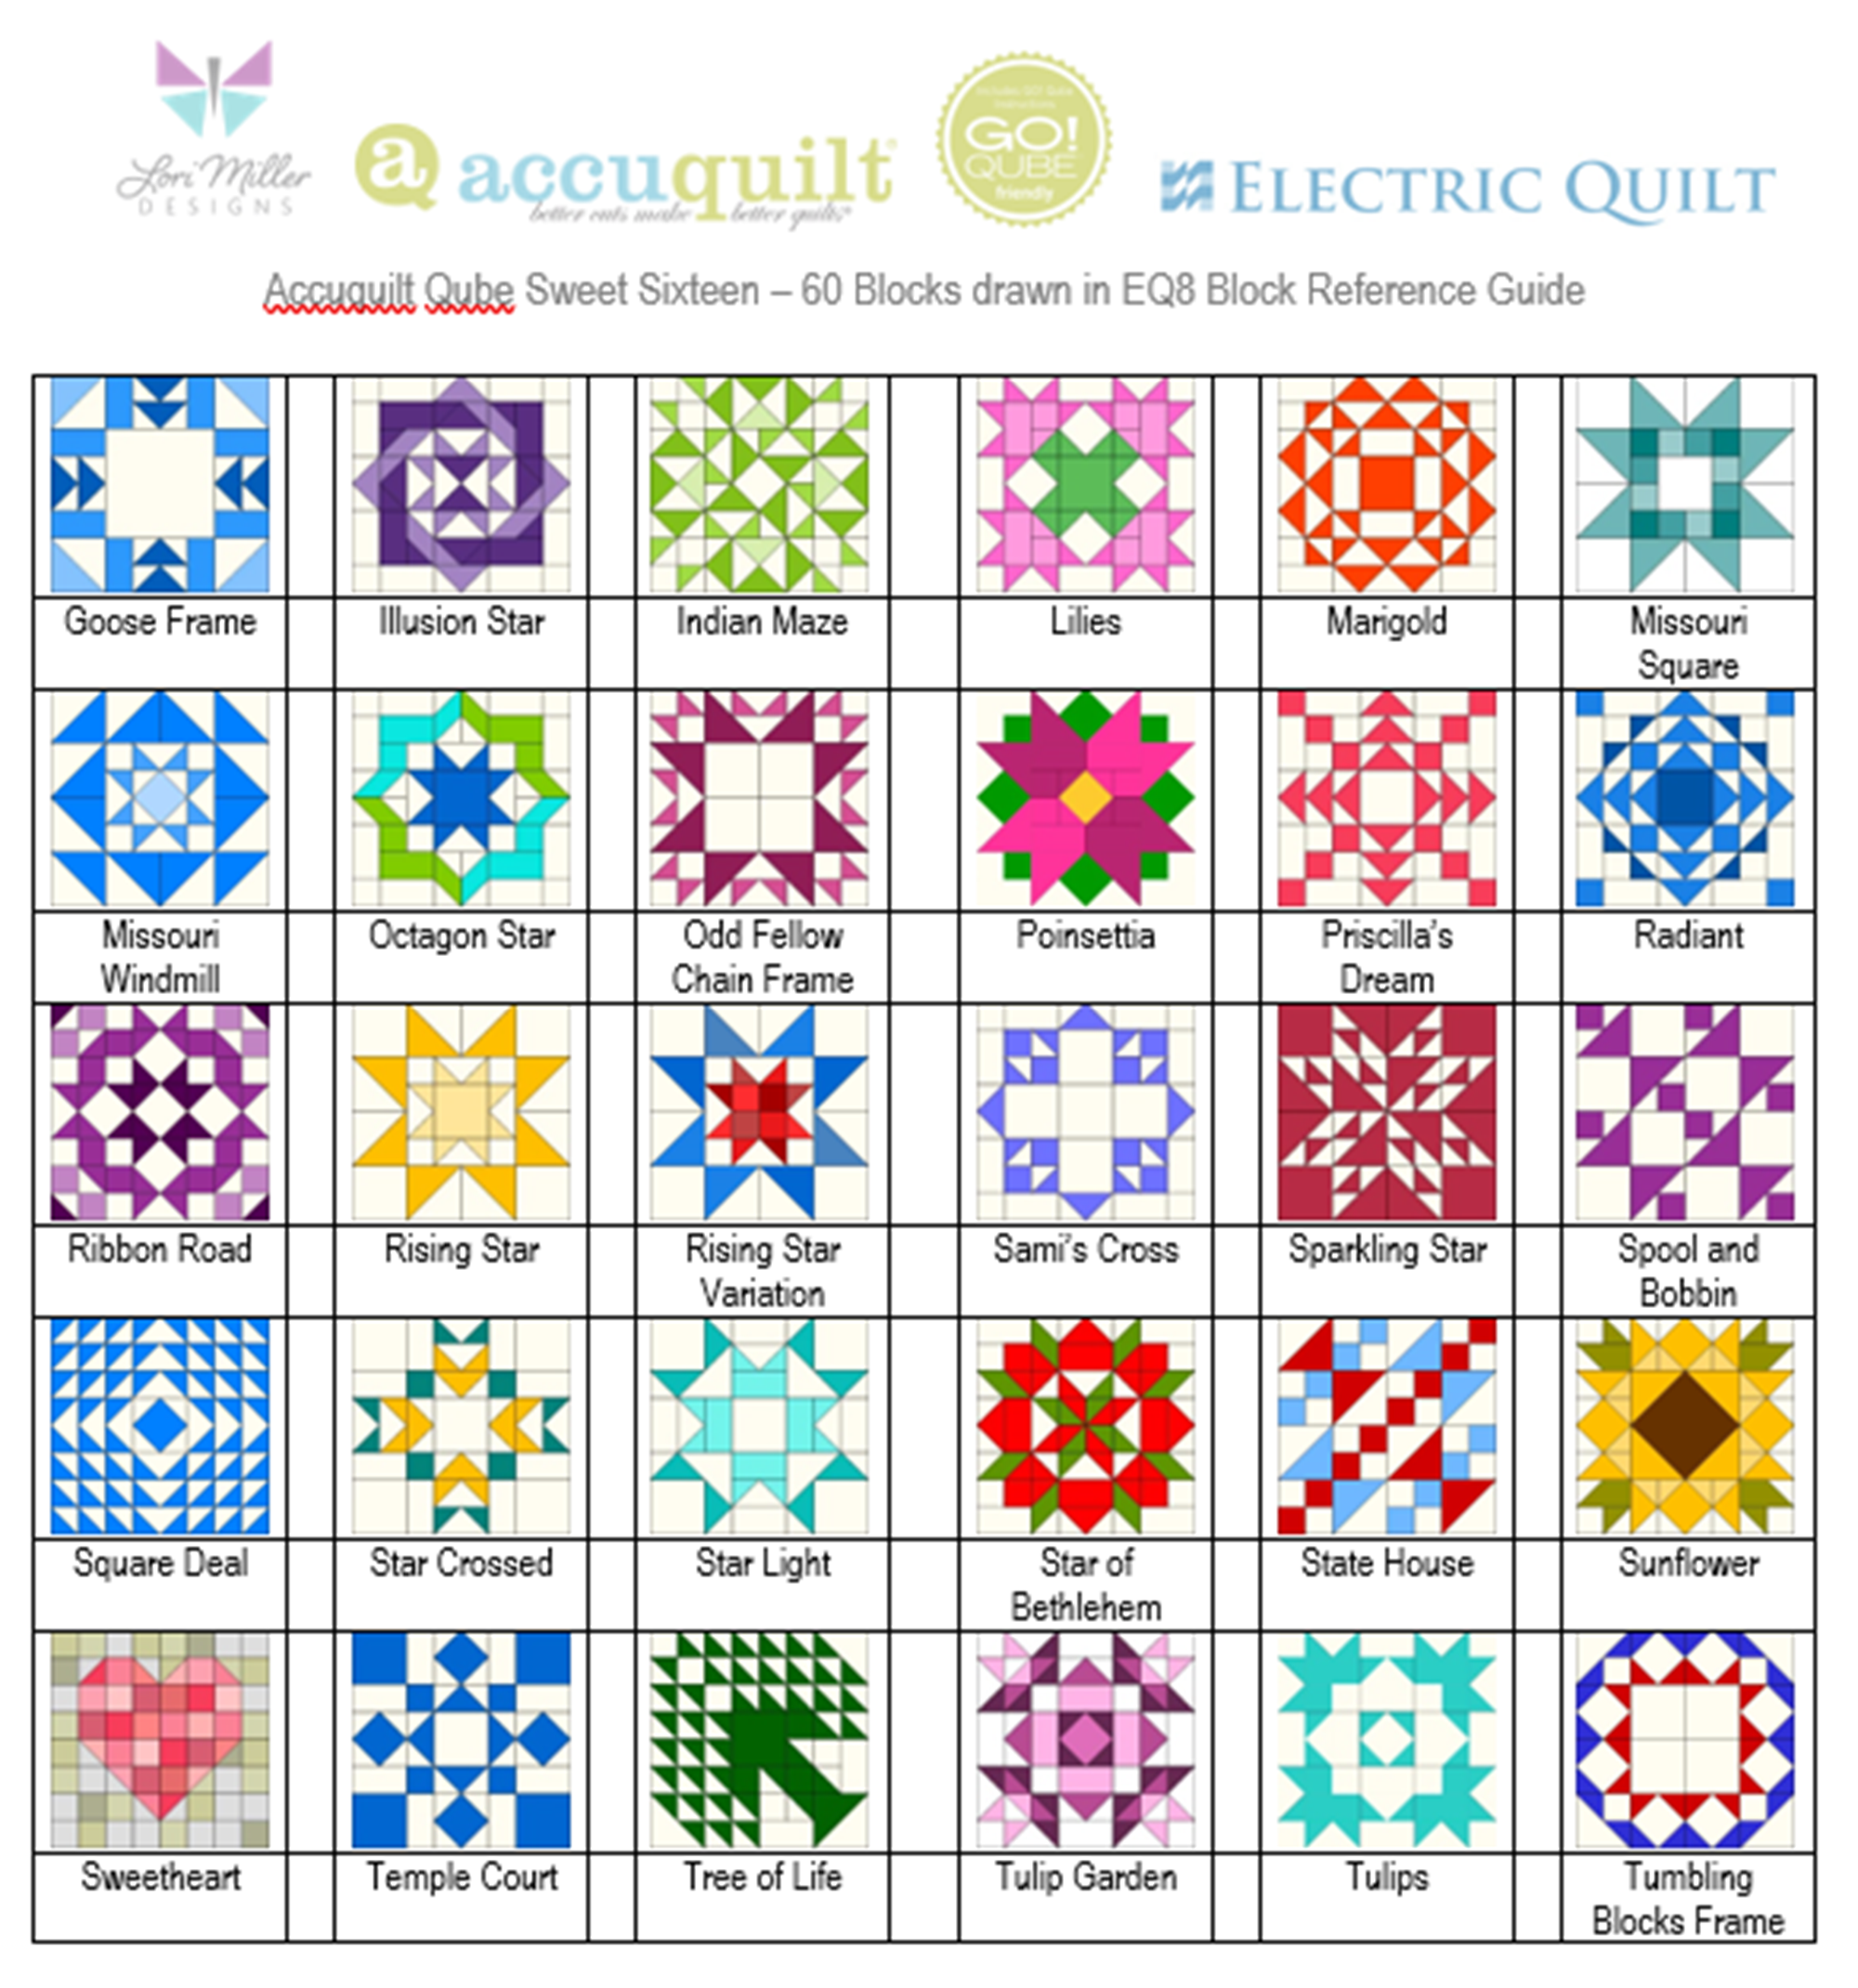
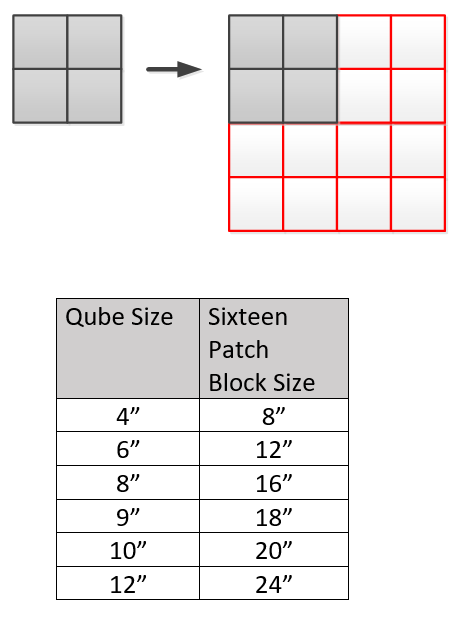
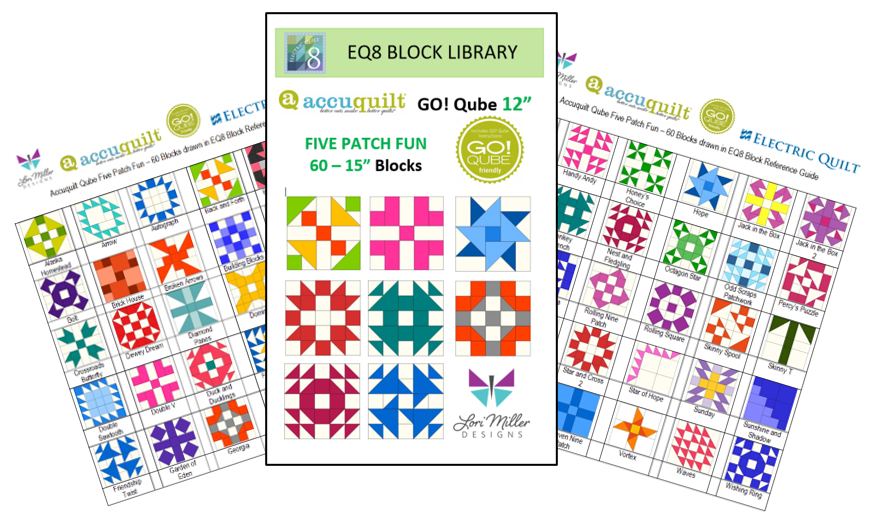
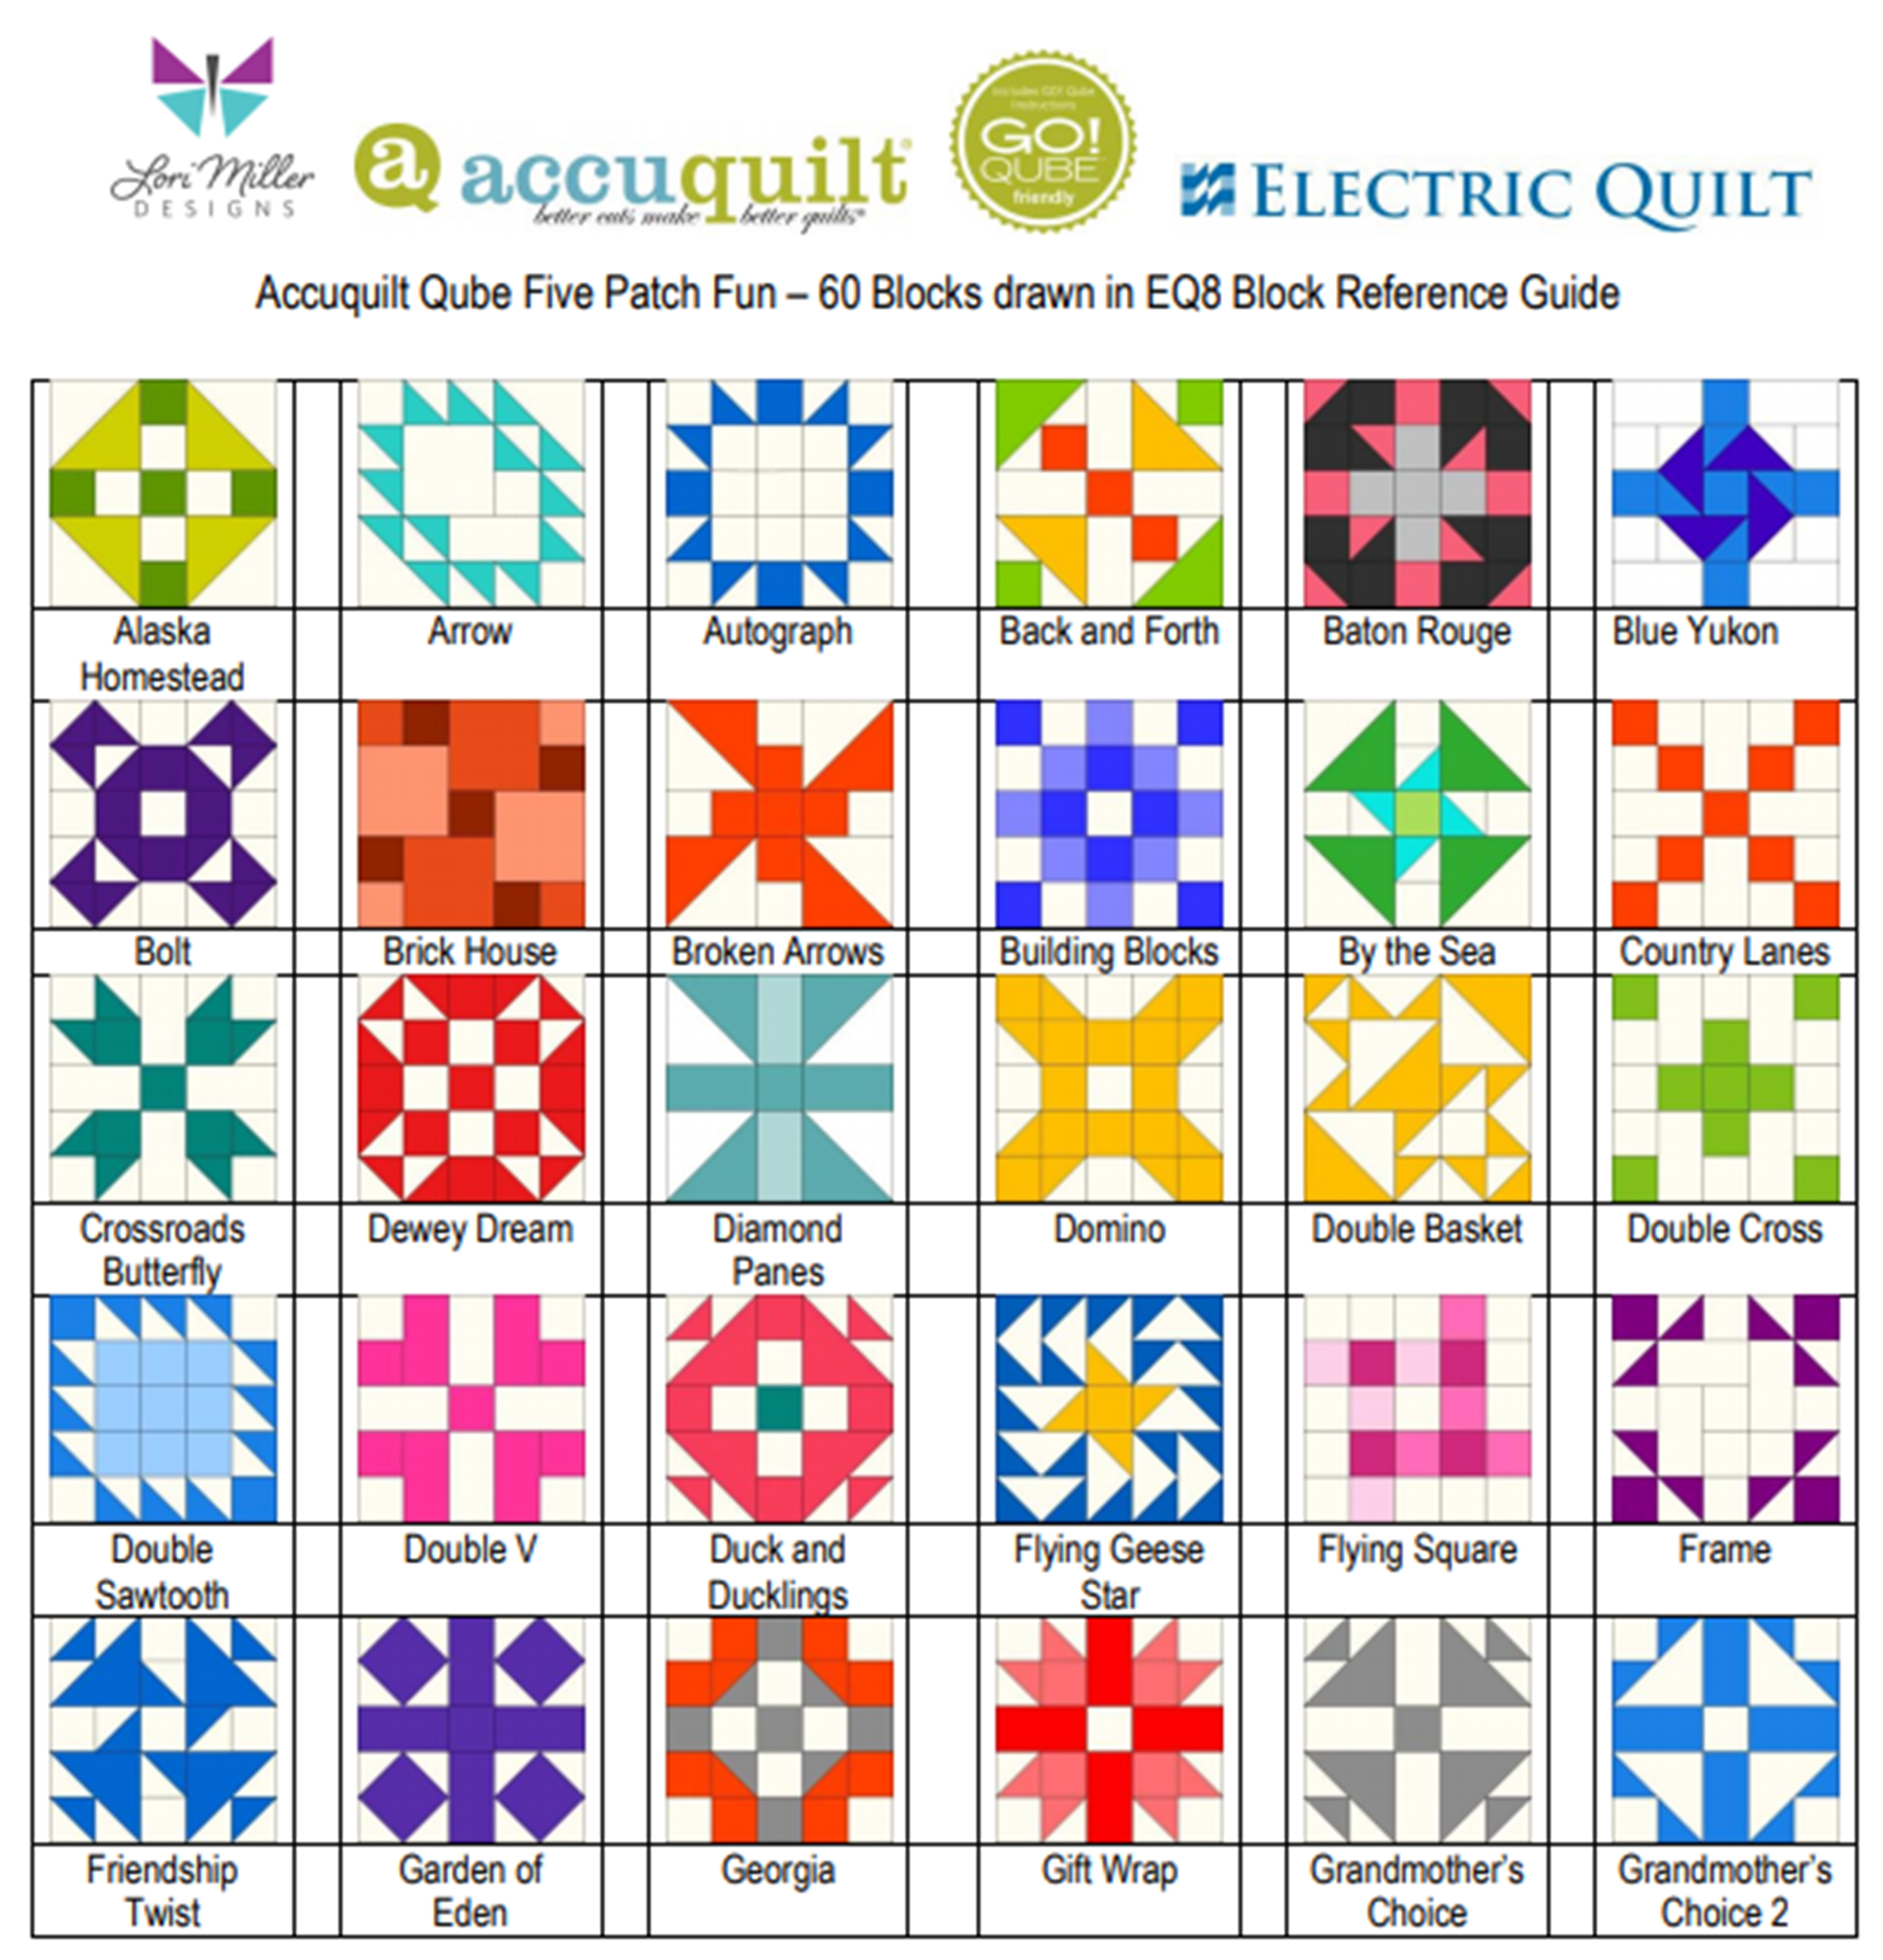
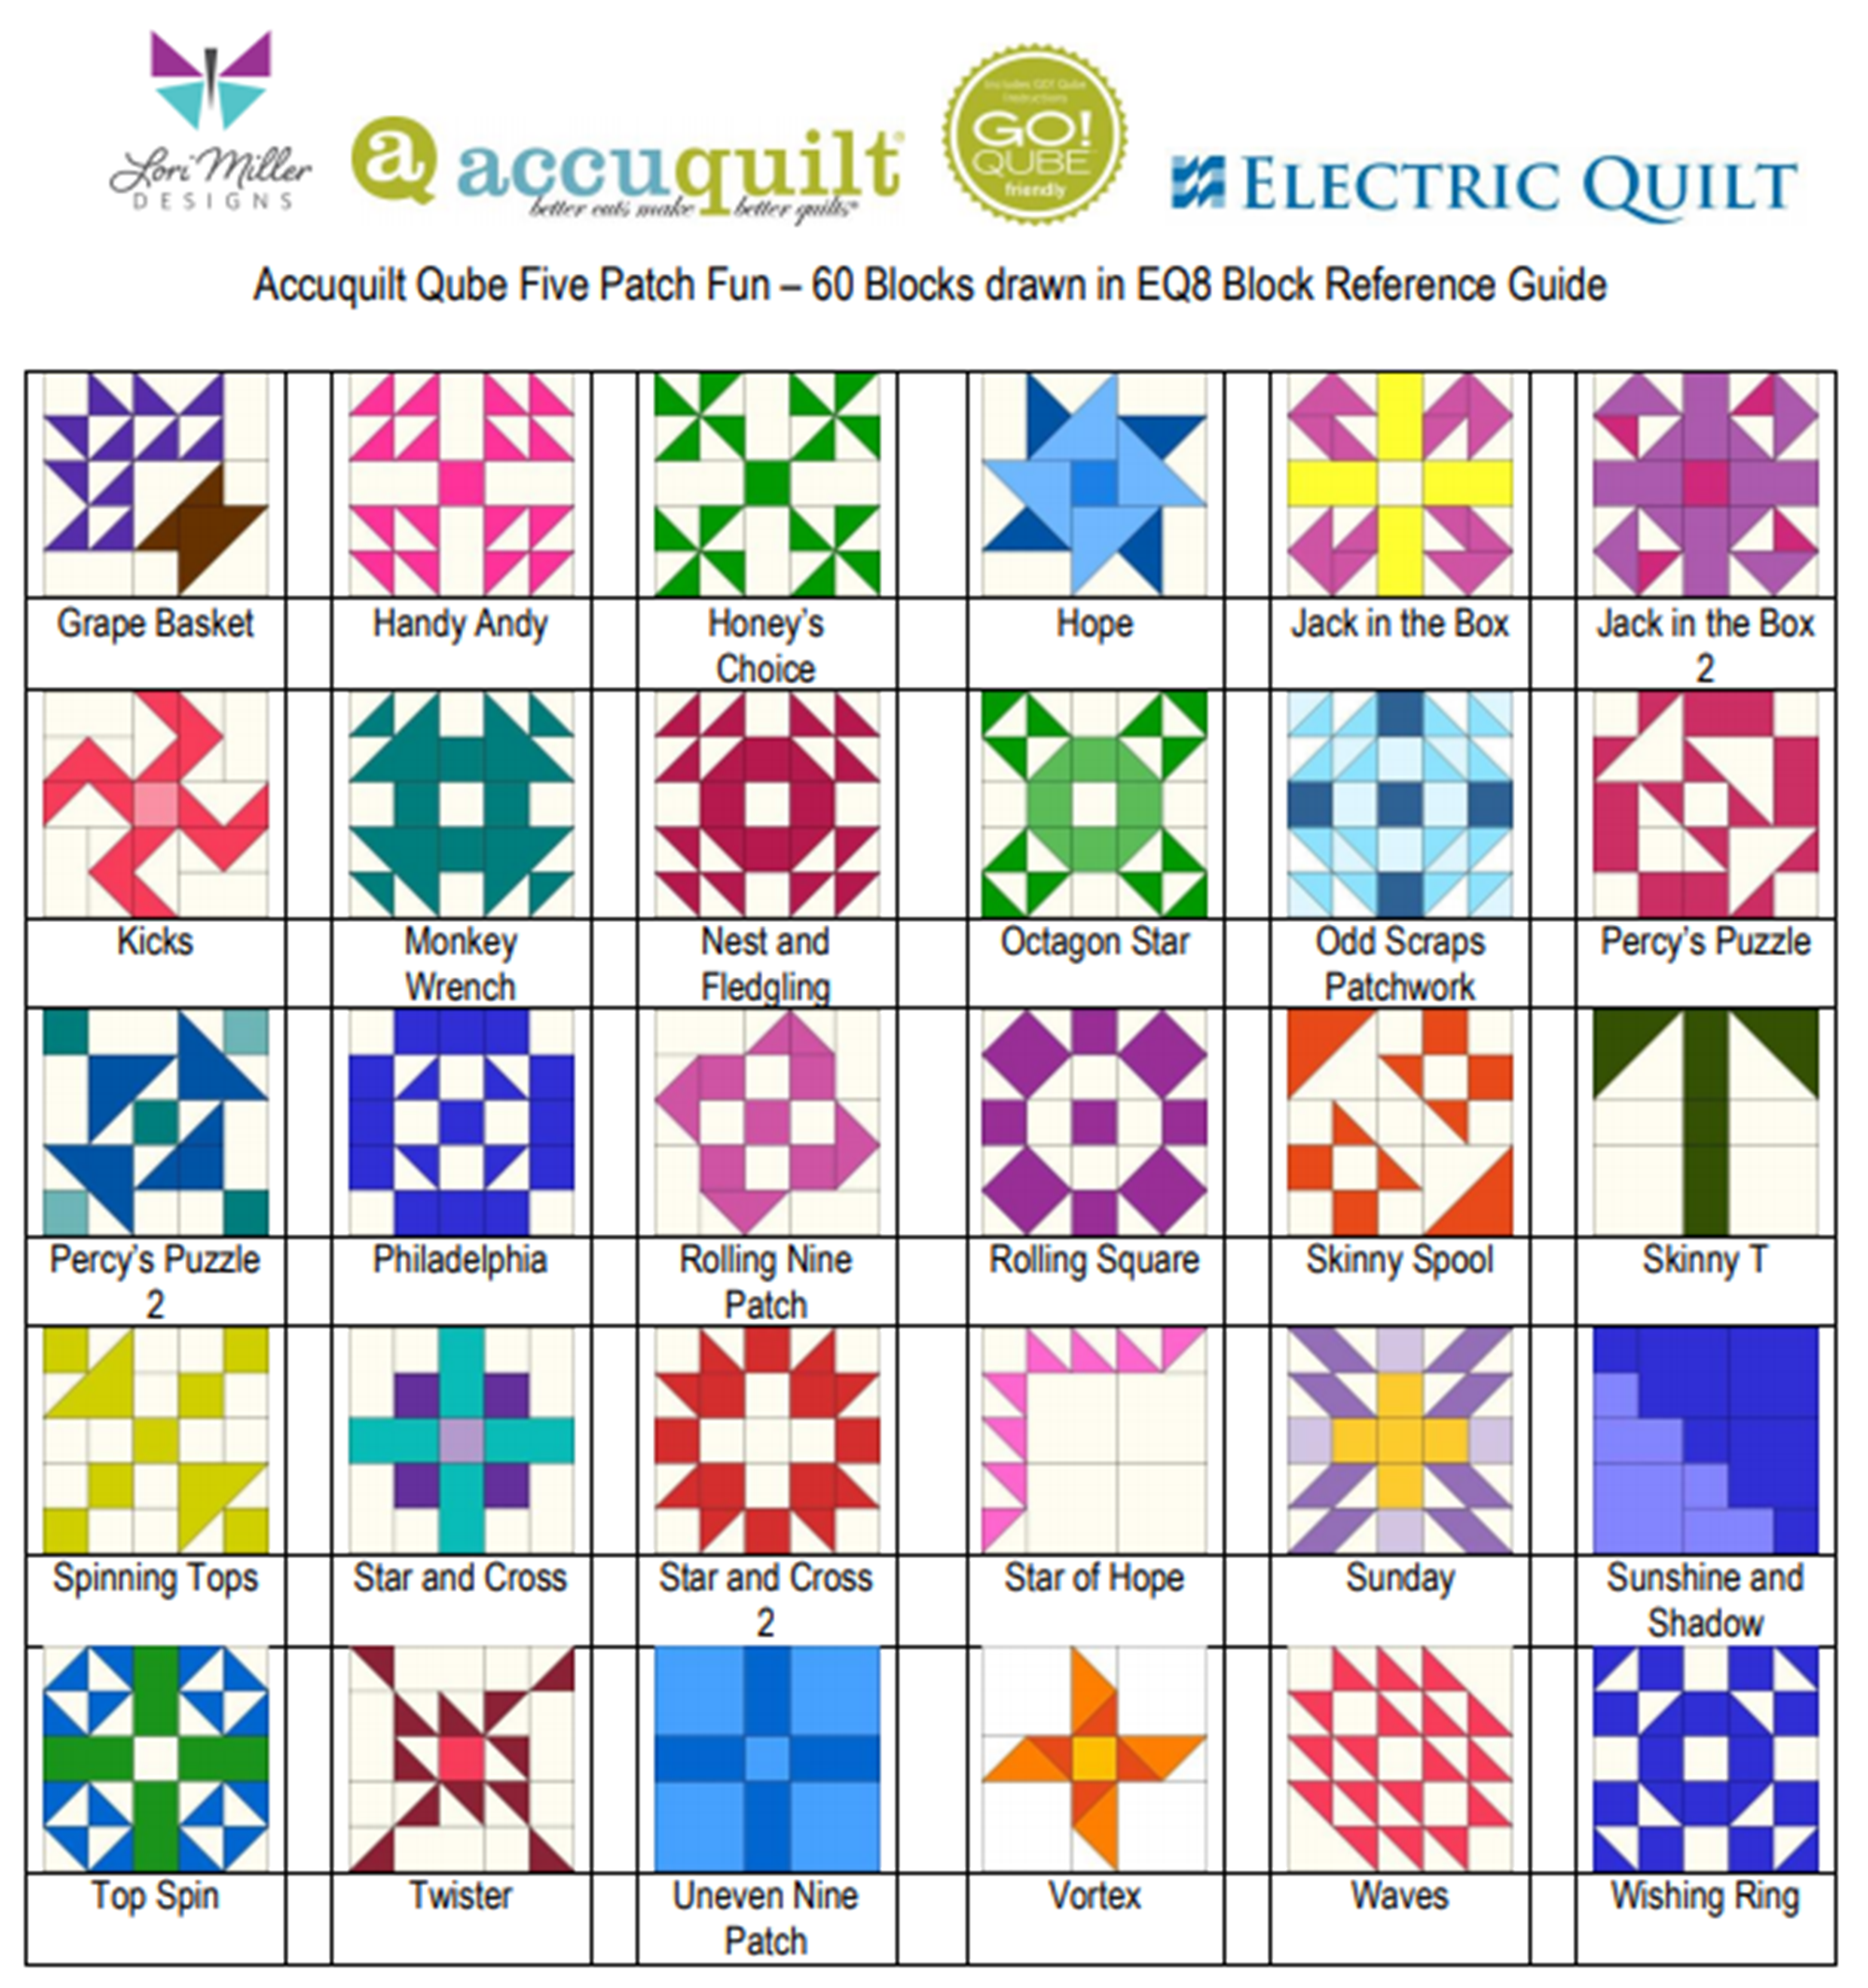
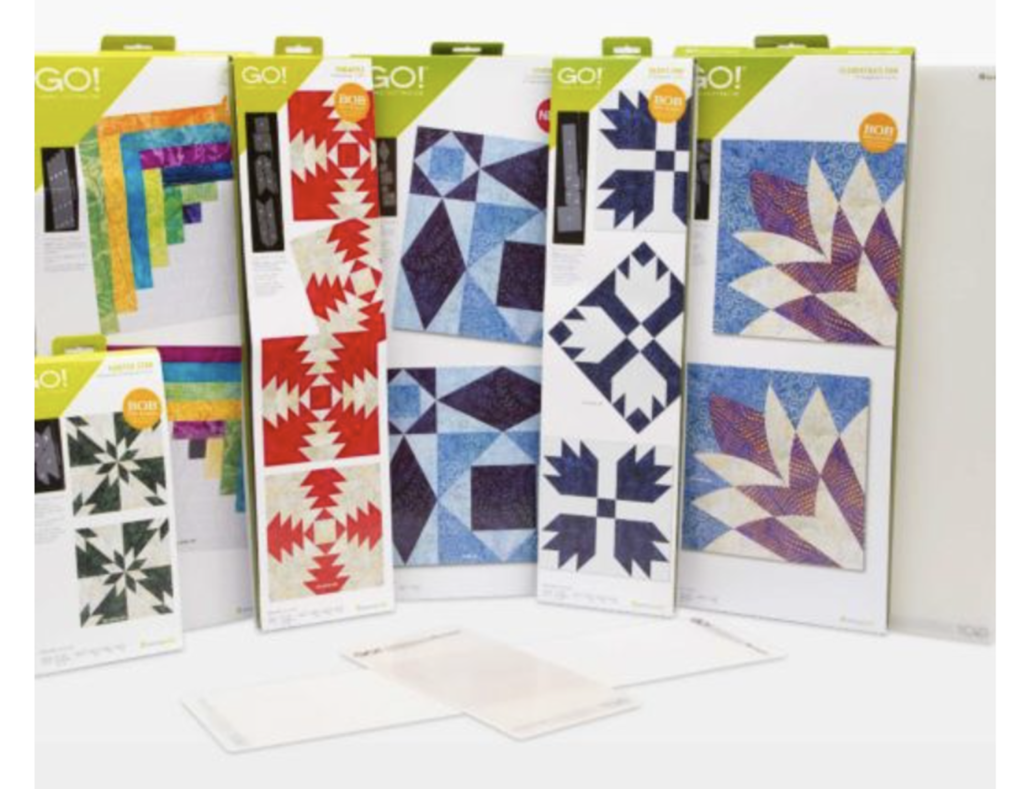
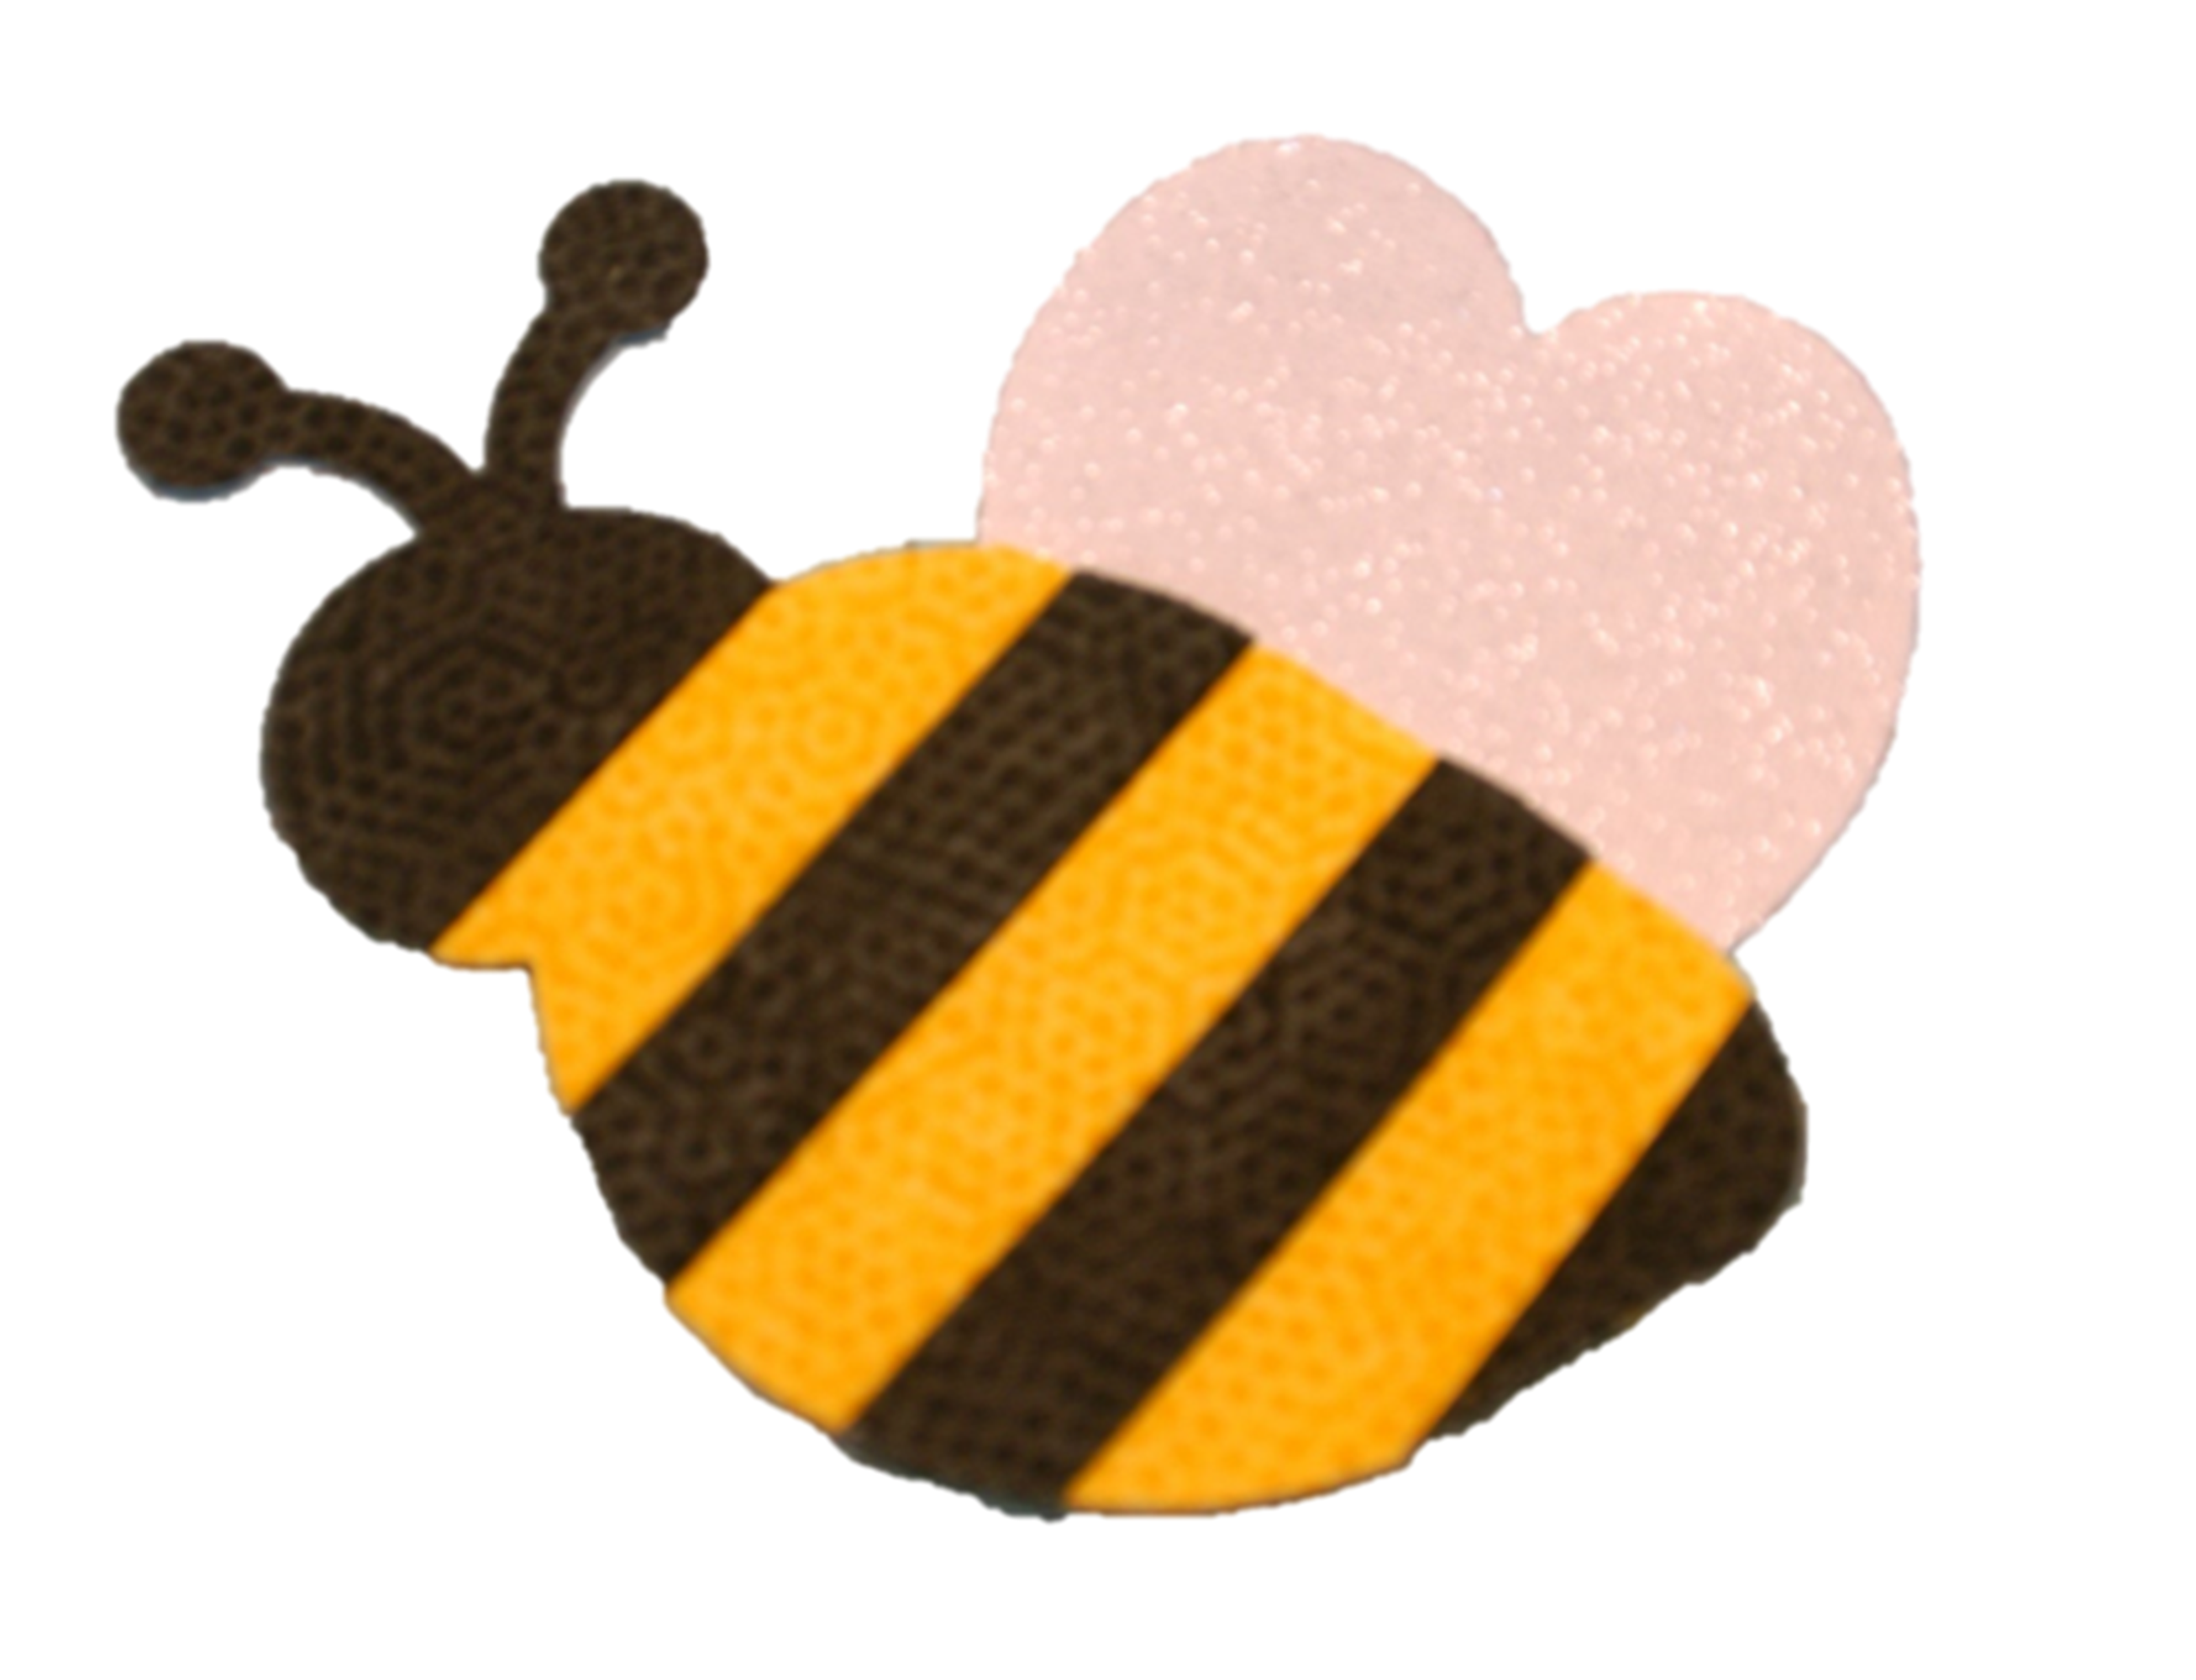
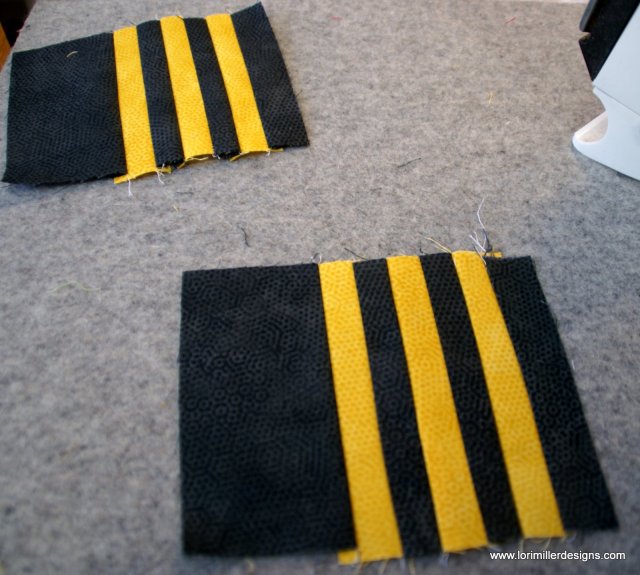
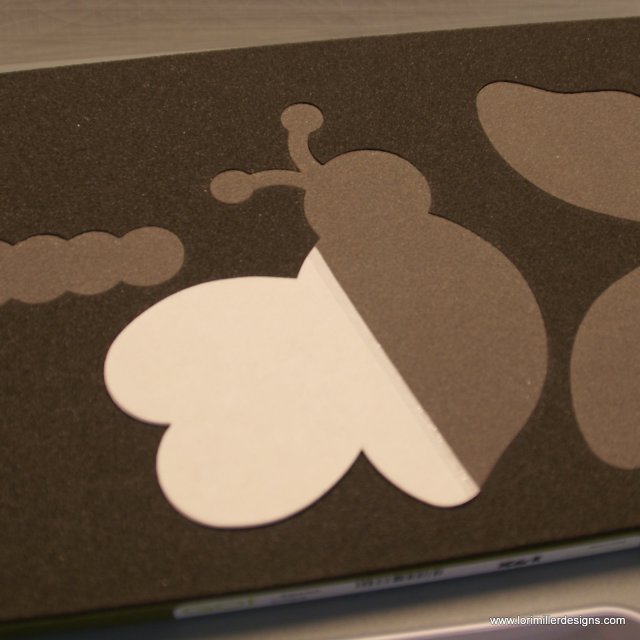
EQ8: Design for AccuQuilt Qube, #59503
Combine the power of EQ8 quilt design software with the ease of fabric die cutting. The AccuQuilt GO! Qube system is made of building blocks to create a four patch quilt block. Discover EQ8 compatible blocks, draw your own blocks, try different fabrics, and create your own block library. Your design will be ready to cut with the AccuQuilt GO! Cutter. Learn tips and tricks to use the best features of both EQ8 and AccuQuilt. Class based on the 8” Qube, with help to accommodate other sizes. Please note: This is an EQ8 software design class. No die cutters will be used. Completion of a beginner EQ8 class is helpful.
EQ8: Borders and Sashings, #59504
Are your Borders simply boring? Do you just slap on strips of fabric to add length and width to your quilt? Is your sashing simple? Take your borders from blah to beautiful and your sashing from sad to stunning with the built-in tools in EQ8. This fun class will explore a variety of borders and border styles from pieced, flying geese, appliqué, checkerboard, and more. Use borders to jazz up a panel or medallion quilt. Discover creative sashing with pieced blocks and clever design ideas. Your quilts are limited only by your imagination. NOTE: This class moves at a faster pace than Beginner EQ8 classes. PC and Mac Users welcome.
EQ8: Adding Fabrics, #59505
Grow your EQ8 skills! Learn how easy it is to add your own fabrics, panels, and photos to EQ8. Import fabrics, straighten, scale, crop and add them to your Favorites library! Add current manufacturer fabric lines to use in your quilt designs. Discover how you can scan or photograph your own stash to use in your creations. Include fabric panels to creatively design one-of-a-kind quilts. This is the perfect follow-up to any Beginner EQ8 class. Windows and Mac Users welcome.
Houston International Quilt Festival EQ8 Classes
October 30th – November 5th
George R Brown Convention Center in Houston, TX
I am teaching the whole week and there are still a few seats left for my classes in Houston.
108 EQ8 Lets Start at the Beginning
220 EQ8: I Want to Learn More
348 EQ8: Design for AccuQuilt Qube
367 EQ8: Adding Fabrics and Photos
425 EQ8: Lets Start at the Beginning
533 EQ8: Kick Start
Are you brand new to EQ8? This is the perfect class to get to know your exciting new quilt design software. Explore the workspace and start designing quilts right away! EQ8 is your virtual design wall. Use it to try out exciting color combinations, estimate fabric yardage quickly, and print blocks and rotary cutting charts to get started right away. Class nicely paced for beginners. Windows and Mac users welcome. Please note: This class is designed for brand new EQ8 users and is focused on EQ8 basics. If you have taken the full-day beginner class, this class covers similar topics.
569 EQ8: Adding Fabrics and Photos
More Ways to Learn EQ8
If you can’t attend an in person class, The Electric Quilt Company also offers online courses and books for purchase to help you learn the quilt design program.
Learn EQ at Home
EQ8 Lesson Books
Use EQ8 Lesson Books to master the software!EQ8 Tutorials

Check out my EQ8 Lessons with Lori on the EQ Blog

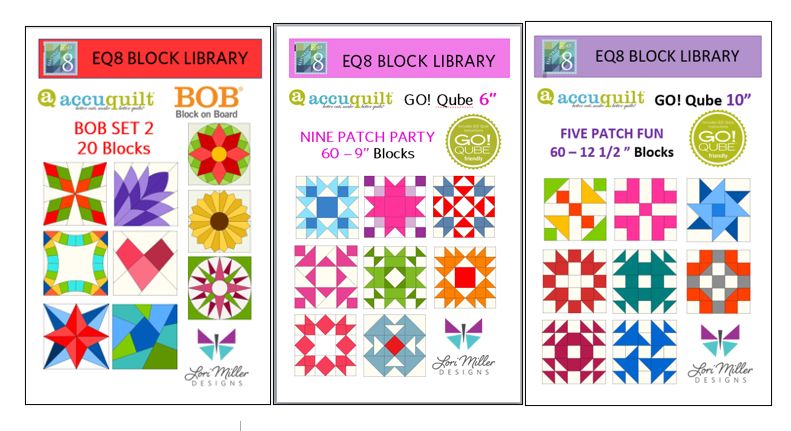
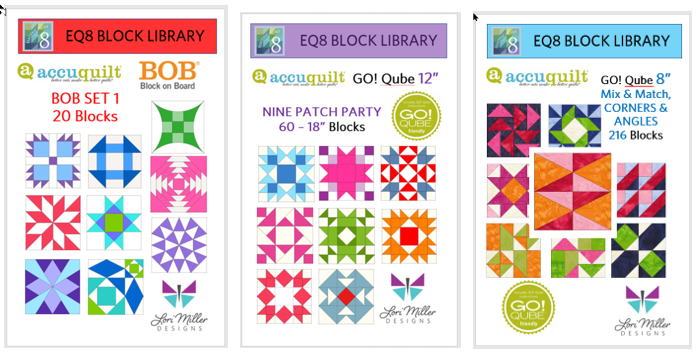
I am a self-professed EQ8 Superfan, Pattern Designer and Quilter. Head over to my shop to find my stunning Quilt patterns and EQ8 Block libraries for AccuQuilt.


