
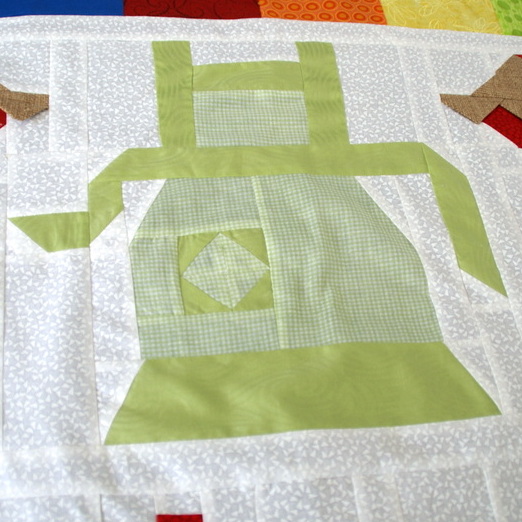

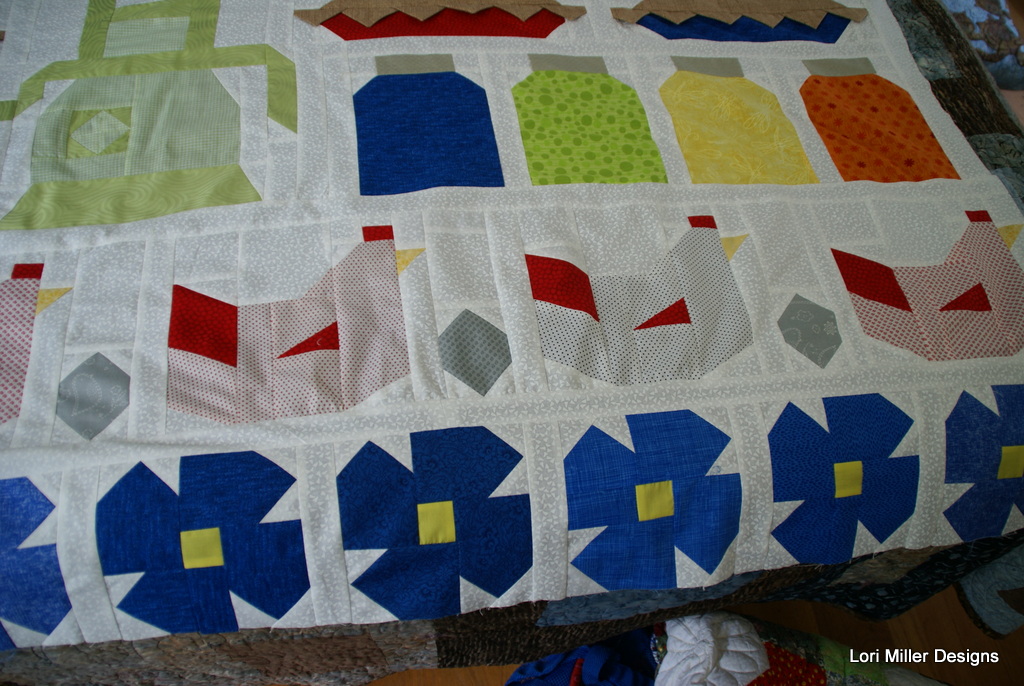
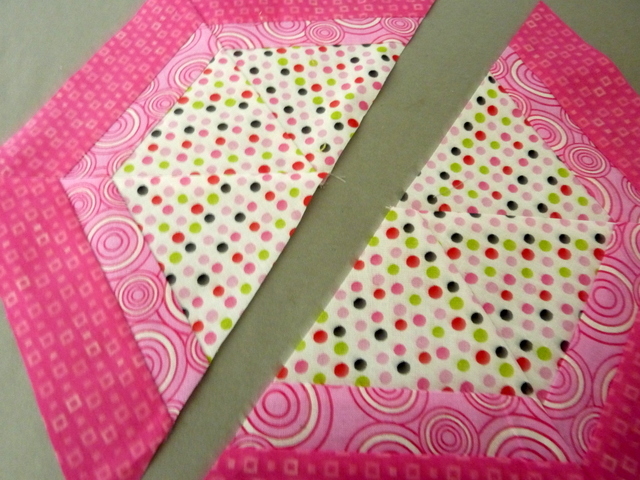
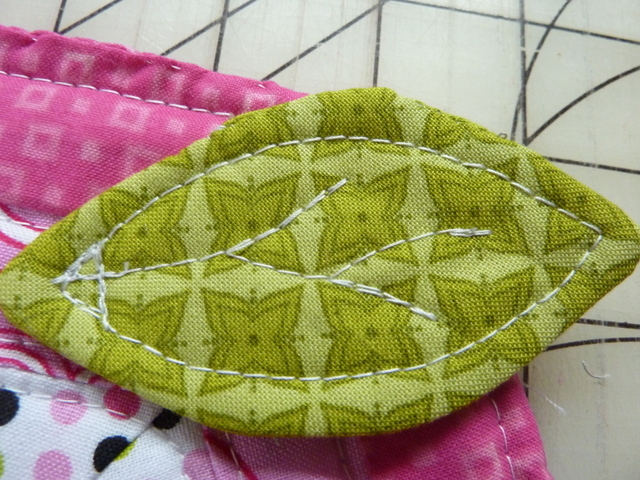
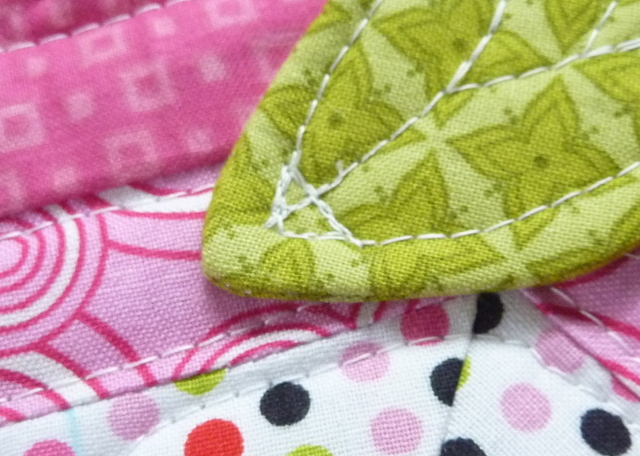
Can you believe it? This is the last block for the Grandma Town Row by Row. It is the green gingham apron my Grandmother wore. She always cooked wearing an apron and I have a lovely green calico apron that I made her for a gift that was given back to me as a keepsake. It is a cherished item. This large apron block finishes at 12″ x 12″. You will only need one apron block for this quilt and it is centered between the pies and canning jars.


Grandma Mabel’s favorite color was green. I always thought that was strange as most girls said they loved pink. I actually am more in tune with Grandma now and love the freshness of a bright apple green color. I can still see Grandma rolling out some pies or working on Sunday dinner wearing her faithful aprons to keep her dress clean. I have a collection of vintage aprons and they make me think of my special Grandma.

Are you sewing along? If you are, post it on Instagram and tag me @lorimillerdesigns and #GrandmaTownBOM so I can see what lovely things you are stitching up. A comprehensive pattern and directions for the Apron block along with the whole BOM is currently in development.


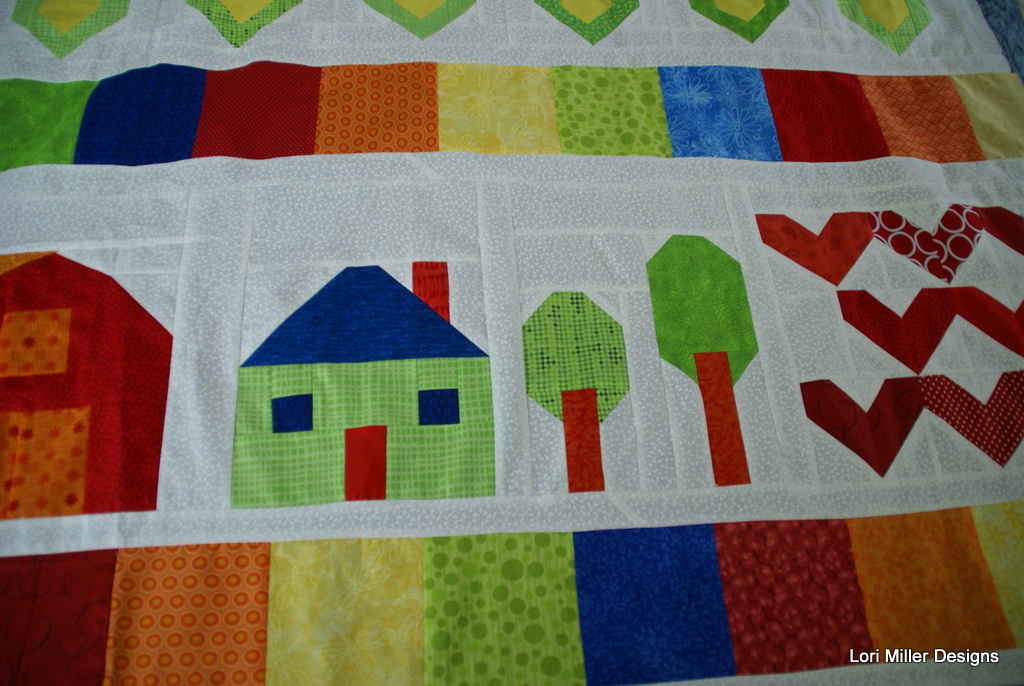
Grandma Town Block of the Month
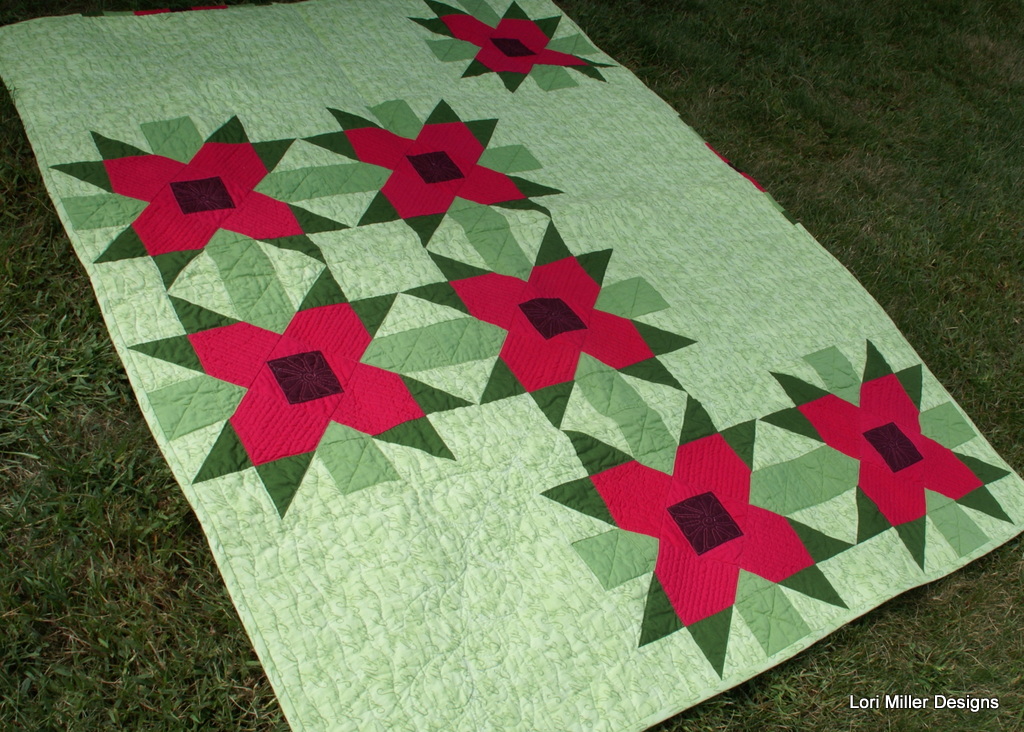
If you are new to the Grandma Town BOM, this row by row quilt was a labor of love to celebrate my Iowa roots. I spent my childhood visiting my Grandparents on their farm just west of Des Moines in Earlham, Iowa. It is especially a tribute to my dear Grandma.
When my sisters, brother and I were little and my parents would drive us to my grandparents farm, my brother would yell, “We are going to Grandma Town!”. It was a loving tribute that stuck. This little quilt is full of those reminders of the farm and of Grandma, who loved to garden and loved to cook. Each block is a sweet memory of my youth growing up on that country farm.
I hope you will find some shared love for your family, a cherished farm or your own grandma in my quilt. You can make all of these sweet blocks or pick and choose the blocks you like the most to make something special for yourself or a dear loved one.
Released Blocks – 2015
FEB Block 1 – Forget Me Not Flower
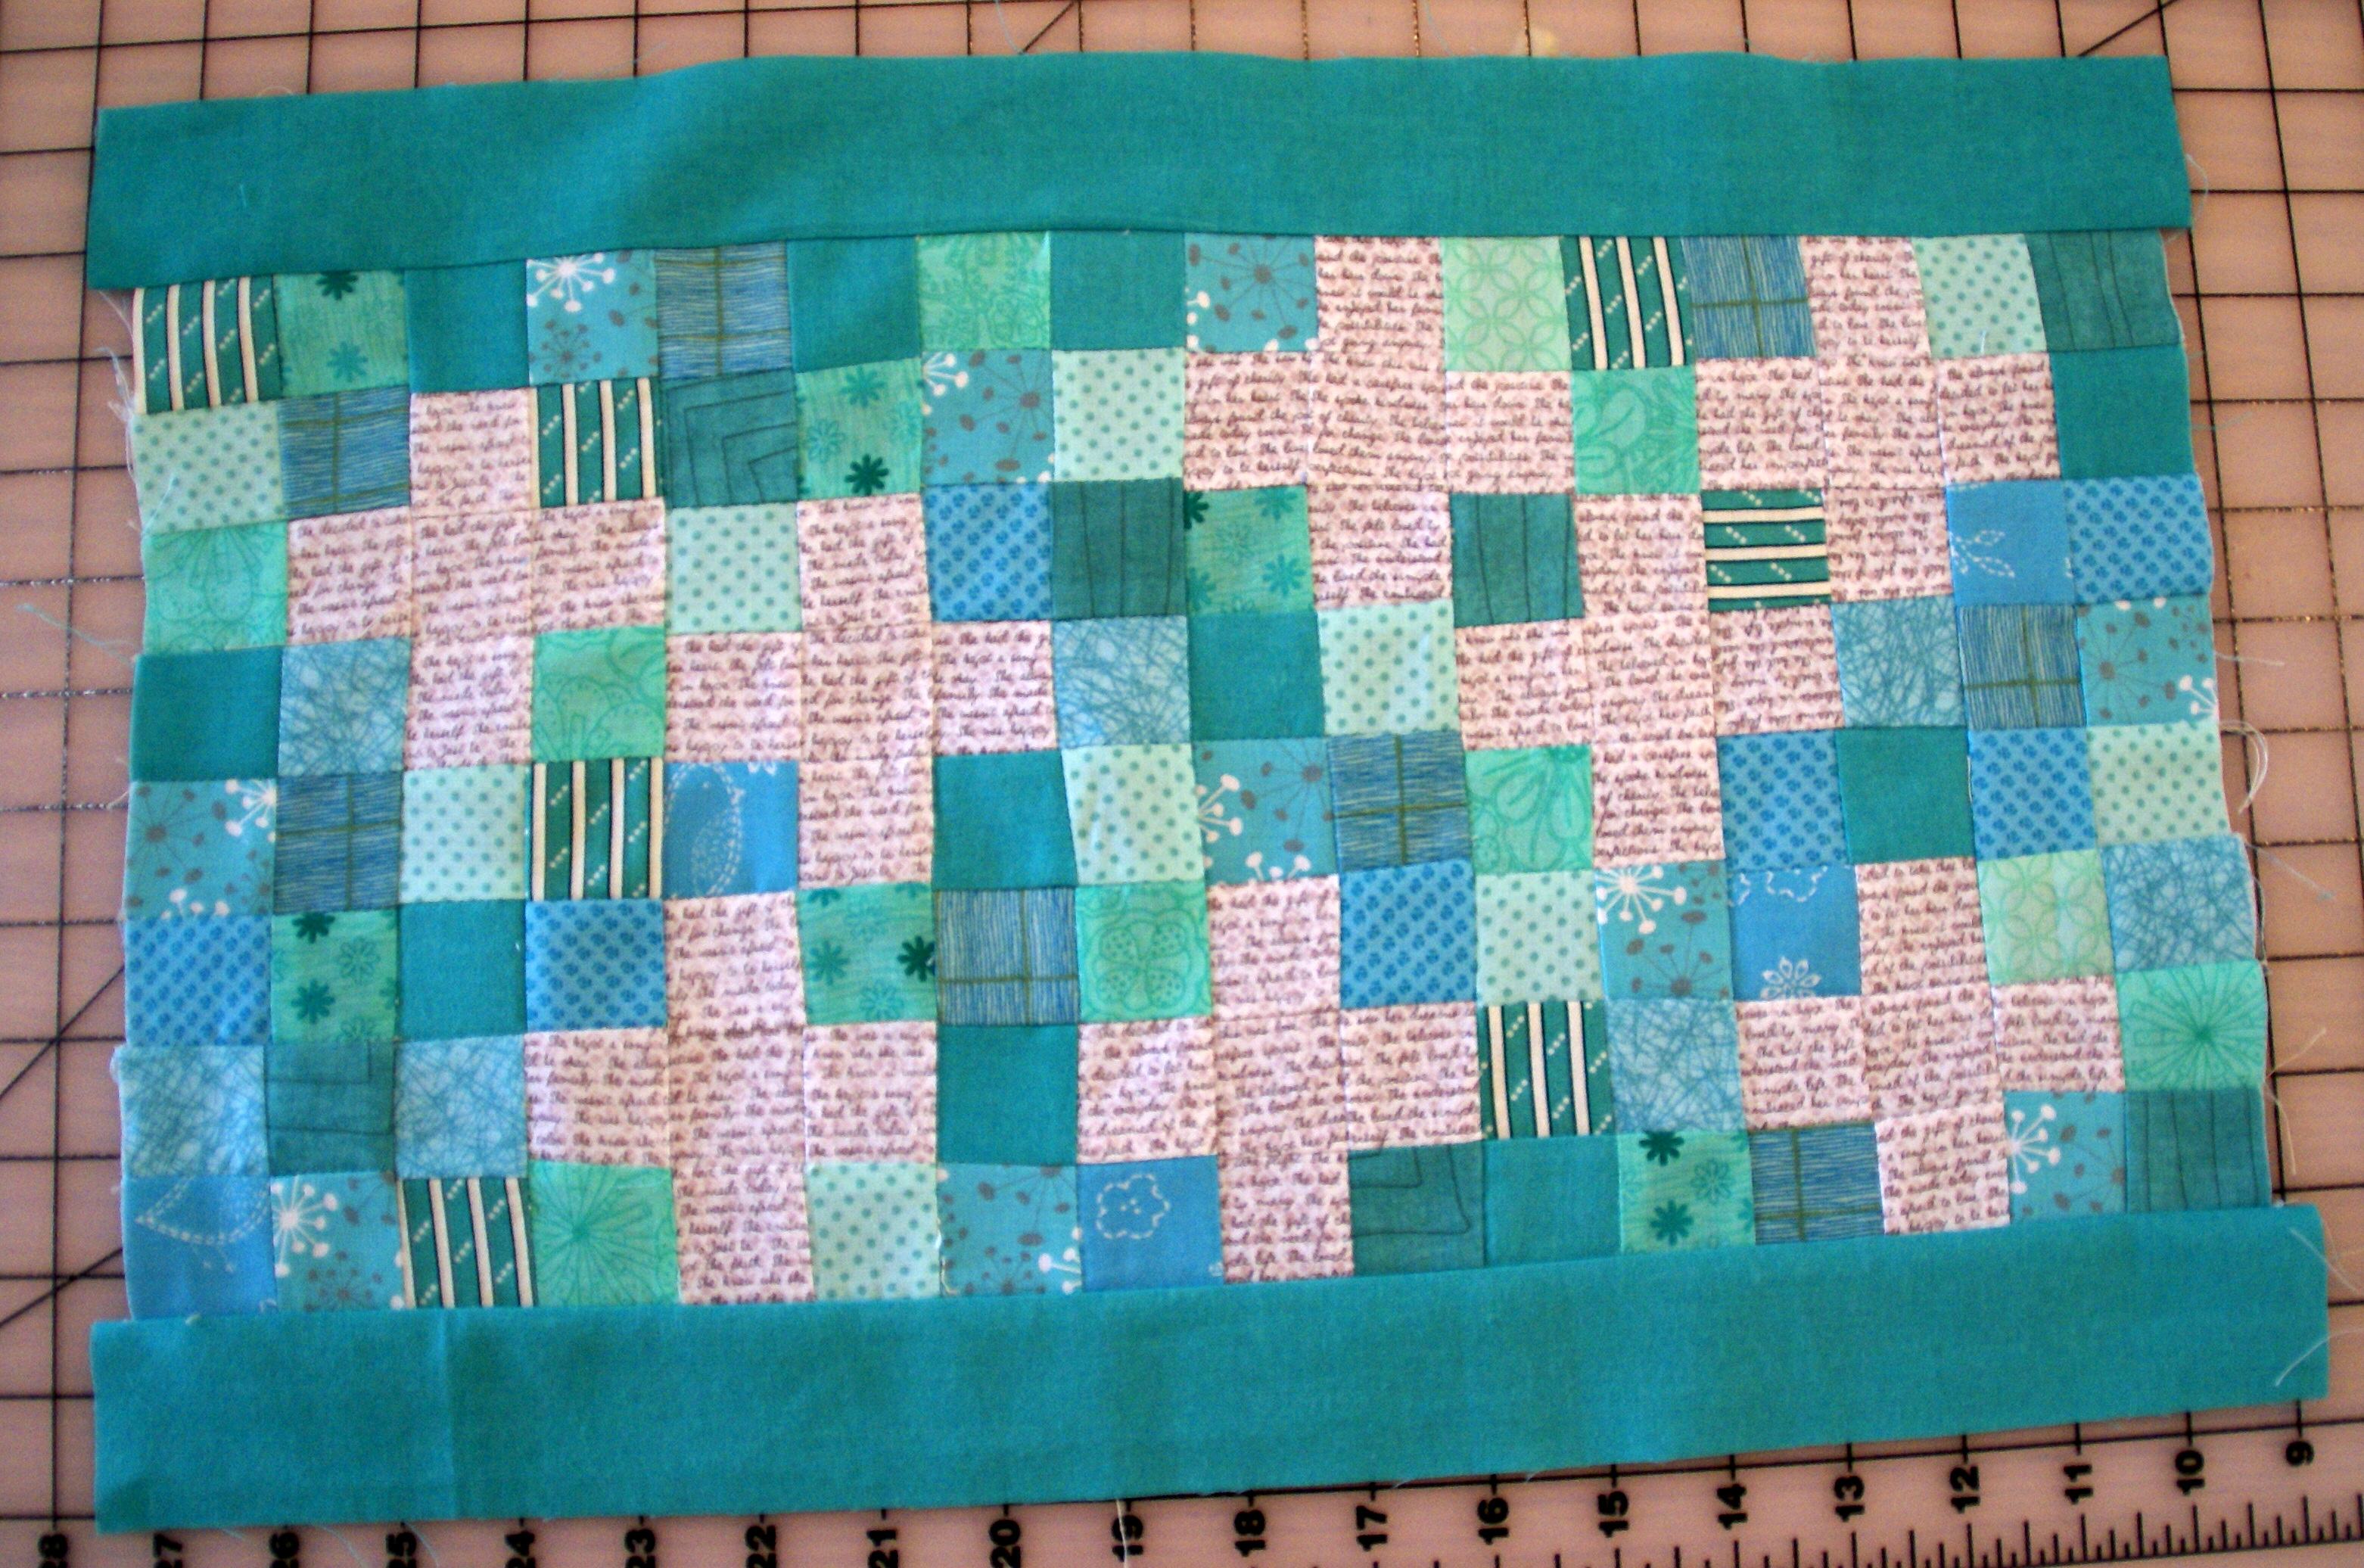
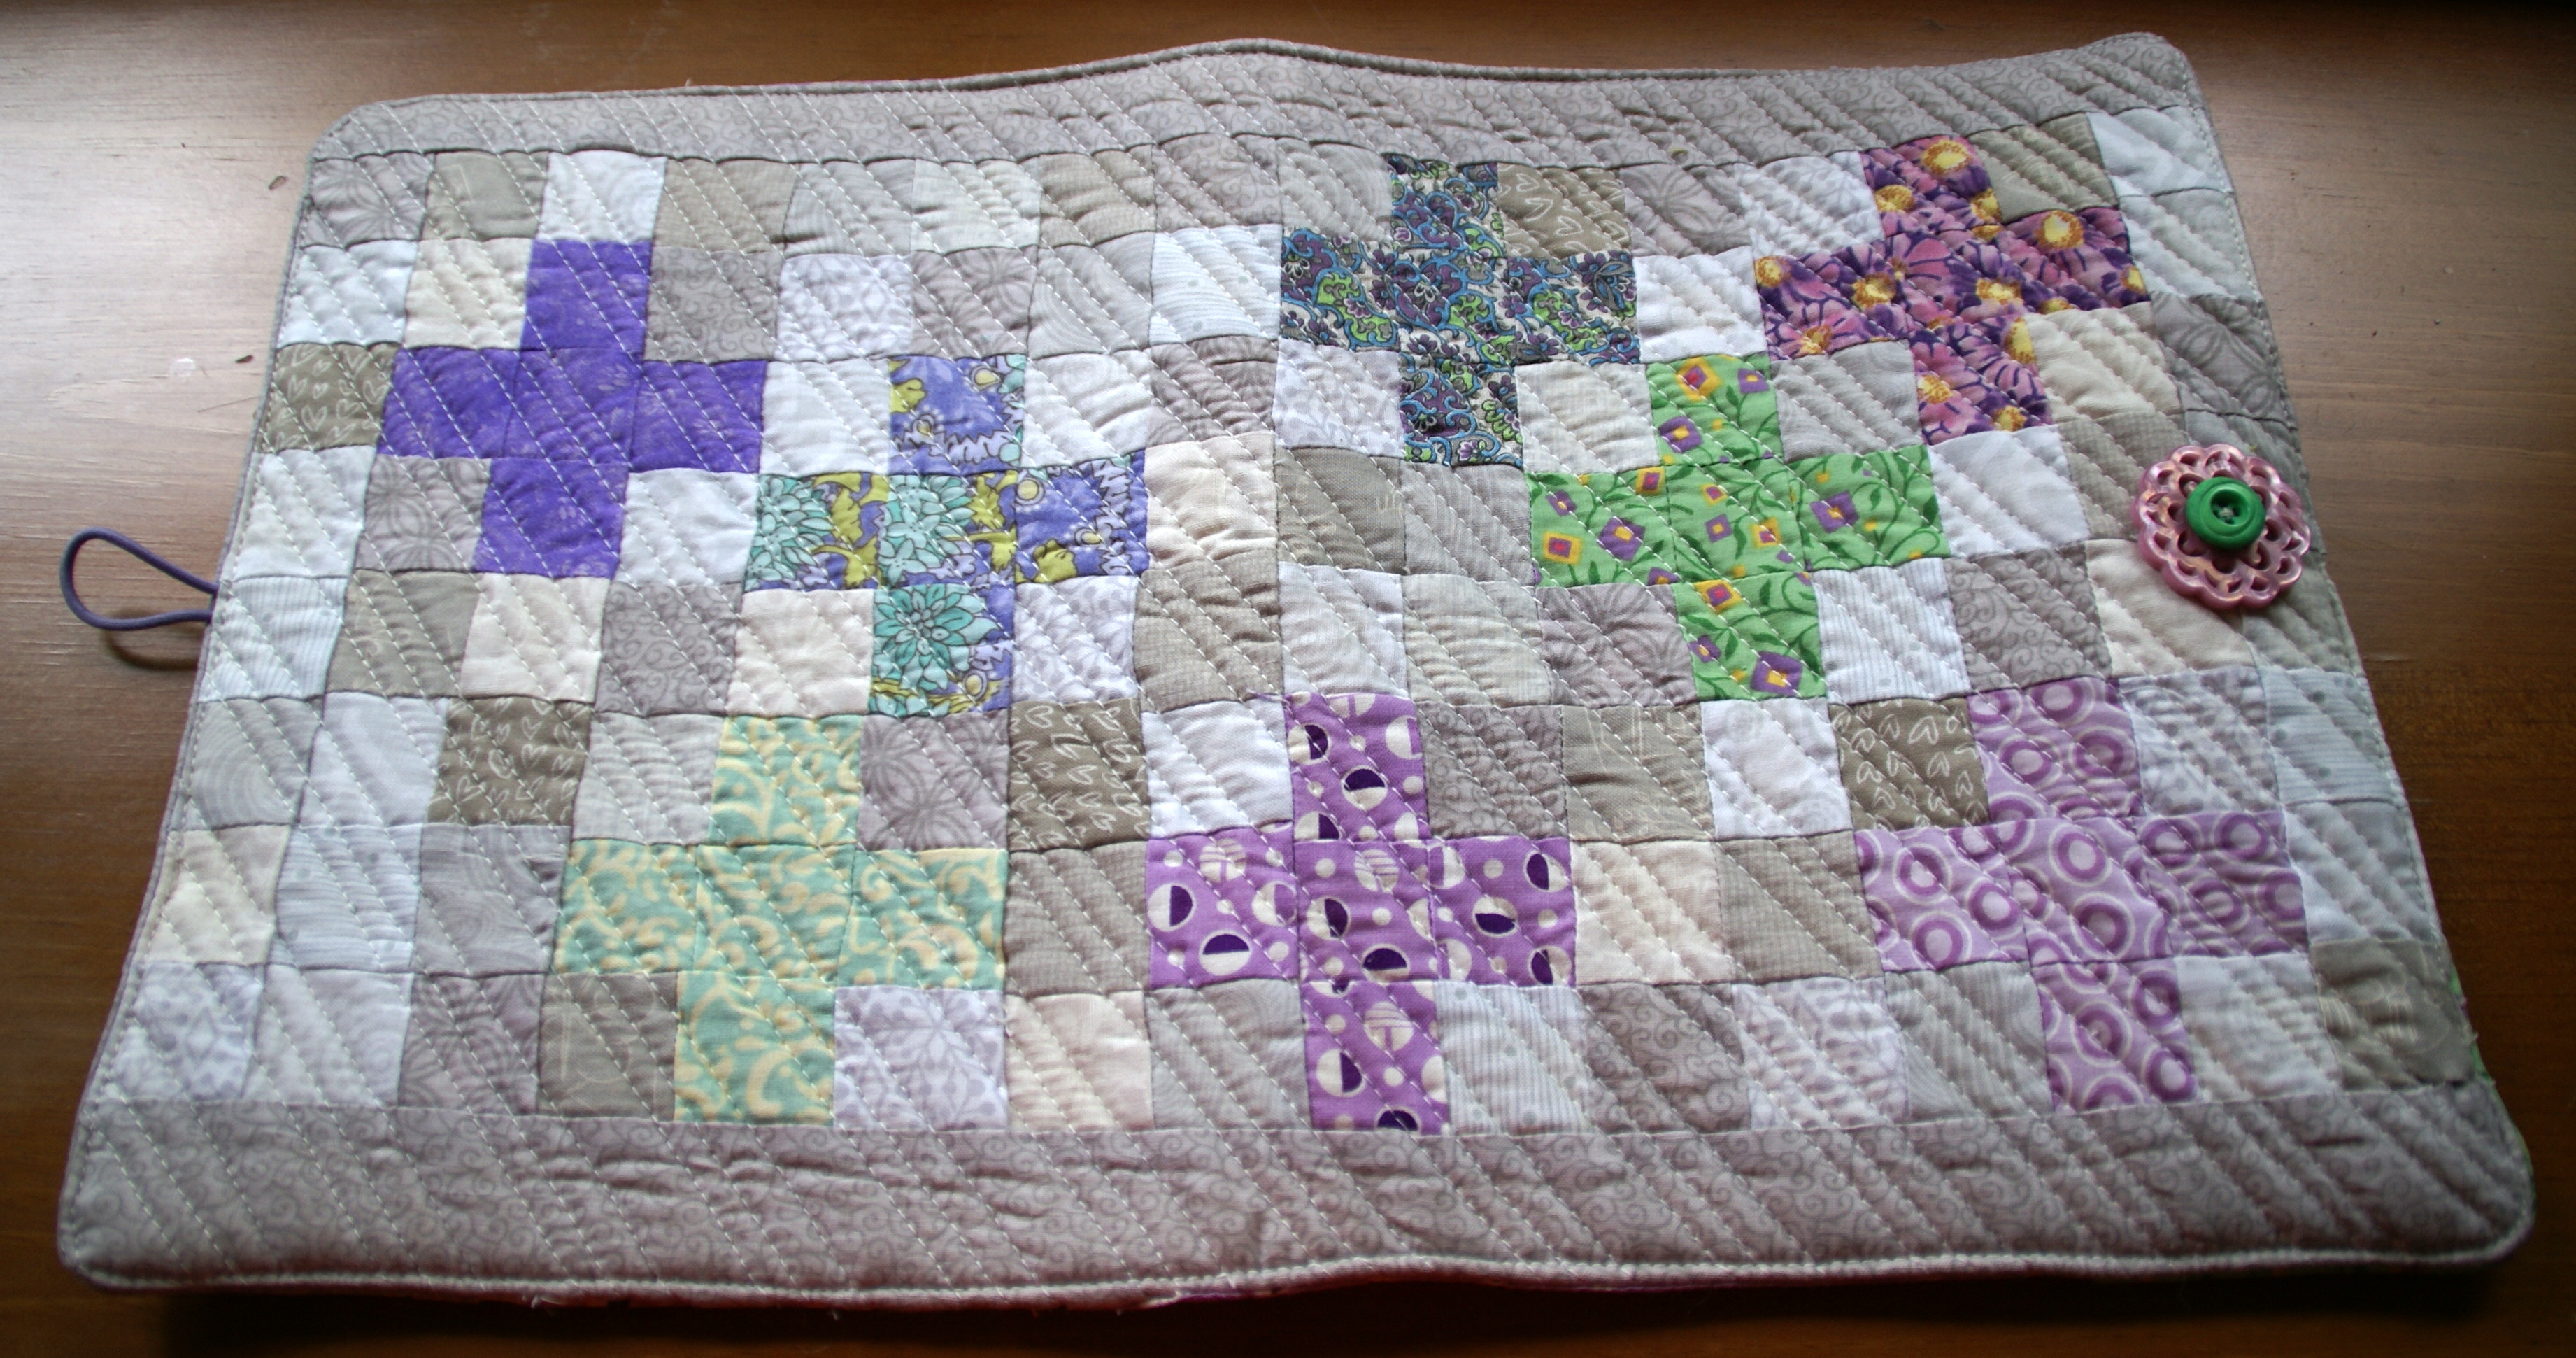
APR Block 3 – Nine Patch and Color Block Rows
AUG Block 7 – Barnyard Double Block
OCT Block 9 – Home Sweet Home Double Block
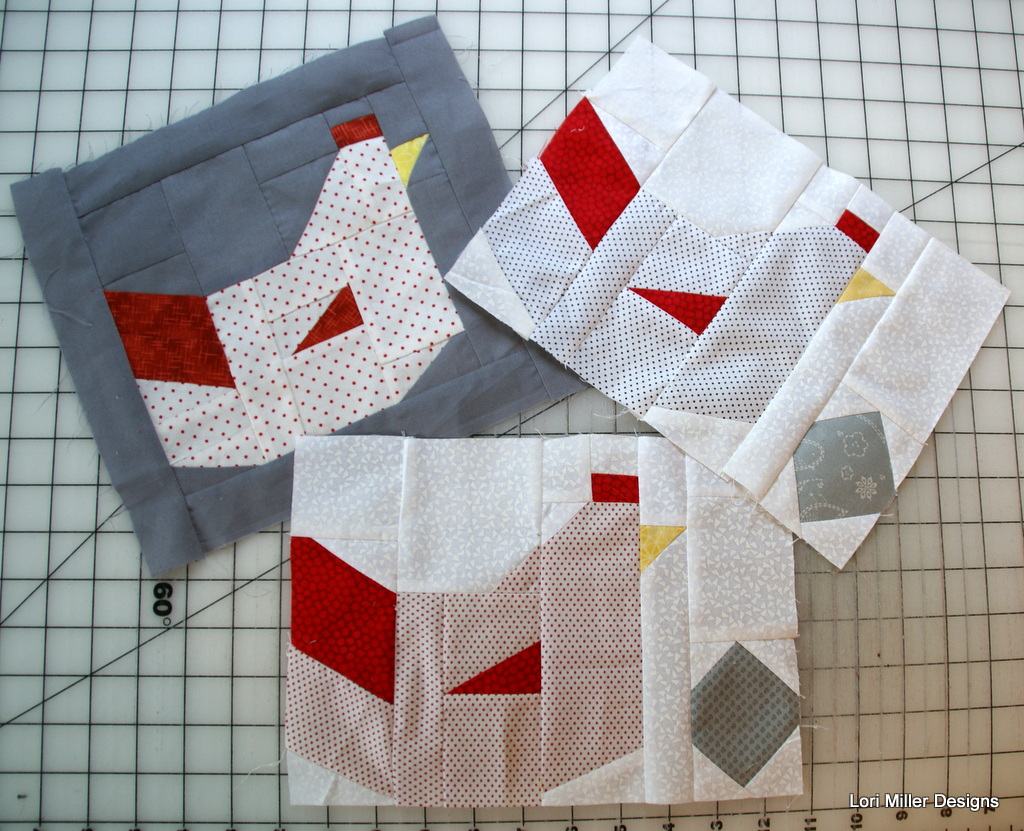
NOV Block 10 – Chicken and Egg Block

%20from%20Lori%20Miller%20Designs)


