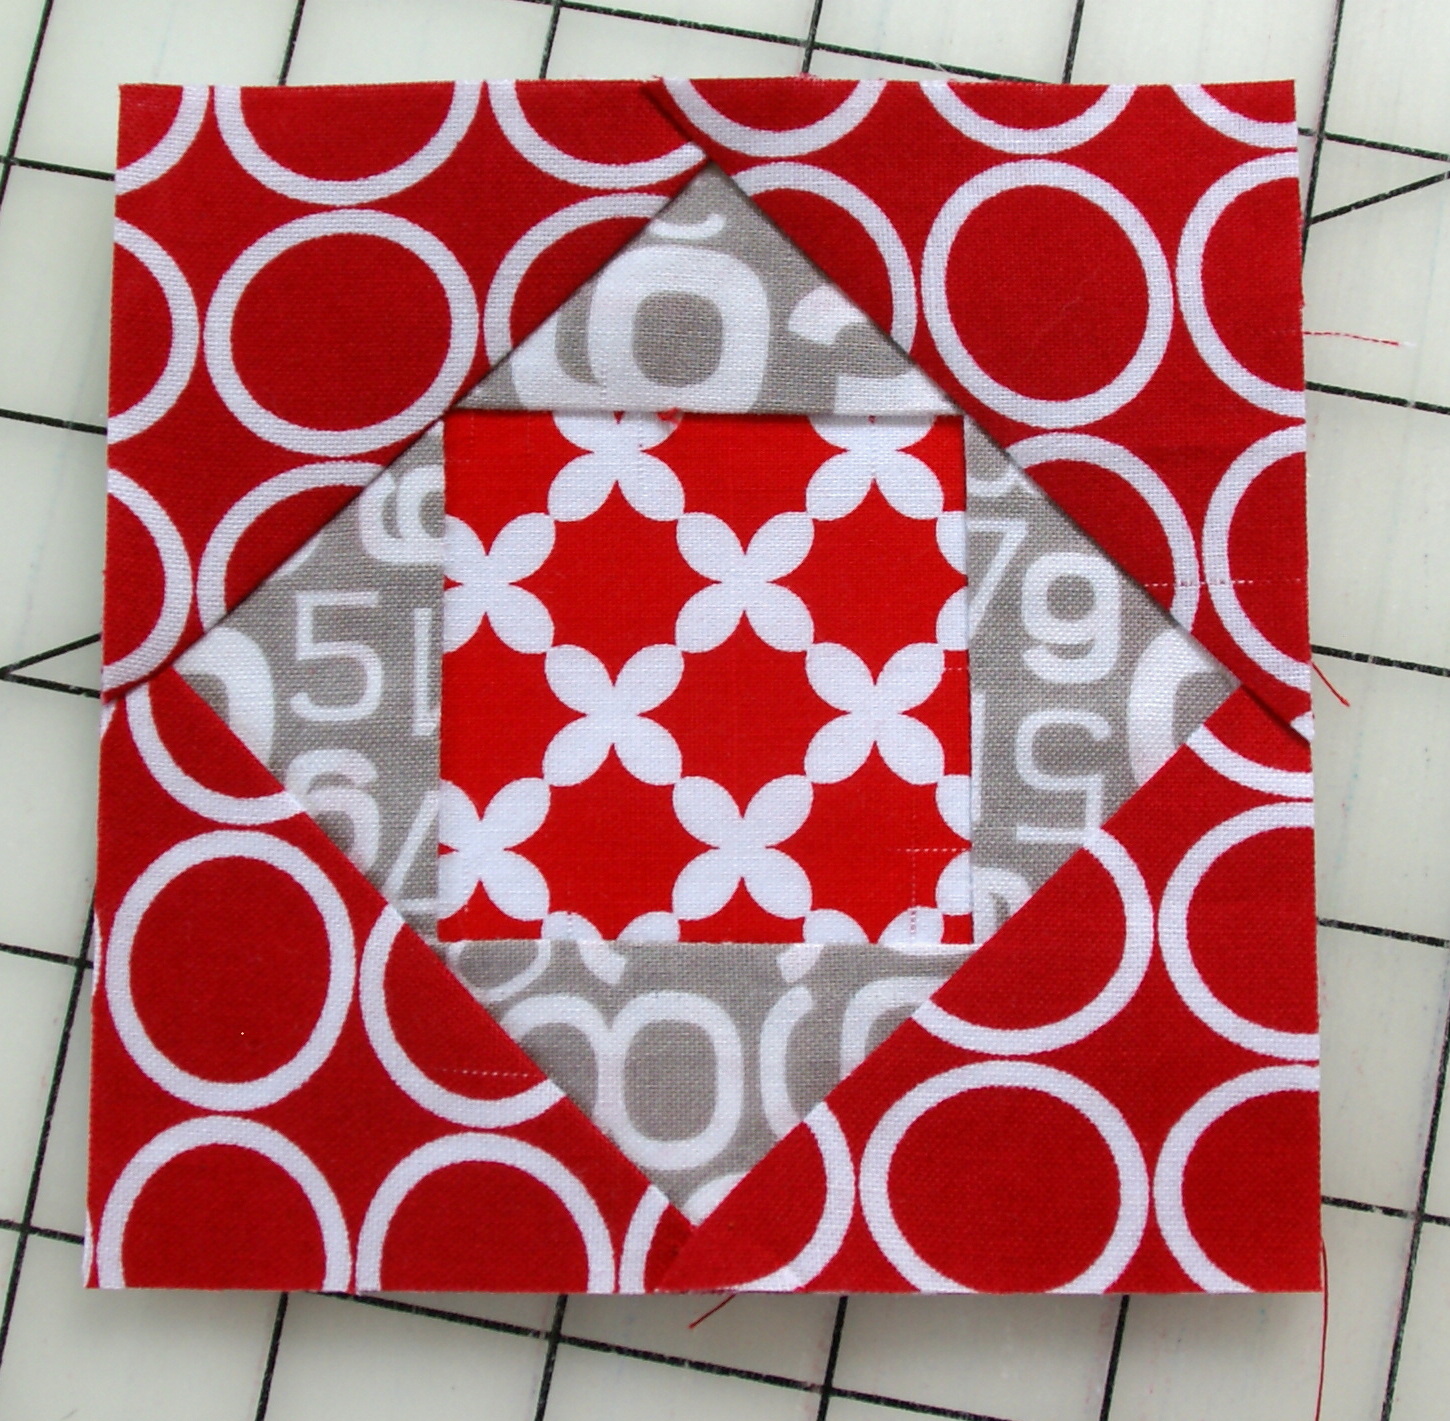
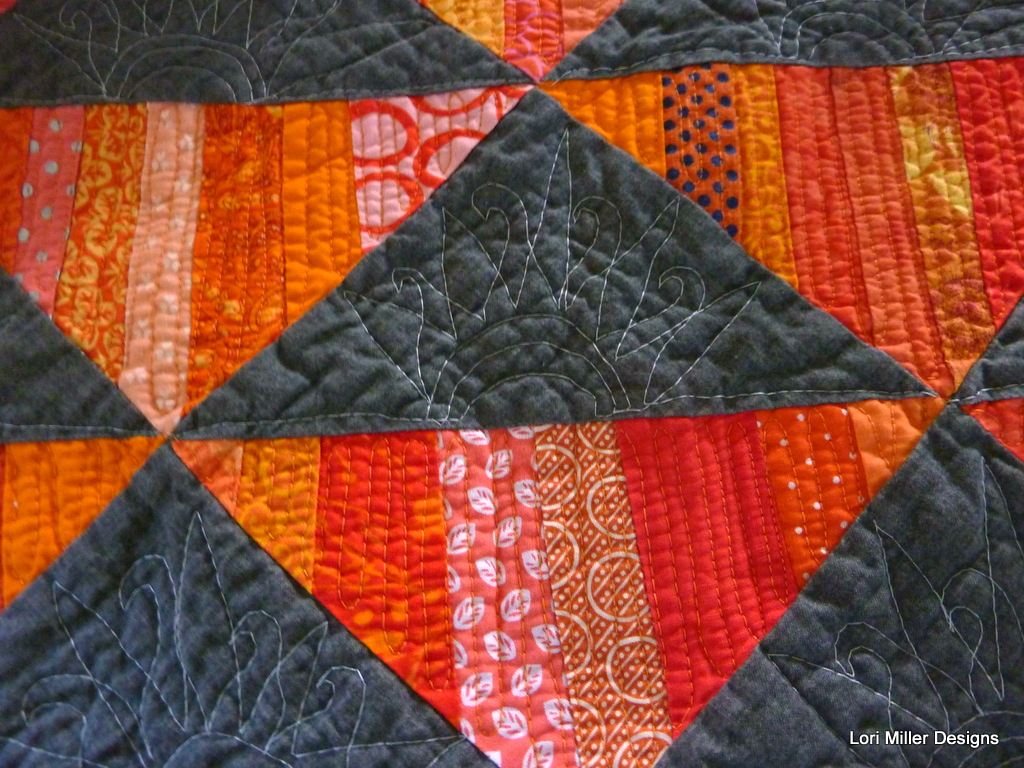
My mini quilt, Modern Swallow Trail, has been selected to be part of a special exhibit of 40 mini quilts at the Road to California Quilt Conference in January 2016. With lots of bright colors and straight line quilting, this cute little quilt was so much fun to make. I did make the mistake of trying to piece this quilt. I should have paper-pieced it for some sharper edges, but I had a really good reason why I didn’t. Really. Read on to find out how I tackled this project.

American Made Brand Cotton Solid Fabric is sourced and and manufactured entirely in the United States. American Made Brand issued a challenge.

It was called the tiny quilt challenge and you needed to make an original mini quilt from their American Made Cotton Solids in any style you wished. I saw the notice but I did not pay much attention. Then they sent a reminder. I thought about it, but I did not have any material, or so I thought. Then another reminder came and now it was the end of August. I had an idea in my head but I did not have time to make this thing. Well creativity is a weird thing, I could not stop thinking about it. Then I ran across something, a rainbow mini charm pack of AMB solids from Quiltcon 2015. That sealed it and I was off and designing.

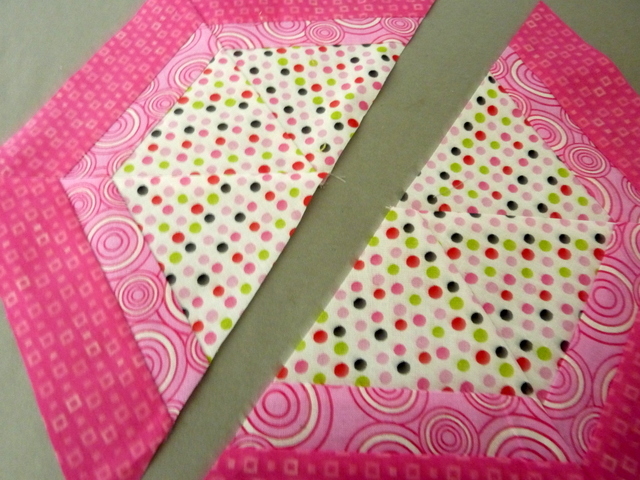
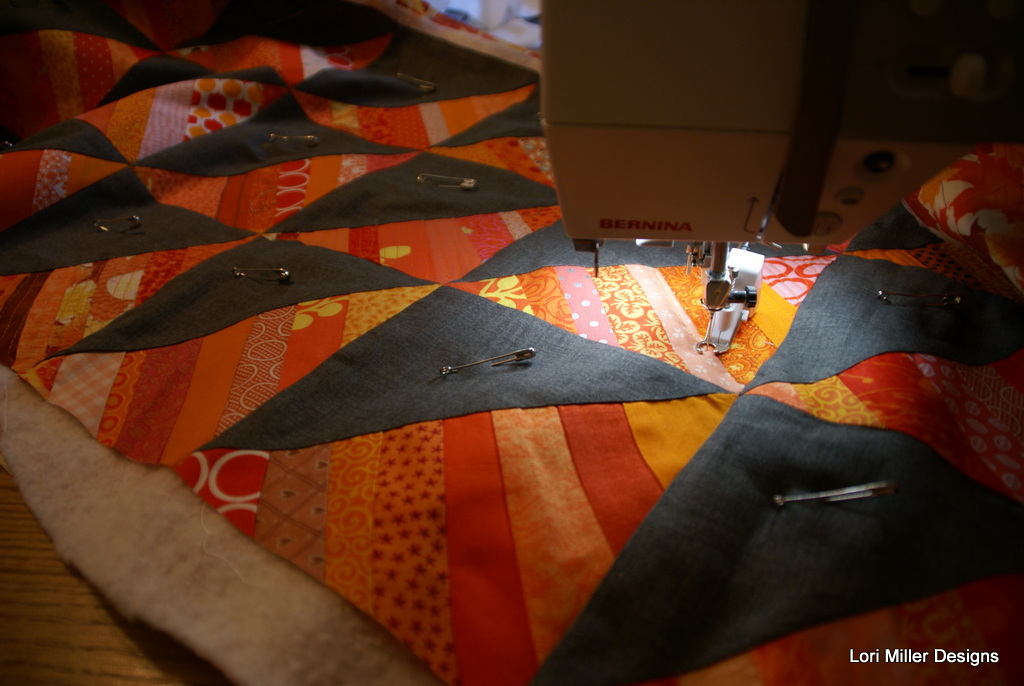
I needed background fabric. I called every quilt shop within a 40 mile radius of metro Detroit. A small quilt shop 30 miles away said they had some fabric so off I went. They had 3 bolts and one happened to be a kind of khaki grey color called Taupe which I thought was a perfect neutral for the bright mini charms. I saw a large round swallow tail pattern but this had to be mini. I drafted my swirling trail pattern on some graph paper and cut out templates. I only had a couple mini charms of each fabric and I needed to cut out two diamonds from each plus a binding. There was simply no extra fabric for paper piecing, so I cut and pieced the bright colors.

I took the colors in the mini charm pack and picked the ones I liked and then tried to arrange them in a rainbow pattern. I varied the flow a little from the top to bottom and the colors really blended well together. I had just enough fabric to add my signature colored border snippets. I just straight line quilted it how my heart desired. I love the texture of the matchstick quilting.
Although my quilt was not one of the main winners in the challenge, I was thrilled that AMB asked if I would provide my mini quilt for the Road to California exhibit in January 2016. Road to California is the premiere Quilters’ Conference & Showcase west of the Rocky Mountains!