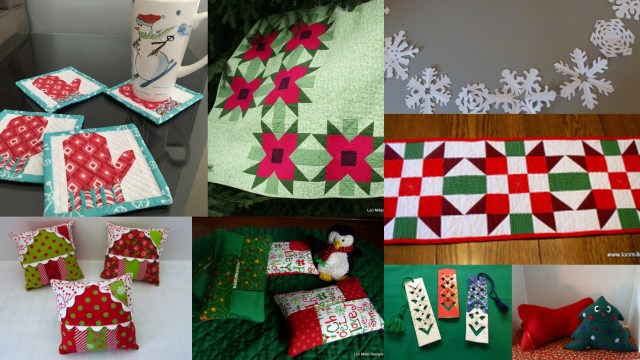
I enjoy making handmade gifts for the holidays to give to family and friends. Some years they are elaborate and some years, well, they are quick and easy. It depends on how busy I have gotten with projects to finish. I have put together a round up of my free tutorials to make diy holiday gifts. They range from super easy to confident beginner, from quick to more involved. I even share a few of my for sale holiday patterns at the end if they should perk your interest. I hope you will be inspired to try some homemade gifts this year. Just CLICK on the picture for all the details.
Holiday Yo Yo Ornament

Create fun holiday yo-yo ornaments for a homemade gift for a teacher, music instructor or bus driver. A nice sewing craft for older children to learn some basic sewing skills, even how to sew a button. You can make it even faster with some hot glue at the finish. Plan an afternoon to put these together for holiday gifts or your own homemade decorations.
Tissue Holder

Here is a cute quick gift you can stitch up in multiples for holiday party favors, stocking stuffers or just a little something for someone special. I used holiday and Christmas fabric but you could tailor them for boys or girls with masculine prints, sporty fabric or another cute novelty print. There is really very little sewing so it is perfect for a beginning stitcher. It doesn’t take much fabric either, so use up some of your scraps or stash.
Easy Holiday Fleece Pillows

Here are a couple of ideas for some last minute holiday gifts to stitch. You probably have a stash of fleece somewhere in your sewing room from a sale 3 years ago, if not, find yourself a couple of remnants and get sewing. Cotton works fine too. These are some clever and creative pillows for big and little kids to enjoy. They stitch up in a snap so they are quick and easy for a beginner to make.
Upcycled Christmas Card Bookmarks

I received one of these upcycled Christmas card bookmarks as a little gift and it is just too clever not to share. This bookmark is an ingeniously folded old christmas card. I took it apart to figure out the pattern and I am gladly spilling its simple but intricate secrets. Make a bunch for stocking stuffers, for an afternoon craft with the kids or to mail to friends far away for the holiday.
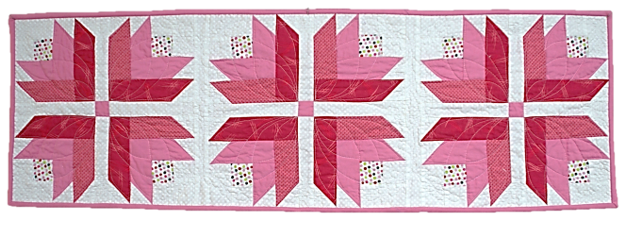
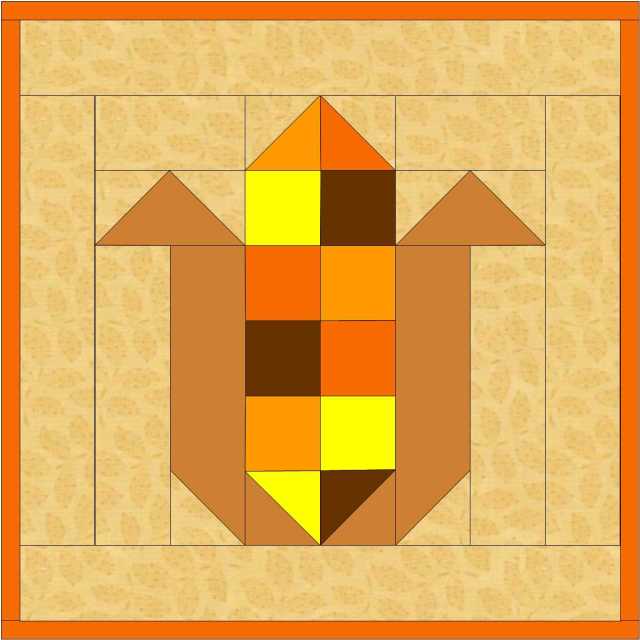
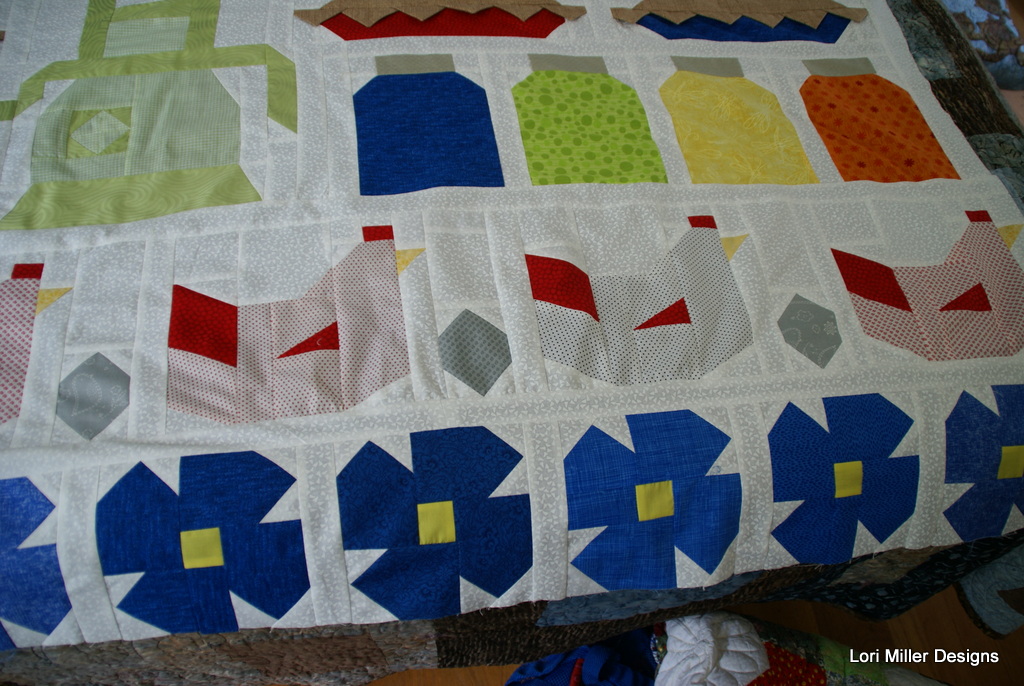
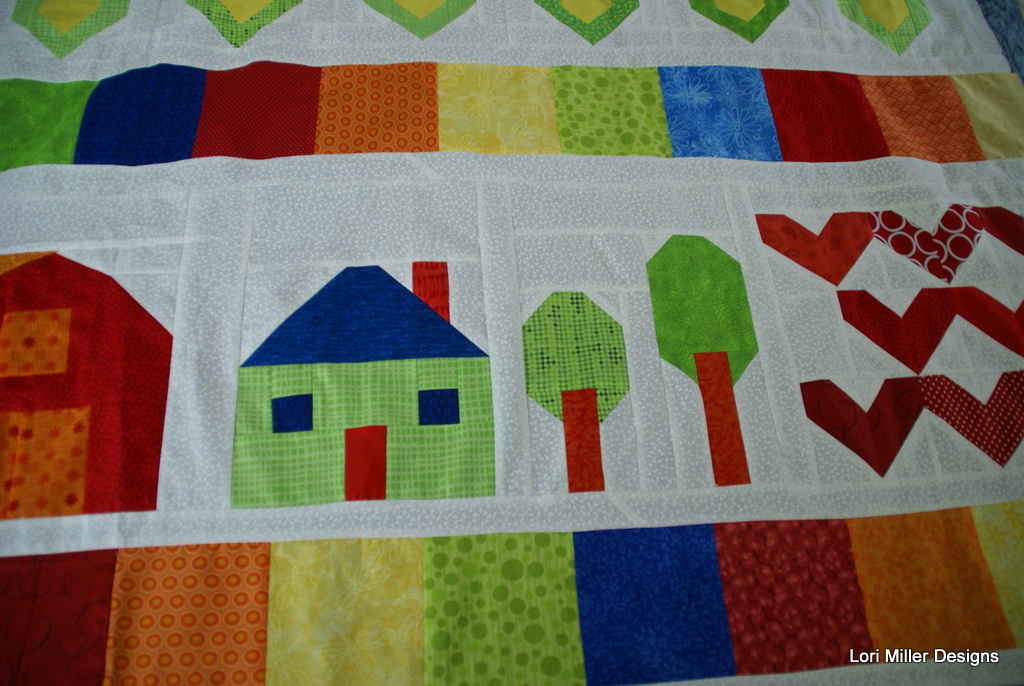
Holiday Table Runner

Here is a free tutorial for a project designed with EQ Mini Software by The Electric Quilt Company. This Holiday Table Runner uses one of the built in blocks colored with traditional Christmas colors to create a lovely item for your home decor. Just make three simple blocks to quilt up a beautiful center piece for your table.
Paper Snowflake Garland
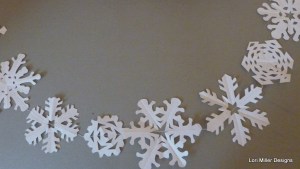
Here in Michigan, we manage to get our own share of snow. I would much rather deal with these paper snowflakes from inside my warm and toasty house instead. And the plan is to sew them together into pretty garland, so you get a little sewing and fun mixed together. When did you last make a paper snowflake?
This would be a great afternoon activity with the kids to cut out snowflakes and drink some hot chocolate. You can even use up all that junk mail or scrap paper to make them. I love traditional white flakes, but you could mix them up with any color to make a very cool statement.
Patterns for Sale
Here are a couple of holiday patterns I have for sale in my shop. I hope you like them too.
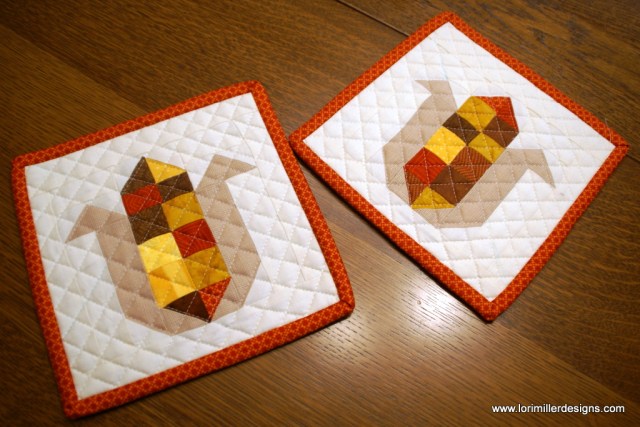
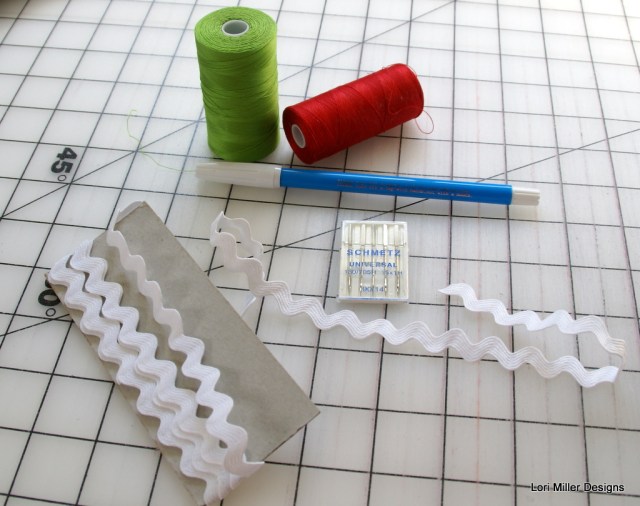
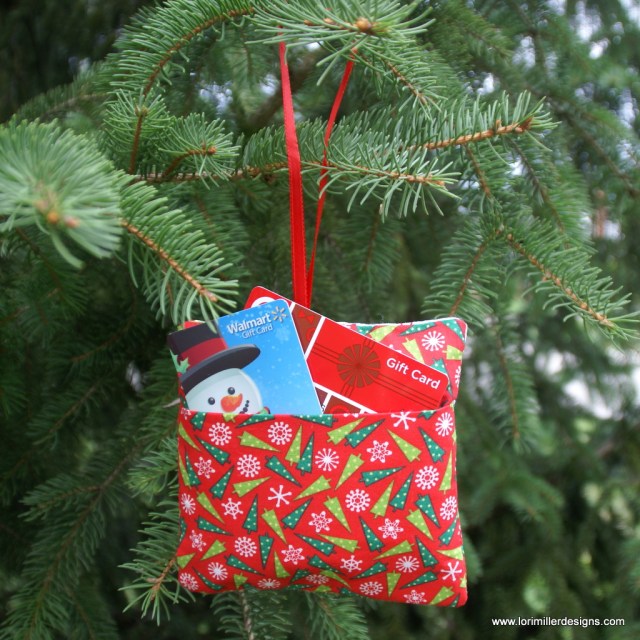
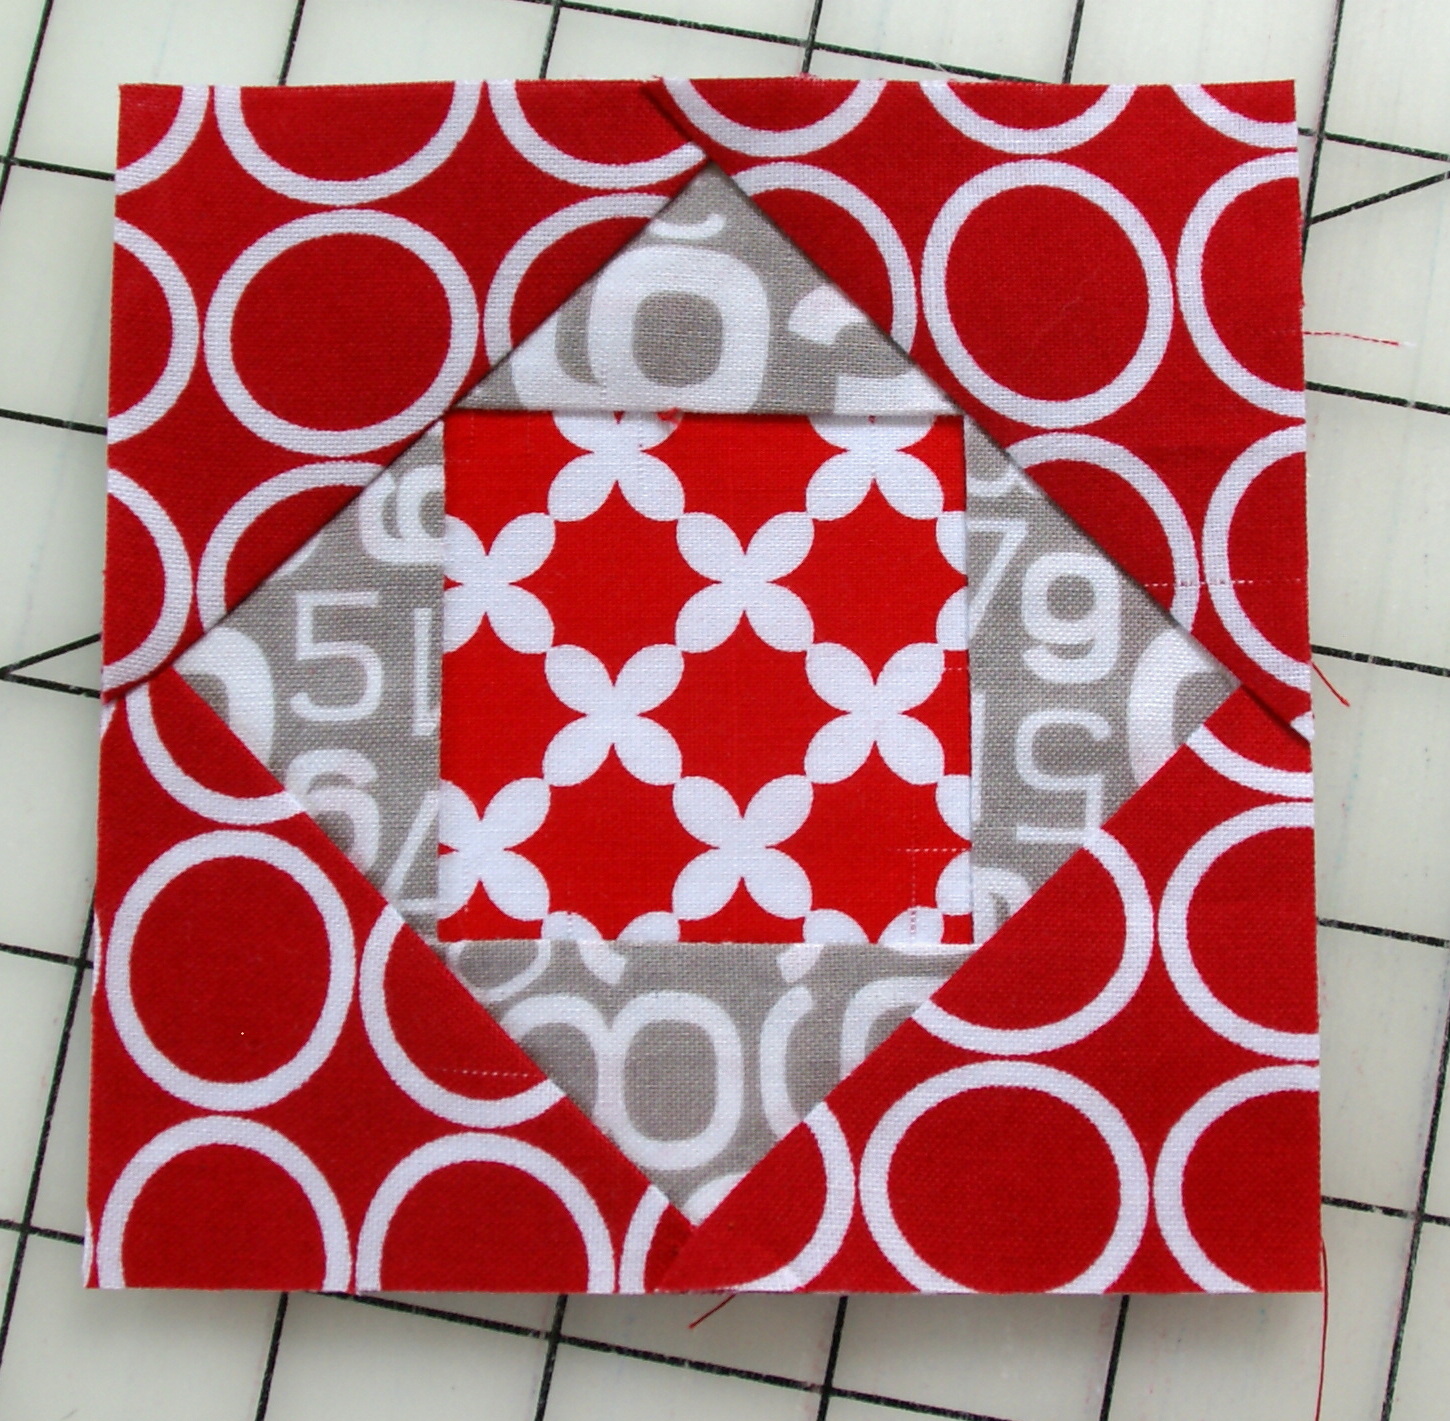
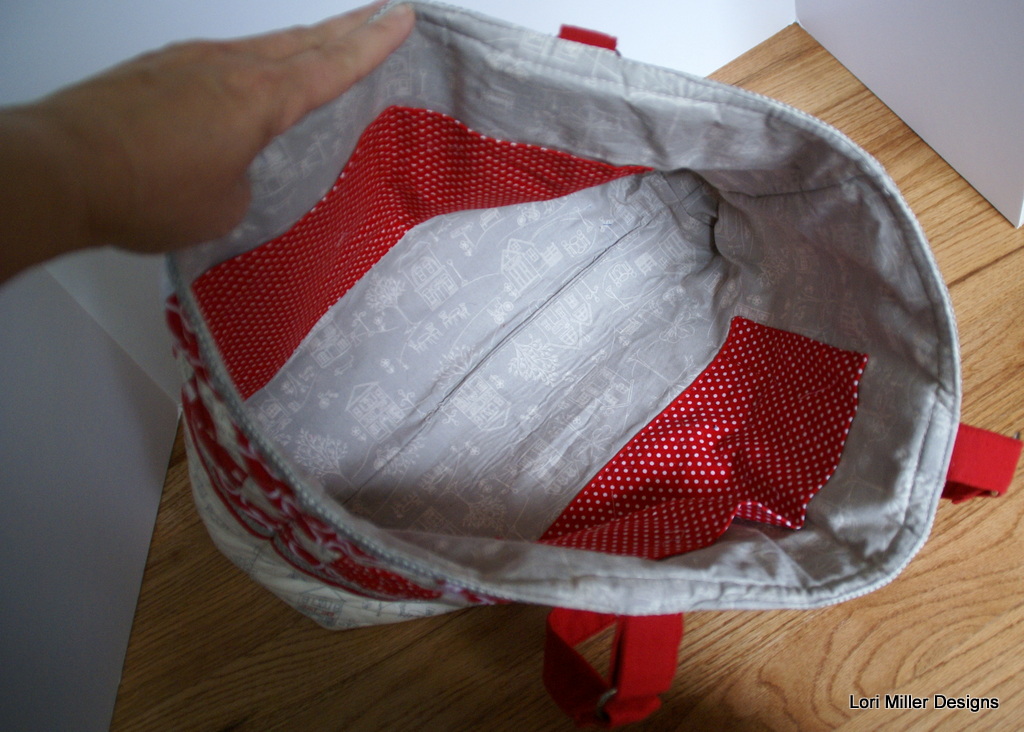
Gingerbread House Pincushion, Ornament and More
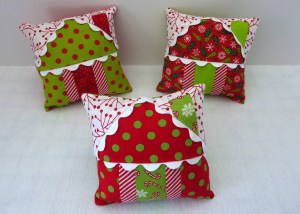
This is my original pattern for a Gingerbread House Pincushion. I have even added bonus instructions to make it into a soft tree ornament or a Gift Card Holder to hang on your Christmas tree. This adorable holiday gift idea might look familiar. It was featured in Quilting Arts Holiday Magazine in 2014. It holds a special place in my heart because this was the very first original pattern that I had published in a Magazine.
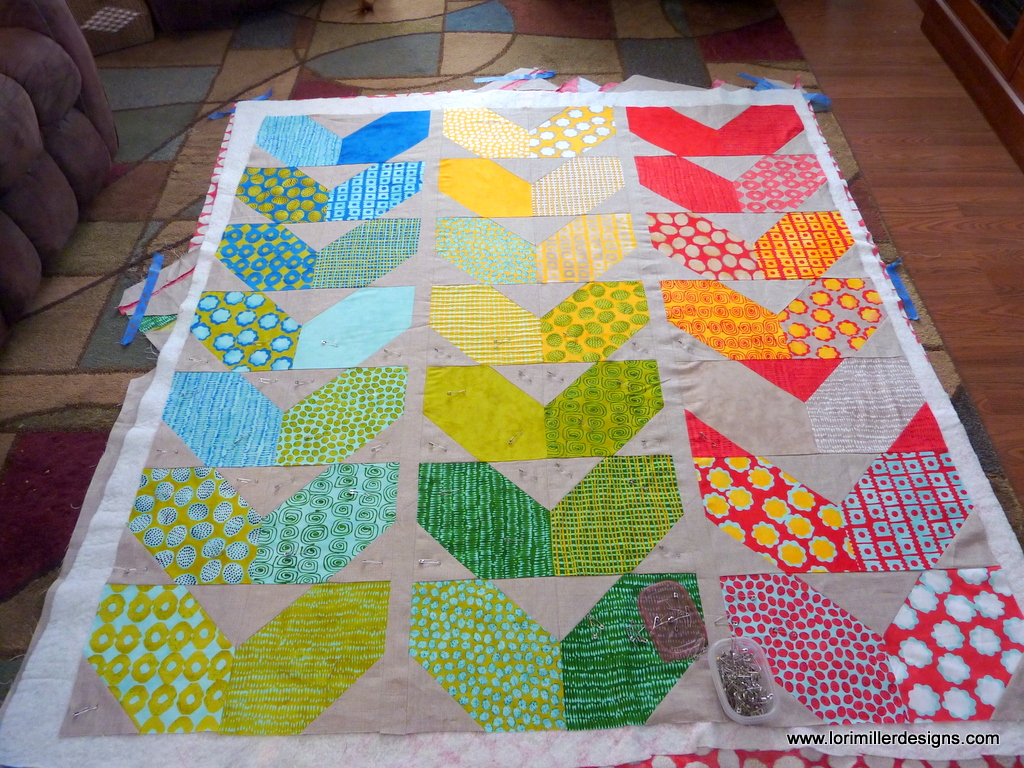
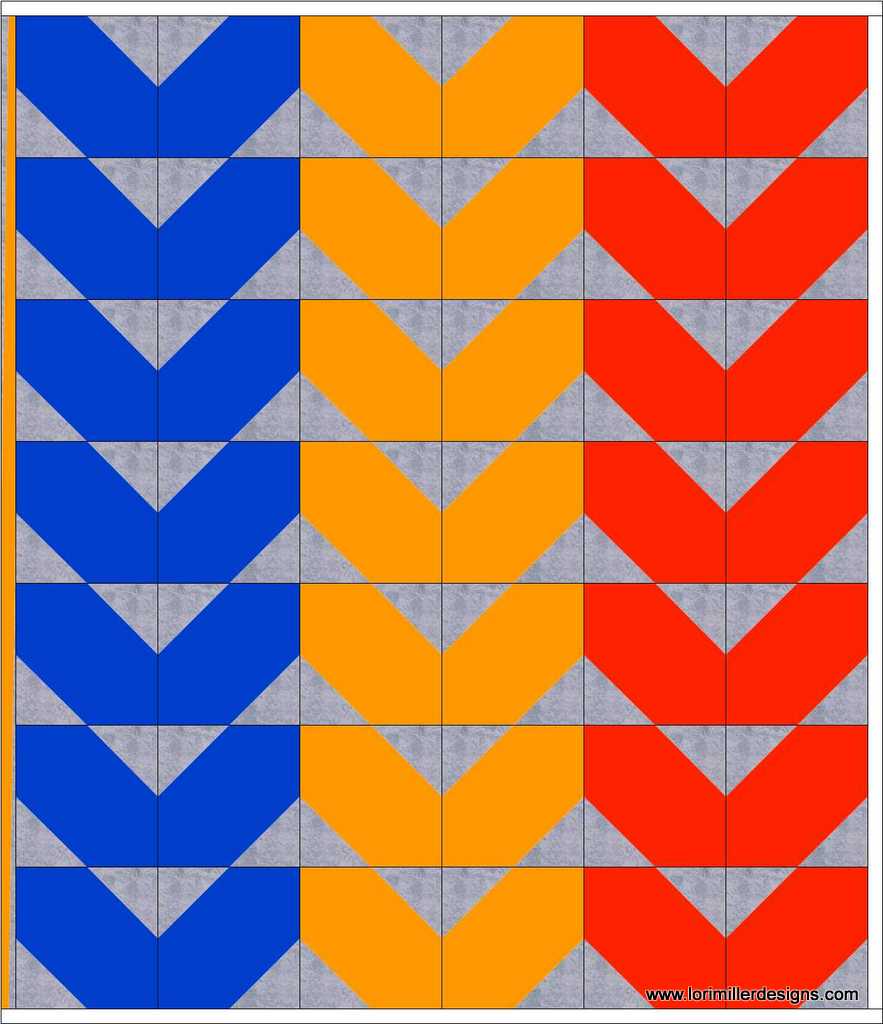
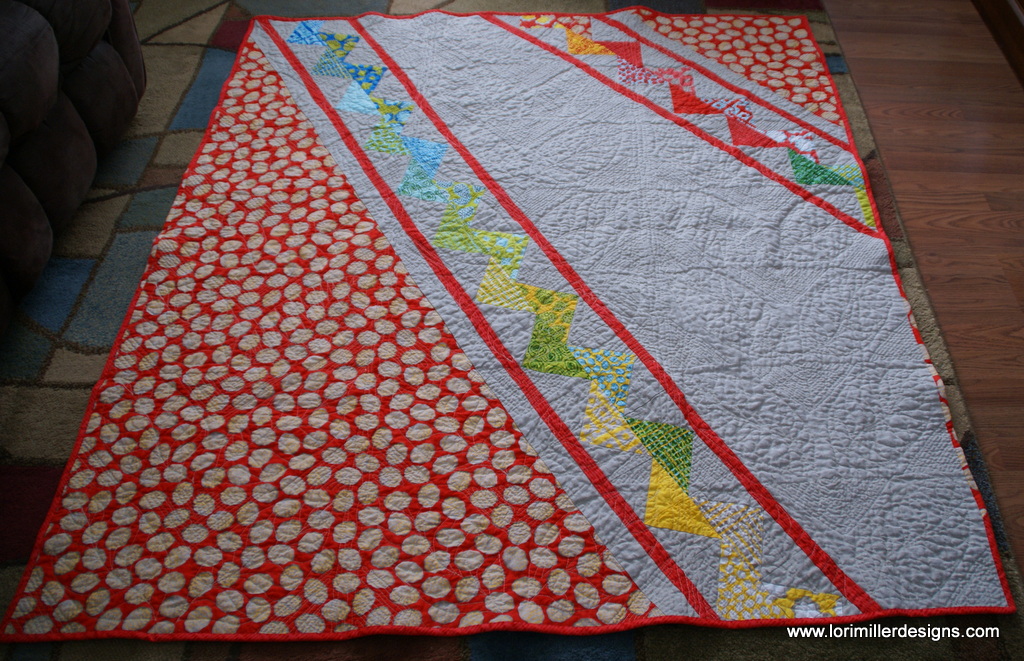
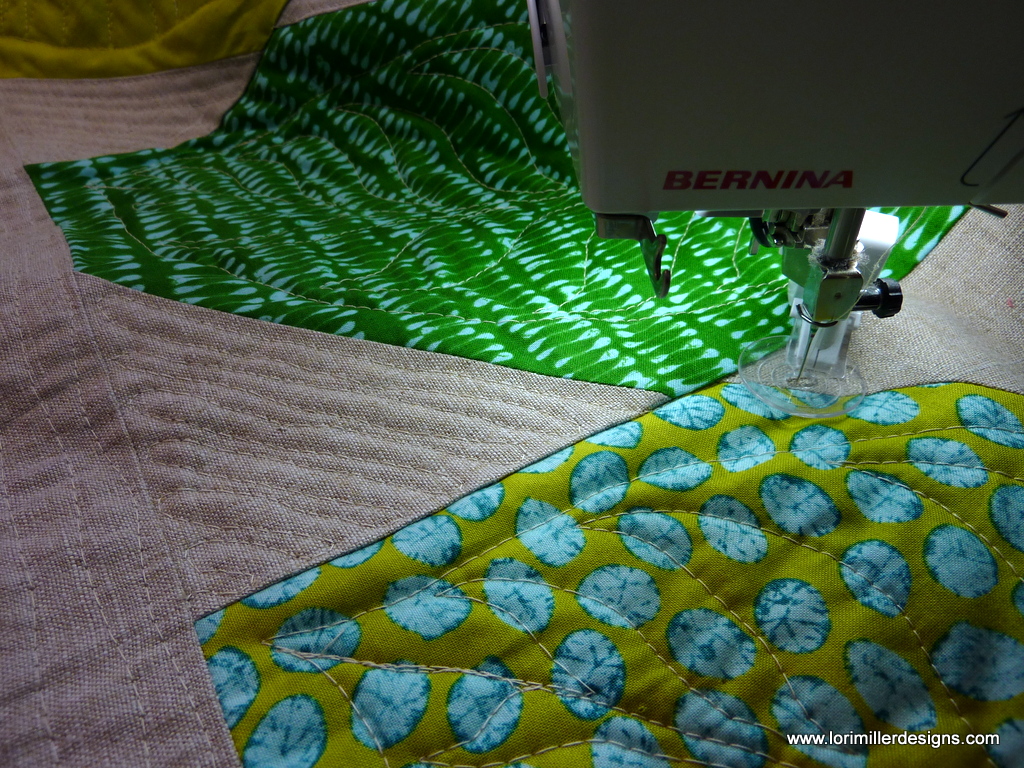
Poinsettia Pop Throw Quilt

It is called Poinsettia Pop and it is a generous lap size to snuggle under when the weather turns cold. The bright and cheery poinsettia blocks dance across the quilt bringing cheer to whoever receives it. This quilt is made using large 15 inch finished blocks that stitch up quickly. You only need to piece seven Poinsettia blocks so you can whip it up in time for last minute gifts. I even included some speedy techniques to save you some time. The bright hot pink fabrics, text print background, and alternate grid pattern give this block a very modern look.
Mini Mitten Coasters
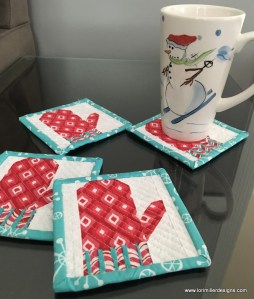
I am pleased to share my latest published work, mini mitten coasters! They are super cute, easy to stitch up and you can use some cute coordinating holiday prints or make them super scrappy with some leftover holiday fabric.

They are featured on page 34 of Modern Patchwork Gifts 2016. This is the third year I have been published in the holiday issue and I couldn’t be more thrilled.
I hope you found an idea you could use for some holiday gifts or just to make for yourself.


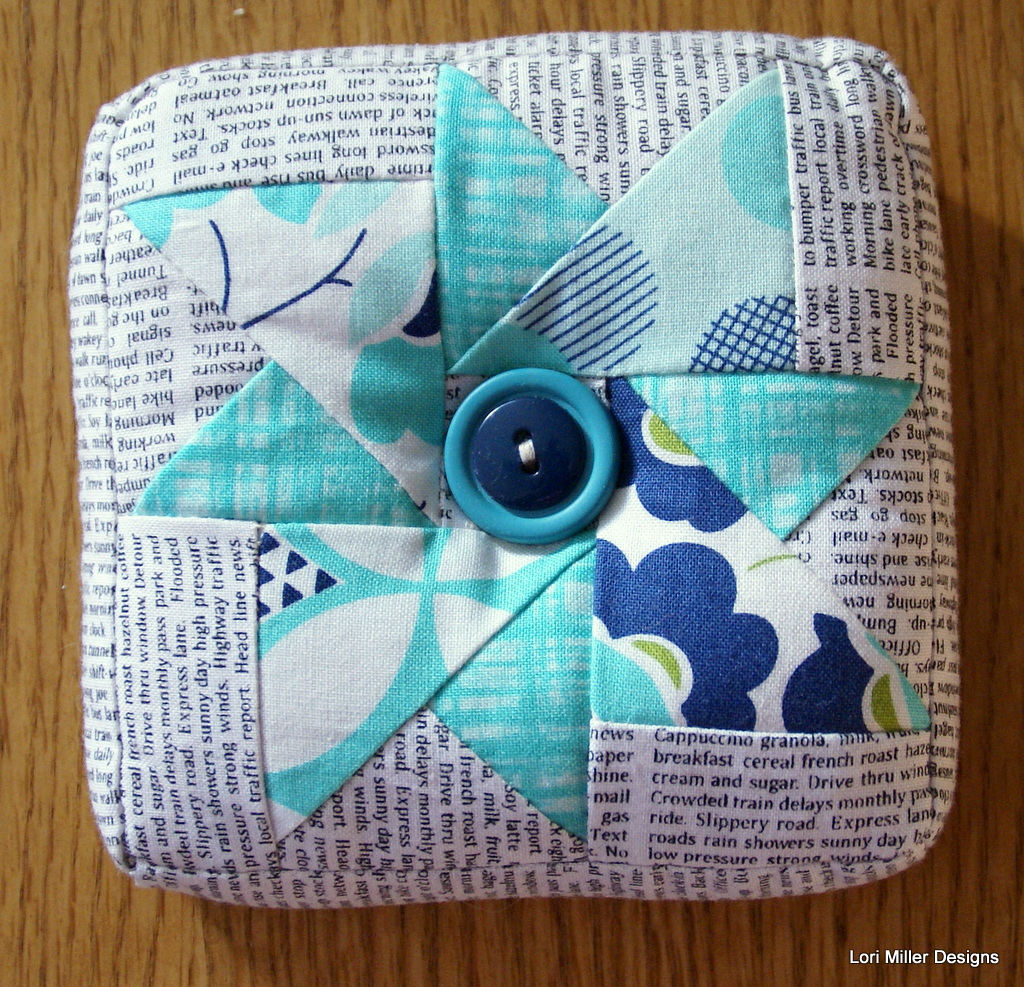
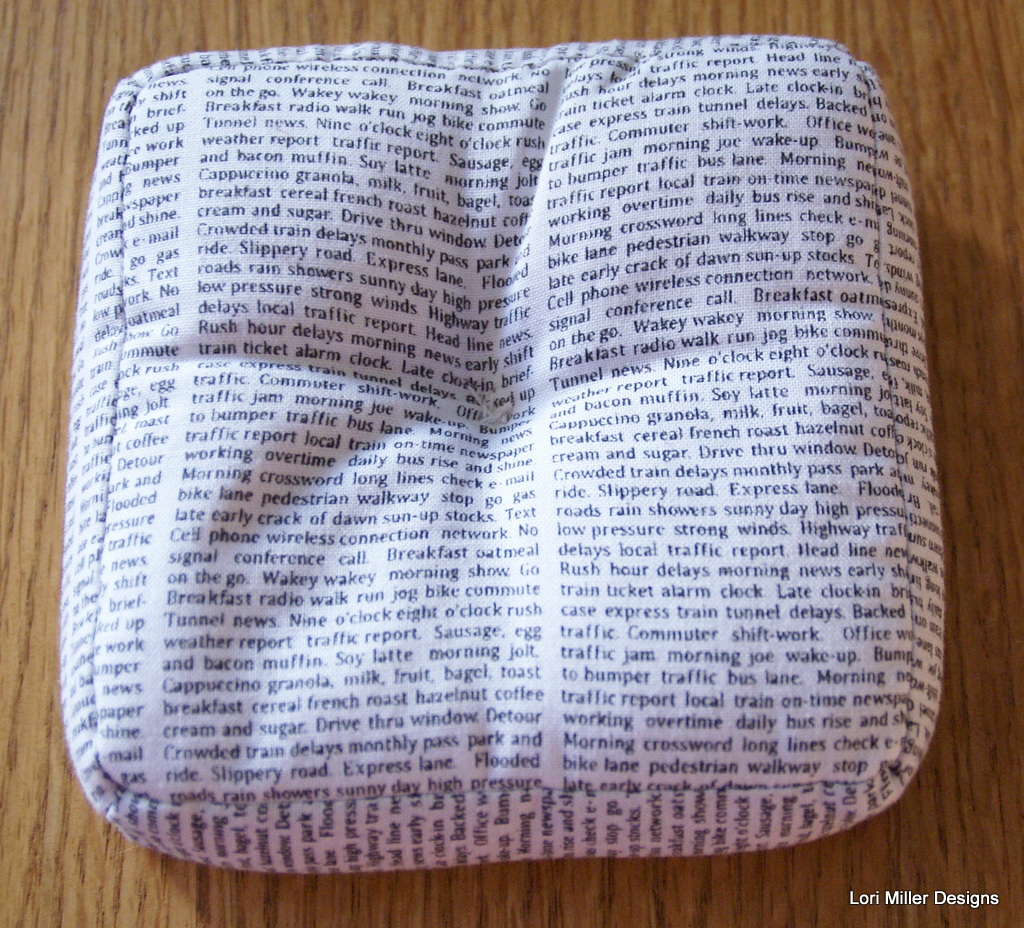
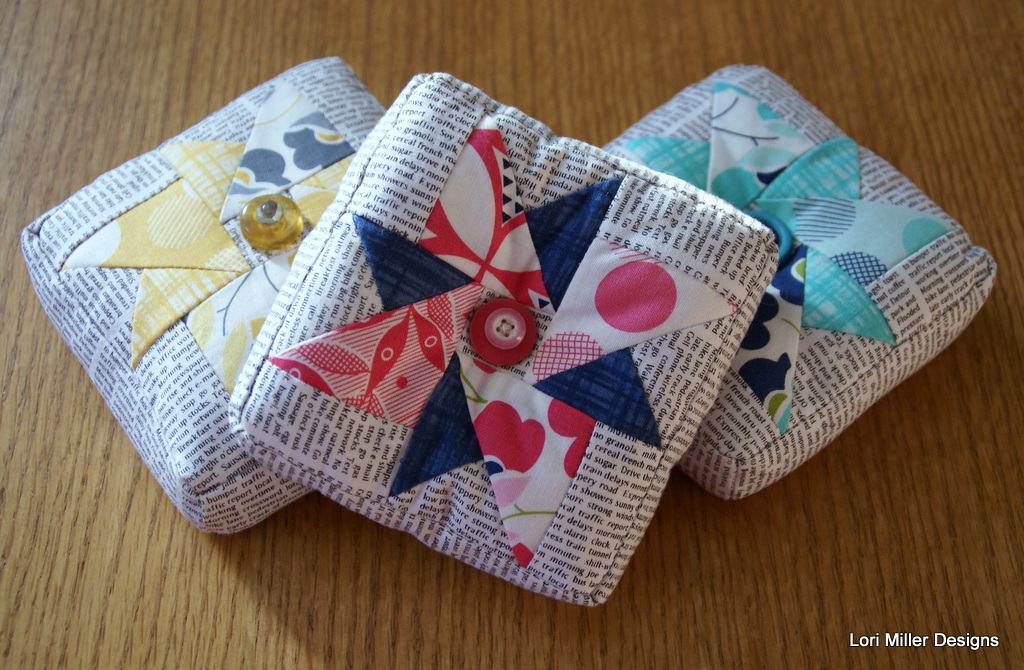
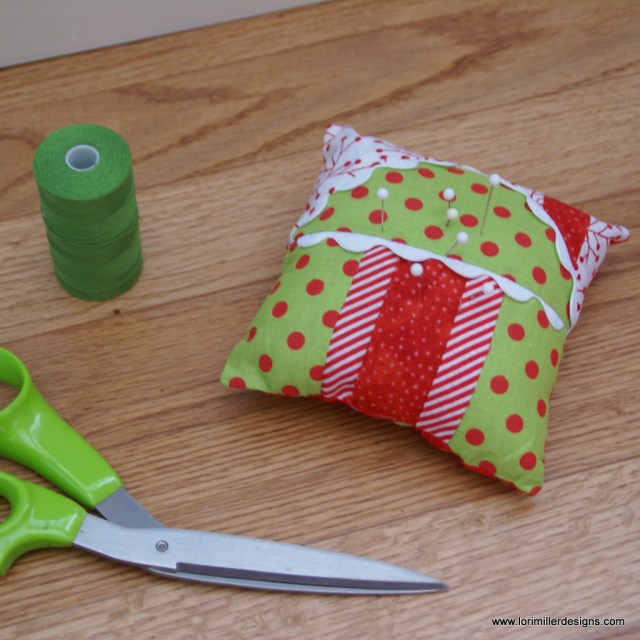 It made an adorable pincushion and I use some very easy techniques to piece it all together that make it a jiffy to stitch up in an afternoon. You can make multiples at once very easily. Finished size is 5 ” square.


