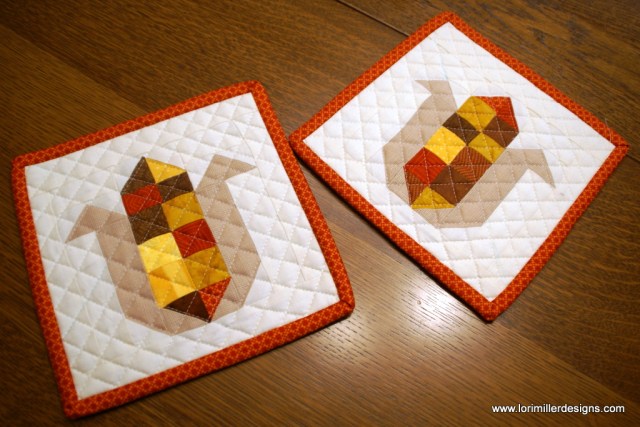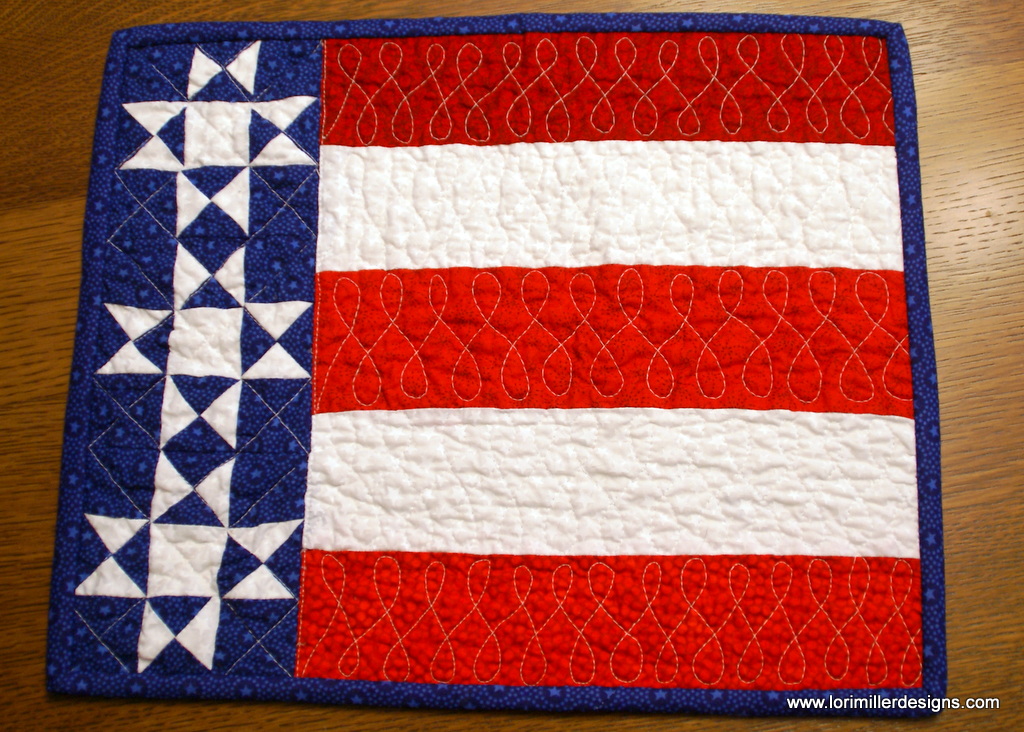
For this month’s free tutorial project, we are sticking with a mini approach. This striking design is for a patriotic placemat which certainly qualifies as a mini quilt. This placemat was designed with EQ Mini Software by The Electric Quilt Company . It uses a Vertical strip layout and a traditional Ohio Star block to create a winning red, white and blue design. Stitch up as many as you need for your holiday celebrations or just make one for a cute centerpiece design.

EQ Mini is a scaled down, simpler version of EQ7 quilt design software. This program was created for quilters who are just getting started using software for quilt design. EQ Mini will help you create, edit, share, and print patterns and yardage for your quilt designs.

When I designed this little quilt, I used a vertical strip layout with two strips. Each strip uses a pieced row of blocks.
Americana Placemat
Finished size is 14″ x 17″.
Materials
This will make one placemat.
- 1/4 yd Red
- 1/4 yd White
- 1/4 yd Blue
- 1/4 yd for binding
- 1/2 yd for backing
- 16″ x 20″ piece of batting
Directions
Cut Fabric:
From red fabric, cut:
- 3 — 3 1/4″ x 12 1/2″ strips
From white fabric, cut:
- 2 — 3 1/4″ x 12 1/2″ strips
- 3 — 2″ squares
- 6 — 3″ squares
From blue fabric, cut:
- 12 — 2″ squares
- 6 — 3″ squares
From binding fabric, cut:
- 2 — 2 1/4 ” x WOF strips for binding
From backing fabric, cut:
- 1 — 16″ x 20″ rectangle
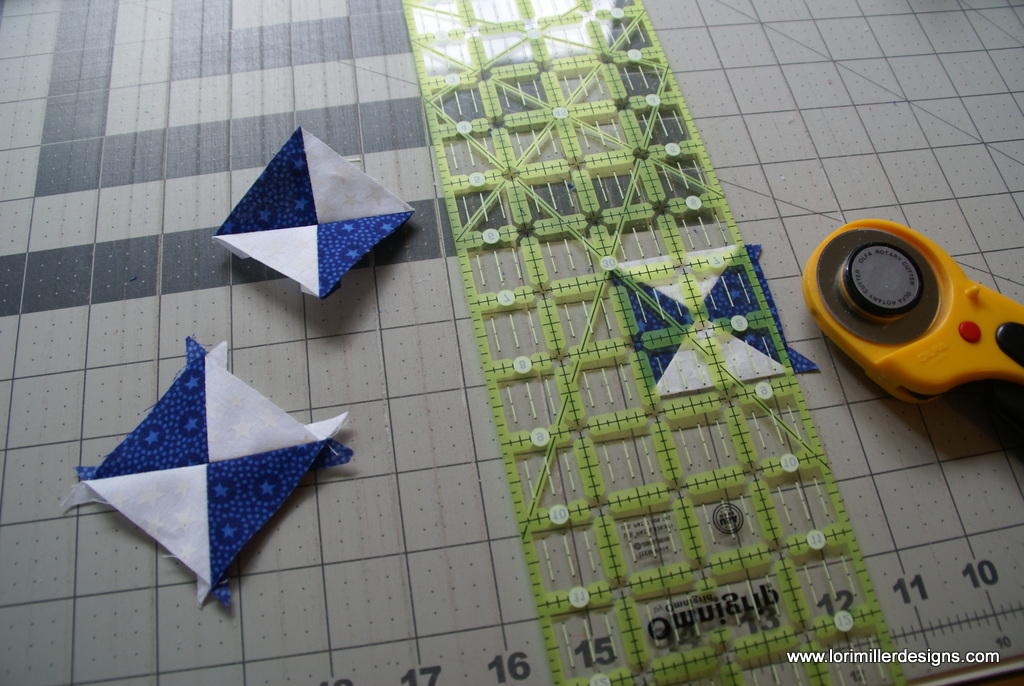
Make Ohio Star Blocks
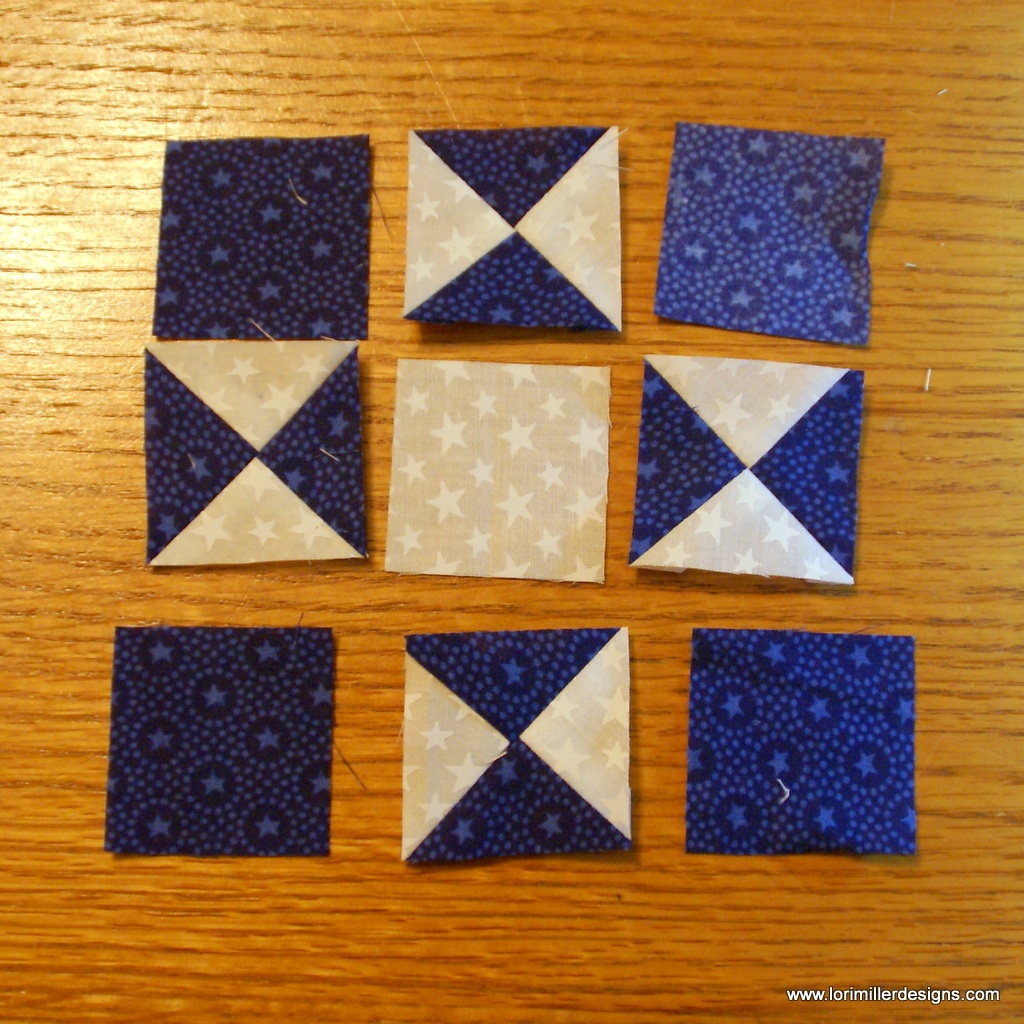
- You will make three Ohio Star blocks for each Americana Placemat.
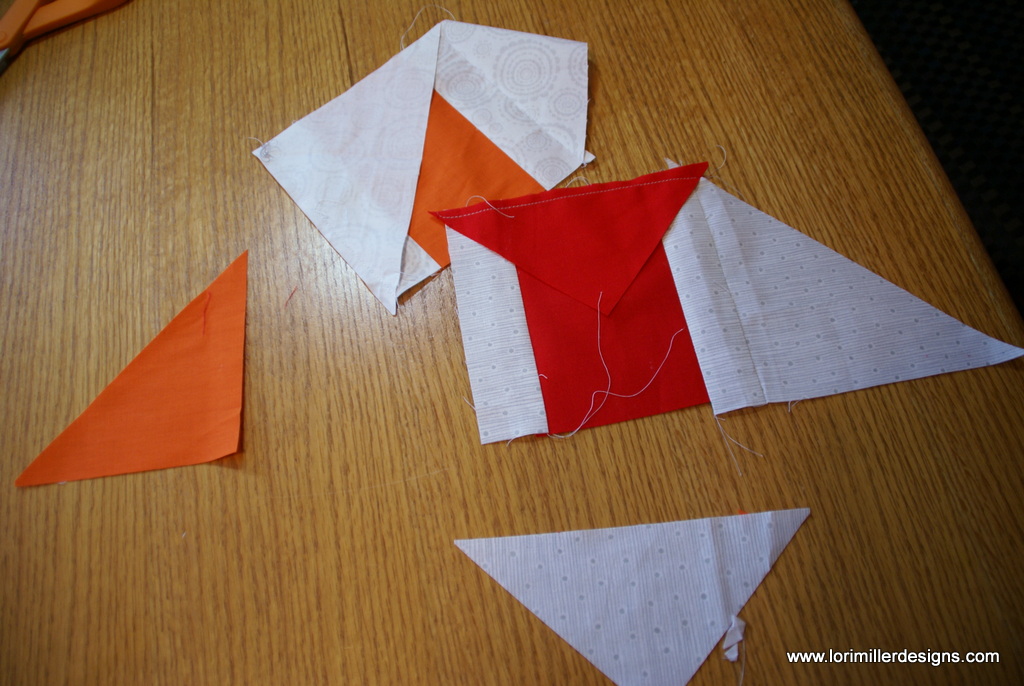
- Start with quarter square triangle units.

- Mark a line on the wrong side of the 3″ white fabric squares diagonally from corner to corner.

- Place the marked white fabric square right sides together (RST) with a 3″ blue fabric square.
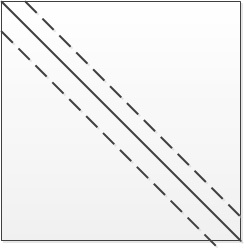
- Sew two seams, each 1/4″ away from the center marked diagonal line.
- Cut along the marked line to separate the half square triangles. Press seams to the darker fabric.
- Mark a line on the wrong side of one of the half square triangles.

- Pair the half square triangles, RST. with opposite fabrics facing each other.

- Sew two seams, each 1/4″ away from the center marked diagonal line.
- Cut along the marked line to separate the now quarter square triangles. Press seams open.
- Make a total of 12 quarter square triangles.

- Trim the quarter square triangles to 2″ square.

- Arrange the parts of the Ohio Square block and stitch together.

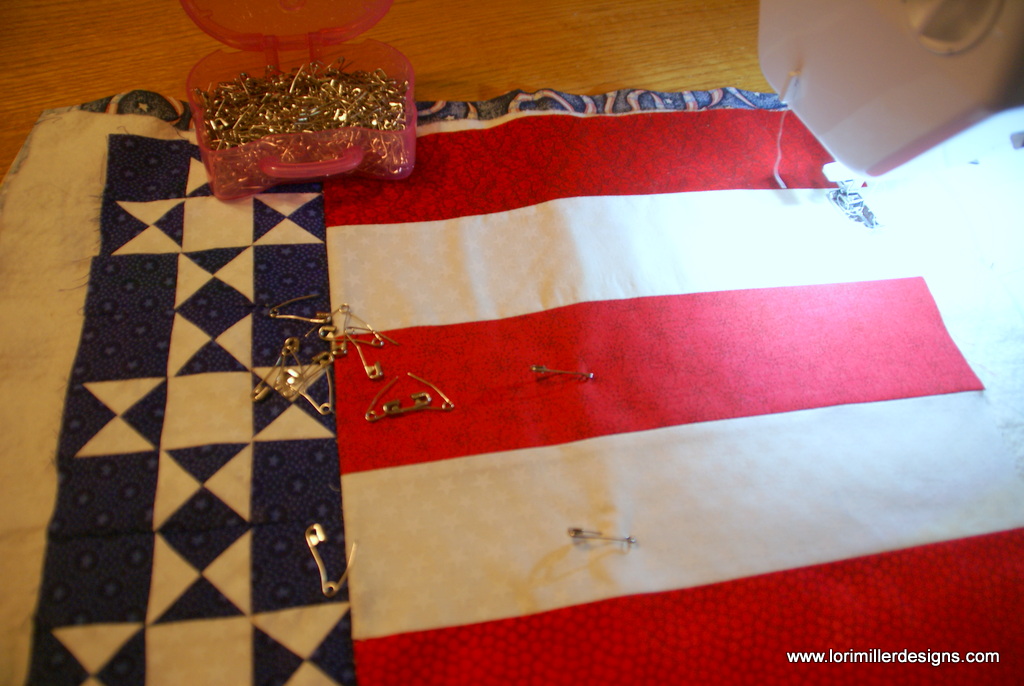
- Sew the three stars together for the left side of the placemat. Sew the red and white strips together for the right side of the placemat and then join them together.
Note: I rounded up some of the numbers to 1/4 inches so you may have to adjust a bit to match up the stars with the stripes. I did not want you to have to work with sixteenths of inches. - Make a quilt sandwich with the backing face down, then the batting, then your quilt top face up.

- Pin baste the quilt layers together.

- Quilt as desired. I stitched some fun loops in the red and white strips.
- Sew the 2 1/4″ binding strips together and add to the quilt.
- Finish the binding and you are done!


This is a fun placemat to make. Take your time with the Ohio stars so you can really line up the points. Share your pictures of the Americana placemat, tag me on instagram @lorimillerdesigns.
Looking for the EQ Mini Design Instructions? You can find them HERE.
For more projects and tips and techniques on using EQ Mini, visit my Electric Quilt blog series EQ Mini Friday Fun.
For more information on EQ Mini software, go to EQ Mini.


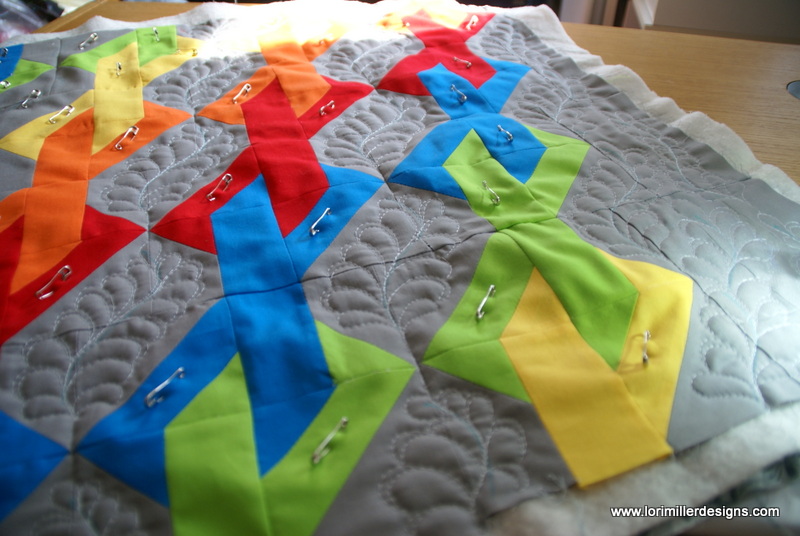


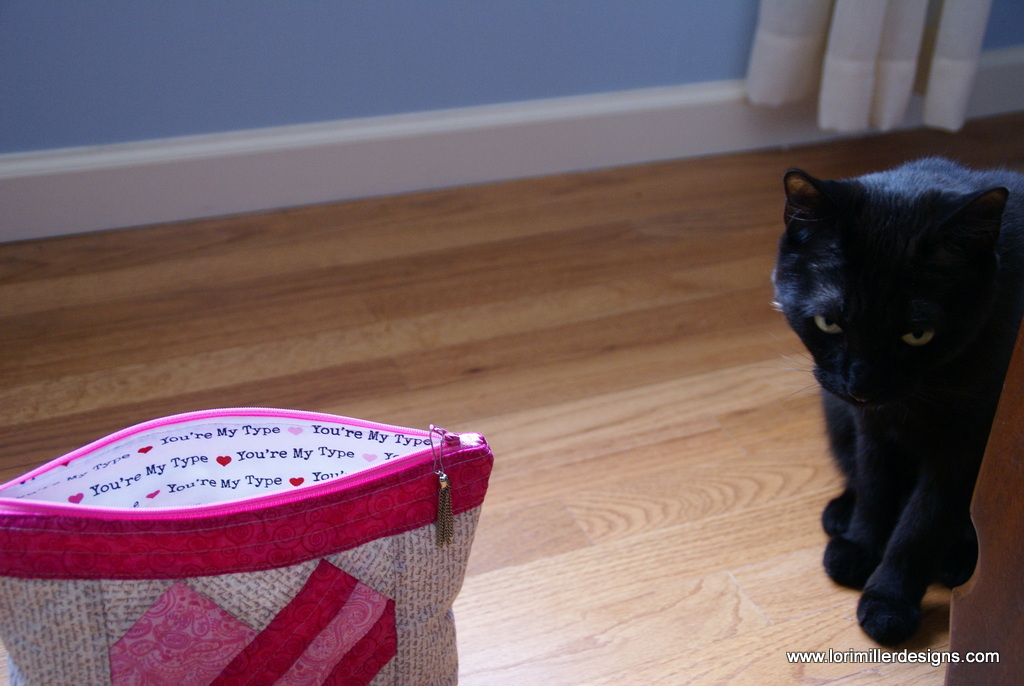


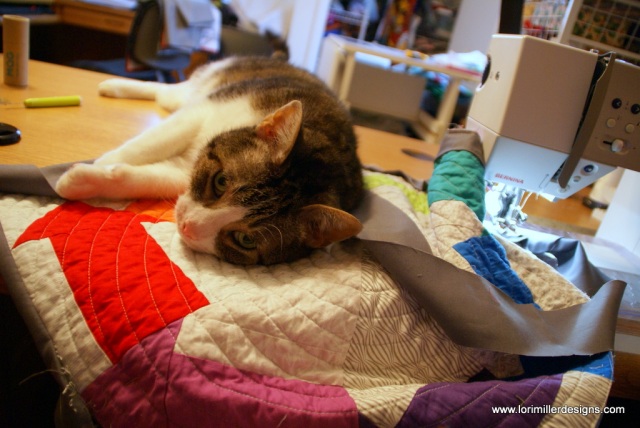 This is why it took me a long time to spiral quilt this pillow. Oh Cookie cat!