

My girlfriend, Jennifer, wanted me to make her a messenger bag. She is a knitter and spinner extraordinaire and wanted something to take to a spinning conference and classes.

I had made her this cute Sew Together Bag, a Peekaboo Pencil Case by Pickle Pie Designs, and a name tag last year and she wanted something to match.

It has the cutest pattern of sheep knitting in red, black and white. Can you spot something weird with that white sheep in the upper left corner?

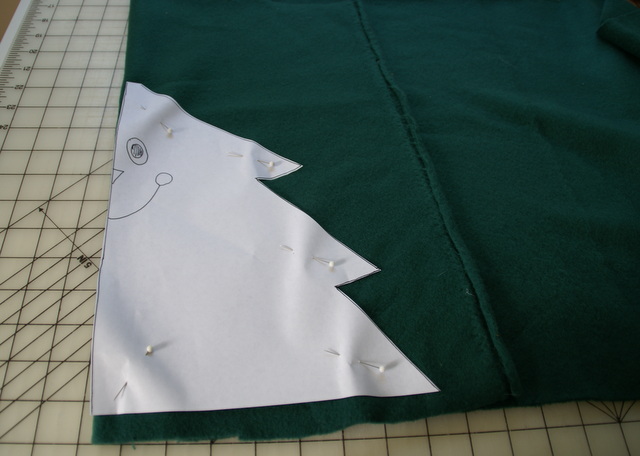
I could not really find a pattern I liked, so I combined a bunch of patterns and ideas and created this prototype. I just used some fabric I had on hand. I did quilt the fabrics.

I used duck cloth or canvas for the sides and bottom to give it a bit more structure. When I showed it to Jennifer, she offered a few suggested updates including a pocket for her tablet, some strips inside the sides so she could tuck in some knitting needles and more pockets. All the more friendly for a knitter to use.
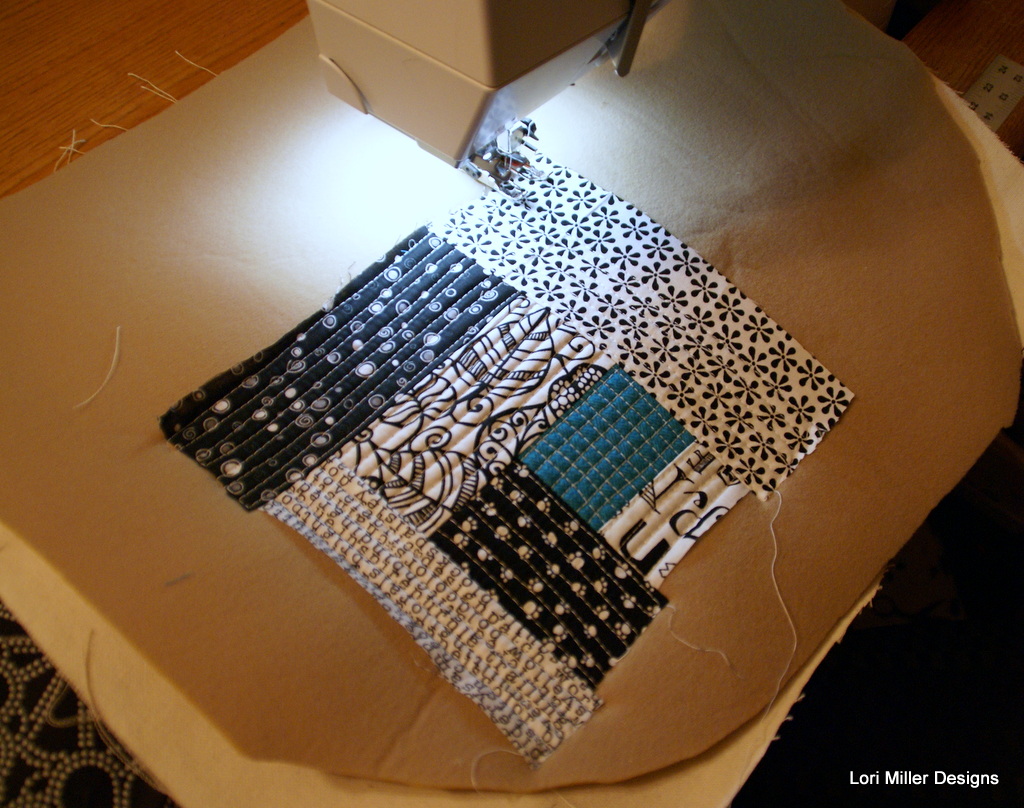
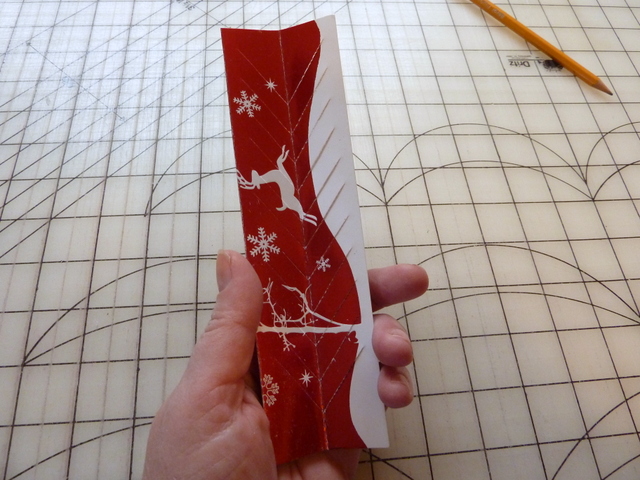
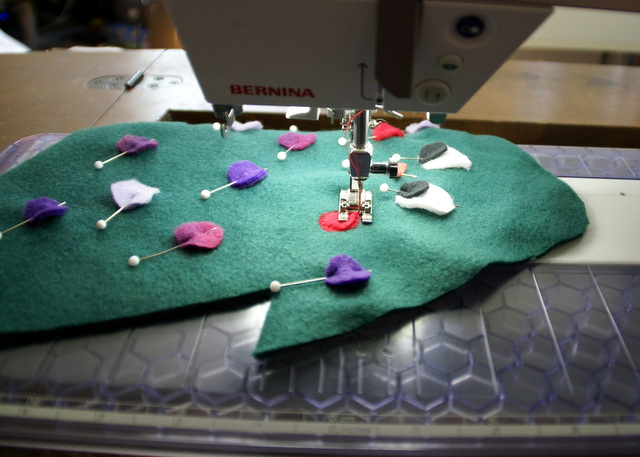
I decided that the front flap was going to be quilt as you go with snippets of the fabrics including the cute little knitting sheep in red, white and black.
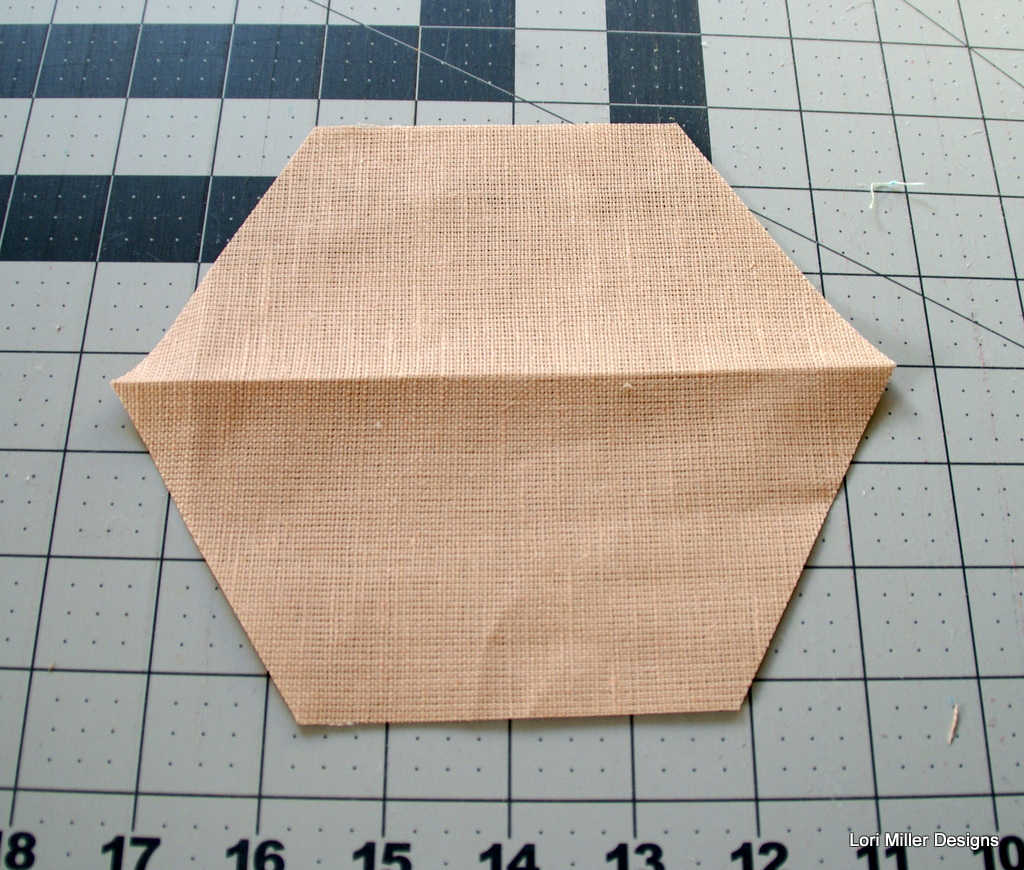
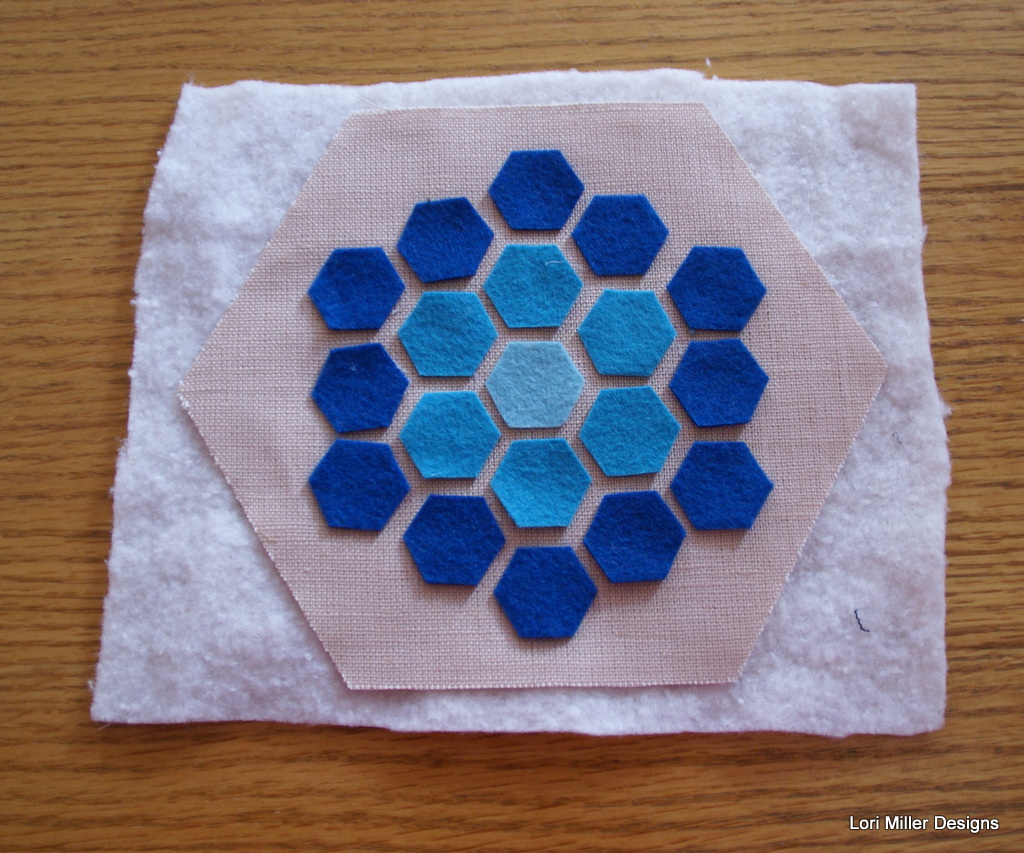
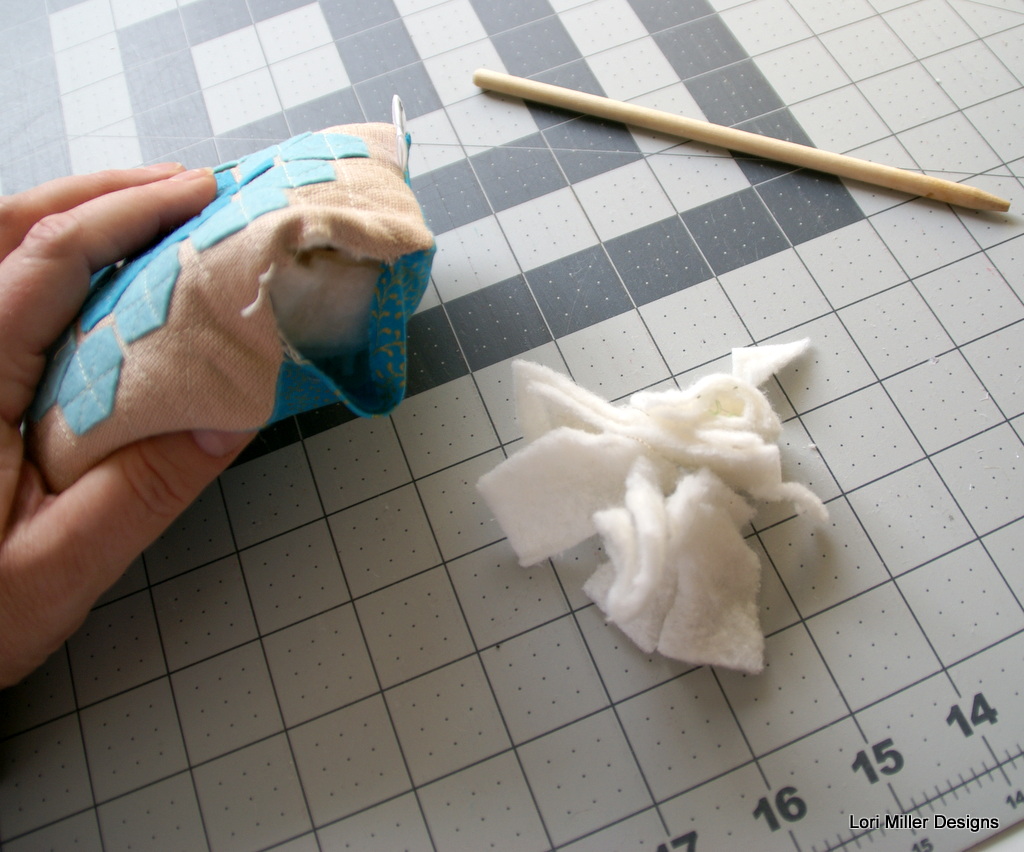
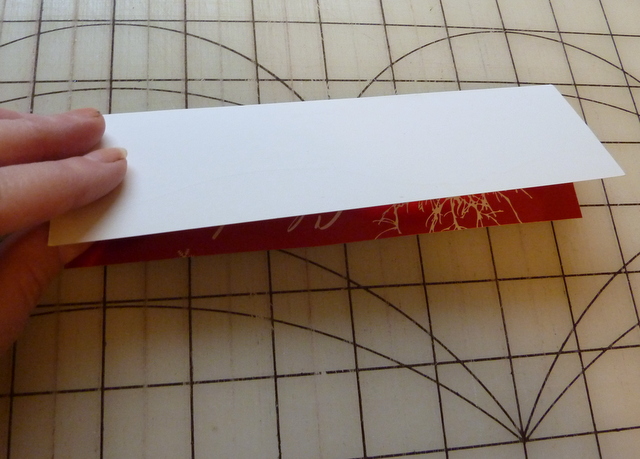
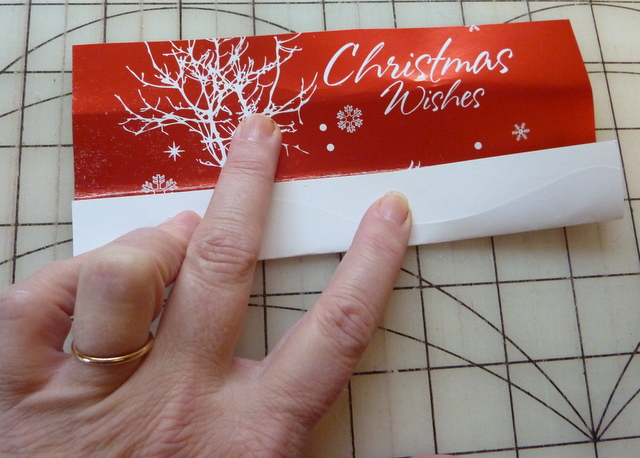
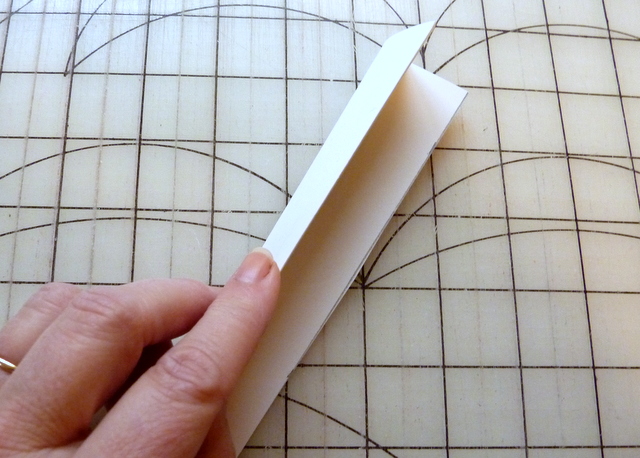
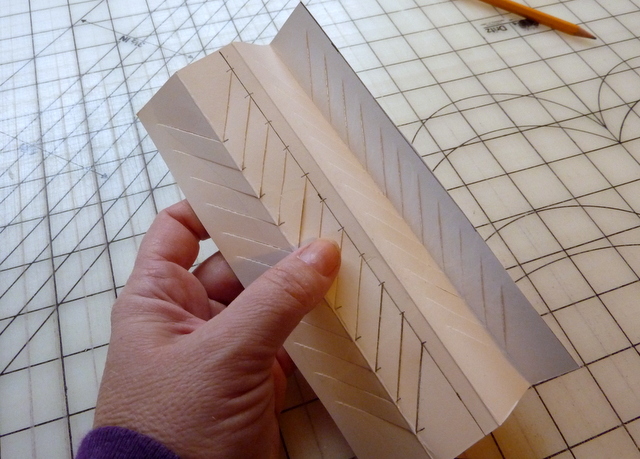
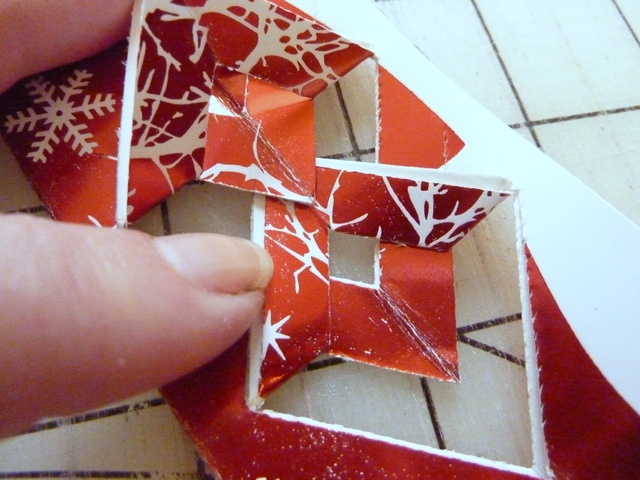
Here are the step by steps of my quilt as you go Messenger flap so you can see how I do it.


Here is the back of the bag. That is a really large pocket that has Headliner fabric in it to cushion her ipad. It closes with a velcro strip.

I lined the inside and added this little pocket with a cute little sheep on it.

Jennifer also wanted a little zip bag to tuck some money, chapstick and a few necessities in. I sized down another pouch I had found to make this wristlet.

Here is a little better view of the inside of the bag.

I added a wide adjustable strap. She really liked it and has used it several times. I love the zip that the striped binding gives to the front flap. The solid sides add a calming factor to the busy sheep print, but it is still just too cute. I think the QAYG flap really makes it look special.


%20from%20Lori%20Miller%20Designs)


